Did you stop by earlier in the week and check out my newest embroidery pattern, this cute Stitch On hoop?
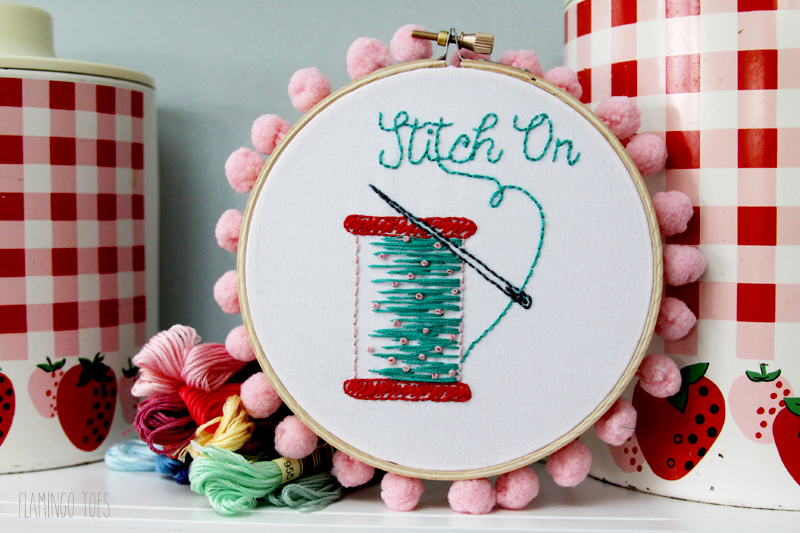
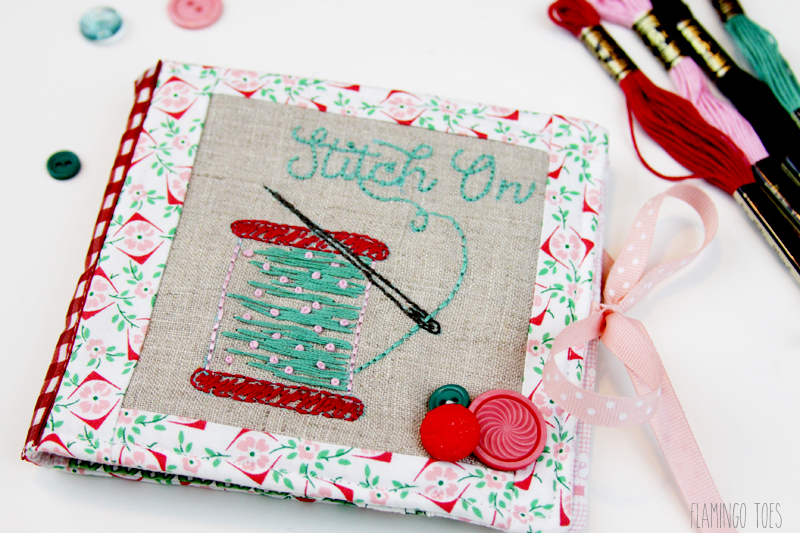
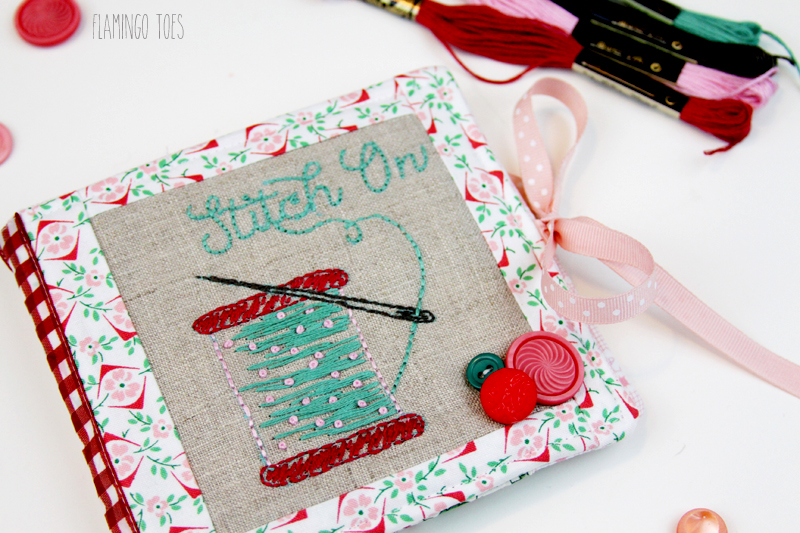
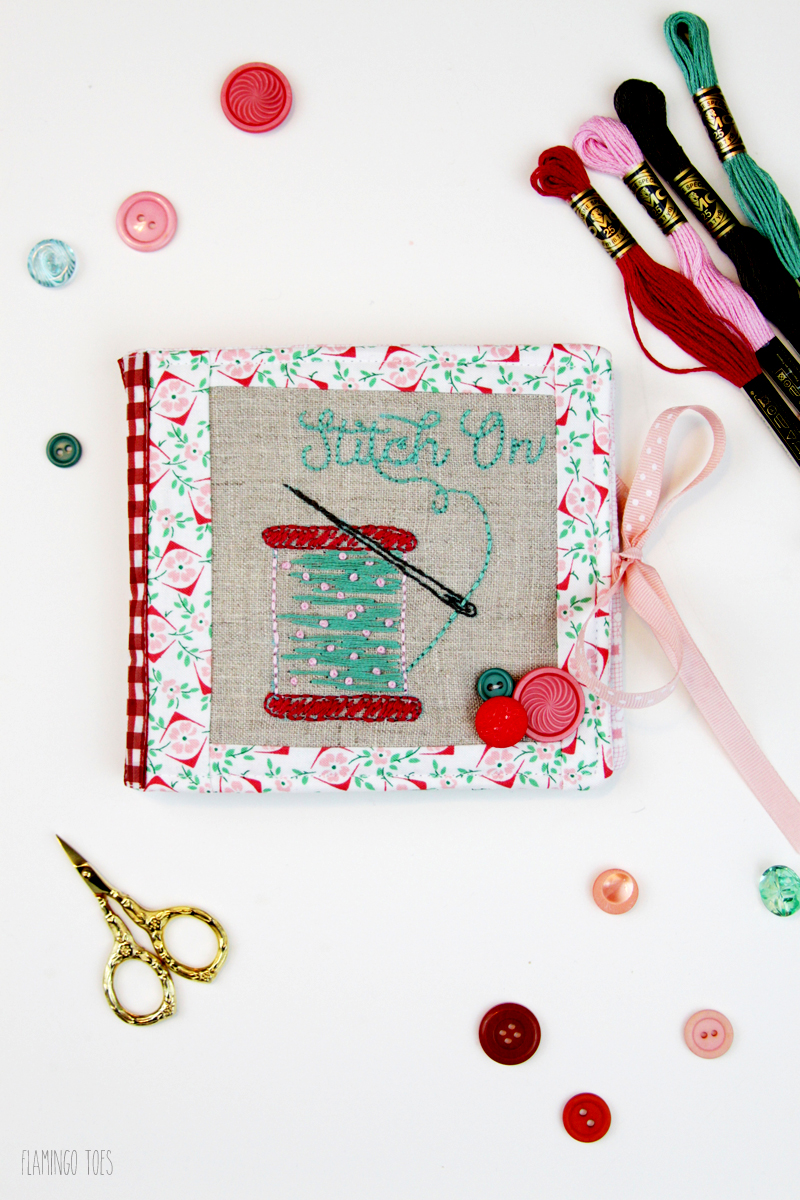
It’s such a cute little hoop and I love how it looks in my studio, but I wanted to show you another idea for the pattern! I used the pattern as the design on this cute little Stitch On – Embroidered Needle Book!
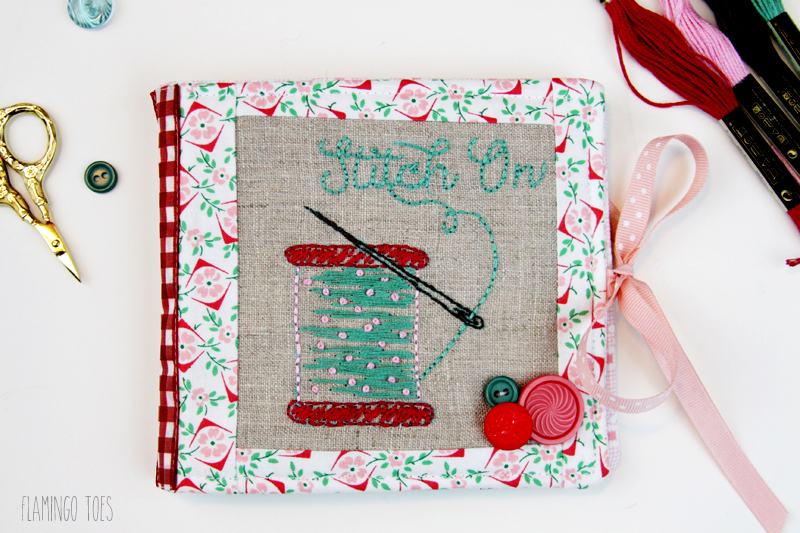
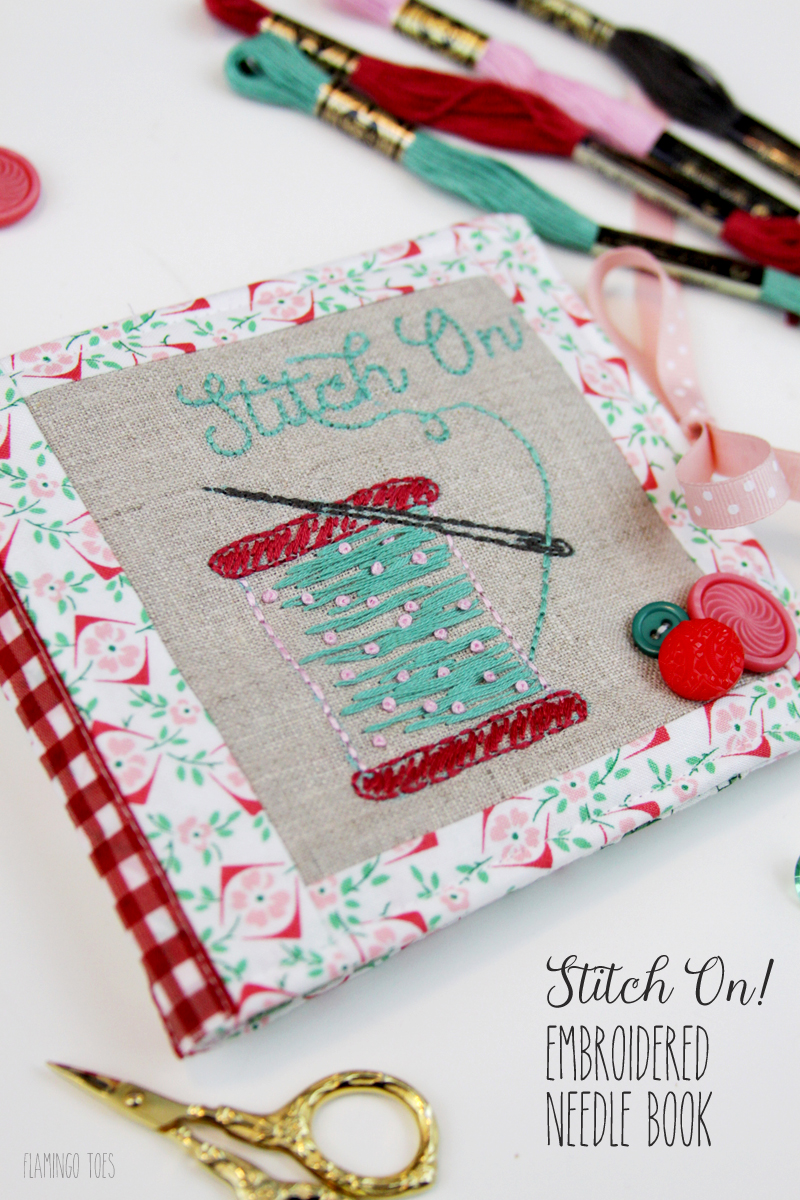
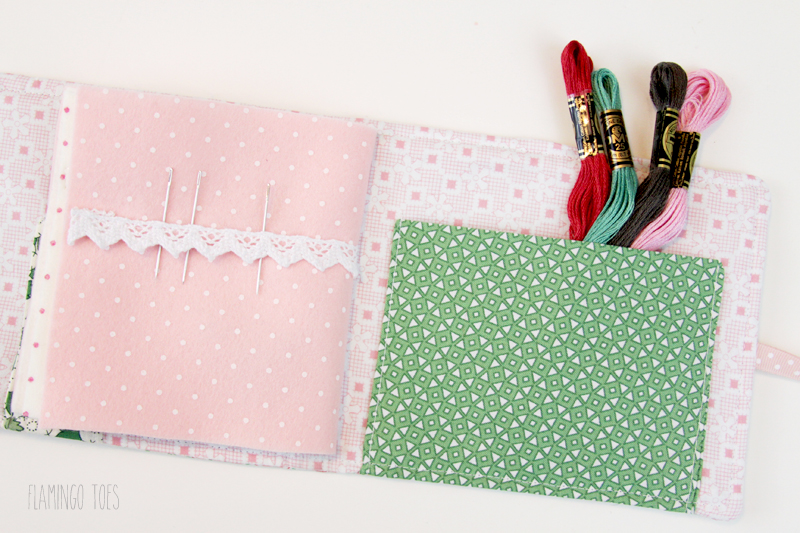
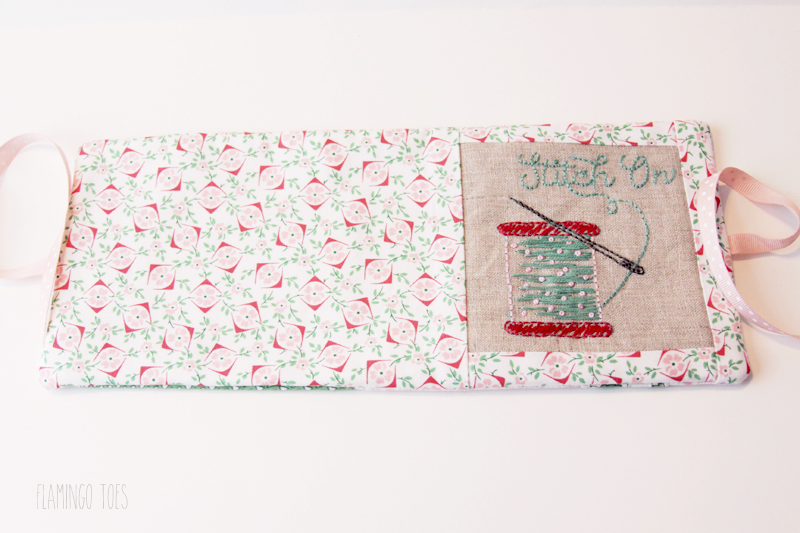
This sweet little book is all decorated with an embroidered spool of thread and says “Stitch On!”. Inside there are pockets and felt pages for holding needles and other supplies. So you can sew or embroider on the go!
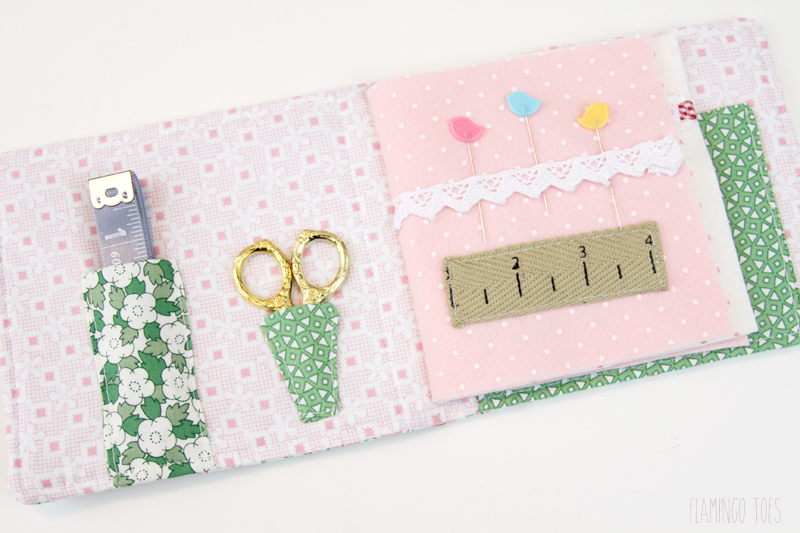
I’ll probably use mine most for embroidery, though it would be great for paper piecing too. There’s a little pocket in the back for threads or paper templates, or whatever you need to stow away.
Here’s what you’ll need to get sewing!
- 3 fat quarters of coordinating fabric for the outside, inside and pockets
- thin batting or fusible fleece -13 x 6 1/2″
- linen – 6″ x 6″
- DMC embroidery floss – green, pink, red, gray
- embroidery hoop
- two sheets of wool felt – 9″ x 4 3/4″
- lace trim and buttons for decoration
- ribbon for tie – 20″
- Stitch On – Free Pattern – for personal use only
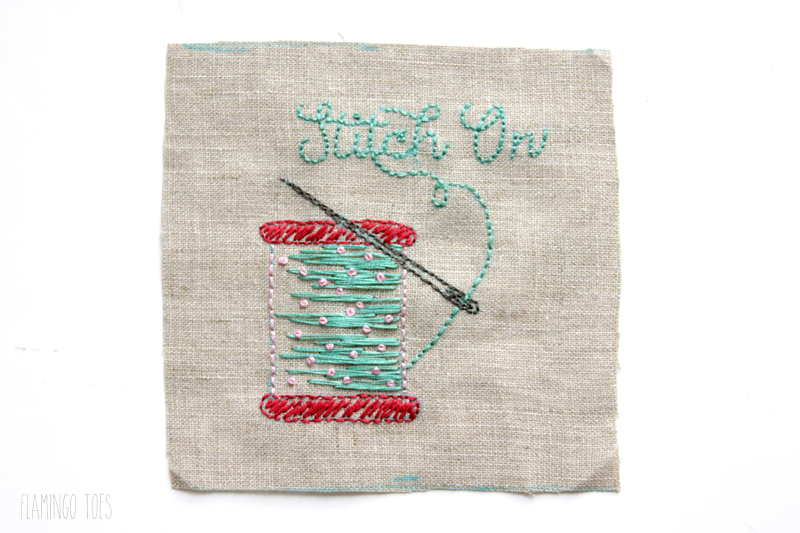
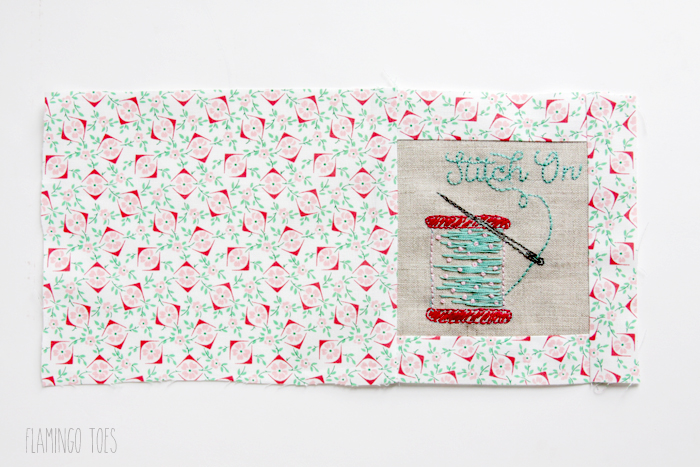
Begin by tracing the embroidery pattern and stitch the design like the photo below. If you need help with embroidery stitches, check out my Embroidery Tips page. Once your embroidery is done, trim your fabric to a 5″ square.
Out of your outside fabric, cut 2 pieces 1 1/2″ x 5″, one piece 1 1/2″ x 6 1/2″ and one piece 8 1/2″ x 6 1/2″.
Use a 1/2″ seam allowance and sew each of the 1 1/2″ x 5″ strips to the top and bottom of the linen piece.
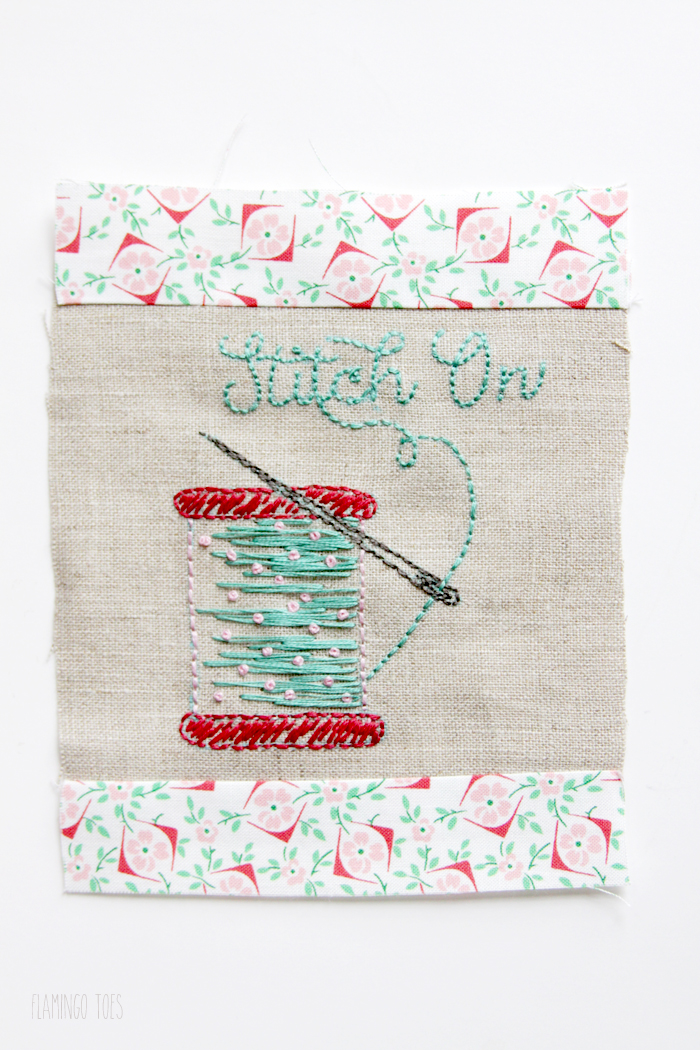
So the small strip to the right side of the square and the long piece to the left side of the square. Press all the seams away from the linen piece.
For the lining, cut out a piece 13″ x 6 1/2″.
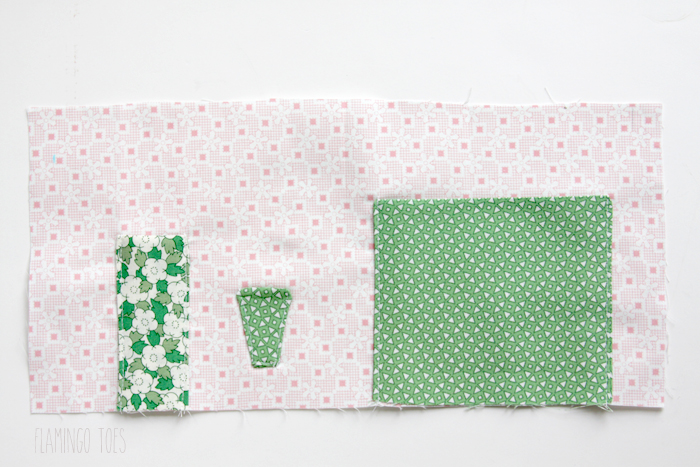
Decide how you’d like your pockets and cut out pieces from the coordinating fabric. I used a back pocket that was 8 x 5 3/4, folded in half. I traced my embroidery scissors and created a pocket for them, then also cut out a 2 1/2″ x 6″ pocket. For the long narrow pocket and the pocket on the back, I folded them right sides together and sewed the two side seams. Then I lined up the pockets with the bottom edge of the inner fabric and sewed the side seams in place. For the scissors pocket, I cut out two, then sewed them right sides together. I turned it right sides out and sewed the sides and bottom down.
Iron the fusible fleece to the wrong side of the front piece. Cut your ribbon into two lengths and sew each piece to the center of the short sides, 1/4″ from the edge. The ribbon edge should line up with the edge of the fabric.
Place the outside and inside pieces right sides together , with the ribbons in between. Sew around the edges, leaving a 4″ opening for turning. Clip the corners and turn right side out. Press, and turn under the open edges at the same time. Top stitch around all four sides, sewing the opening closed at the same time.
Now we can decorate the felt pieces! Choose some trims and buttons for decoration. Mark the centers of your felt pieces so you know where each “page” will be and sew on lace or other trims. These are great for holding your needles.
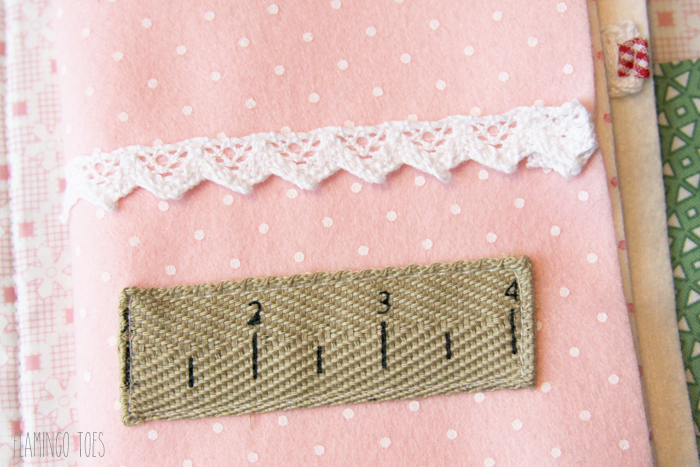
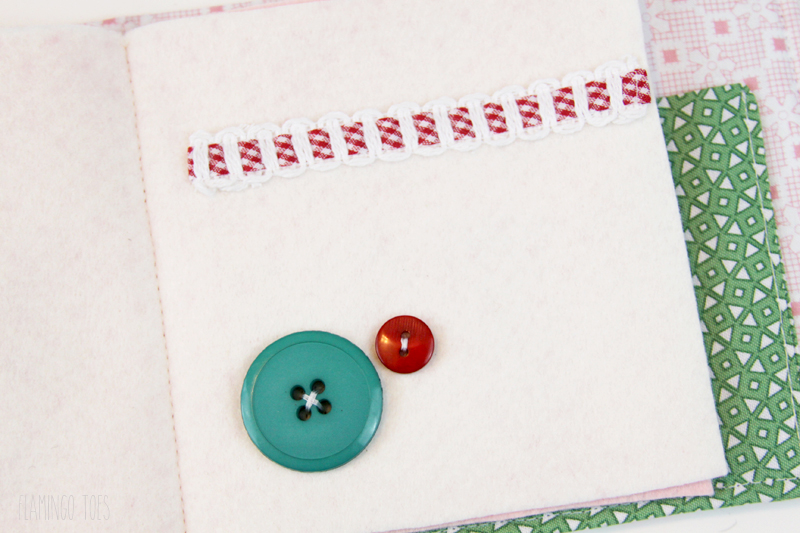
Place the felt pieces so the centers line up with the center of the inside cover. Pin in place. If desired, pin a strip of ribbon on the outside of the book, so one side lines up with the center line of the cover. Sew in place, sewing through the ribbon, cover and felt pages. Tuck the felt pages out of the way and sew the other side of the ribbon down as well.
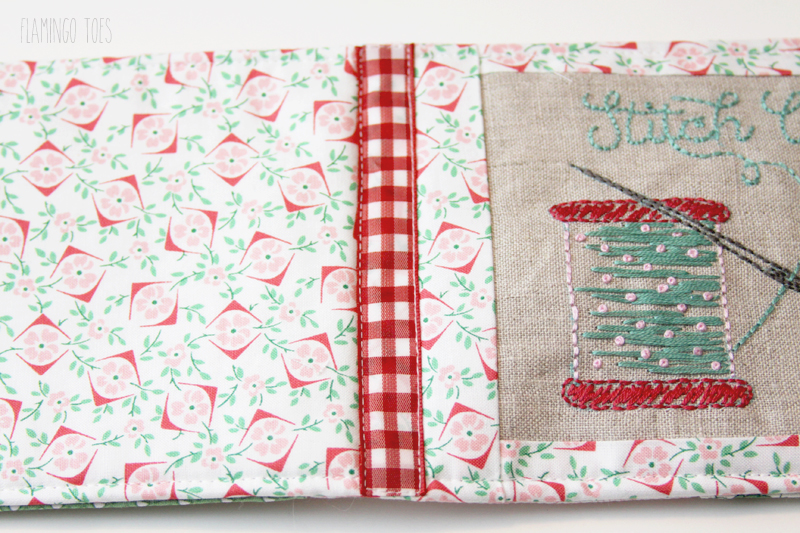
If you haven’t already, decorate the cover and pages with a few buttons.
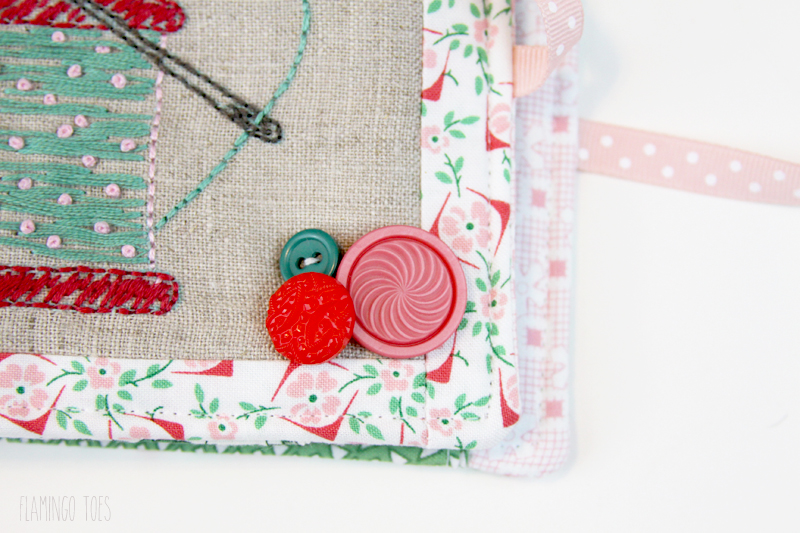
You are all done! Your cute needle book is all ready to stock up!
I’d love to see a photo if you make one – you can post it on Facebook or tag me on Instagram!
You might also like
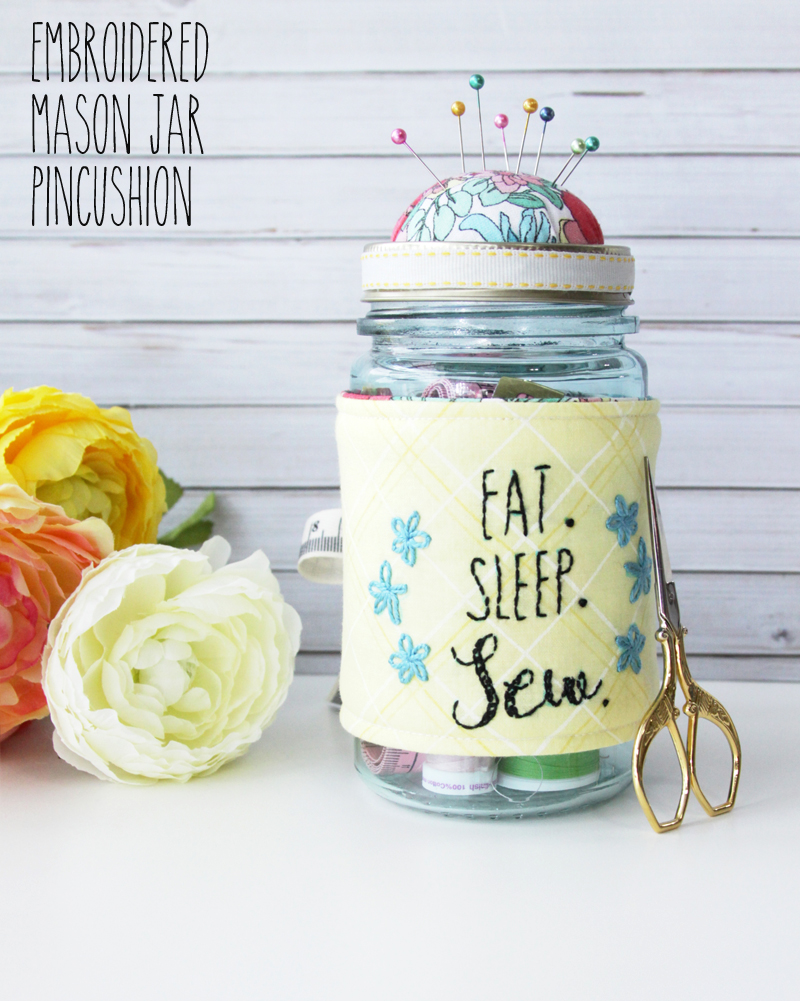
Embroidered Mason Jar Pincushion


This is just darling! Thank you sew much!
I love the project. I traced the embroidery and I am ready to start stitching. Thanks for sharing, I think a needle book is a perfect way to use this piece.
This is going to be stitched & given in an Operation Christmas Child shoe box. I do a lot of sewing kits for the 12 to 14 yr old girls and have been looking for a useful and attractive needle case. This is it! Thanks.