***Have you linked up to Think Pink Sundays?? We’d love to have you join us!
Click here to add your link to the party!***
~~~~~~~~~~~~~~~~~~~~~~~~~~~~~~~~~~~~~~~~~~~~~~~~~~~~~~~~~~~~~~~~~~~~~~~~
So I’m kind of on a jewelry kick here. Hope that’s ok with you. ;)
Also, I’m not at home. And jewelry is easy to do as crafting-on-the-go.
Some of you might have seen the rosette rings I carry in my shop.
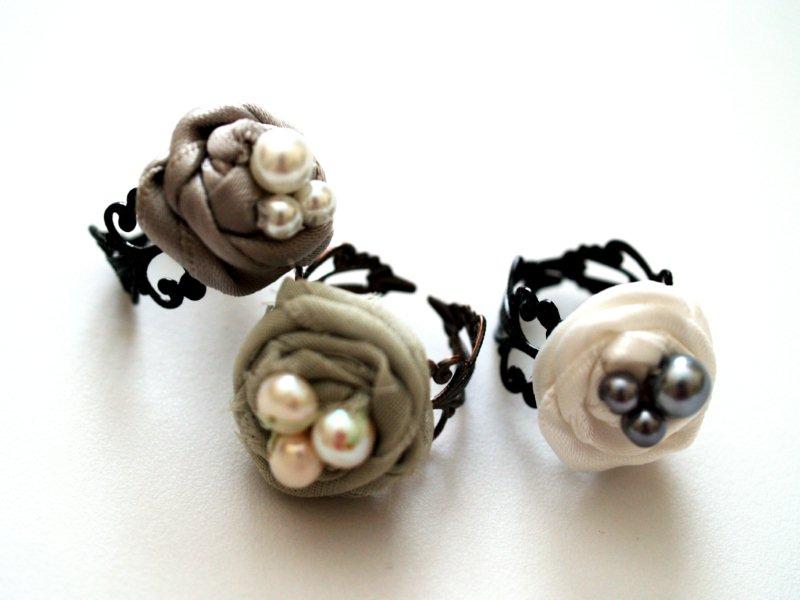
I’ve had requests for a tutorial – so here it is!
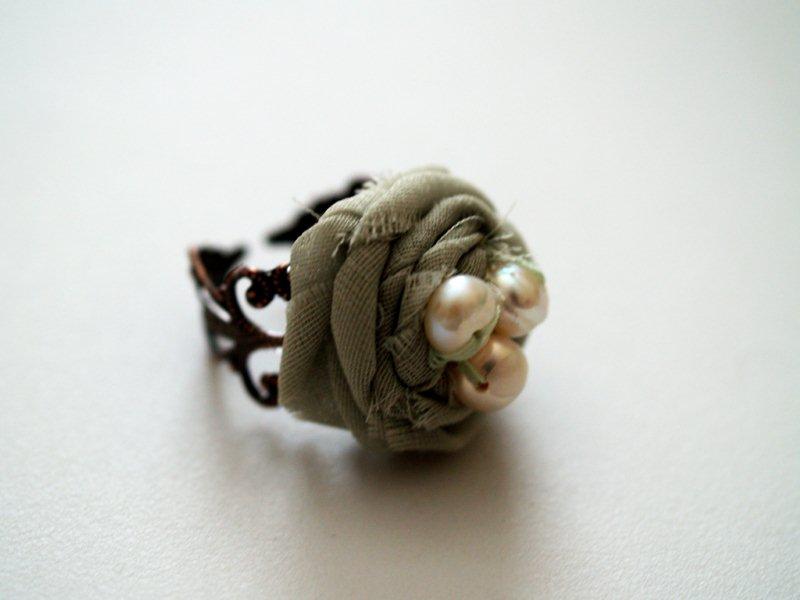
In the shop I carry ribbon versions but for this tutorial I thought I’d try out a chiffon version – and I really like how it turned out.
So nice and spring-y. :)
To make your own, you’ll need:
• adjustable ring backs ( I buy mine from Etsy, there are lots of sellers that carry them)
• ribbon or chiffon
• small beads/pearls
• needle (small enough to go through your beads) & thread
• glue ( I used E-6000)
Start by cutting about a 1″ wide strip of your fabric. (Or you can use ribbon.) The length you need will depend on how thick your fabric is or how big of a rose you’d like.
I’d estimate for chiffon about 18″.
(This method of making rosettes will work for any fabric or size rosette. I’m going to show you how to sew it, but you could also make these using hot glue.)
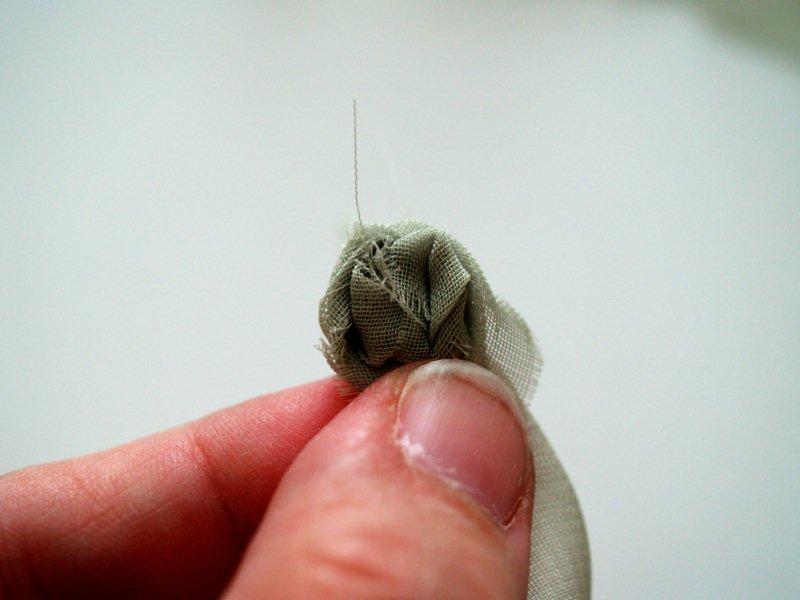
Tie a knot close to the end of the chiffon.
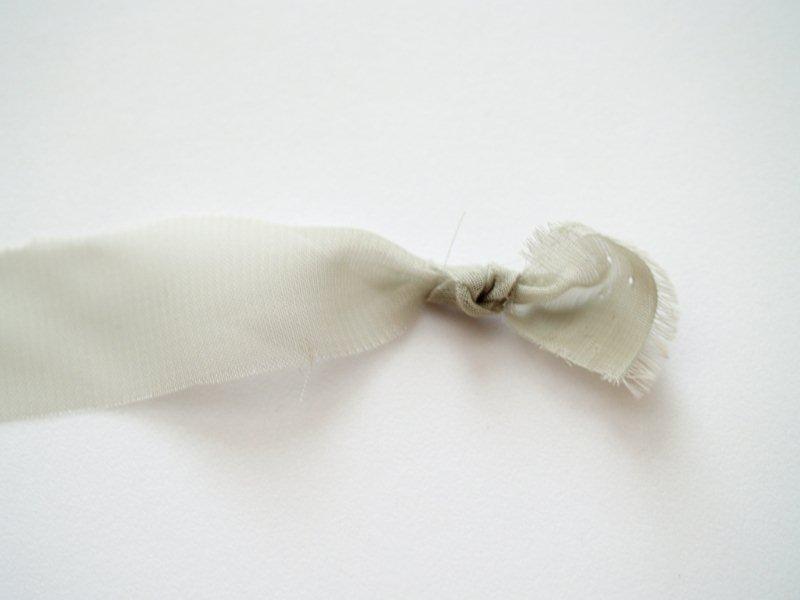
Hold the knot in your left hand. Start loosely twisting the other end of the strip.
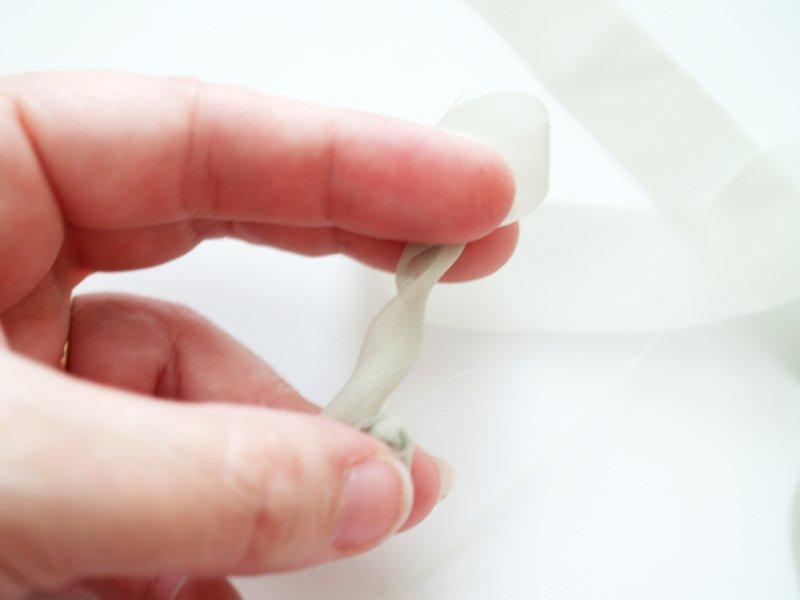
Wrap the twist loosely about halfway around the knot.
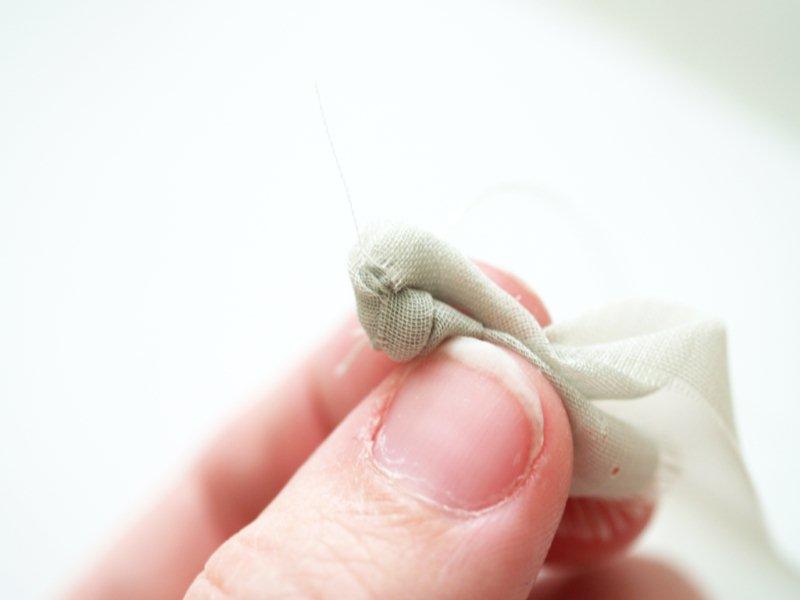
Hand stitch this little section in place on the back side by sewing the twisted part to the knot.
Twist and wrap the chiffon a little more around the knot.
Keep the loose, short end out of the way.
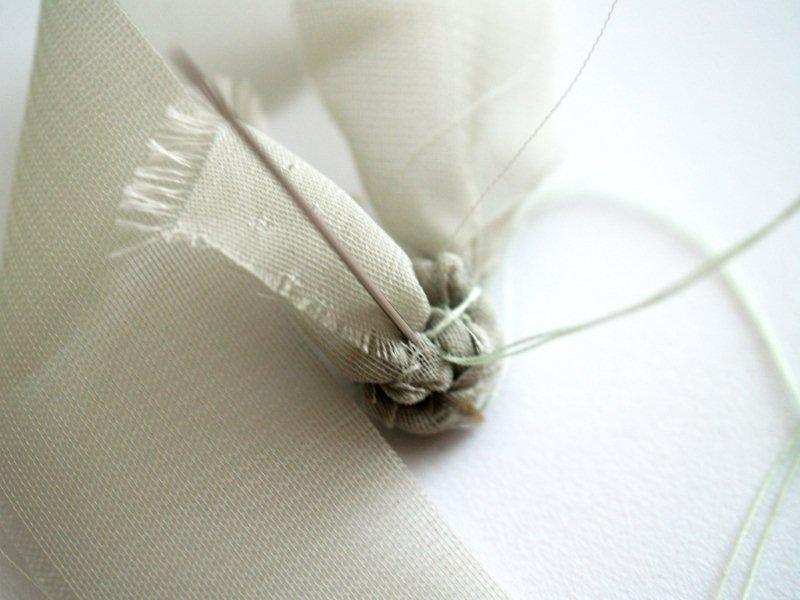
Continue wrapping and sewing until the rose is the size you’d like. Cut the remaining fabric so you have a short piece to tuck under in the back.
Twist the end and sew it down on the back side of the rose.
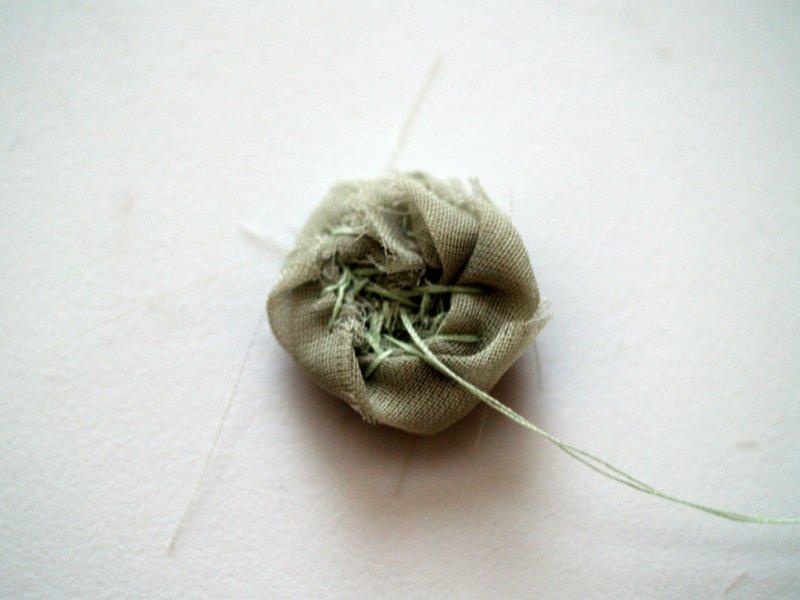
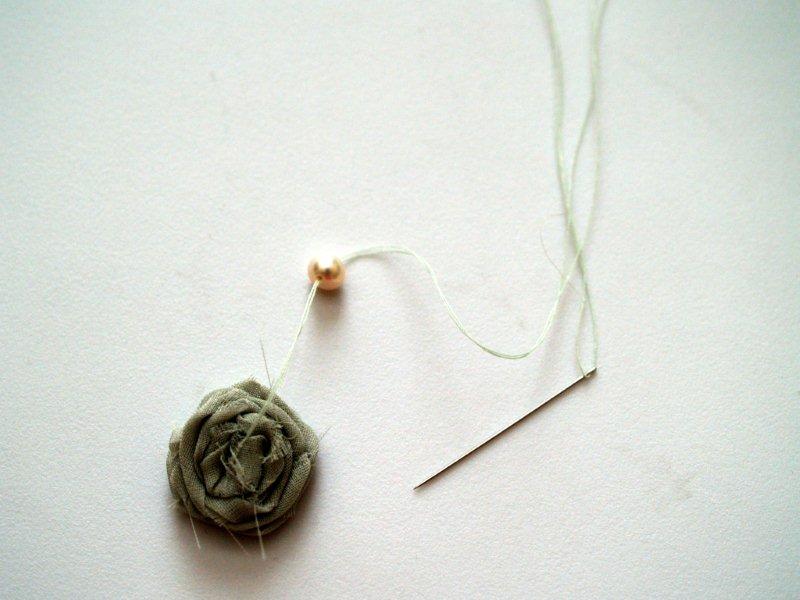
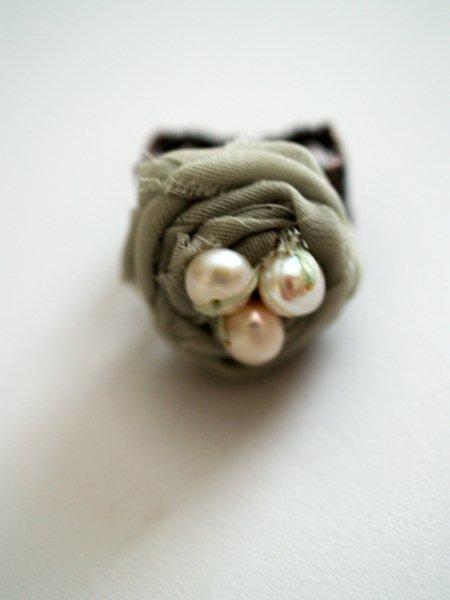
Without cutting your thread, bring the thread up from the back to the top, in the center. Thread a bead onto the thread.
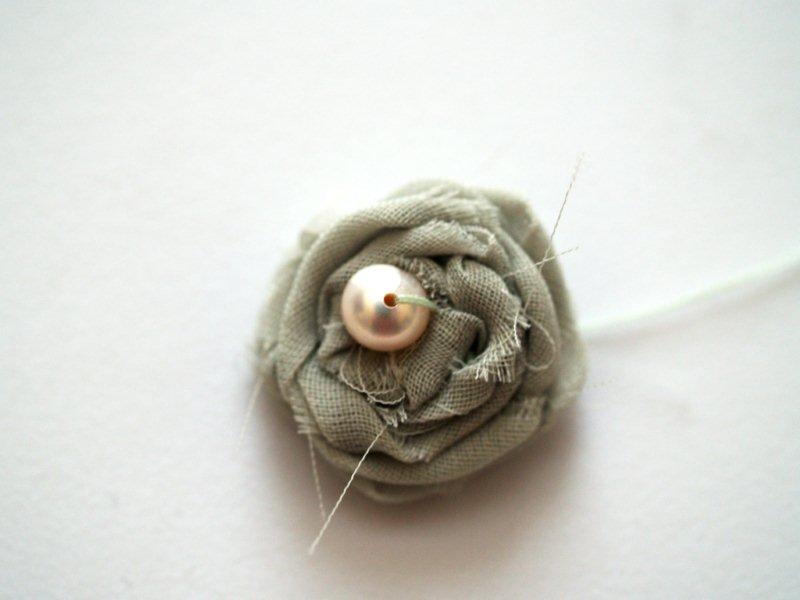
Sew the pearl onto the center of the rosette. Try and sew down the pearl 2 or 3 times. You might not be able to get the needle through after 2 passes.
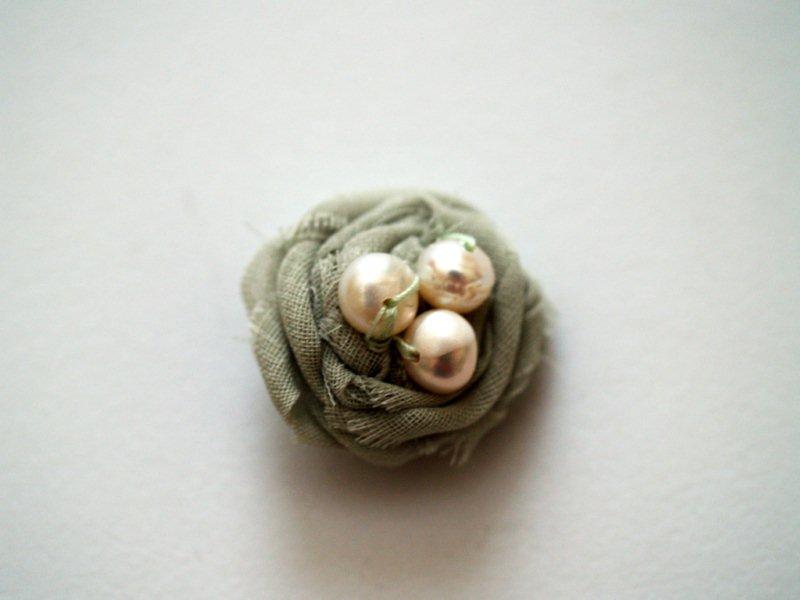
Repeat with the other two beads.
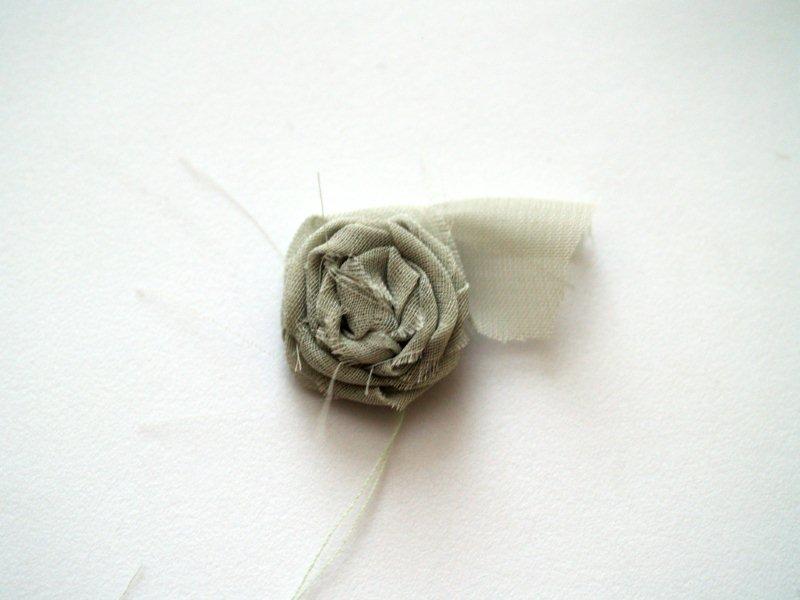
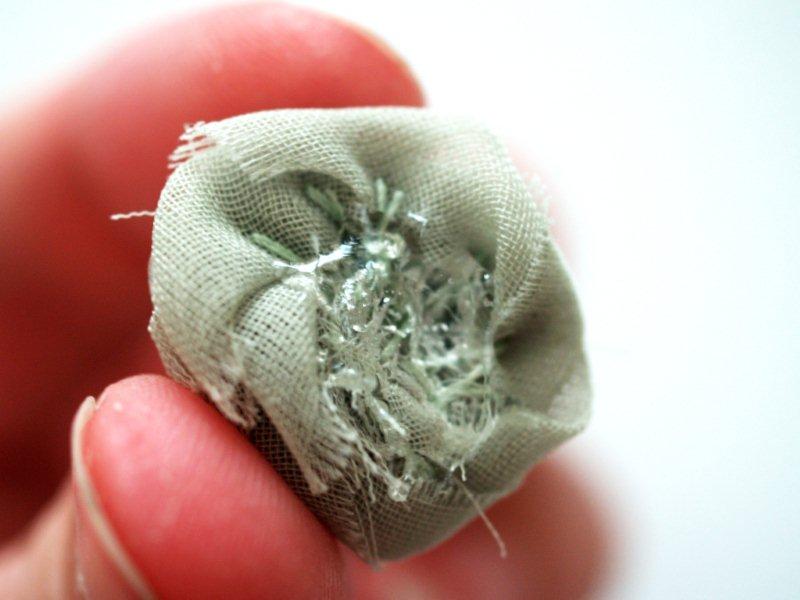
Apply a good amount of glue to the back of the rosette.
Glue the rosette to a ring back. Sometimes chiffon can fray – if it does you might want to give your rosette a little hair cut.
Then you’re all done!
So easy right??
You can make them from fabric or ribbon and add different pearls or beads.
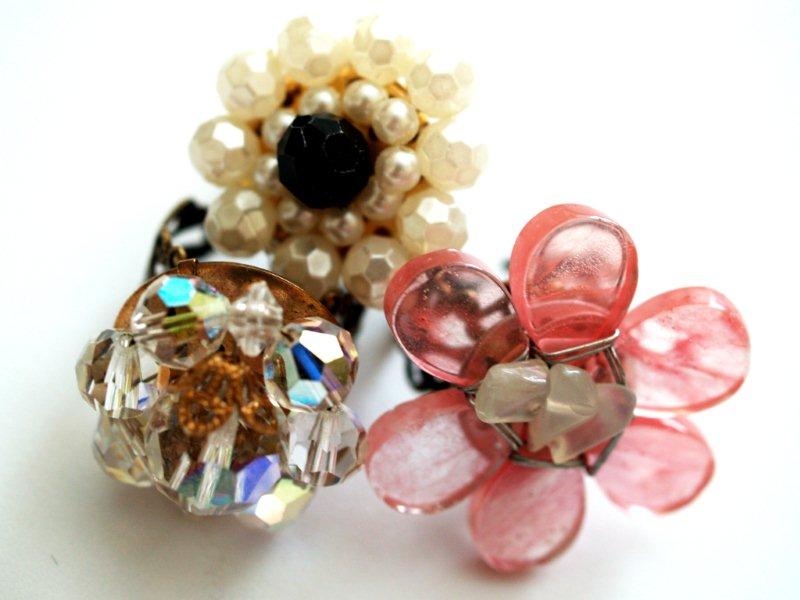
Since I bought a lot of ring backs, I made up some more, with other materials.
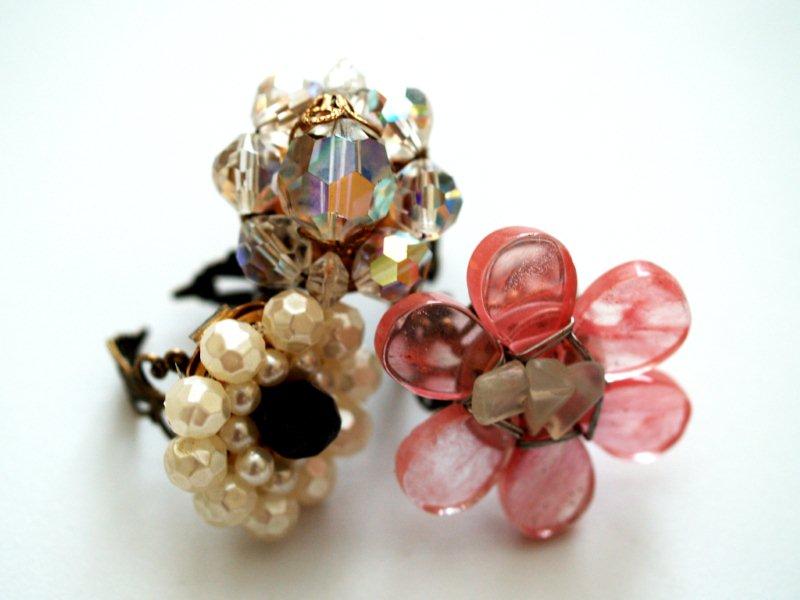
The top and left rings are made from clip-on earrings that were my grandmothers. She had A LOT of earrings. ;)
I cut the clip portion of the earring off and glued them to the ring backs.
The pink ring is a pendant I picked up at Michael’s on clearance. I just clipped off the pendant hardware and glued the flower to a ring back.
I love easy jewelry. ;)
I’ve got some fun things coming up for you this week!! Saturday is kind of a big day for Flamingo Toes.
Not only will I be teaching an Anthro Necklace class at Creative Estates but it is also my One Year Blogiversary!
So we’re going to celebrate this weekend – and incorporate that into our April Follower Giveaway. Yay! ;)
I’m linking to Today’s Creative Blog, Met Monday, Skip to my Lou, Tutorials & Tips Tuesday,
and the other fabulous parties on the sidebar – make sure you check them out!


What a great tutorial! I love these rings so much!
these are so adorable!!!! I love crafts that you can bring with you on the go – we will be on vacation next week, and I am already going through my embroidery stash :)
Love your rings, both versions!
These are so fabulous! I am on a jewelry kick too and you just have to go with where the creative spirit moves you. I LOVE these!
THANKS for this sweet tutorial..and simple too! I have a bridal shower to decorate and I’m using these little rings in a dual purpose..as a wine glass stem embellishment, and as a favor for the ladies at the shower! Where on ETSY did you find the black ones? I can’t find them anywhere! Thanks again…
xoxo jo
from : http://www.OttLite.com/blog
Great tutorial! Thanks for providing. I love the nest rings. I’m adding this to my ‘to do’ list.
I absolutely think the little nest egg rings are the best thing I’ve seen in a long time. I LOVE THEM. I joined the Link Party today for the first time. Thanks for hosting a great party. I’m your newest follower.
Fabulous rings. All your jewelry is great. Thanks for your nice comment on my guest blogger post at The Scrap Shoppe the other day. I have a post where I use sea glass for pendants/necklace, too. Like minds think alike. Cheers
fabulous! you are too creative. And I LOVE the idea of using the old clip on earrings. brilliant!
oh really really cute! like the idea of making the flower out of fabric!
I’ve made fabric flowers like those before, but I used a hot glue gun. I’m wondering if sewing may be easier for the next time I get brave and break out the crafts.
~Renee @ MeMyselfandMommy.com
These are all beautiful!! Great job!!
These are beautiful. Thanks for sharing the tutorial!
I didn’t have beads or rings but I used ribbon and made two little rosette bobby pins!
Love these! They’re so beautiful! Thanks for sharing the tutorial.
Beautiful rings!
I’d love it if you share at my weekly party: http://itssewforyou.blogspot.com/2011/04/its-sew-fun-tuesday-7.html
pretty pretty pretty! love them all
Bev, you are incredible as always! I featured this in my roundup of Wednesday’s Wowzers:
http://oopsey-daisy.blogspot.com/2011/04/wednesdays-wowzers-relax.html
Thanks for inspiring! I can’t wait to meet you very, very soon!
~Alison
So pretty and perfect!
I love this, especially the beaded ones! I am your newest follower!
<3
Risa
These are so cute! I love the rosette nest. Would love for you to join my linky party
http://www.inspiringcreationsblog.com/2011/04/friday-favorites-linky-party.html
This is such a cute idea! I love bird nest designs!
Those are REALLY pretty! The combination of ribbon and pearls is great! Thanks so much, I’ll be linking.
They’re so beautiful, and perfect for my bird lovin’ ways! I think I’ll hop on over to Etsy to find some of those ring backs.
Bev, as busy as you are, you still found time to link up to “A Little Birdie Told Me..”. Wow! Your jewelry is always spectacular, but YOU are the true gem!
Jenn
You inspired me to try and make a rosette ring! Come see: http://answerischocolate.blogspot.com/2011/04/bias-tape-rosette-ring.html
These are adorable!! Love the easy rings made from old jewelry and such too. i collect old jewelry pieces I find at thrift stores and flea markets to use my crafting. I am so going to try some of these! thanks for sharing!
I love your Roses Nest, I made it and all my friends love it. I used light blue Pearls for my Eggs for Robins Eggs they are light blue and I used a Soft light Red for my Rose it really looks great thanks.