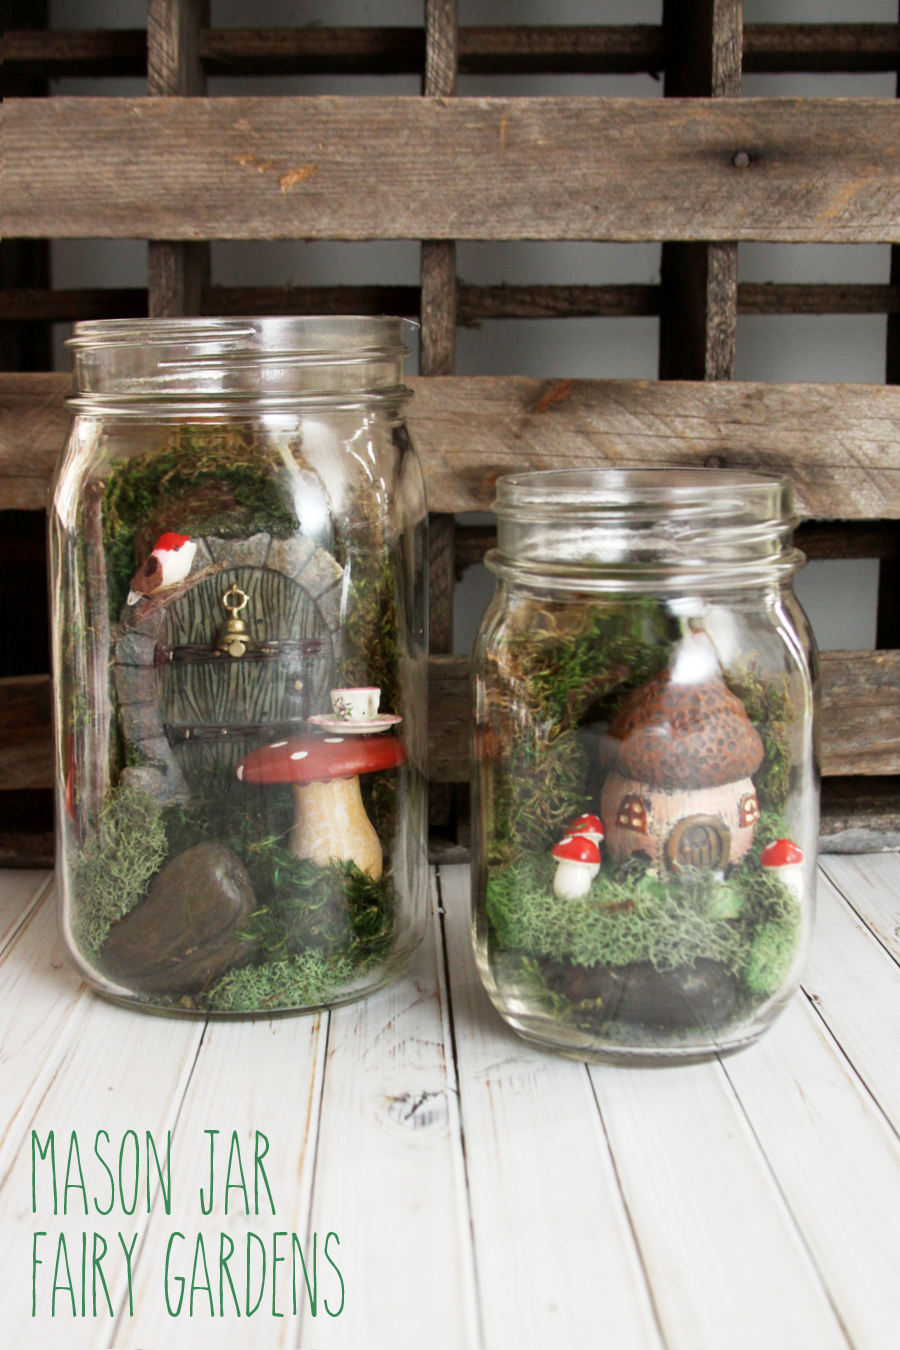
Have you jumped on the fairy garden trend? I’ll warn you, they are addicting! These Simple and Sweet Mason Jar Fairy Gardens are a great way to get started. They only take about 15 minutes to put together and you can have so much fun with different little houses, doors and accessories. They make really fabulous gifts too!
You can find the supplies for these at most craft stores and you can use upcycled jars too, so they’re pretty inexpensive to make!
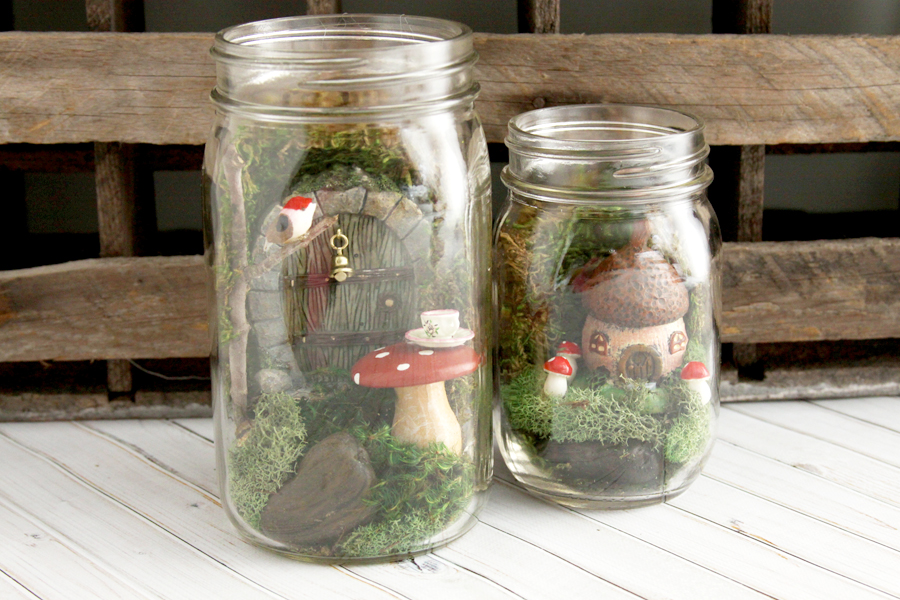
I think they make a cute set like this, but even just one would be a great gift for a friend. They’d be perfect to do for a girls craft night or ladies church event too!

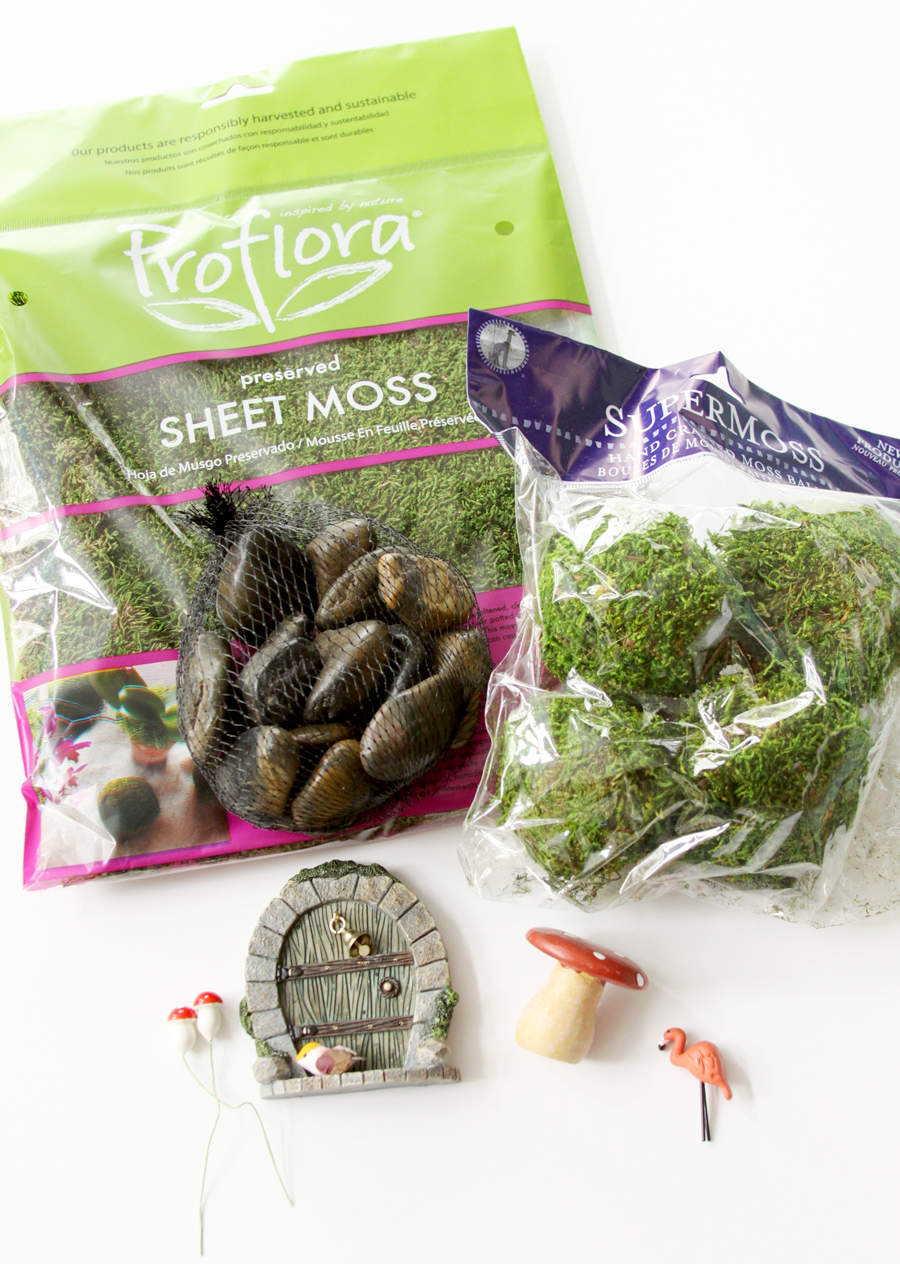
Here’s what you’ll need:
(this list contains affiliate links)
- Mason Jars – make sure to check the size of your items to see how they’ll look in your jar
- Assorted Fairy Garden Supplies – doors, tables, little houses, and more
- Rocks
- Moss – loose and moss balls
- Sheet Moss
- Hot Glue
Get creative with where you look for supplies! Most craft stores have good fairy garden sections now, but you can also find really fun things in the floral and miniature departments too and Walmart has some of the moss and rocks. I’ve linked to some of the items at Amazon too for easy shopping! :)
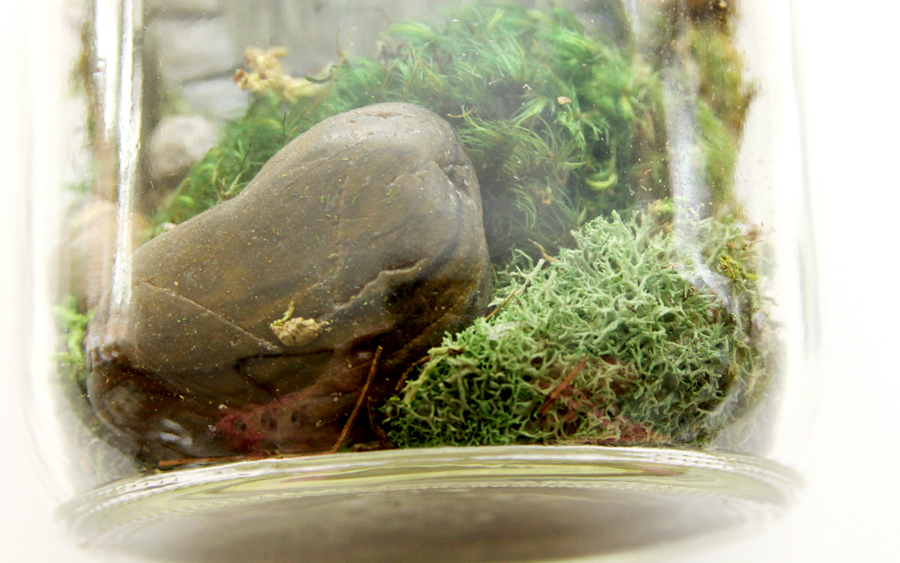
Start by building a small layer of moss and rocks in the bottom of the jar. Make sure you leave enough room for the items you want to add in.
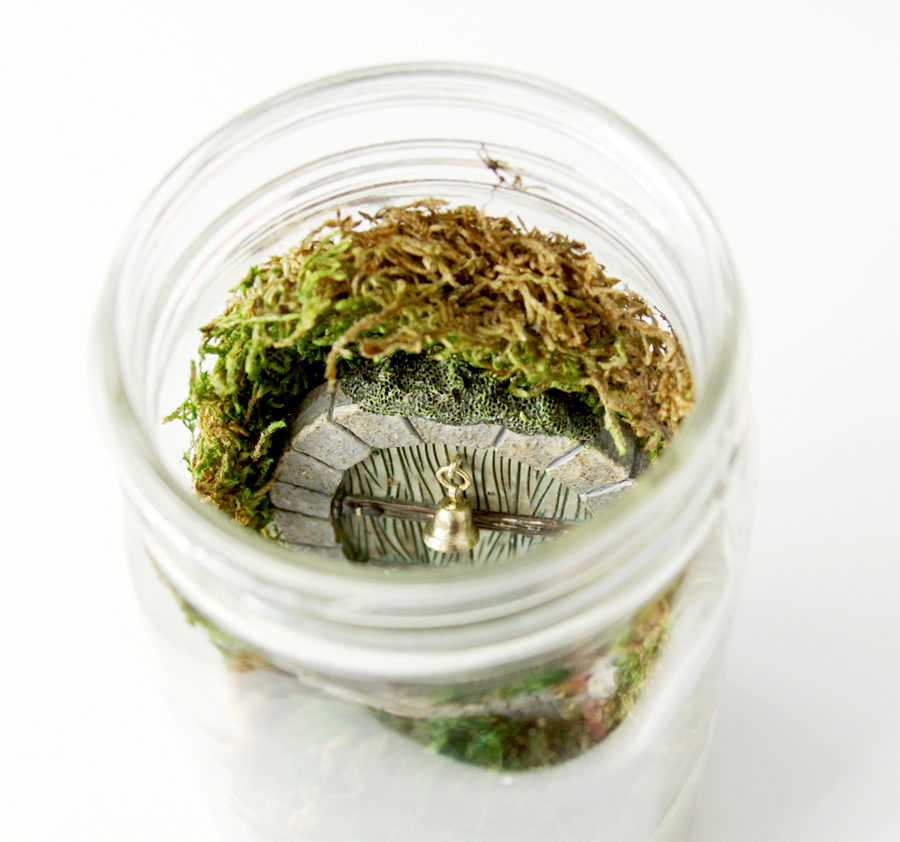
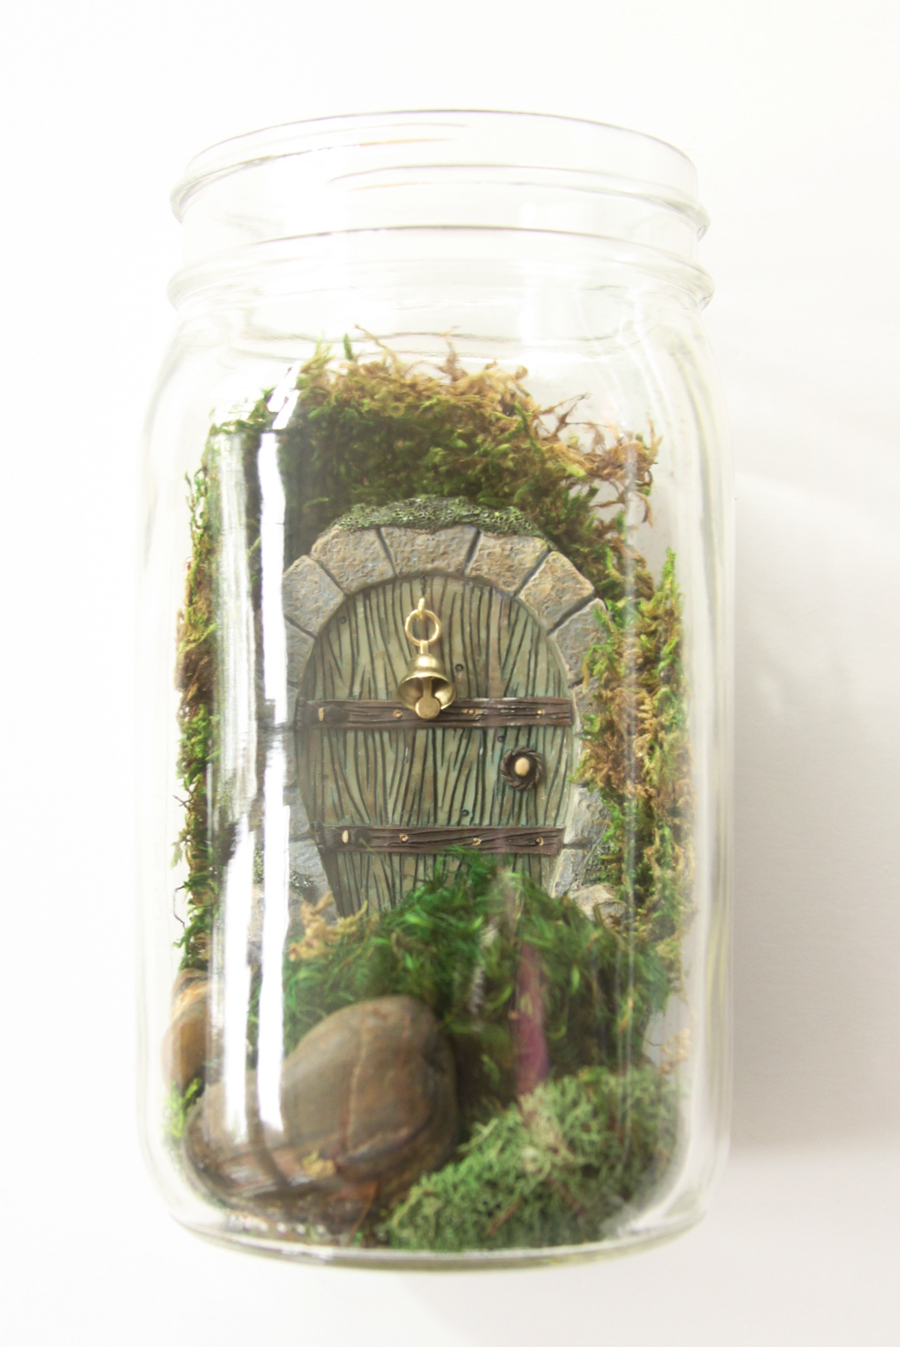
Cut an oval of sheet moss that is about the size of one side of the jar. Try to leave the edges rough so you don’t have a straight line of moss. Glue this to the back of the mason jar, then glue your door in place on that. Keep it as flat as you can on the back of the jar so you have room to add in a couple more fairy garden items.
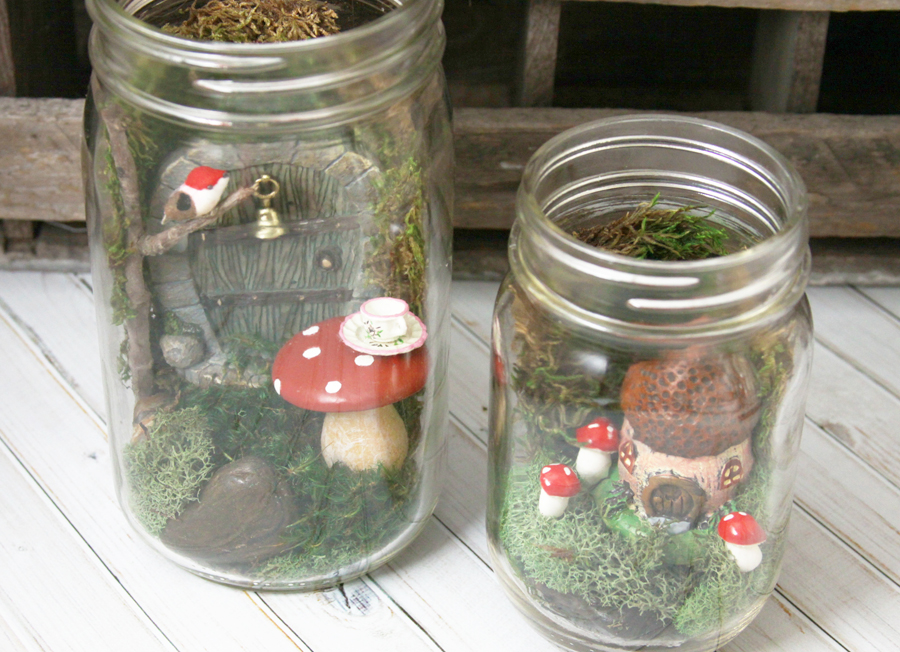
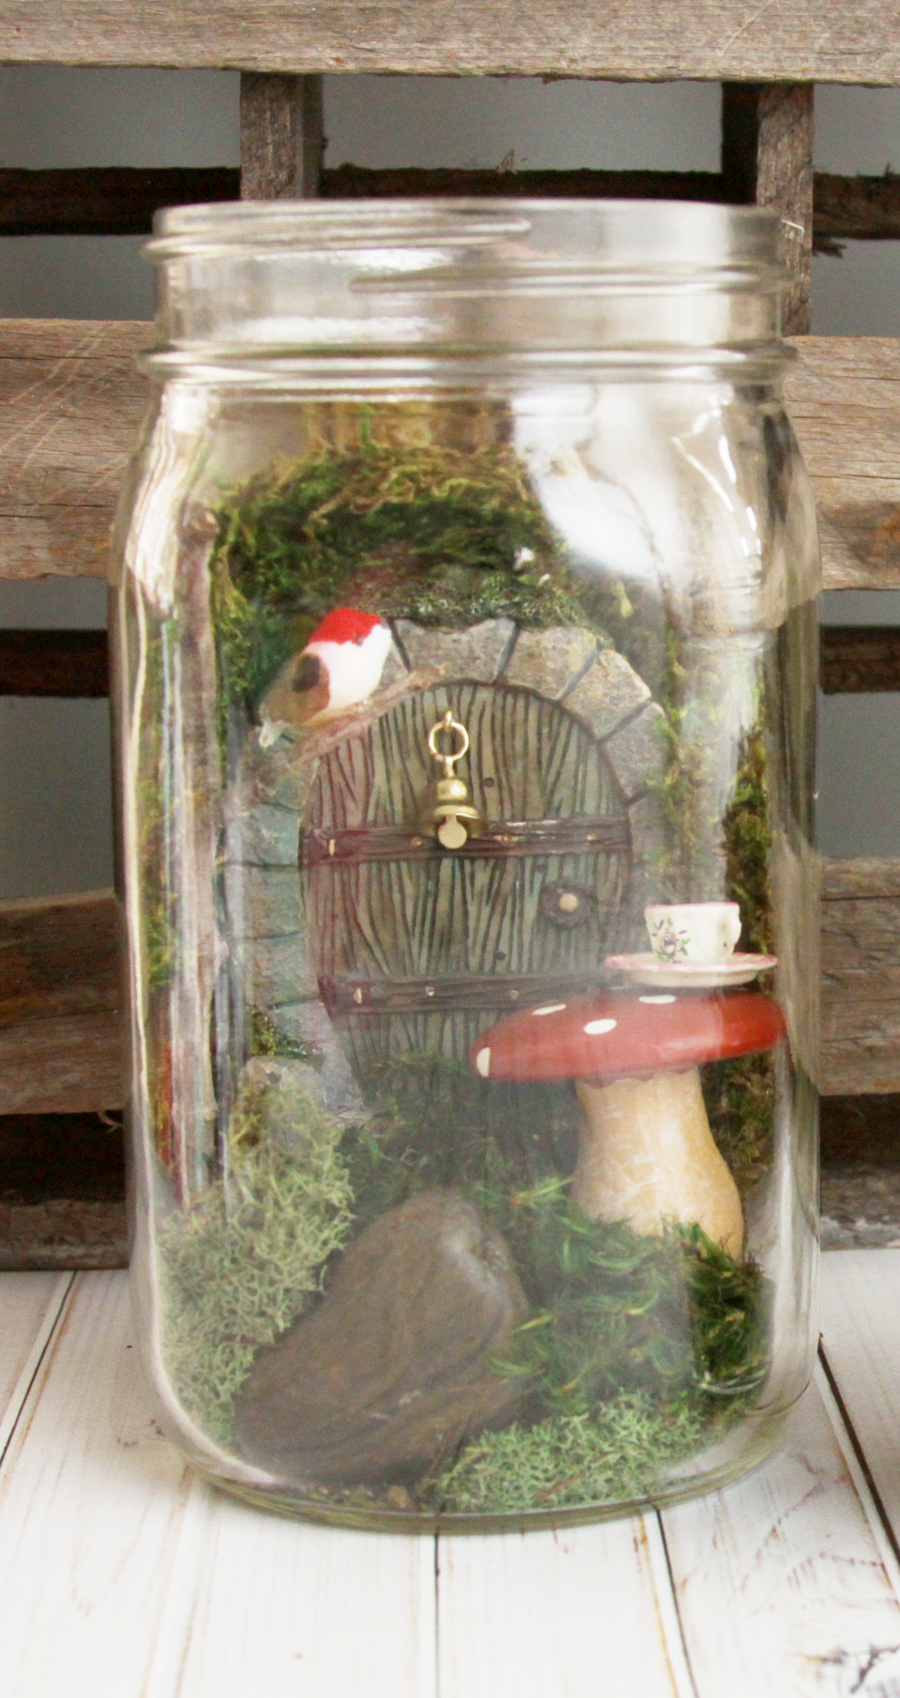
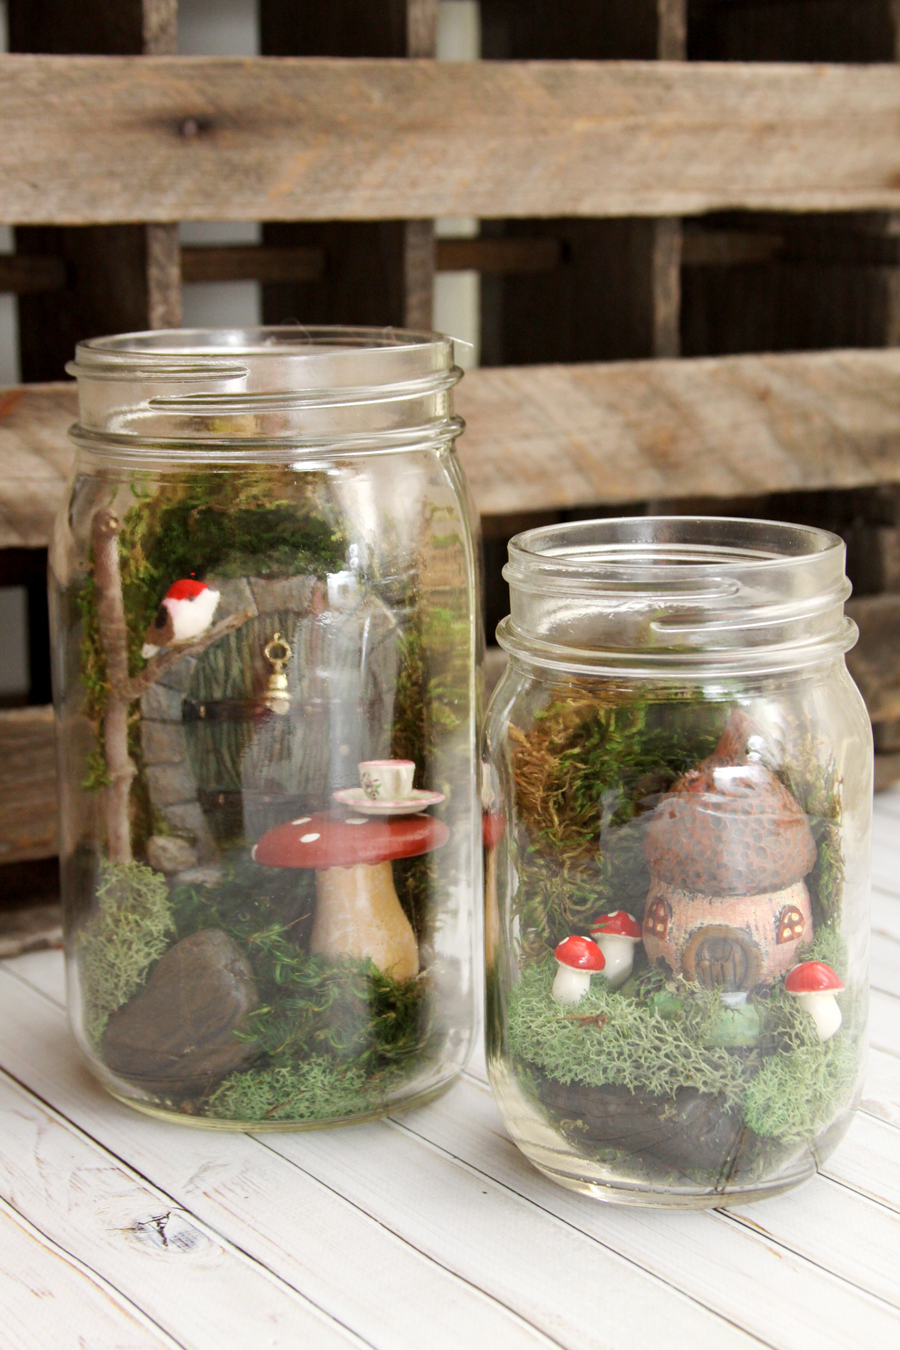
Now you can get creative! I added a small toadstool table with a little teacup and saucer. It helps to have a small pair of tongs to add things in place. I also added a twig to the left side and glued a small bird to the branch of the twig.
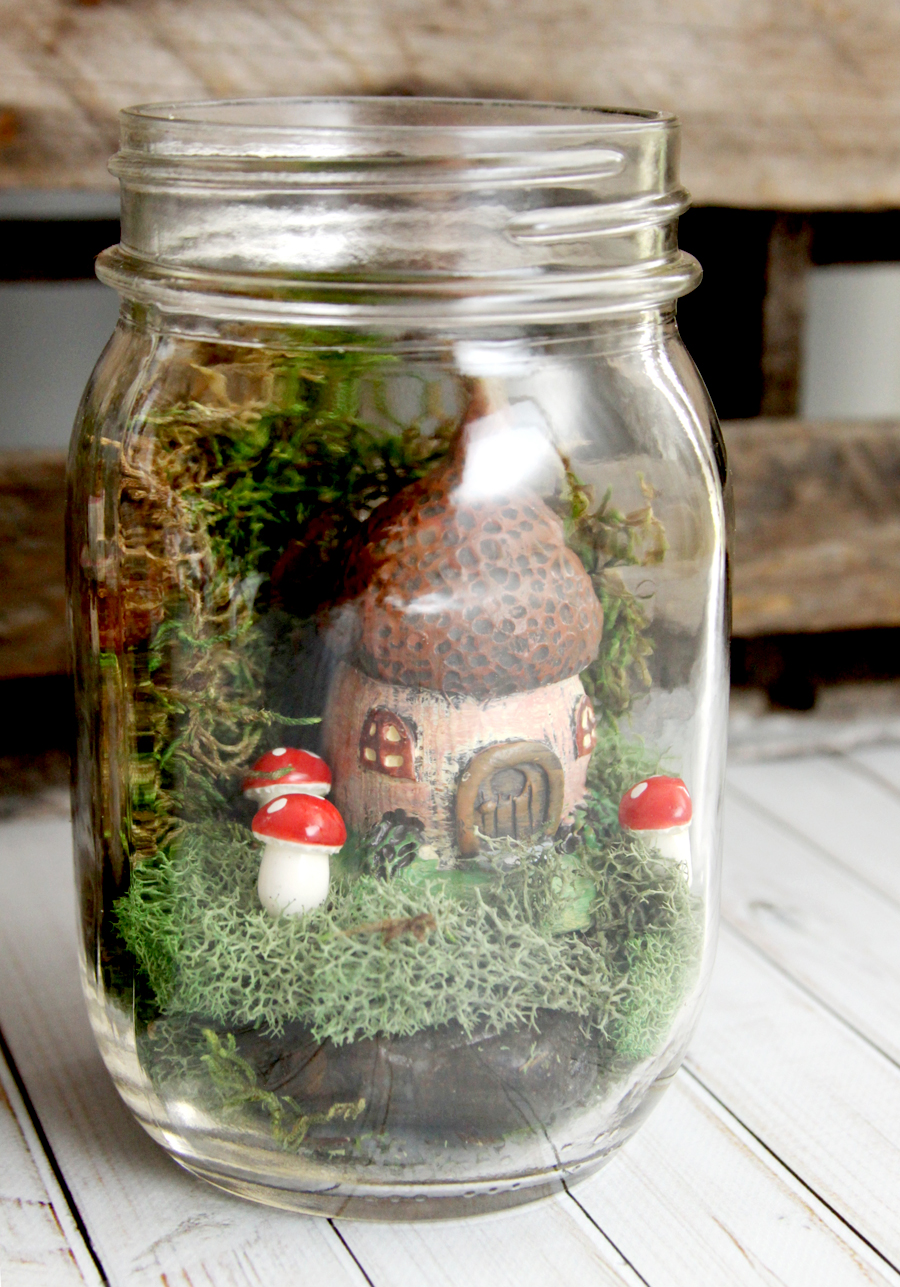
For the smaller mason jar, repeat the steps but use less materials. For this one I added the moss sheet to the back, then glued a tiny fairy house to the rock at the bottom. I added small mushrooms around in the moss. These were tricky to get in and standing upright!
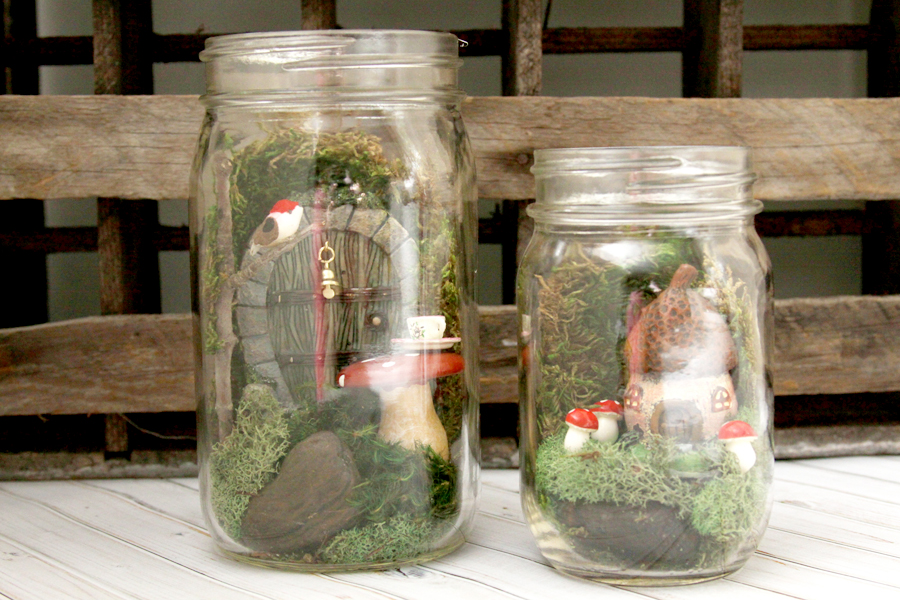
I really love how they turned out – I’m sure I’ll be making up more of these!
So fun right? These Simple and Sweet Mason Jar Fairy Gardens would be perfect for a craft night too!


These are so cute and inventive Beverly. Was wondering how you got some of those tiny objects in then got them to be upright.
Our youngest daughter (47) has been doing Fairy gardens for some time now, has loved fairies as young girl. Now she’s got me into it, did one in a tray this Spring, used other objects besides purchased fairy houses. Like to see what can make and use instead of purchased fairy items.
My hands don’t work very well any more (arthritis and no feeling in fingers/tips), but take my time, see what can accomplish. Will be looking for nice sized wide mouth jar to work with. Look forward to seeing what you come up with next.
Have great week
These are so cute! I’ve been looking for a good terrarium that won’t take up much space in my tiny room, and I think this will do nicely :)
-Jacqueline
http://jackieomy.blogspot.ca/
These are way too cute! Thanks for sharing!!
These are too cute!! They would make a great party favour too!
Thanks for sharing at #bloggerspotlight, shared on FB and pinned to my Summer crafts board :)
These are so cute. We love fairy crafts too. Pinned & sharing. Thanks for joining the party @DearCreatives