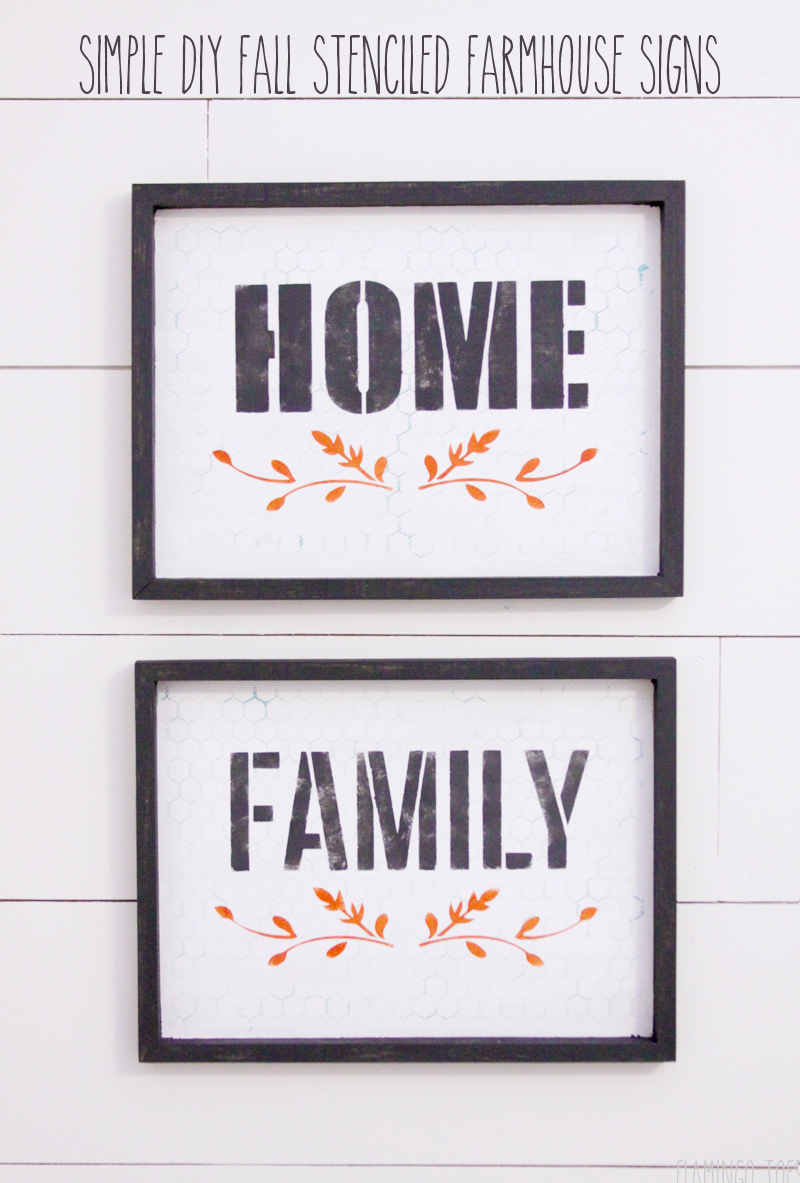
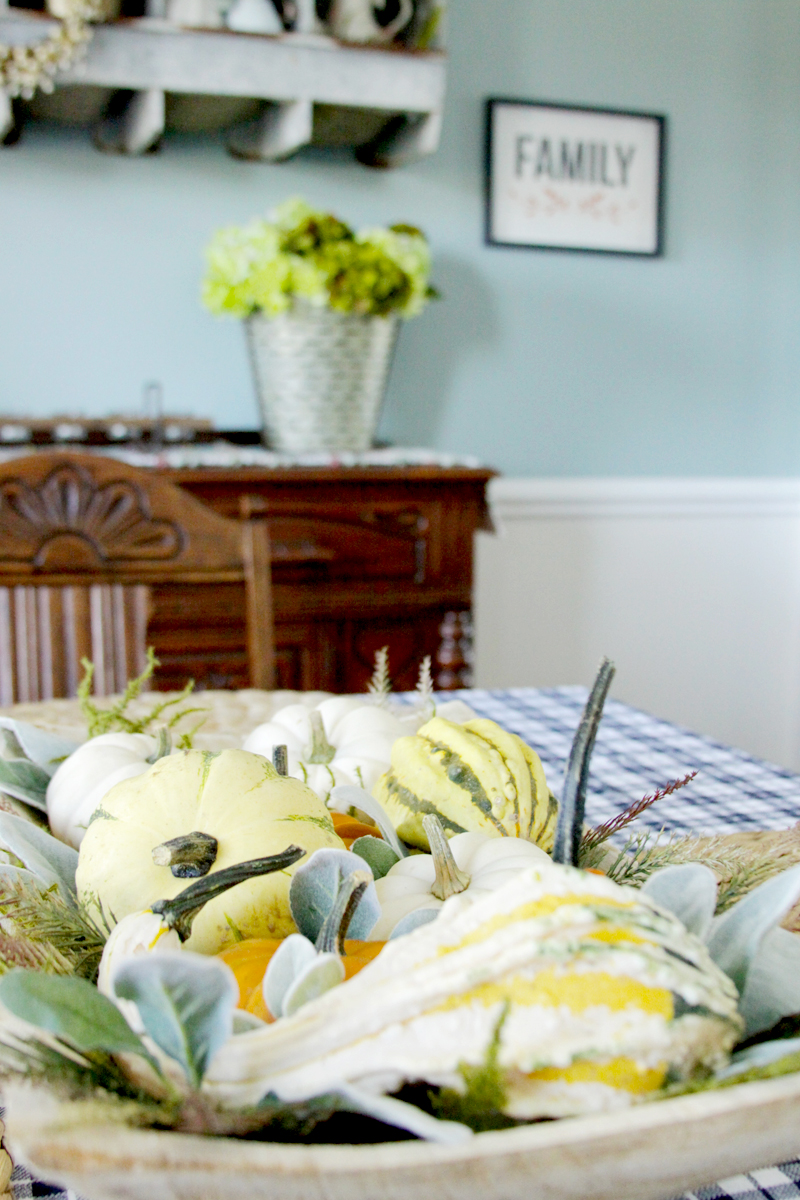
This Fall I’ve been working on some updates to my dining room and I’m super excited with how it’s coming together!
I’ve always wanted a farmhouse and now that we’re in the country I’m slowely putting my vintage, farmhouse touches together in each room. I’ve created these new Simple DIY Fall Stenciled Farmhouse Signs and I love how they turned out. They’re a little rustic but have some pretty Fall color and them and they were super easy to make!
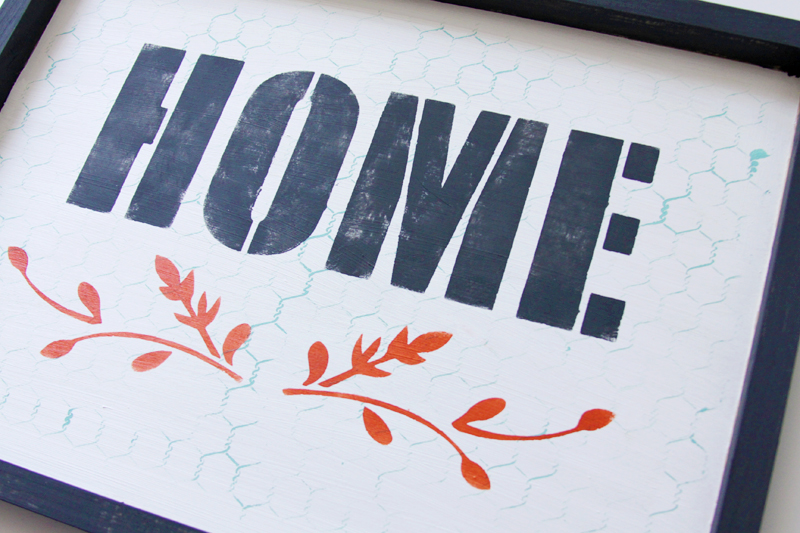
The whole sign is stenciled so there is no worrying about free-hand painting. And there is no construction either – these signs are all ready to be painted. So simple right? I love how the subtle chicken wire stencil looks paired with the fall leaves and bold words. It’s such a fun farmhouse look!
I’ve hung the signs on either side of my new-to-me vintage chicken nesting box display. Isn’t it awesome?!
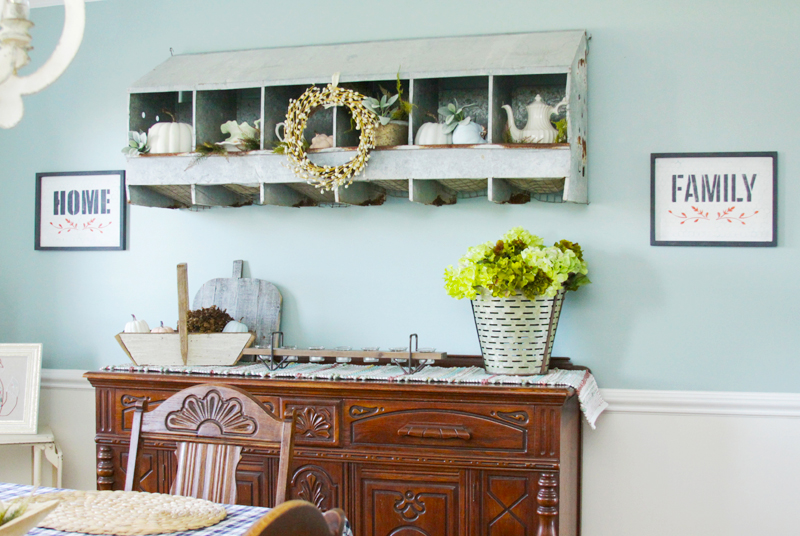
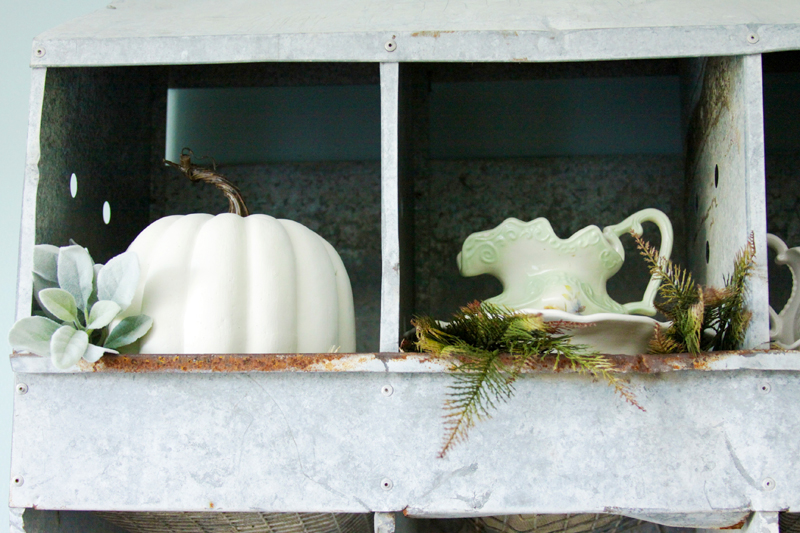
I’ve filled it with some vintage pitchers and I have some chalk painted pumpkins in there as well. Using FolkArt Home Decor Chalk Paint on cheap dollar store pumpkins is such an easy way to make them look fabulous!
So let’s get started on the tutorial for the Home and Family signs – it’s super quick!
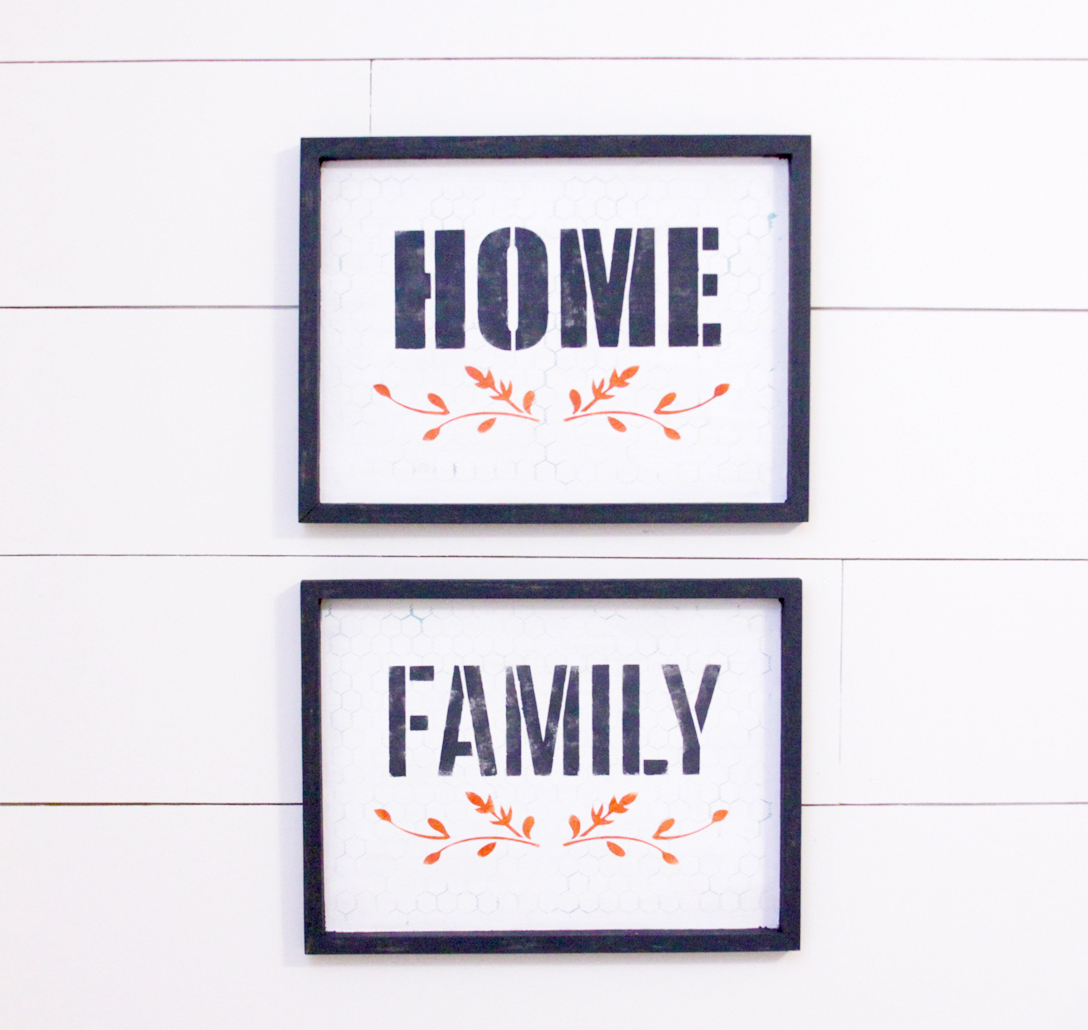
Simple DIY Fall Stenciled Farmhouse Sign Tutorial
Materials:
- FolkArt ® Home Decor™ Chalk Ultra-Matte Paints in White Adirondack and Rich Black
- FolkArt ® Home Decor™ Wax
- Folkart Home Decor Chalk paint brushes and FolkArt Stencil Brushes
- Folkart Acrylic paint in Autumn Leaves and Dutch Aqua
- FolkArt Stencil Sets: Flowers, Phrases, Chicken Coop
- 12 x 16 Wood Painting Panel
- painters tape
The Wood painting panels are super cool! I found them near the art canvases at my local craft store. They are flat wood on one side and they have a little framed edge on the other side.
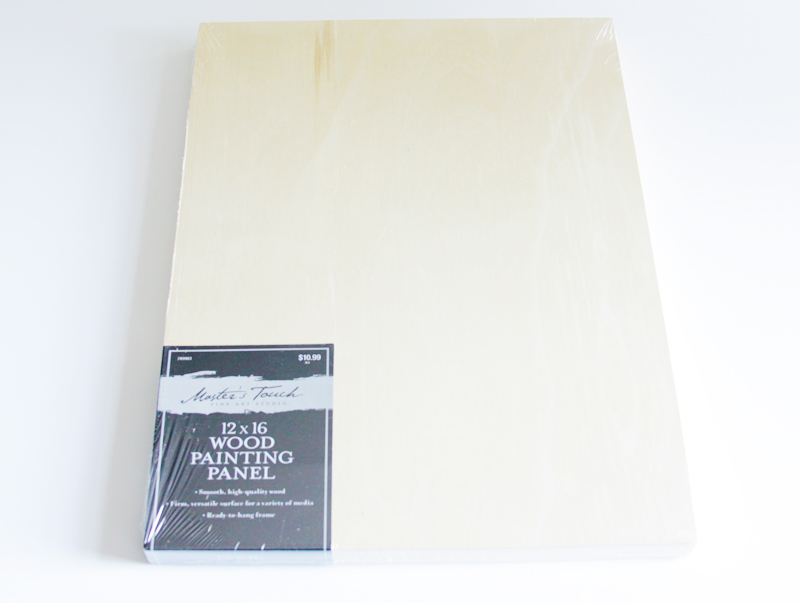
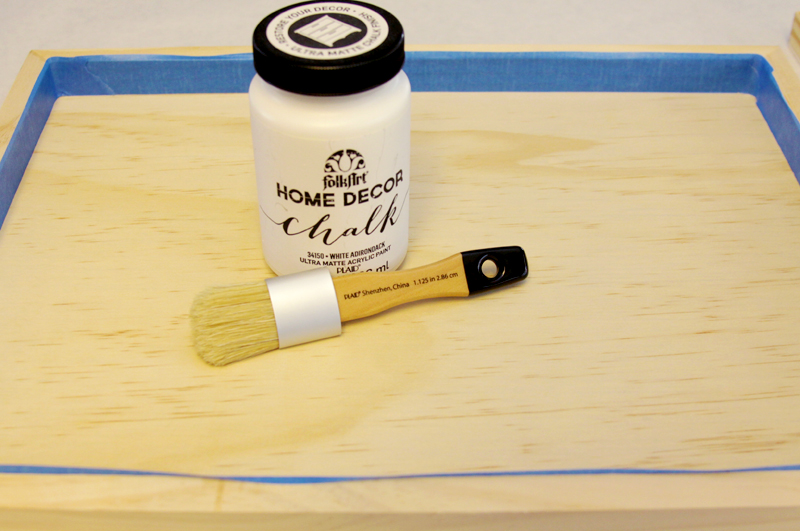
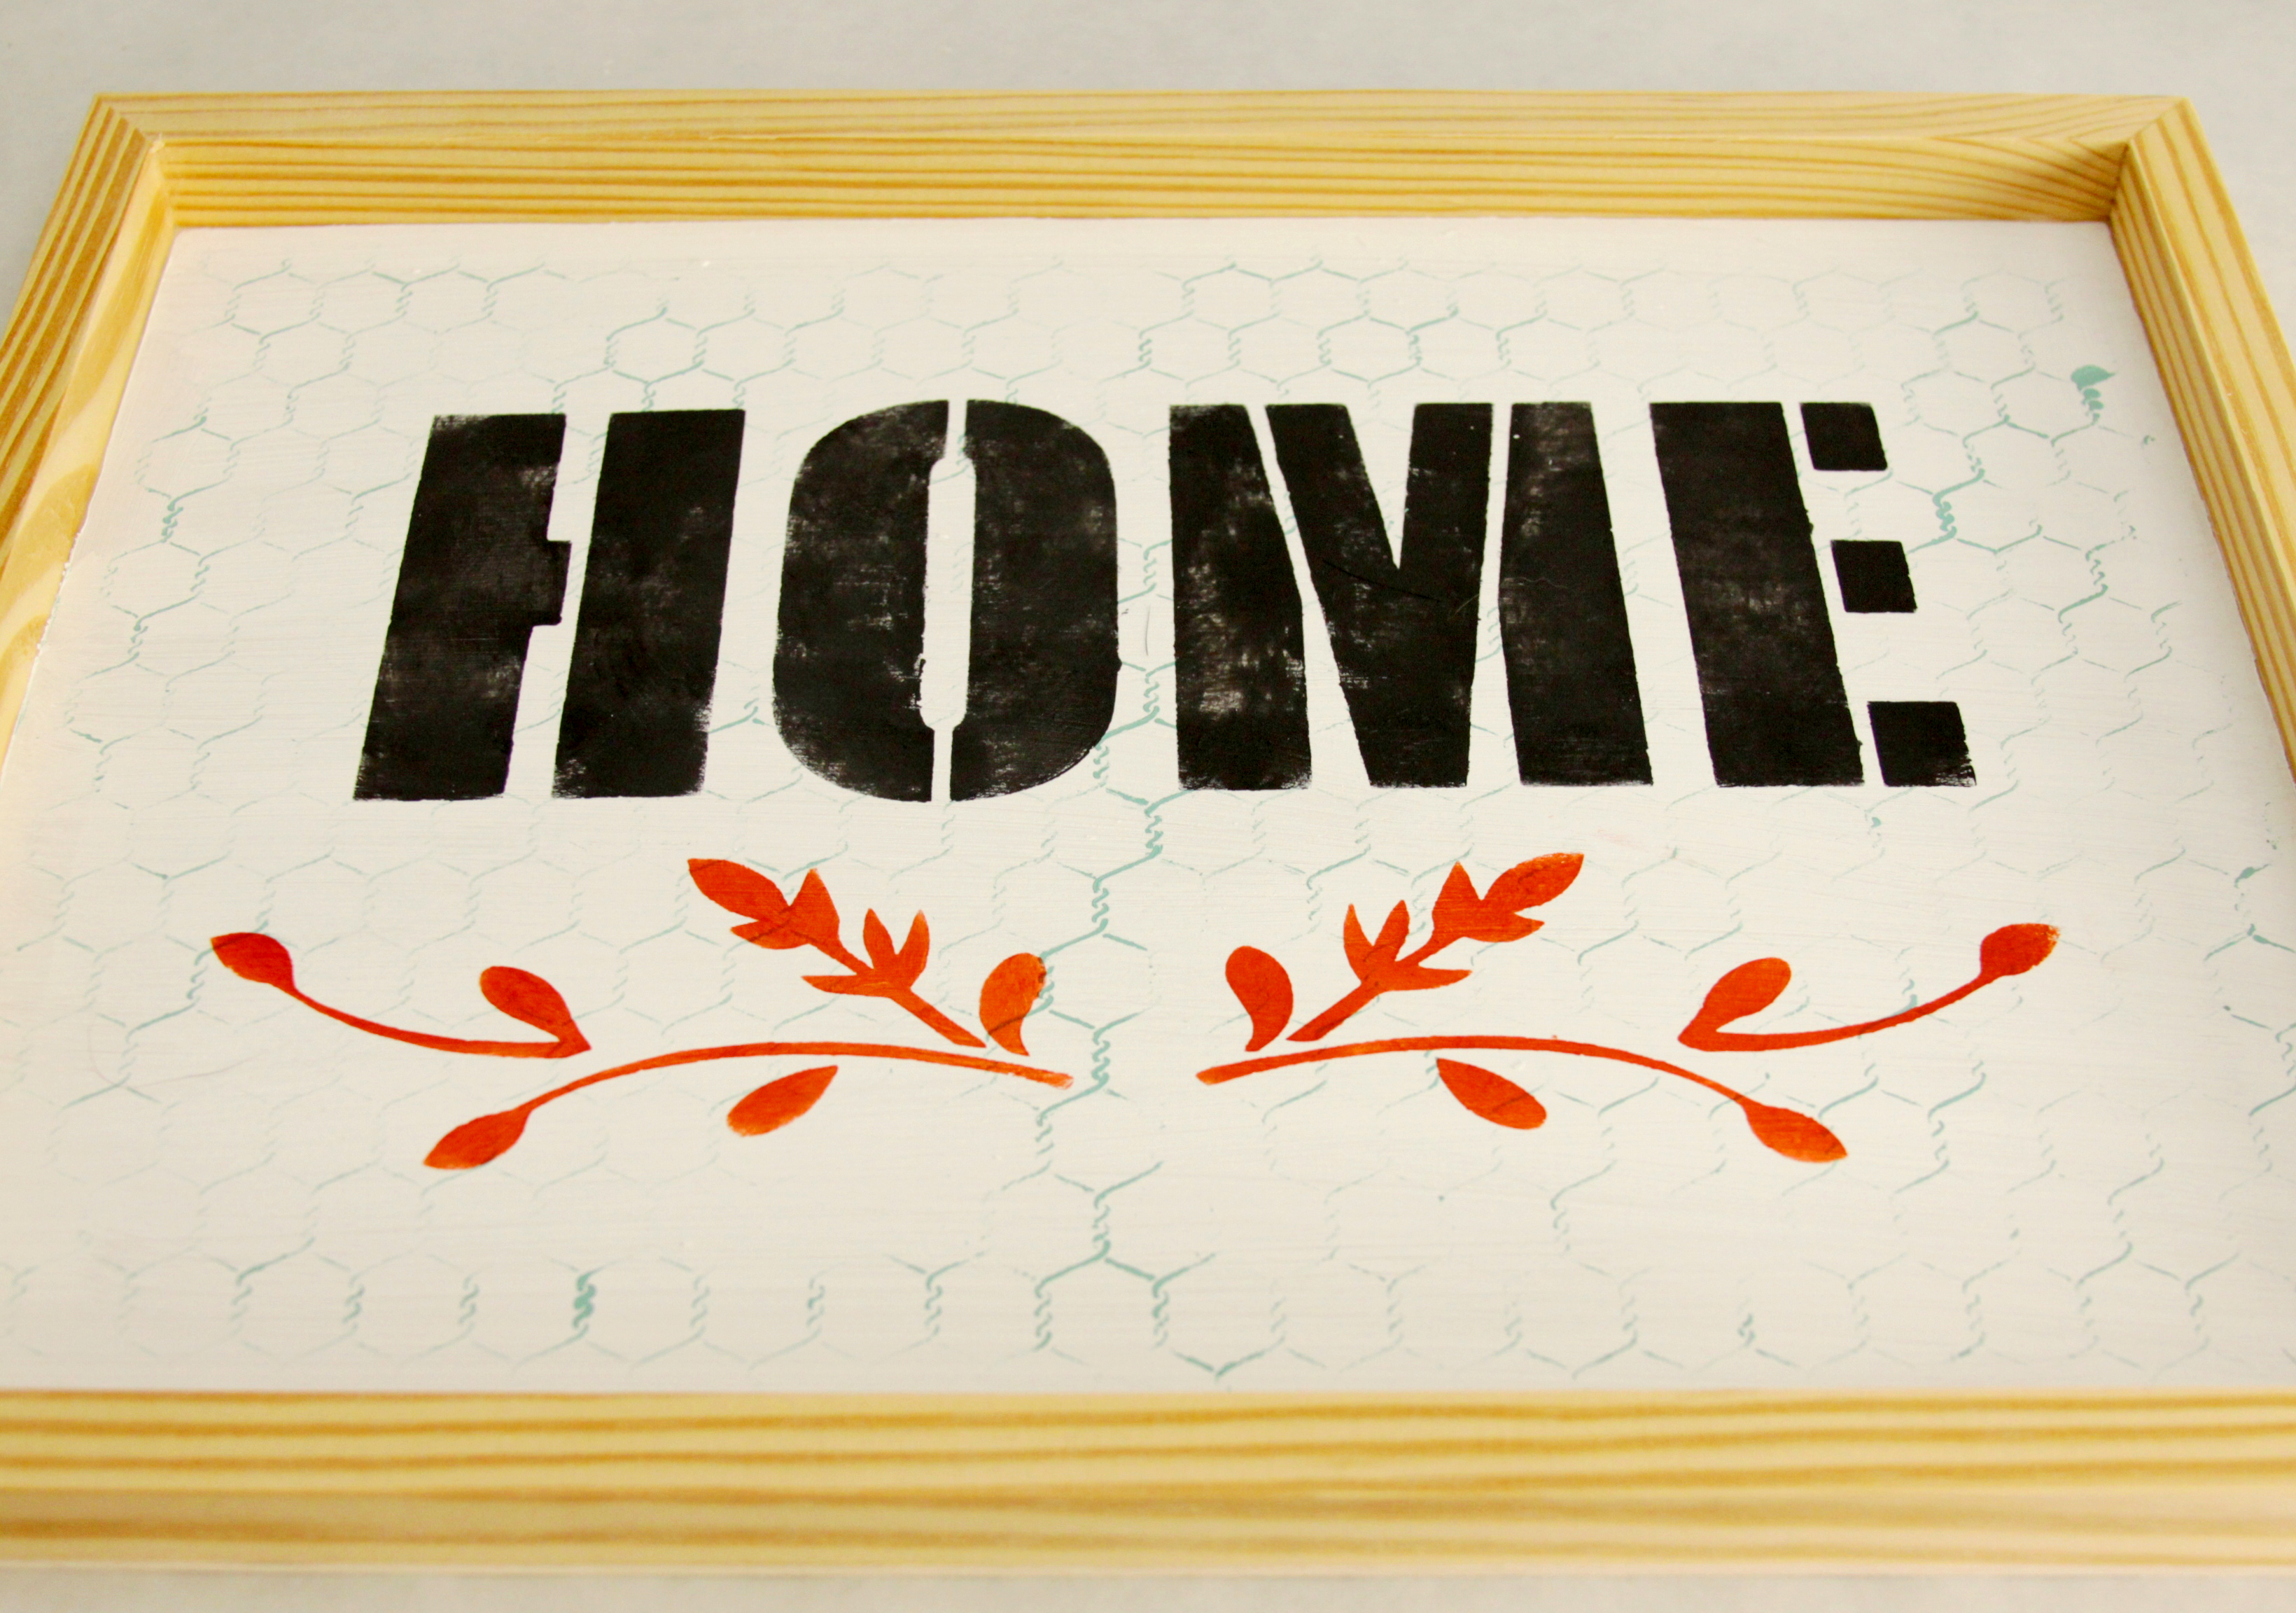
Begin by flipping over the panel, we’re using the side with the framed edges. Tape off the sides so you can paint the middle section.
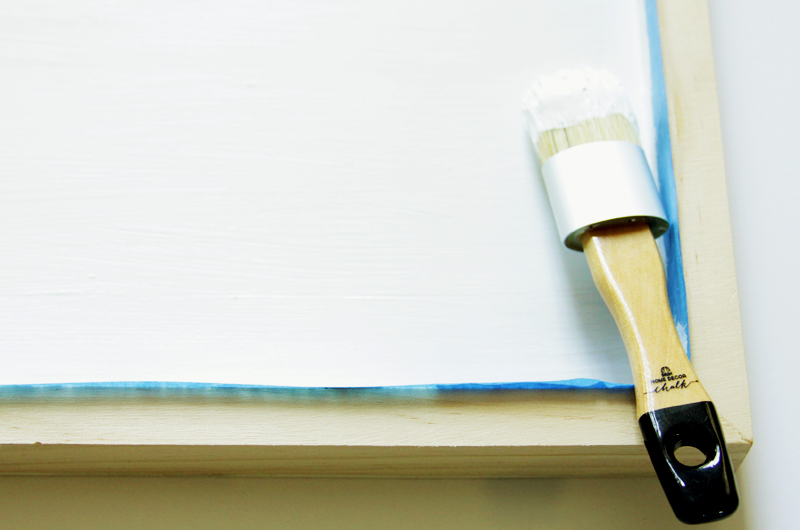
Cover the entire center section with the white paint.
Once your paint is dry, it’s time to add the chicken wire stencil. Trim the stencil so you’re fairly close to the stencil – this will help get closer to the edges of the sign.
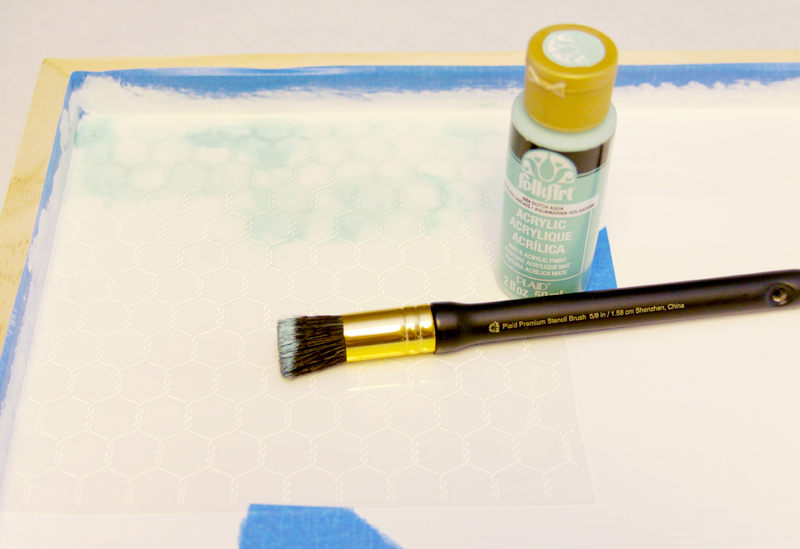
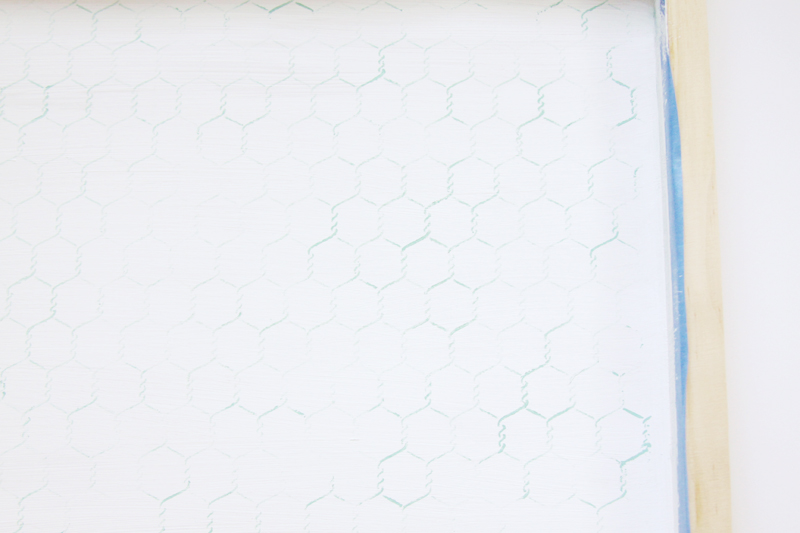
Stencil the entire surface with a light aqua – you want it kind of rustic and faded in places. You’ll need to move the stencil several times to be able to cover the whole area.
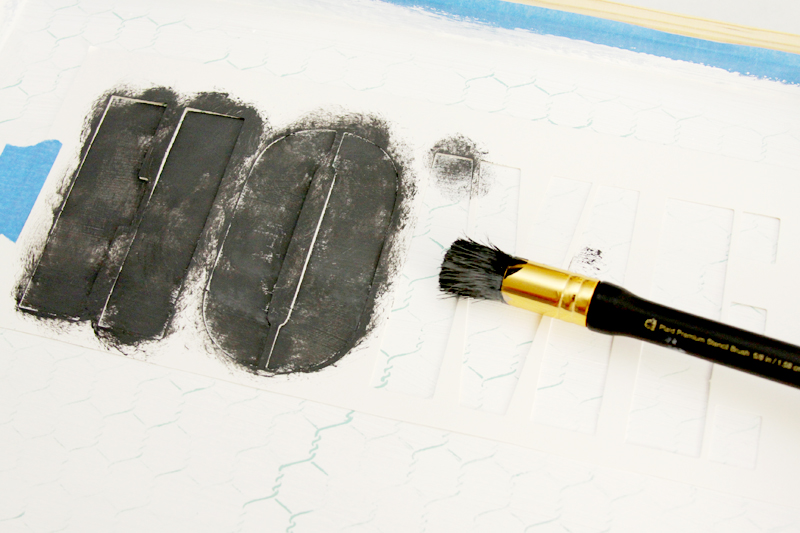
For the Home and Family, find these stencils in the Phrases pack and trim them from the other phrases. Pop out the letters and tape them to the signs. You’ll want them centered in the middle but towards the top so you have room for the fall leaves. For this color I mixed up some white and black paint to make a dark gray.
The fall leaves are in the Floral stencil pack. Trim them and place them below the stenciled word.
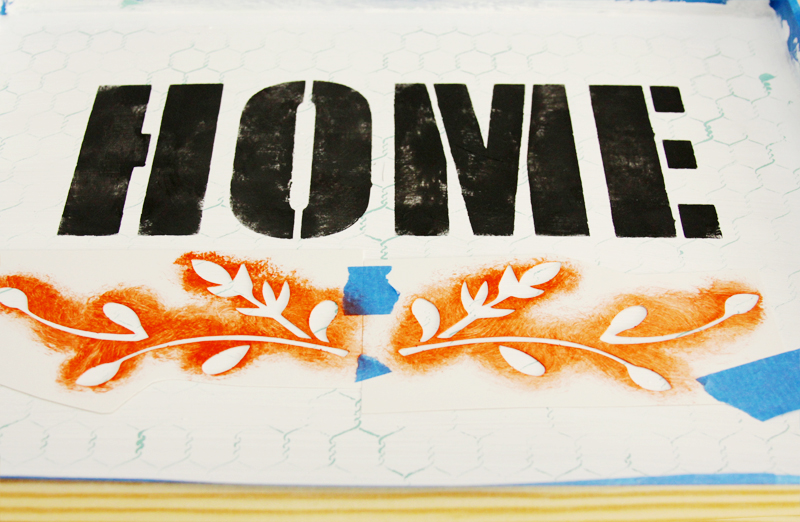
Stencil the leaves with the Autumn Leaves paint.
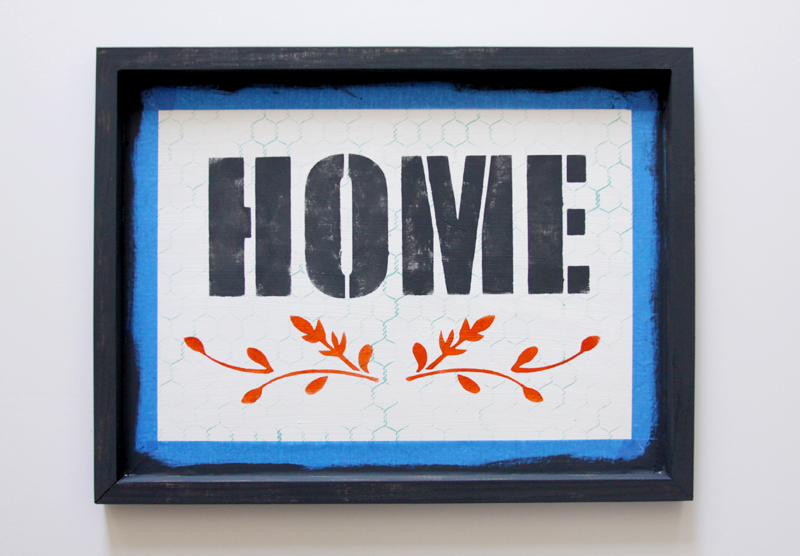
Remove the tape from the sides, then tape off the sign so you can paint the frame portion. Paint the edges with the same gray as your stenciled word.
Remove the tape and you’re all finished! It will be easier to make both signs at the same time so you don’t have to keep washing your brushes.
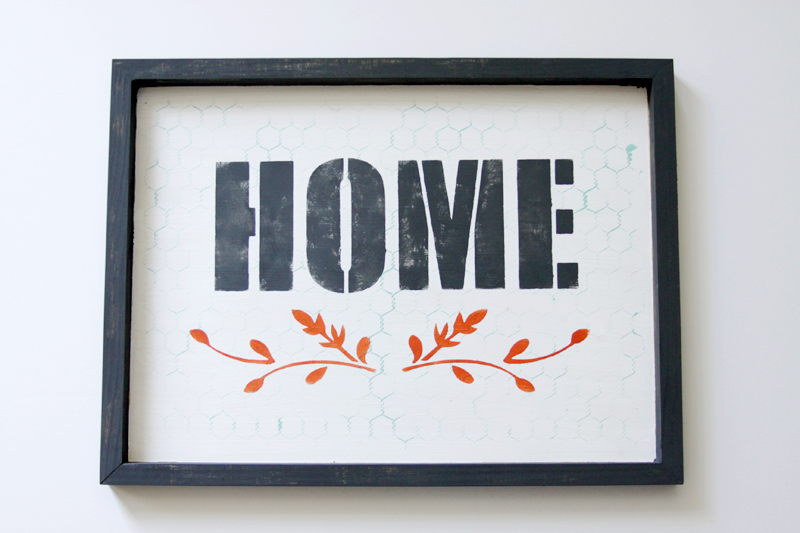
Cover both signs with a light coat of wax, then buff the wax. This will protect the paint and give it just a slight sheen.
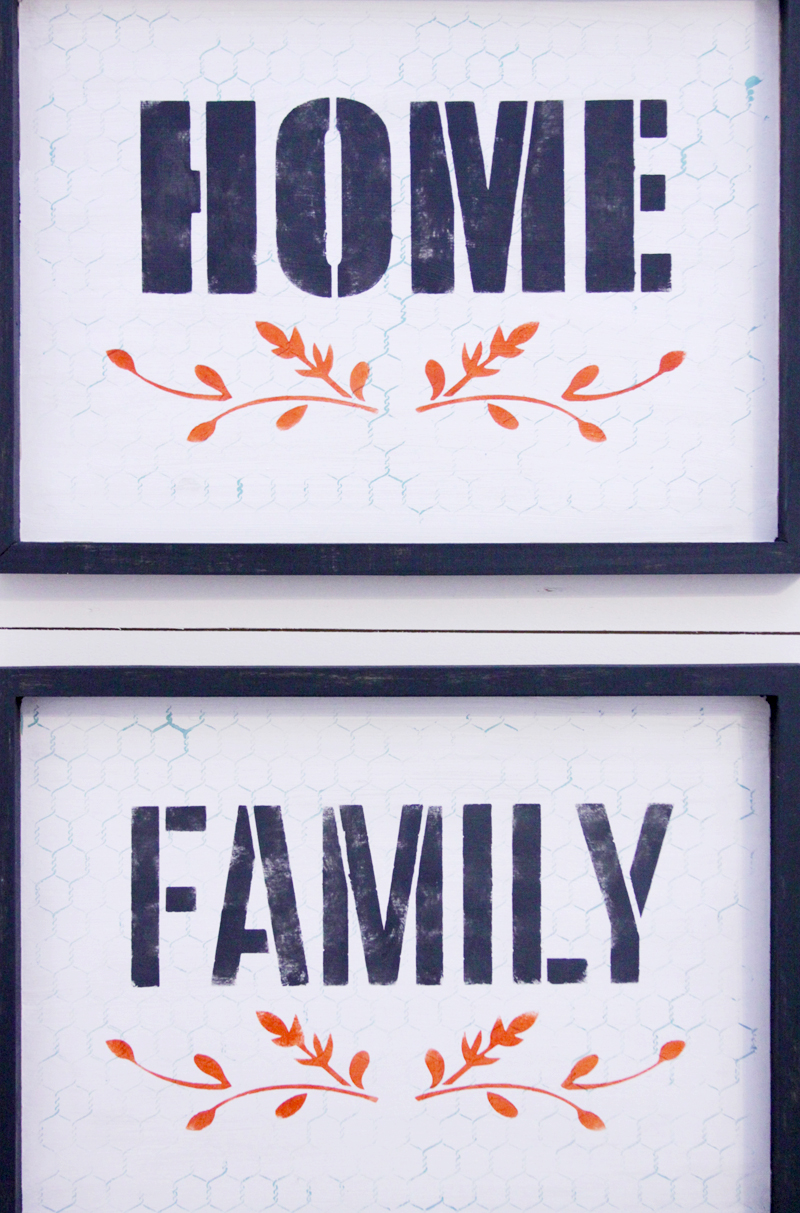
To hang them, you can add hanging hardware to the back. Or you can just use command strips! The panels are super light so two strips on each hold them up with no problem at all.

These would be so perfect to make for a craft party or a girl’s night out! Stencils make everything so much easier. :)
You can check out more of Plaid’s Stencils and FolkArt Paints on their website – they have a great selection of new stencils! You can also follow along with all sorts of Plaid inspiration on Facebook, Pinterest, and Instagram!


Lovely signs! They turned out really pretty and are a perfect fit with your farmhouse style. I use to hand paint all my lettering, but not anymore. Stenciling does make it so much easier. I didn’t know that there was a chicken wire stencil, love it! Thanks for sharing your pretty farmhouse style signs.
Thank you so much Linda!
I am all about that chicken wire stencil! I was stumped about how to use it, but this is perfect! I want to try it now!
Fresh and Inviting – love it! Thank you for the step-by-step tutorial. It inspires :)
Feels like I’ve been to every craft store a million times and have never seen this wood before. Loved the light chicken wire, it’s all about the details :) Thanks for sharing #homemattersparty