Yayyy! It’s our first Workshop Wednesday!! I am soooo excited to be getting a jump start on Christmas this year!
The gals participating in Christmas in July are sharing posts blog hop style – so if you’re here from My CreativiT, welcome!! And after you’ve checked out my fun idea, head over to Kara’s place (Mine for the Making)! You will love her post too!
One of the things that I always leave to the complete last minute is wrapping presents. Ugh. I need to hire elves.
I think I wait so long because I want every package to look cute. And Wonderful. And like there is something seriously amazing inside.
No pressure there.
So it’s perfect that I can start out getting ready for this year by whipping up some cute gift tags – knocked off from my favorite store, Anthropologie
Last year they had some fun Metal Leaf gift tags that I just fell in love with! These are so cute, and kind of semi-Christmas-y – so they’d be perfect for wrapping up gifts any time of year.
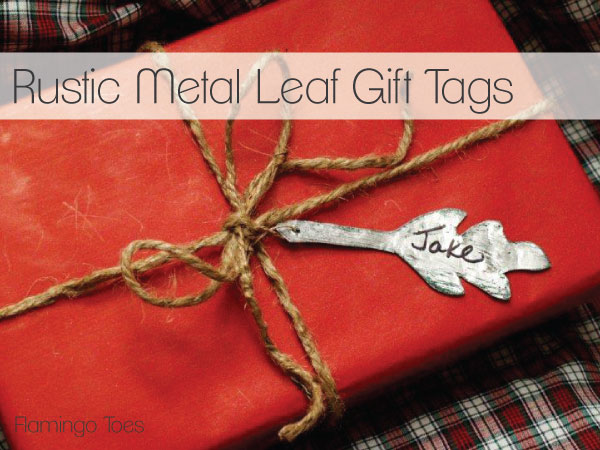
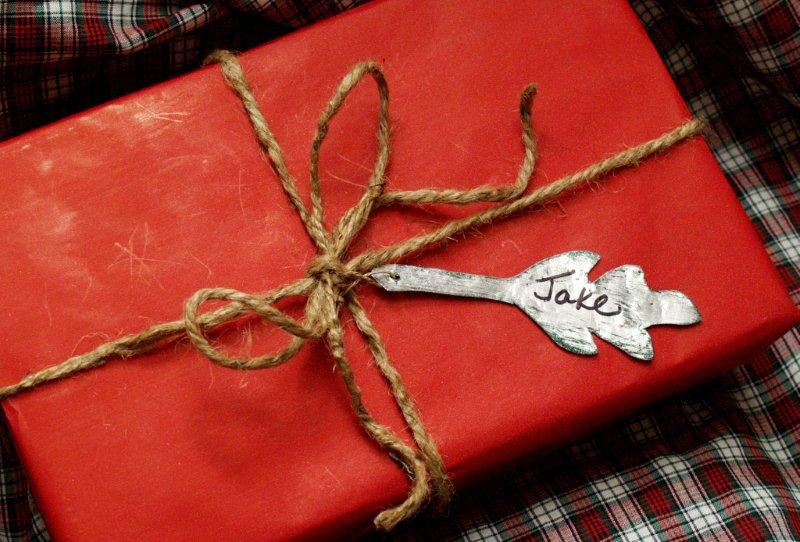
Here is my version of their sweet little gift tags:
And here’s Anthro’s Forged Leaf Gift Tags:
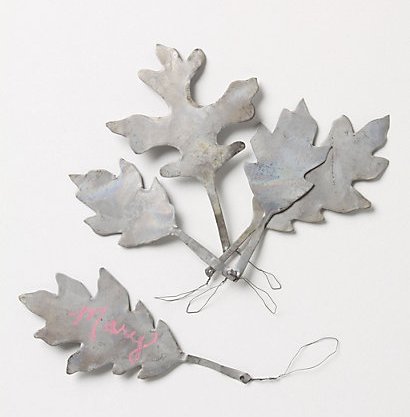
These are so fun!! Anthro charges $18 for a set of 5 of these – I made mine for just over $3!
Here’s what you’ll need to make your own set:
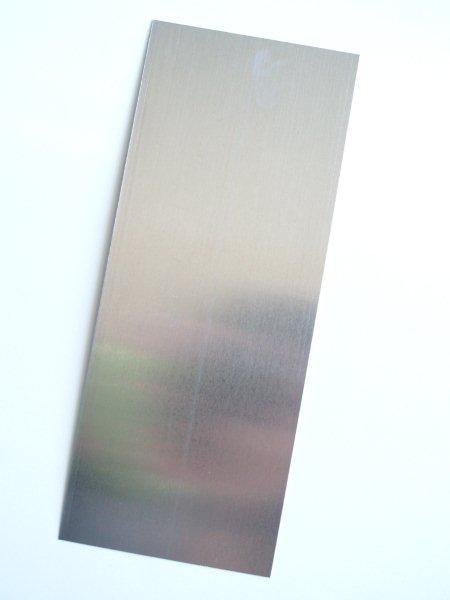
Small sheet of thin aluminum – I picked up mine at Ace
Scissors (use an old pair)
Sandpaper, hammer, nail or punch
black & glitter paint
jute for ties
Begin with your sheet of aluminum. Here’s what mine looked like.
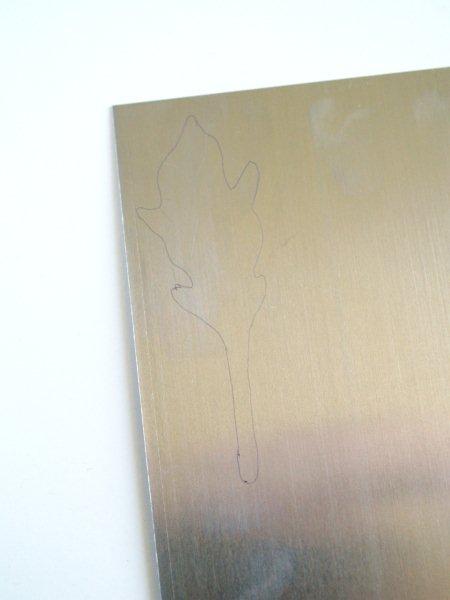
Draw out a leaf shape with a long-ish stem. I was able to fit five leaves on this little sheet.
Using an old pair of scissors, cut out the leaf shape. Try not to bend the metal toooo much.
Also – please be careful. Some of the little points and edges can be sharp. If you’re having a hard time with them, slip on a pair of work gloves to protect your hands.
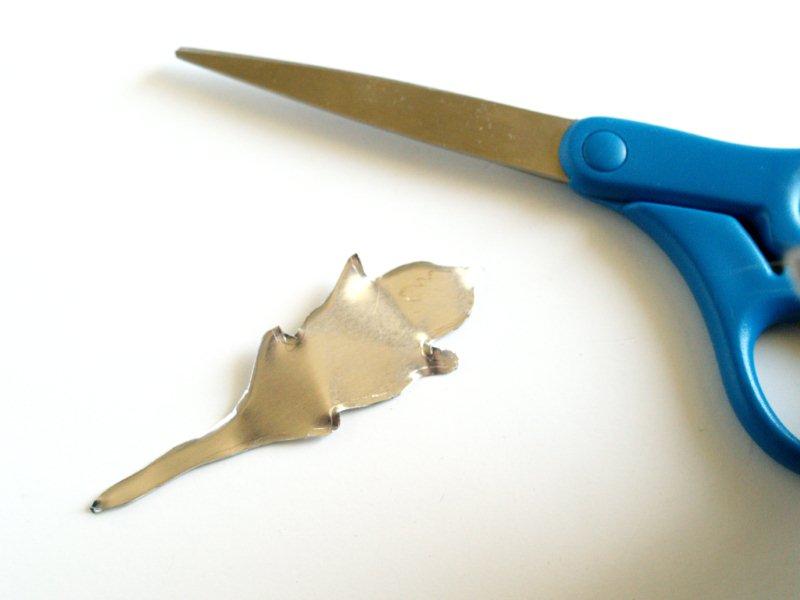
Take your leaf out to the sidewalk or garage and place it on the concrete. Using a hammer, flatten the leaf and add some texture.
Sand the leaf really well with sandpaper, going over the top and bottom and the sides. Make sure you sand off any sharp points or curves.
Punch a small hole in the end of the leaf with a punch or a nail.
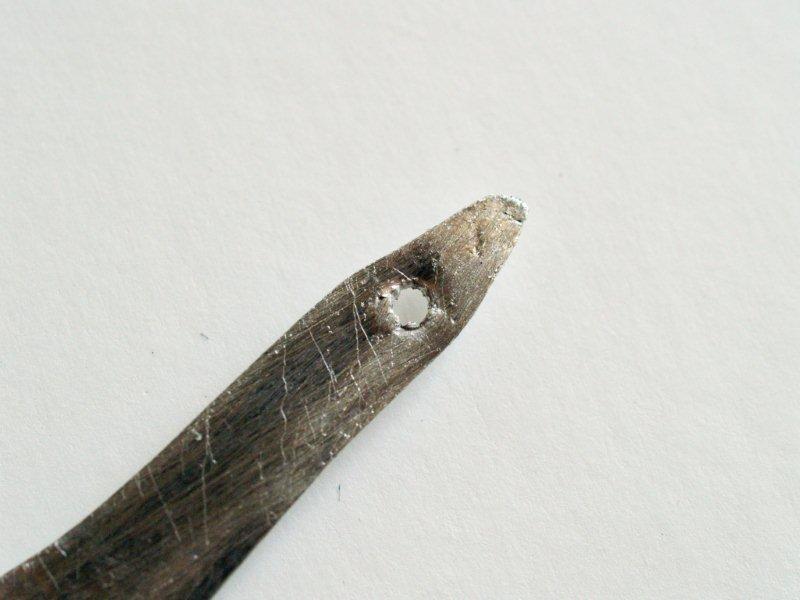
Here’s what you leaf should look like now. Nice and beat up but still a little too shiny.
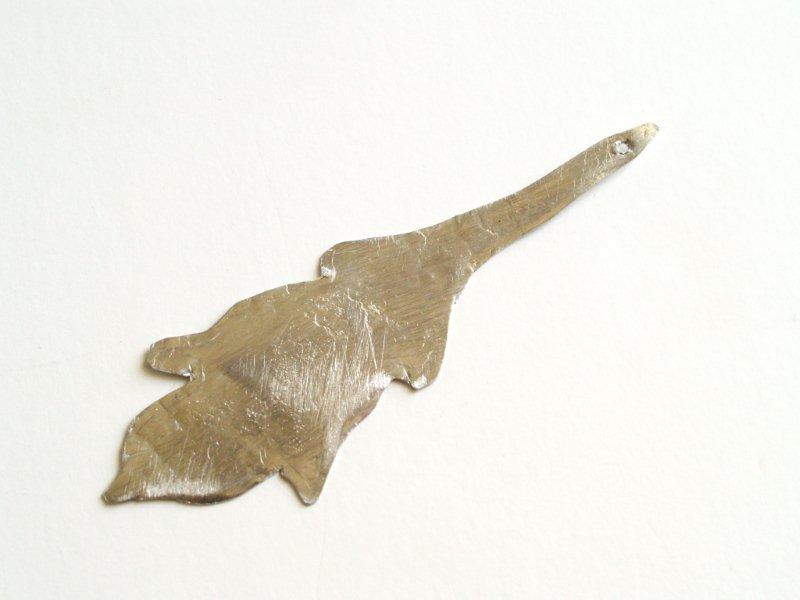
Brush a coat of black craft paint over both sides of the leaf.
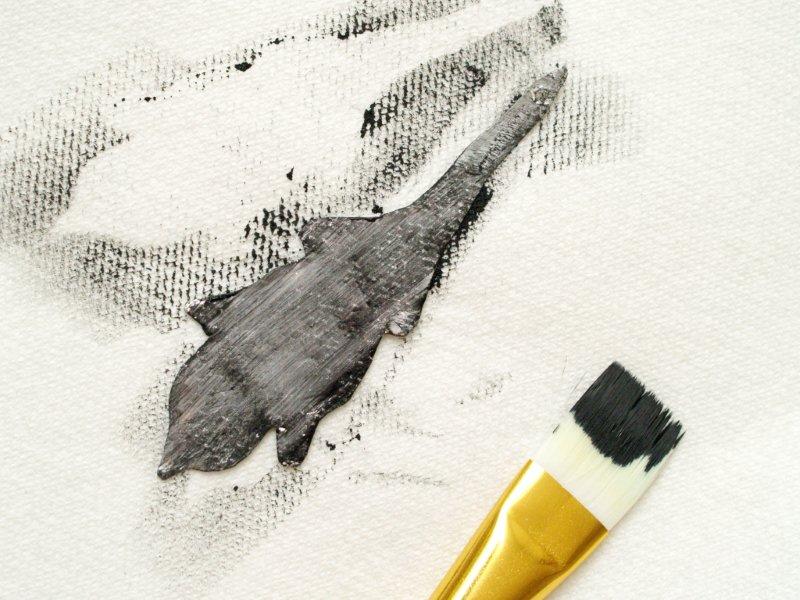
Before the leaf completely dries, wipe off most of the paint. The black will show up in the sanding and distressing of the leaf and darken it up a bit.
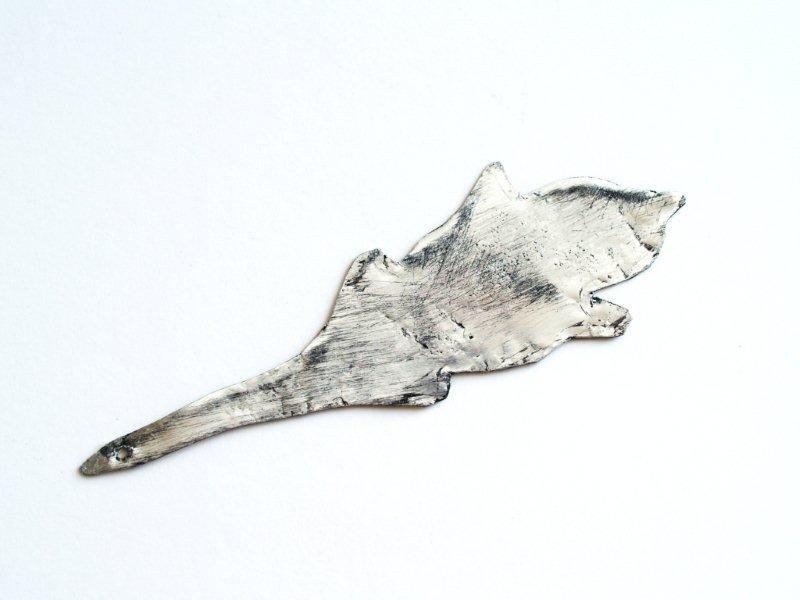
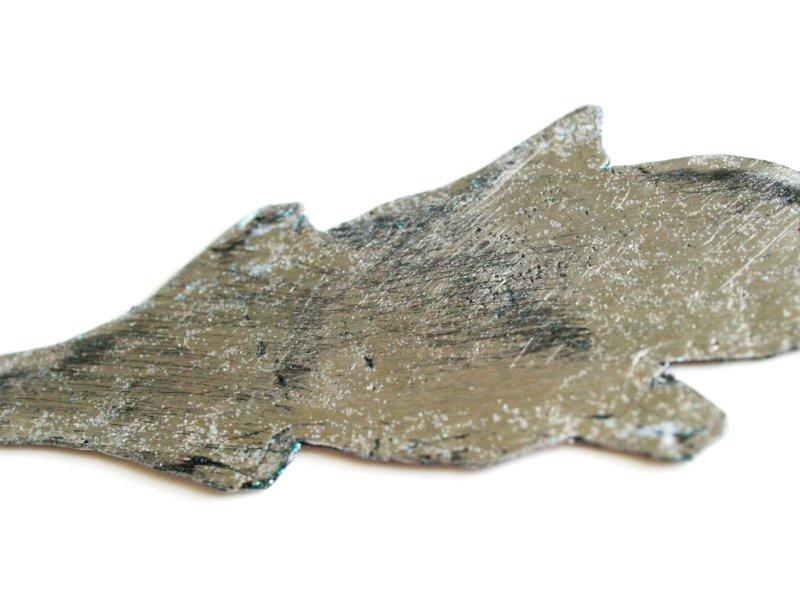
I also added a coat of some glitter paint – it added just a little something – though it’s hard to get a photo of it. :)
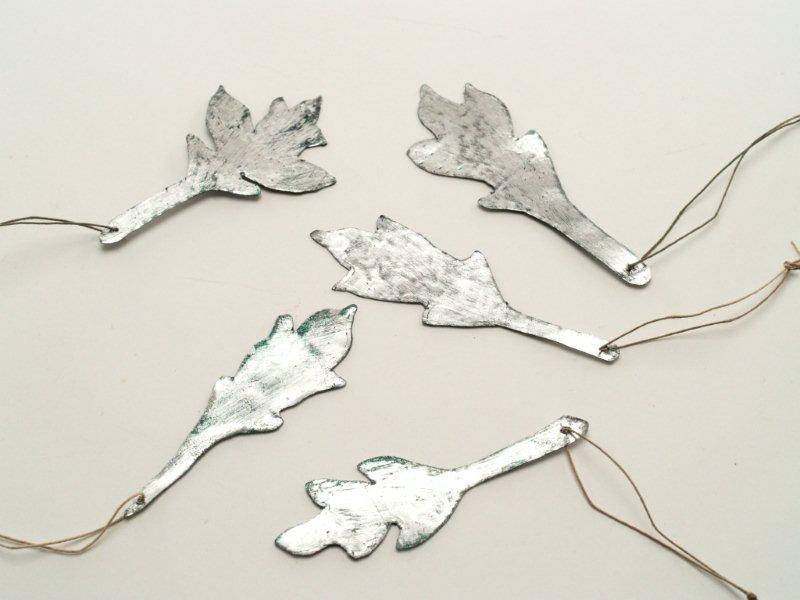
Repeat for the other 4 tags (or as many as you want to do!). Thread a small length of jute through each hole and knot it.
Write out the name with a sharpie – and you’re all set to wrap up a gift!
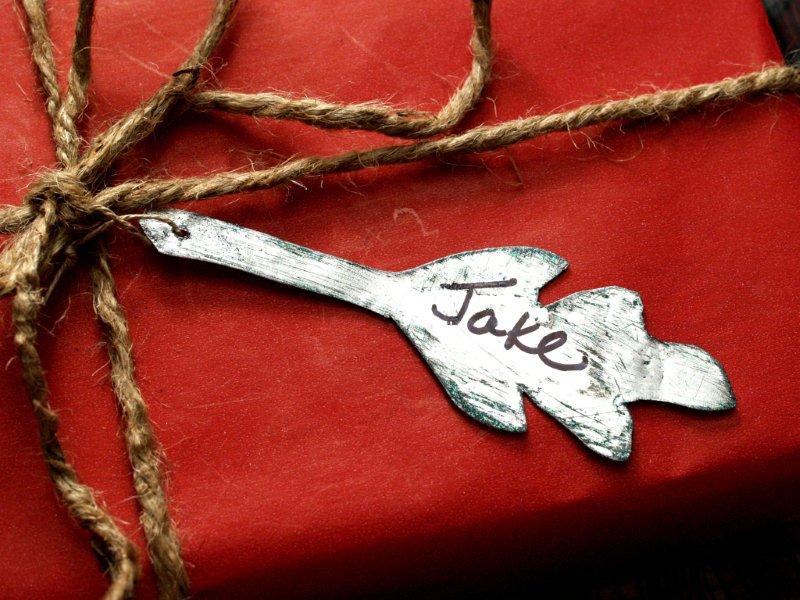
I think it adds a really fun touch – especially paired with just a simple jute tie!
I shared these last year over at Honeybear Lane – I am so glad that I was able to share them here as part of our Christmas in July!
So what do you think?
Is wrapping one of the things you leave until the last minute too?
Make sure you head over to Mine for the Making for her Workshop Wednesday post!
Linking up awesomeness at Sunday Scoop, Today’s Creative Blog, Met Monday, Skip to my Lou, Tutorials & Tips Tuesday, Shabby Creek Cottage, and the other fabulous parties on the party page – make sure you check them out!


These are all kinds of awesome Bev! Pinning for sure!
Such an awesome idea! Definitely pinning for later in the year :)
Absolutely adorable, Bev!! I love your aging technique and these look so cute on the packages!!
Hey, if you use a coppery brown paint it would look even more rustic. You could even use the distress ink pads that scapbookers use
Wow, these are gorgeous, Bev!
Odd question from a frugal blogger – do you think I could use coke/beer cans instead of aluminum sheet? I don’t think I can get aluminum sheet from my local shops, and I was wondering if cans would be too thin for the project. Or maybe I should just give it a go…!
Yes!! I think that would totally work! You could mod podge a pretty paper to the back too, to cover up the logo of the can. The sheet I used was pretty thin, I think a can would be just a bit thinner but not much. It might even be easier to cut!!
I would love to see a photo if you do!
Wow these are super cute and so simple! I love it!
These are so simple, but really take the packaging to the next level!
What a great idea – i love things made of metal and these leaves are so cute!!
I really love these leaves. I can think of lots of different things to do with them. Add a bit of rustic orange and use them on a fall wreath. Thank you for the great idea.
Those turned out adorable, Bev! I’m going to pin this to my ‘wrapping’ board right now :)
Ha! I saw these at Athro and wanted to knock them off….but waited…and glad I did. Now I don’t have to figure it out myself…just copy you! These are so darn fabulous!
Su trabajo es fantástico,gracias por compartirlo,aprendo mucho.
U could definitely use soda cans for this project! They are even thin enough that most punches will work, so if u have a cute leaf punch, or other holiday themed punches, it could save a lot of time. I’ve made jewelry with aluminum cans but never thought about gift tags… this is a super cute idea!!!!