If you are just starting out with jewelry making, I have the perfect bracelet for you!!
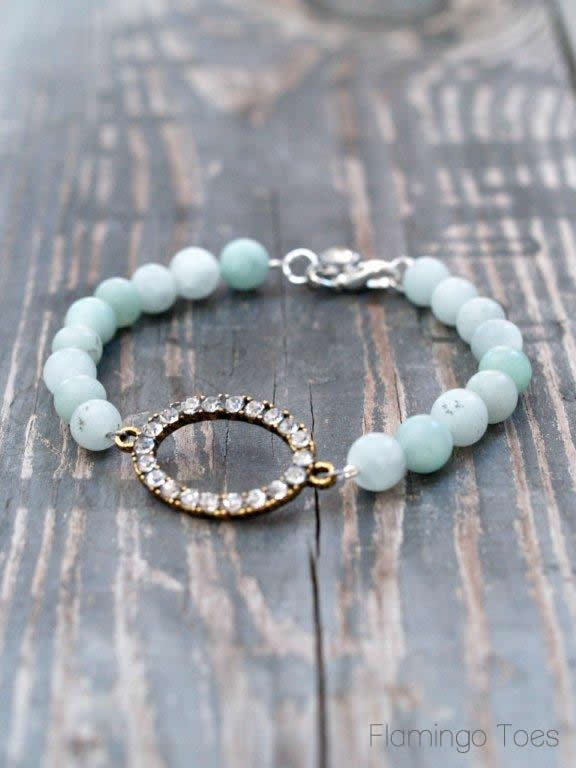
It’s just a simple little rhinestone and bead bracelet – but oh so cute!
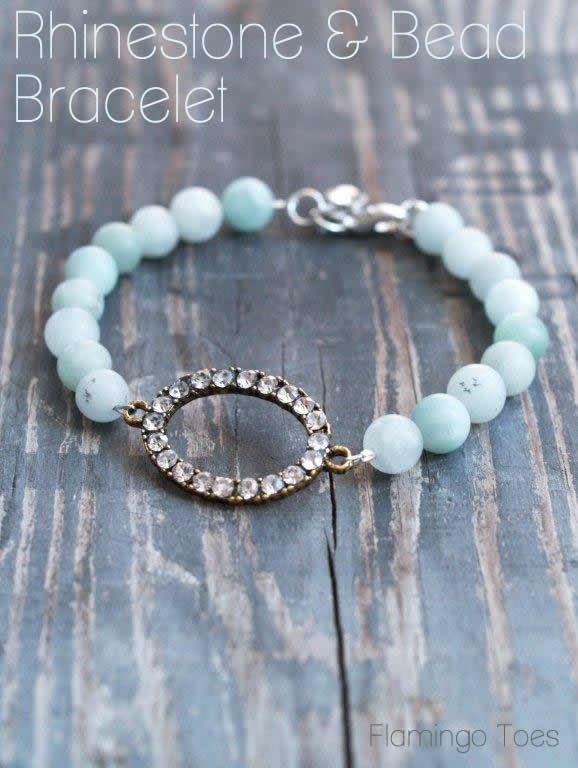
Isn’t it sweet? It would be super easy to change it for different styles or colors too.
Here’s what you’ll need to make your own:
- 1 center design piece – with loops on each end
- 5″ strand of beads
- beading wire
- crimp beads
- jump rings
- lobster clasp
- rhinestone bead
- Tools: wire cutters, flat nosed pliers, round-nosed pliers, crimp pliers
All my supplies came from Michaels but you can find similar items at other shops or online.
This tutorial makes an 8″ bracelet. If you’d like yours larger or smaller, adjust the amount of beads you add to the sides.
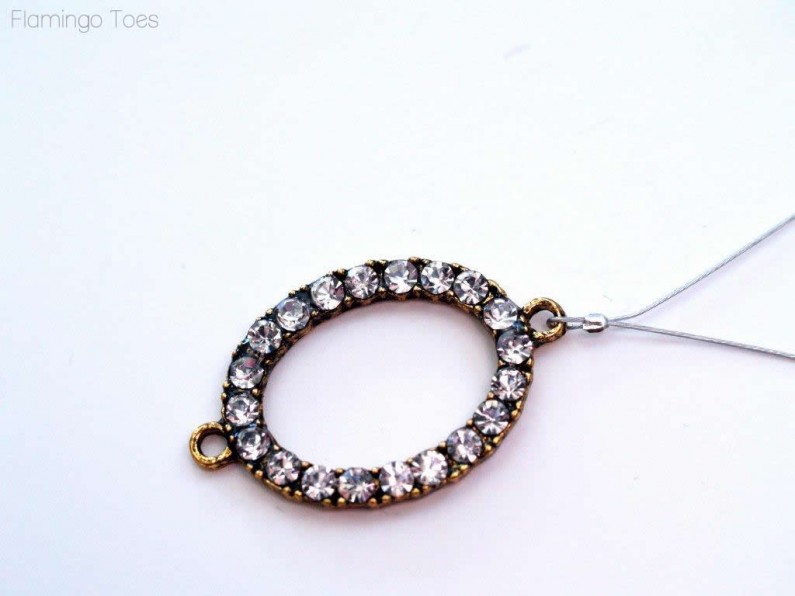
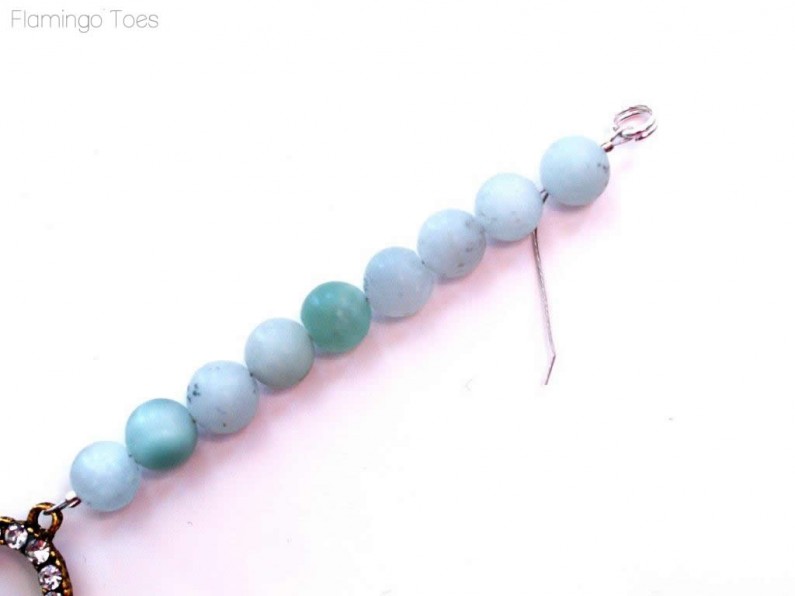
Start by cutting a 5″ piece of beading wire. Thread the wire through a crimp bead, then through one of the loops of your center piece. Thread the wire back through the bead and crimp it closed. The short end of the wire should be about 1″ long. You can find a tutorial for crimp beads on my How To Do That: Jewelry Page if you need a little more help.
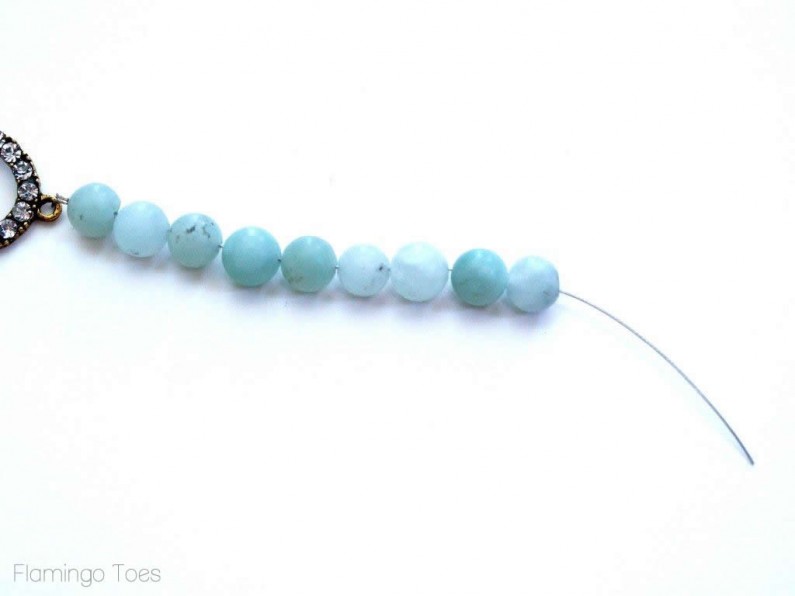
Add 2 1/2″ of beads to the wire, make sure you cover the short end of the wire with the beads as well.
Thread the end of the wire through a crimp bead, then through a jump ring. Loop the wire back through the crimp bead and through at least one of the beads. Pull the wire mostly tight and crimp the bead around the wire.
Trim the loose end of the wire.
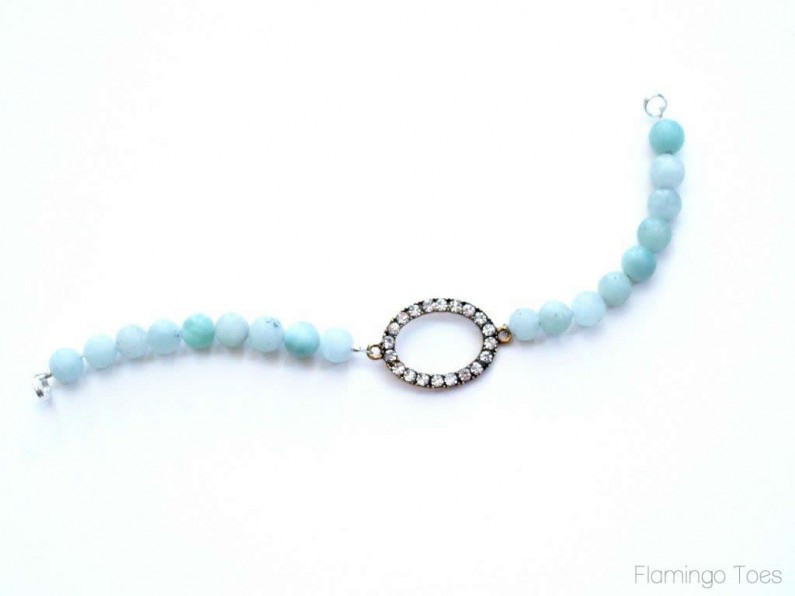
Repeat for the other side of the bracelet.
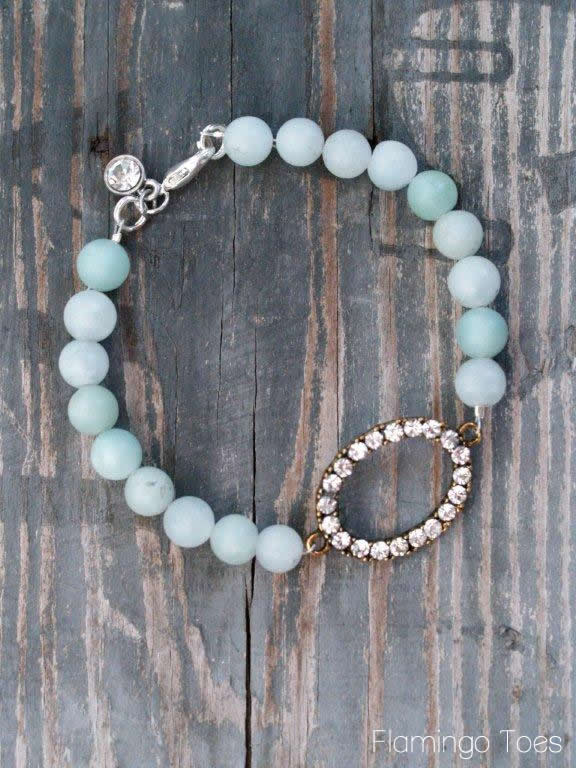
You should now have a strand on each side of the center piece that end in jump rings.
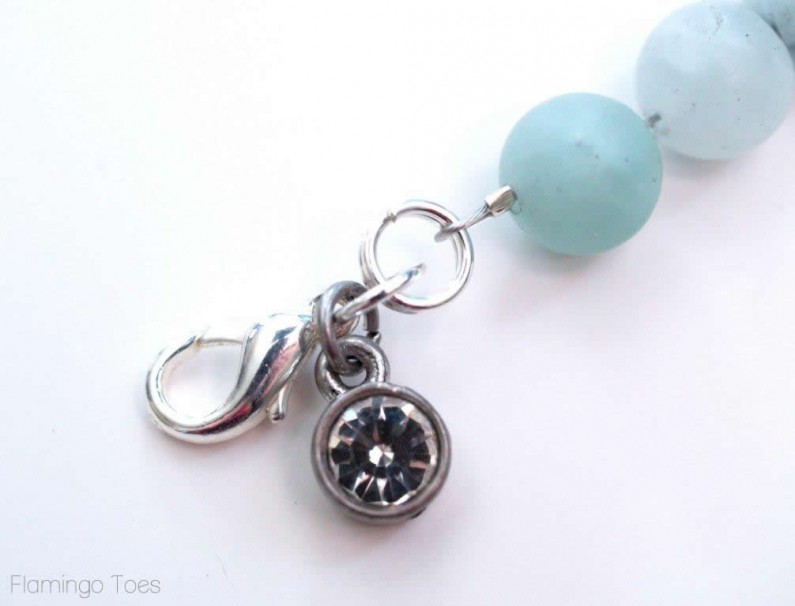
Add another jump ring to one end of the bracelet, and add a lobster clasp to that end.

You can add a little rhinestone bead to the jump ring too – for a little extra bling.
That’s all there is to it!
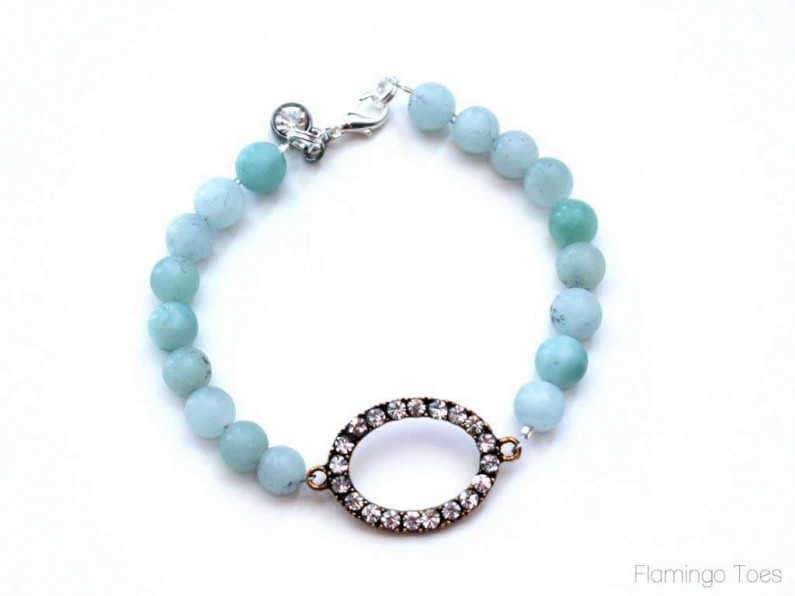
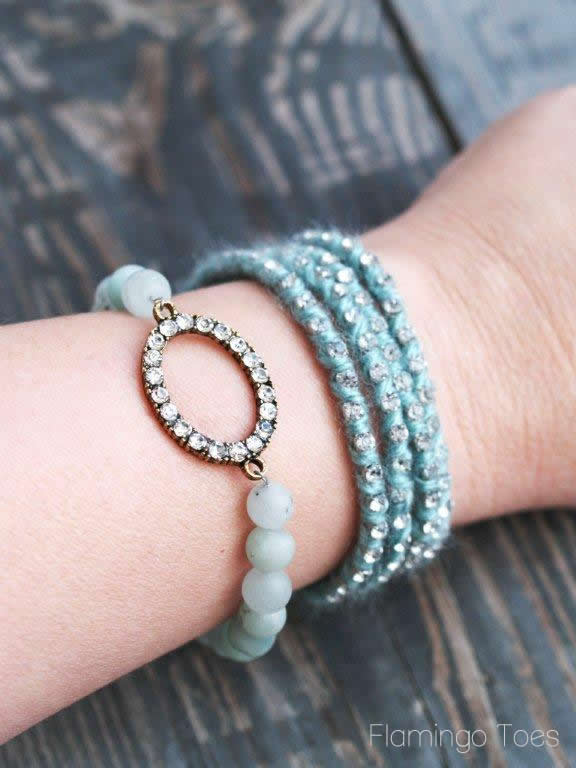
Isn’t it fun? It looks great paired with other bracelets too – for a fun layered look. I’ve put it together with my Sparkled Silk Wrap bracelet – I think they’re cute together!
I hope you like it and will give it a try! And if you’re reallllly in love – I have a tutorial up for the matching necklace!

Linking up at Sunday Scoop, Today’s Creative Blog, Met Monday, Tutorials & Tips Tuesday, Shabby Creek Cottage, My Repurposed Life, 504 Main, and the other fabulous parties on the party page – make sure you check them out!


I’ve been wanting to try making a piece of jewelry for the longest time, but didn’t know where to start. With this tutorial, I just might try it!
Gorgeous! And goes perfectly with the necklace. I may have to try to find some beading wire. It looks easier to use than what I typically have on hand.
Cute, Bev! Love the turquoise so much! And it looks great with the sparkled silk wrap bracelets!
That is so pretty and very summer beach looking! Would look great while wearing a white outfit and having a nice tan.
I just love it!!! It’s better using wire than cords definitely! It would be so cool if you could join my Link Party on Sundays!
Hope you are having a lovely day
Hugs
Cami @ TitiCrafty by Camila
This is absolutely gorgeous!!! I never made jewelry but want to learn and this seems very beginner friendly. My question is can you sell the jewelry you make from this website at craft shows? on your own website or Esty?