So I have to confess I have another love. I have a bit of a thing for books. Ok. It’s a pretty huge thing.
And really, I love all the books. Classics, suspense, mystery, even a little romance. My current theme is reading these dystopian/future/science fiction style books. In which teenagers seem to always be the ones that save the world. They’re awfully fun though.
Books are right up there for me with any kind of creating.
I have been known to blow through books in a day or two, and it is fairly often that I am up until the early morning hours with my latest.
I am not so good with bookmarks though. I . . . . dogear the pages of my books. It’s terrible, I know. (hangs head in shame) I’m trying to break the habit though, so I thought I’d make up some fun bookmarks. I am definitely more likely to use something if it’s fun and quirky and colorful.
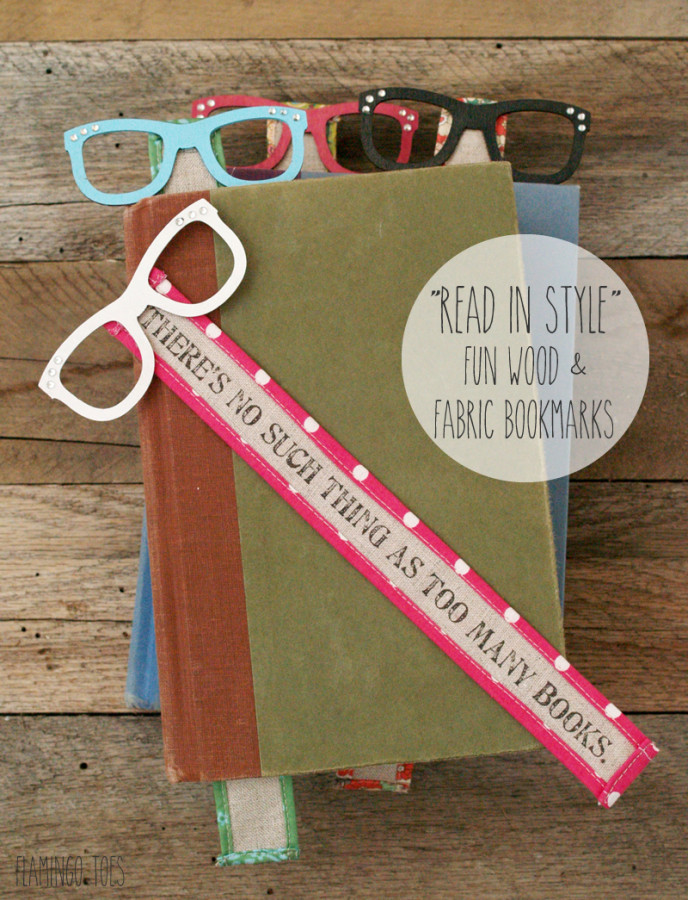
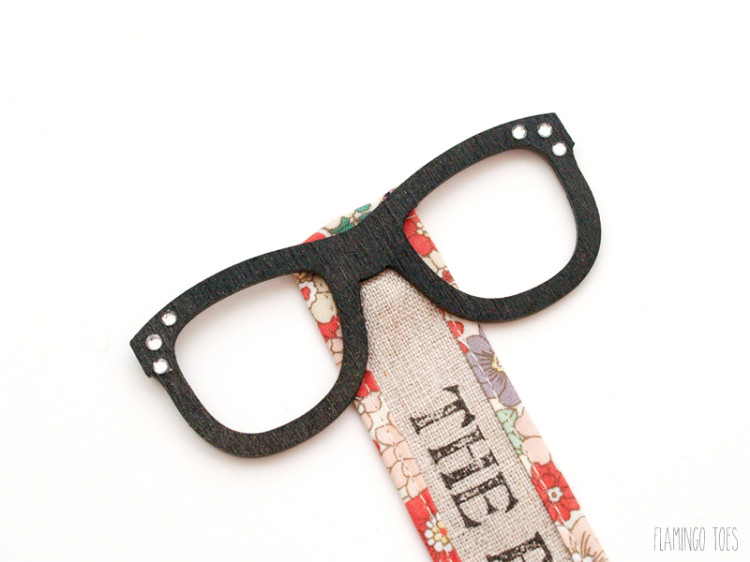
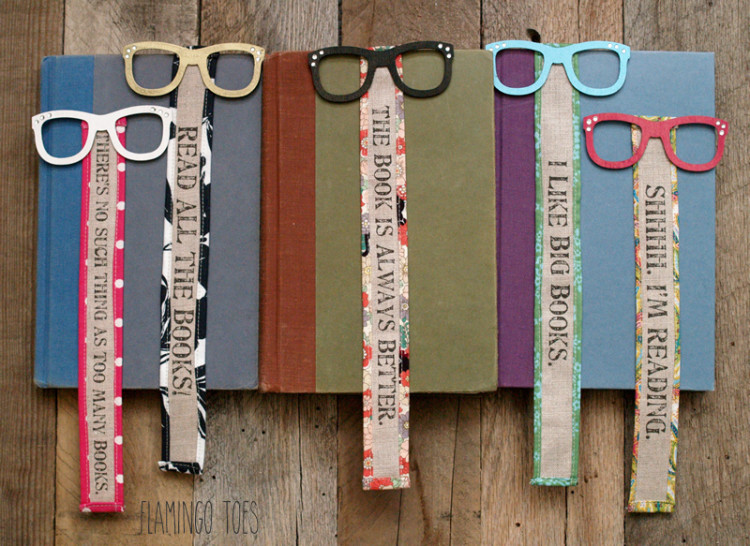
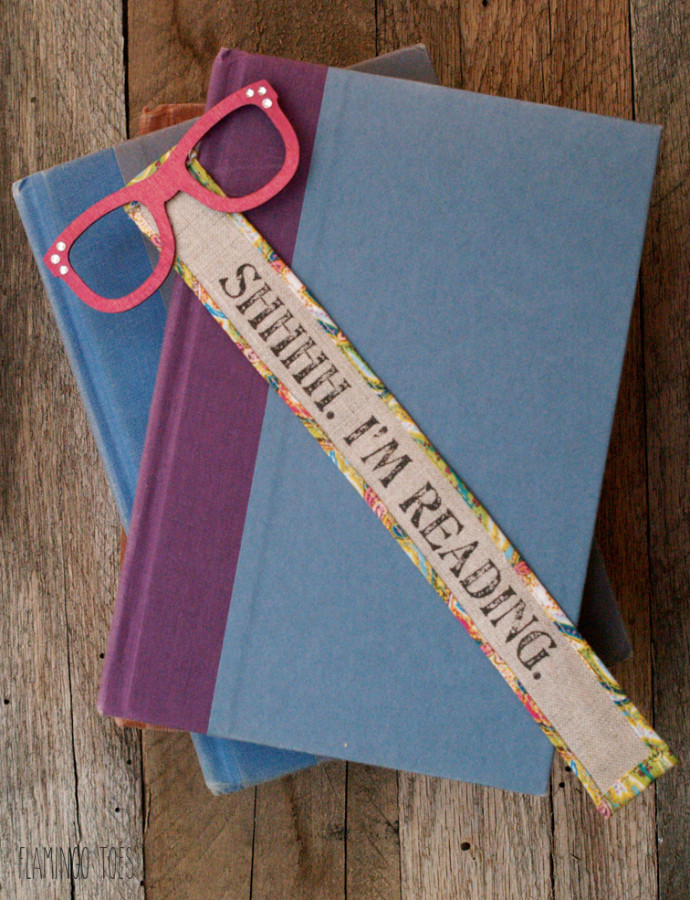
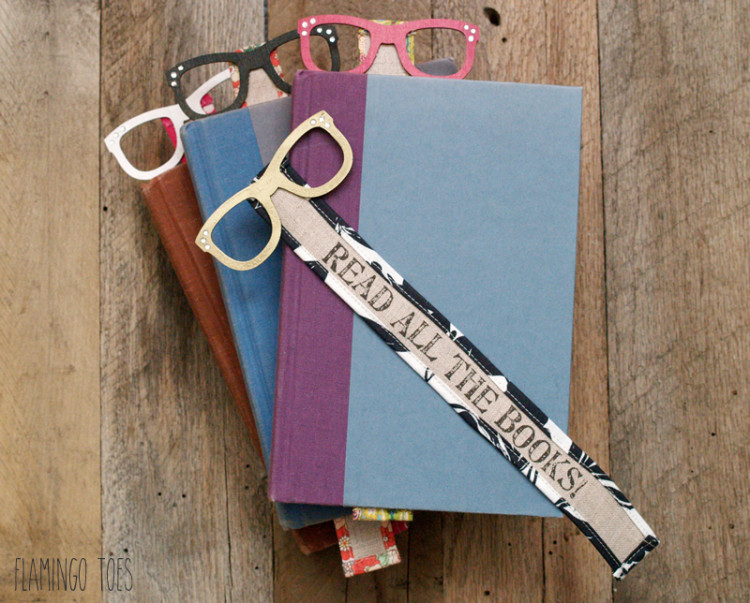
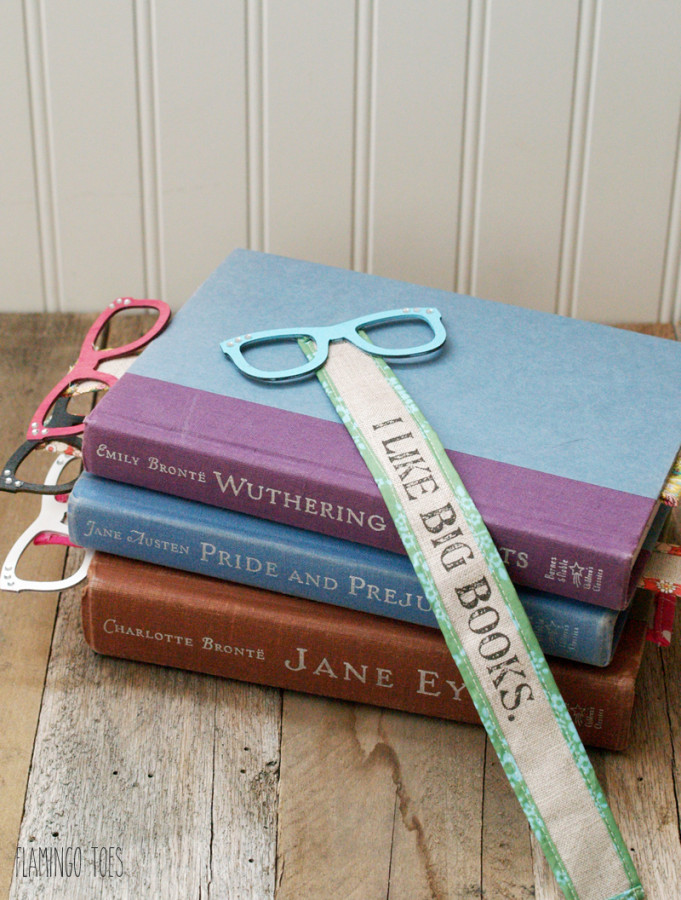
I’ve made up these Read in Style – Fun Wood and Fabric Bookmarks – all topped off with cute glasses (cause glasses are the coolest) and printed with fun bookish phrases!
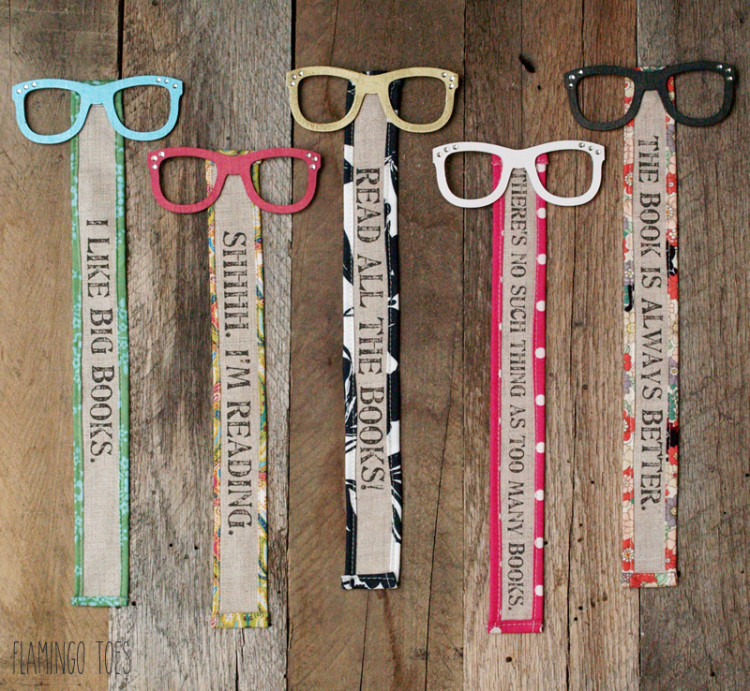
They are super easy to make too! Just a little fabric run through an inkjet printer and then decorated with bright colorful fabrics.
The glasses are some little wood cutouts that I spray painted and decorated with rhinestones. Of course.
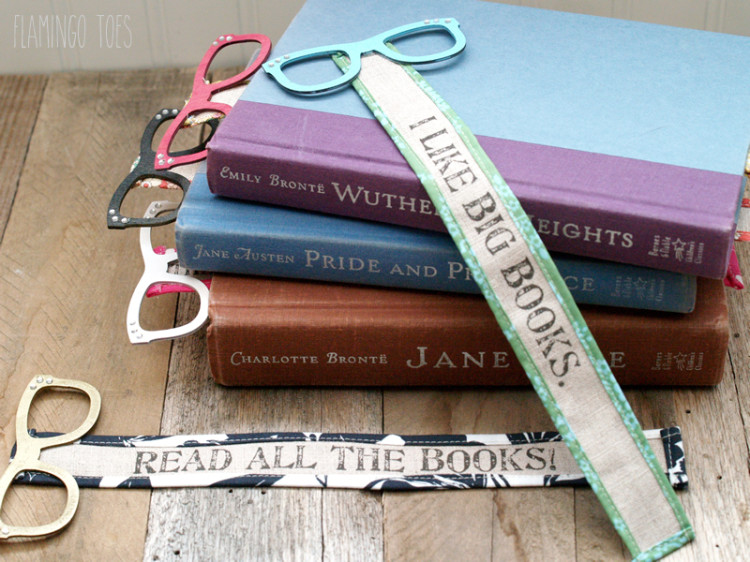
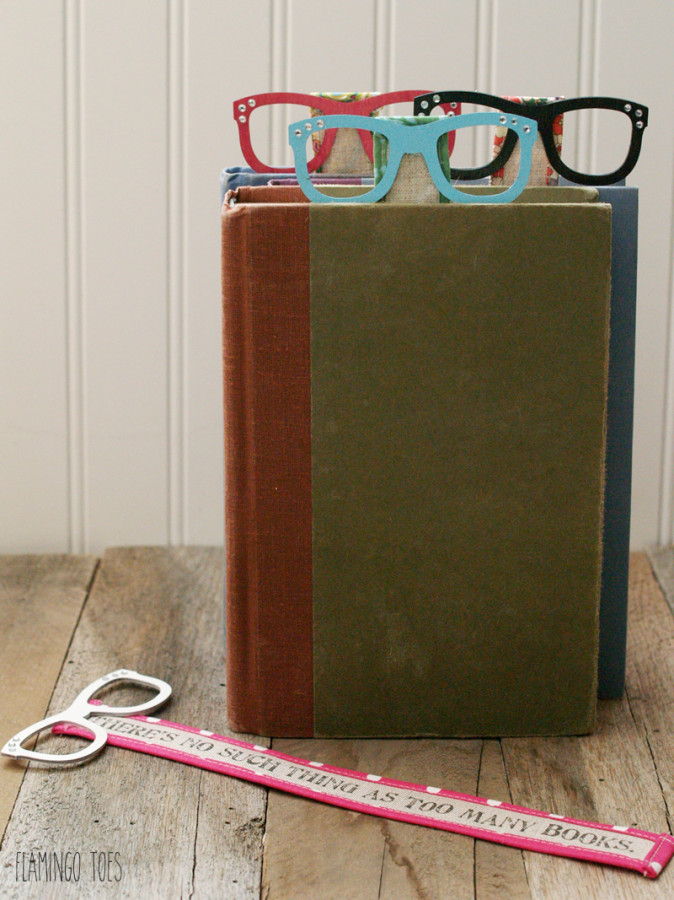
The glasses look so cute sticking out of the top of the book – I’m sure I’ll remember to actually use them!
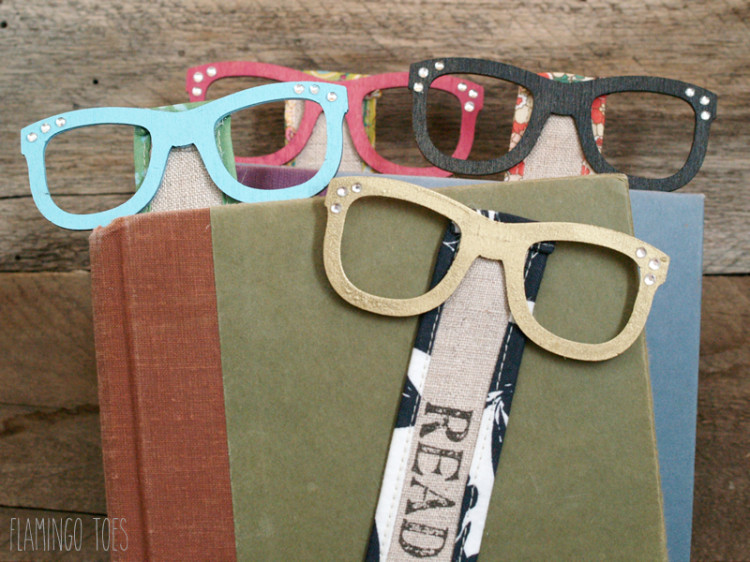
Ready for a super quick and easy tutorial? Here’s your materials list:
- Wood eyeglasses or other fun shapes (These came from Michaels)
- Neutral fabric for printing – You’ll need a piece about 9″ x 12″
- Fabric for backing – each bookmark needs 2 1/4″ x 12″
- fusible webbing
- paint for glasses
- rhinestones or other decorations
- glue
- freezer paper and printer
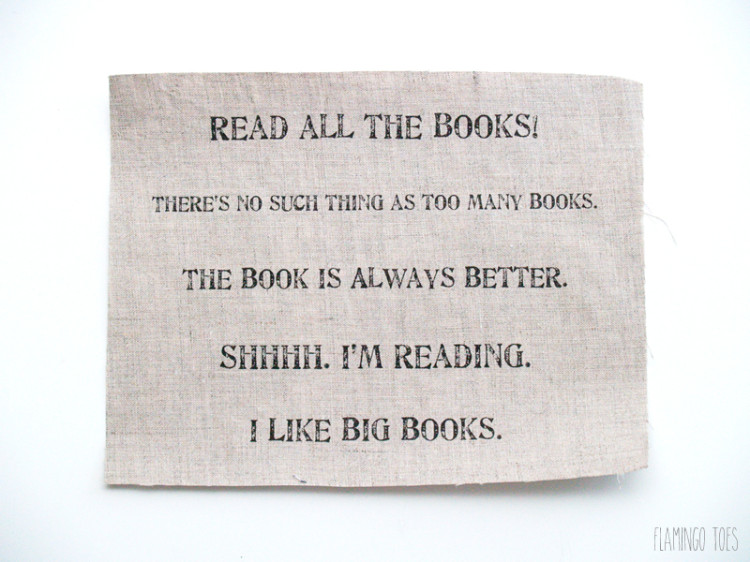
- Phrases – You can use this free printable or make your own
Begin by ironing your neutral fabric onto a piece of freezer paper, about 9″ x 12″. Iron the fabric to the shiny side of the freezer paper. Trim the fabric and paper to 8 1/2″ x 11″, making sure your edges are nice and clean. Place your fabric in your printer so that when it goes through, the phrases will print on the fabric side.
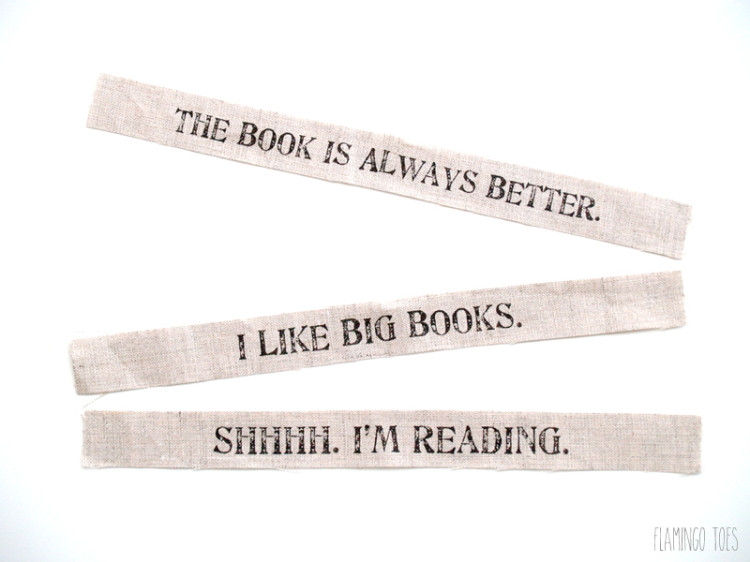
Trim your phrases so they are 1″ wide, centering the working in the 1″ space. Remove the freezer paper from the back of the fabric.
For each bookmark, but a backing fabric 2 1/4″ x 12″.
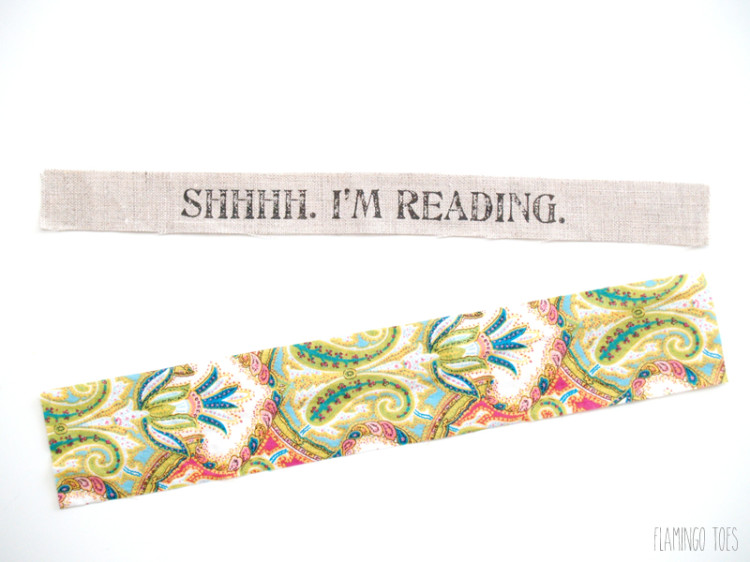
Press in the long sides of your backing fabric 1/3″ on each side. Cut a piece of fusible webbing the size of your backing fabric with the sides pressed in. Press the fusible webbing onto the wrong side of the fabric, pressing over the folded sides as well.
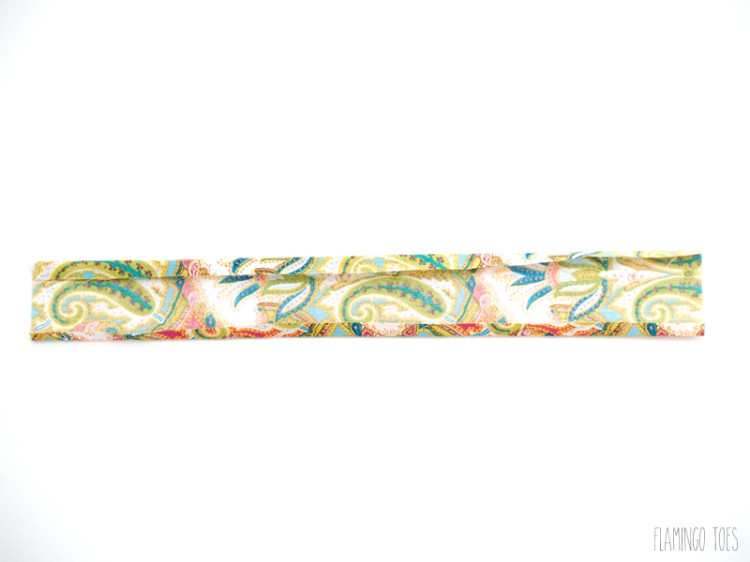
Remove the paper backing from the fusible webbing. Lay the bookmark on top of the backing fabric so wrong sides are together, and the neutral fabric is centered on the backing. Press each long folded edge over the long edges of the neutral fabric. The fusible webbing should hold it mostly in place.
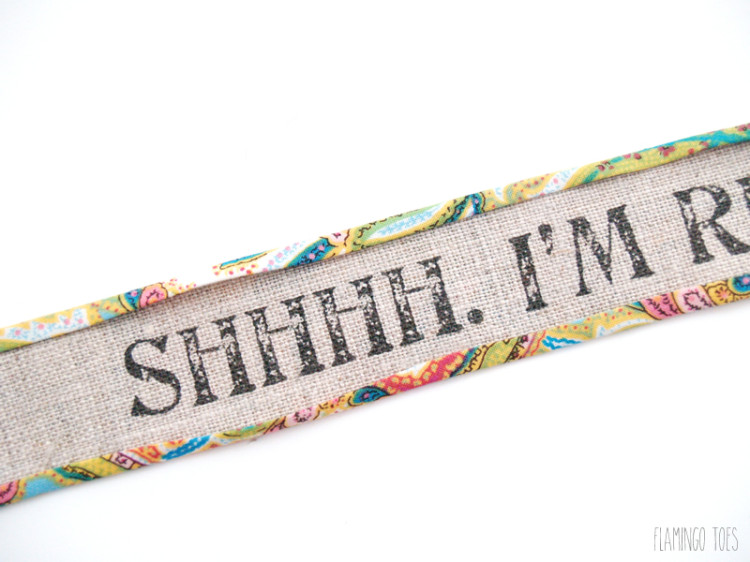
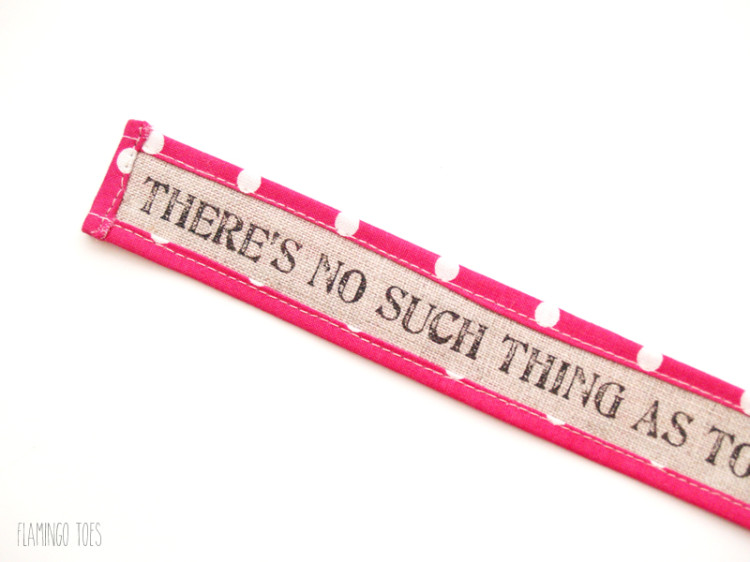
On your sewing machine sew down each long edge, just inside the fold. Turn up the backing fabric on each of the short ends and sew in place.
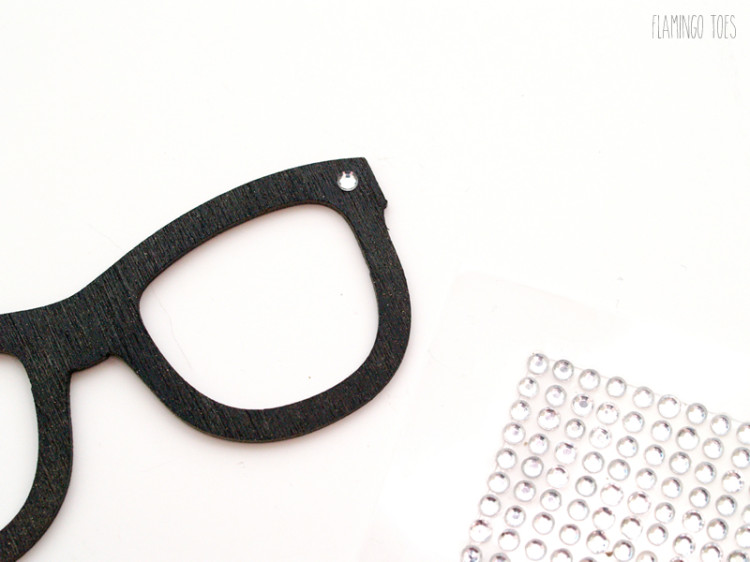
Paint your wood glasses shapes. I used spray paint but any paint will work. If you want, decorate the frames with some little sticky rhinestones.
Glue the glasses in place at the top of the bookmark with hot glue or e-6000.
Make up a bunch more, to use in all your books, or to give as gifts! These would be so fun for teachers. Or moms! Or anyone!!
You could pair a bookmark with a favorite book as a fun gift idea.
I hope you give them a try!
If you want to check out some other fast sewing projects, you might like these!



Very cute Bev! My daughter would love this but she would probably find a way to lose this too. My kids(teens) and bookmarks don’t fare well together.
Oh my goodness, these are so cute!! I’ve got a Craft Gossip post scheduled for this evening that links to your tutorial:
http://sewing.craftgossip.com/tutorial-read-in-style-wood-and-fabric-bookmarks/2014/05/07/
–Anne
These bookmarks are so cute!!
So cute! Your talent amazes me :)
Really adorable! Love these!
Congratulations!
I loved it! So beautiful
I love this tutorial! I cannot find the cutouts of the glasses at Michaels. Where did you find those? Thanks!
Shoot! I found them on a center aisle display in Michaels. I did find these online – http://creativeembellishments.com/geek-chic-glasses.html and I actually like this set better – there are so many cute glasses styles! Hope that helps! :)