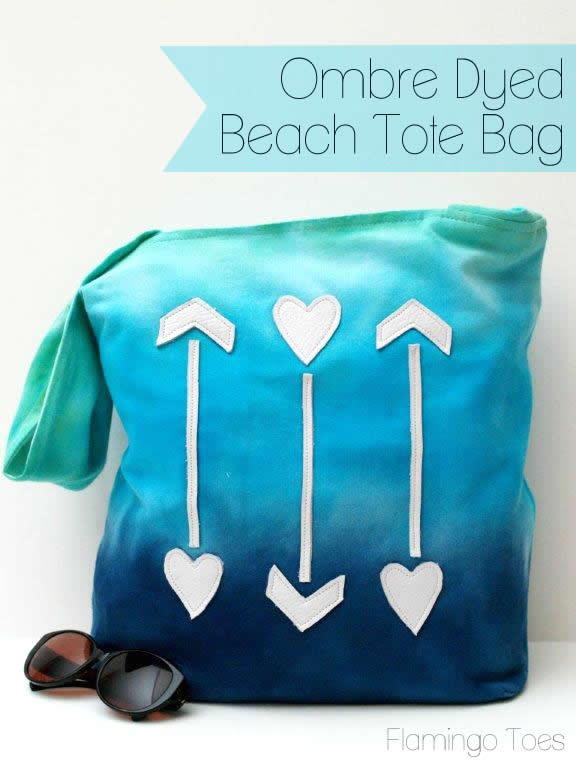
Living so close to the beach rather than do the whole “pack up the house and move in for the day” sort of trips, we like to do shorter trips more often. Run down for a picnic dinner, go boogie board for a couple of hours, then head home. So we (my daughter and I) are always on the look out for cute bags we can throw a few things into for our quick trips. All we need is something big enough for a water bottle, sun screen, and a book.
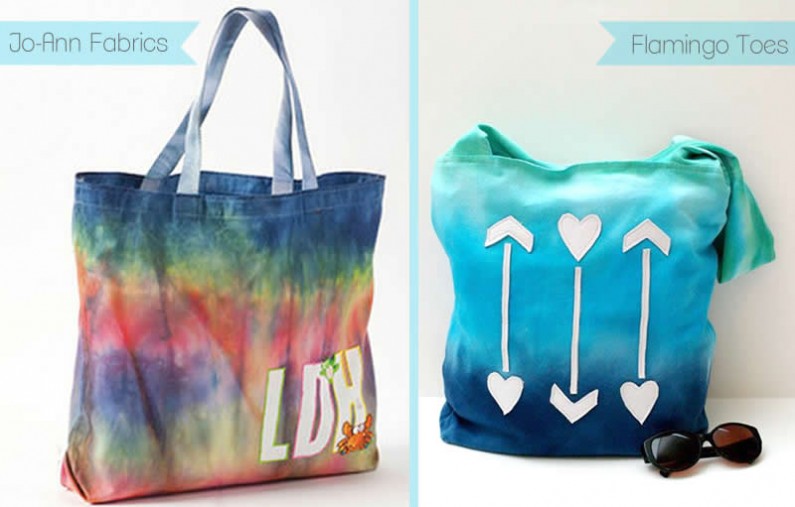
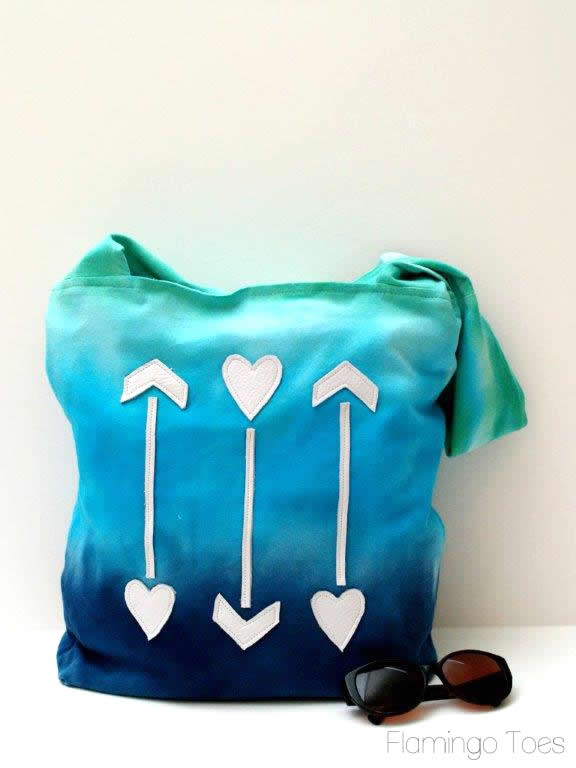
I found this cute dyed tote bag at Jo-Ann’s – and had so much fun creating my own version for our new Ombre Dyed Beach Tote Bag!
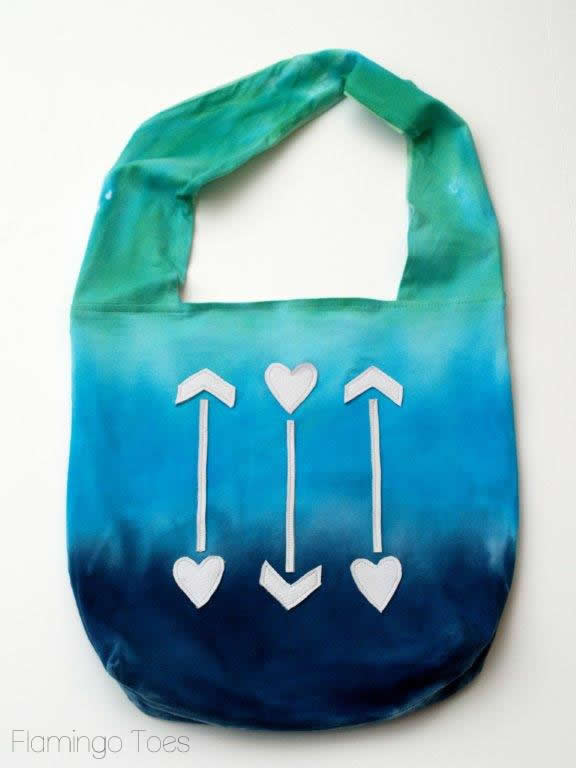
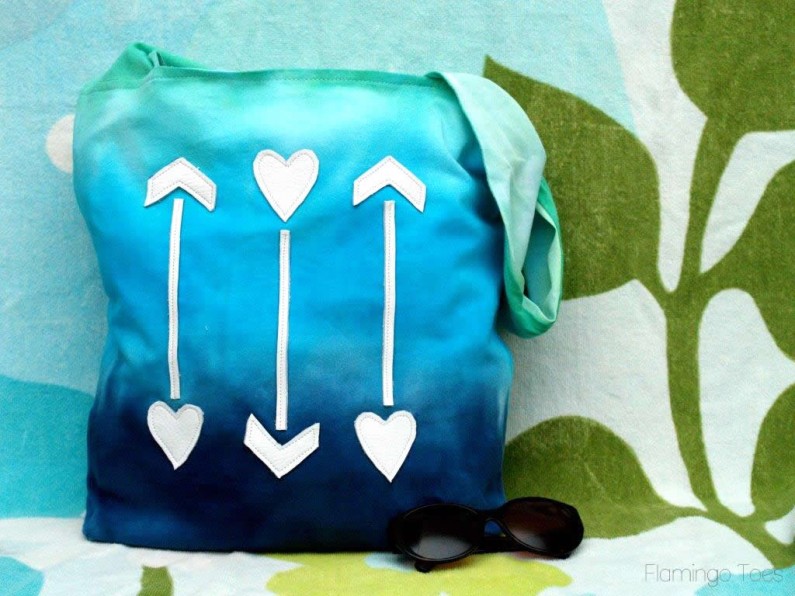
I wanted to go for a more ombre look in shades of blue and green – and I decided to dress it up with some sweet leather arrows instead of a monogram. That way either me or my daughter could use it!
This bag was so fun and easy to make!
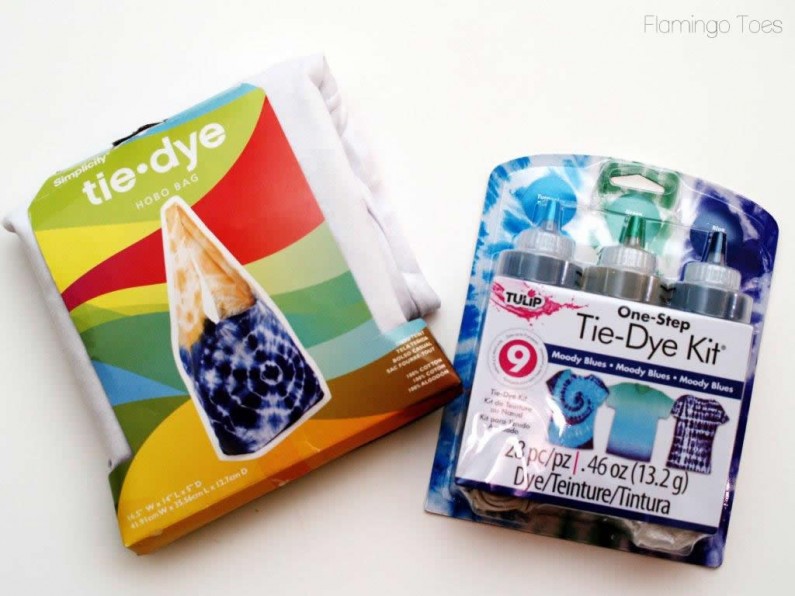
I headed down to Jo-Ann’s to pick up supplies – I found this cool hobo bag all ready for dying. It’s a completely lined bag, and it even has a pocket! I also found this new Tulip One Step kit.
Um – this kit made things so easy!
So to make your own, start by laying out some plastic bags so you don’t get dye everywhere. Follow the instructions on the kit to add water to the squeeze bottles.
And wear your gloves people.
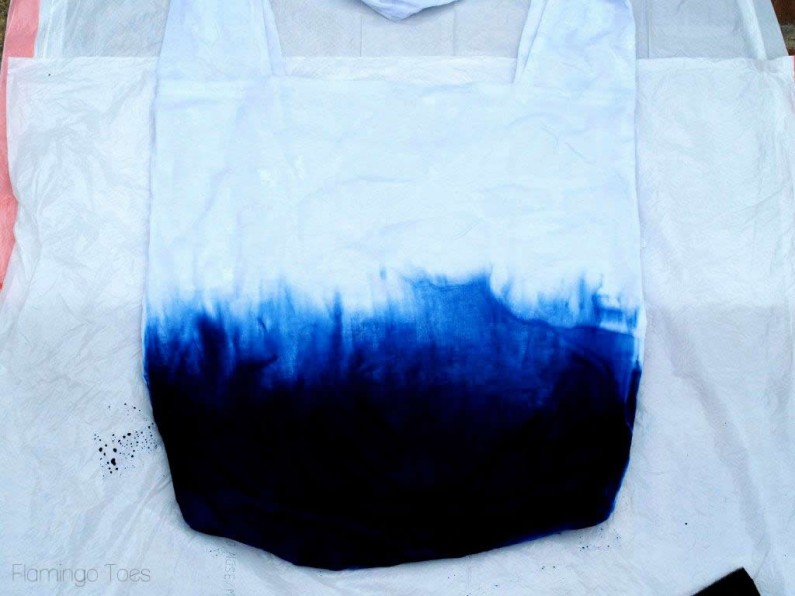
Wet the bag first so that the color is easier to blend. Start with the darkest color and add that to the bottom third of the bag. Add enough that the dye completely soaks through the bag.
Using a foam brush, brush up the dye a little so that you can blend it with the next color.
Add on your next color, brushing the bottom into the dark color and brushing it up so it will blend with the last color.
Add in your last color. The squeeze bottles make it really easy to add color exactly where you want it.
Let your project sit for several hours. The instructions say 6-8 but I didn’t want my bag super dark, so I rinsed it in cold water after about 4 hours.
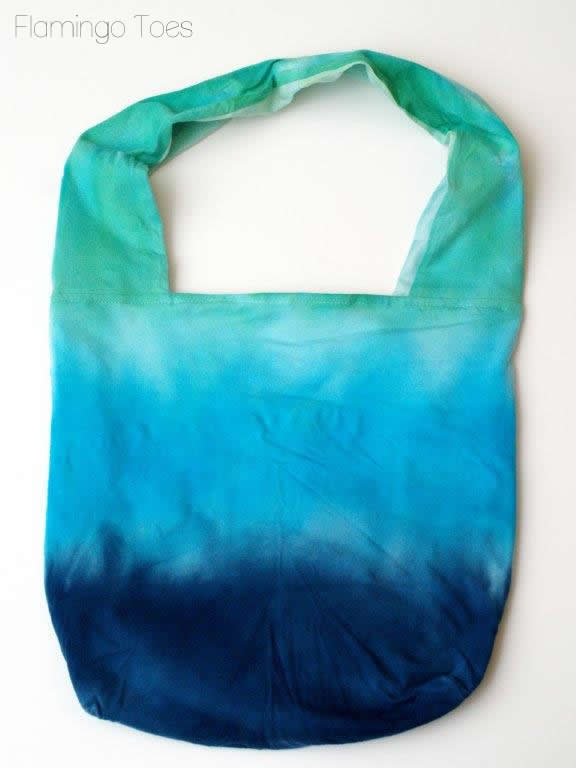
Throw the bag in the washer (alone) and dry it. This will get the last bit of dye out and set everything.
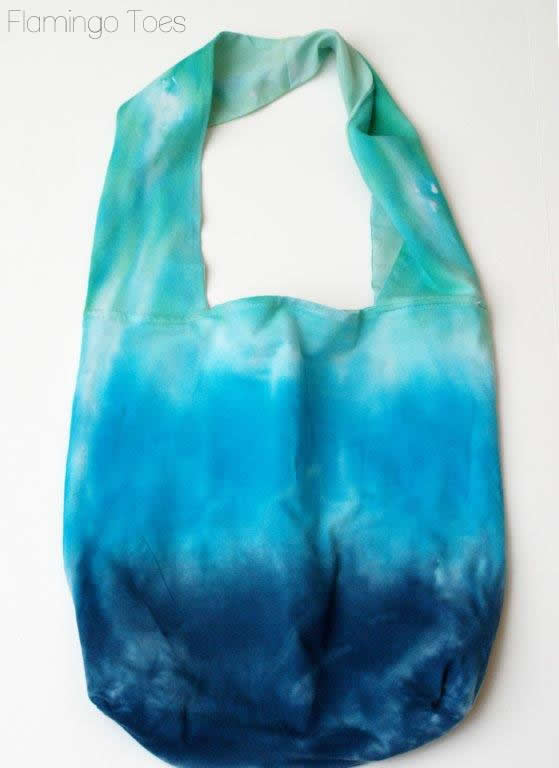
Eek. I love it. Here’s a shot of the back side so you can see the color blended well on that side too:
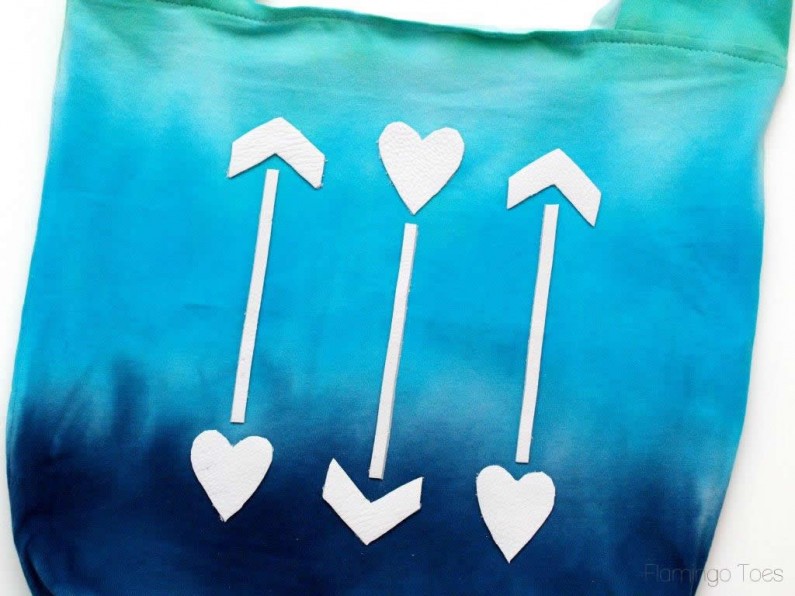
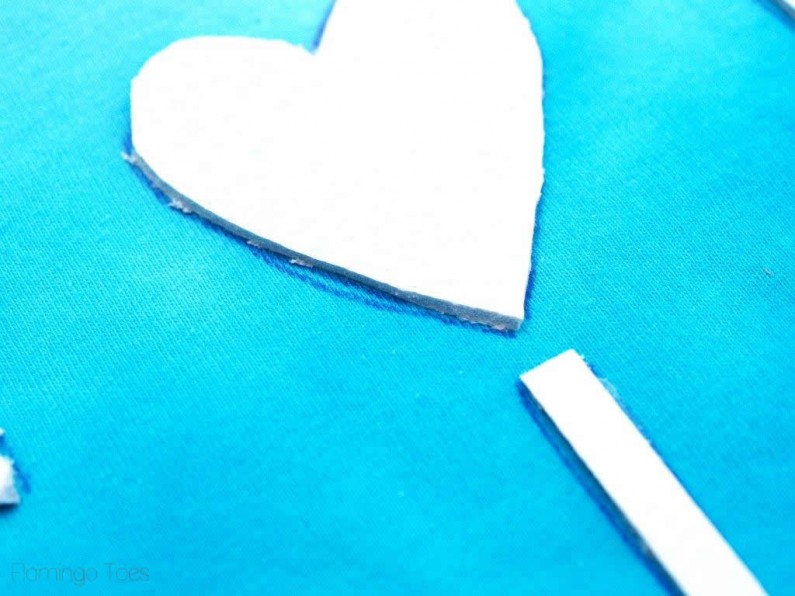
You can totally stop there and have an awesome bag to carry anywhere. But if you want to add your leather arrows, cut out your leather pieces in the shapes you want and place them on the bag.
I cut these out of leather scraps that I picked up – you know those bags that have all sorts of little shapes and color leather in them? Those are perfect here.
Now you’re not going to be able to fuse your leather to the bag and it’s going to shift around as you sew. So trace around all the pieces with a disappearing ink pen – that way you can tell where they should be as you sew.
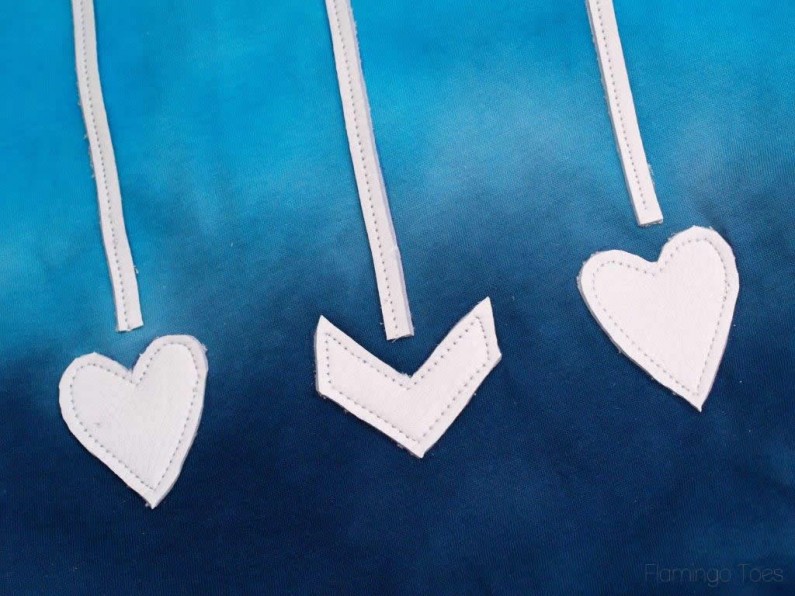
Use a leather needle and sew the pieces on, just inside the edges. I used a single seam down the center of the thin strips.
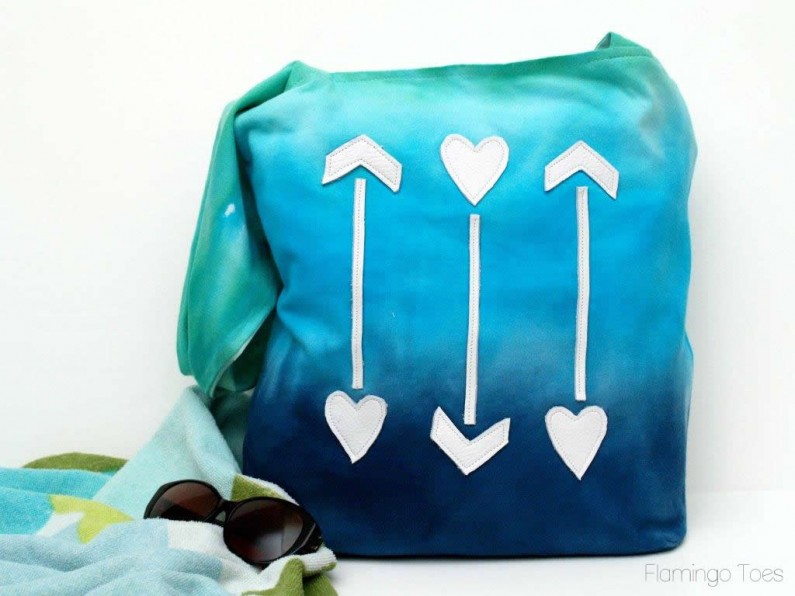
Get all ready to head to the beach! Or the park or Disneyland – or just the grocery store. :)
I hope you like it!
If you want to try out some of Jo-Ann’s other crafty ideas from their #summerofjoann – you can find all sorts of fun projects in their Discovery Catalog online.
And if you want to sign up to receive their deals (which are awesome) you can do that here – and you’ll get a 20% off coupon!!





Nice bag! I like it!
Hugs!!!
So cute! I love the ombre style of dying and the colors you used are so pretty! I may have to make one so I’m forced to take a trip to the beach. Hey, somebody has to do it, right? LOL! Have a wonderful day! Hugs, Leena
This is TOO cool!! I’d love for you to link up at my Work it Wednesday linky party!
xo
amy
http://theblissfulbee.com/work-it-wednesday-no-5/
Love the ombre look!! Super cute!! Love it!! Thanks for the tutorial!!
I seem to somehow forget that I can die my own things. It looks good and tha is for reminder and the tip about the all in one package.
Bev – Love the ombre bag. That looks like alot of fun and so many possibilities!
Judy
Super adorable!! The ombre effect came out so well. And I love the addition of the leather arrows! LOVE the hearts! :)
I LOVE this idea! I had no idea they had these bags at Joann’s either. Any project that can be finished in one afternoon is my kind of project. Nice work!
Oh I LOVE your ombre bag. So fun for the beach. I gotta try it!
I love ombre! and this bag is so cute! I’m so gonna try this, Thanks for sharing your tutorial!
I love this bag!!! Beautiful job, I will have to give this a try :)