So we’ve discussed my resolve to have cute dishtowels. And my philosophy to use them on a daily basis and throw caution and dirty fingerprints to the wind.
Apparently this brave attitude is spreading to my other kitchen related items – namely potholders.
Why should I use a plain boring potholder when I can use something cute and fun? Something that makes me want to bake cookies. And eat cookies.
Cause I need more of an excuse there.
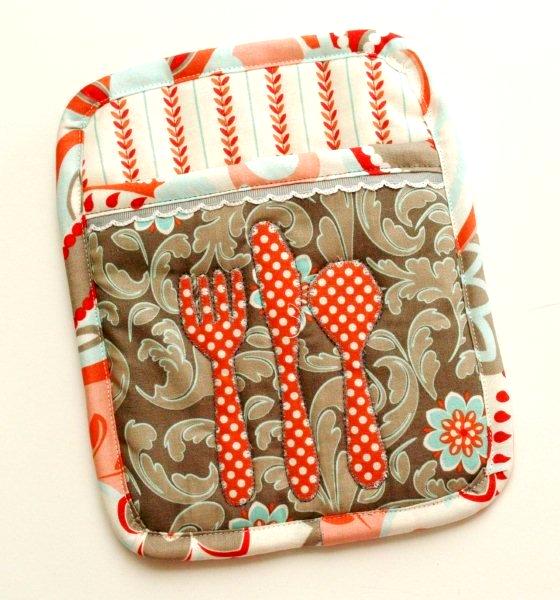
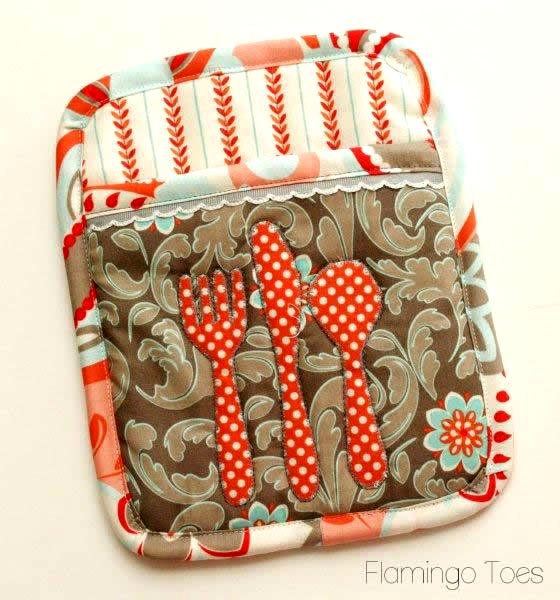
Anyway – here is the last installment in my cute kitchen series using the Verona line from Riley Blake – it’s the “Let’s Eat” Potholder!
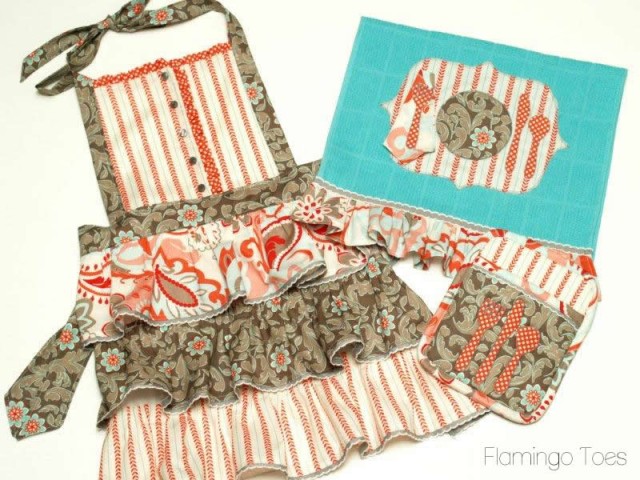
If you haven’t checked out the Ruffles & Buttons Apron, click here and the coordinating dishtowel tutorial is here!
Here’s what you’ll need for the Potholder:
Fabric for appliqués and front and back pieces
Fabric for binding – you’ll need a piece 7 1/2″ x 3″ and 40″ x 3″
Moonstitch Ribbon for trim
Wonder Under fusible webbing
Lightweight Batting
InsulFleece
Pattern Pieces
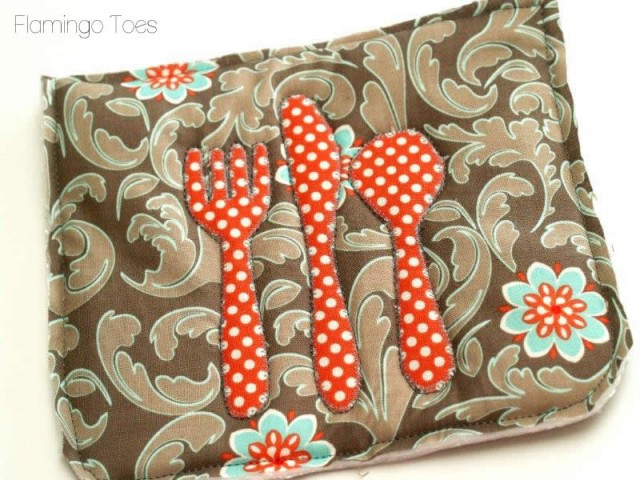
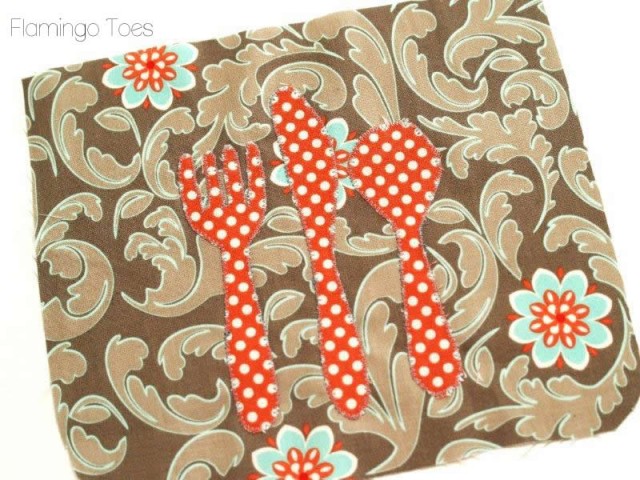
Begin by cutting out all your pattern pieces. Start with your silverware pieces. Iron your fabric onto Wonder Under then cut them out. Peel off the paper backing and iron them onto your front Potholder piece.
Sew around them with a tiny zig zag stitch.
Layer together your front potholder pieces. You’ll need the back potholder piece, a piece of thin batting, the InsulFleece, another piece of thin batting, and then the top layer of the front potholder. The fabric pieces should be right sides out.
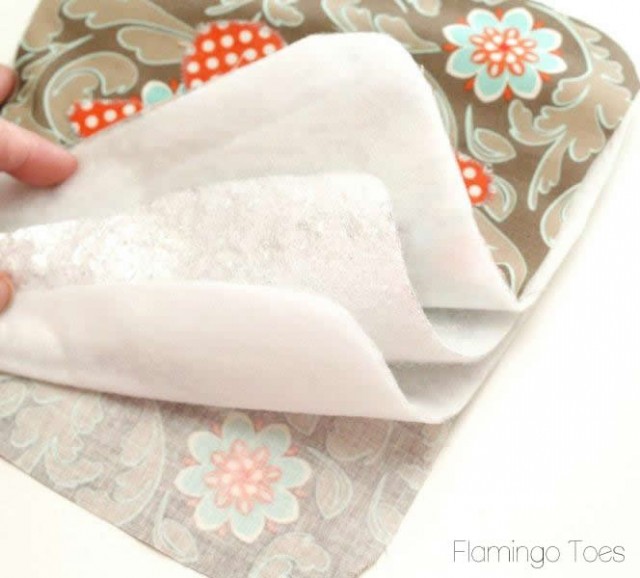
Pin together all your layers. Sew around each of the applique pieces with a straight stitch. Sew together all the layers 1/4″ from the edges.
Trim off and even up the edges.
Fold your smaller binding piece in half long ways and press. Line up the raw edges of the binding with the back side of the front potholder piece.
Sew the binding to the back of the potholder front piece with a 1/2″ seam.
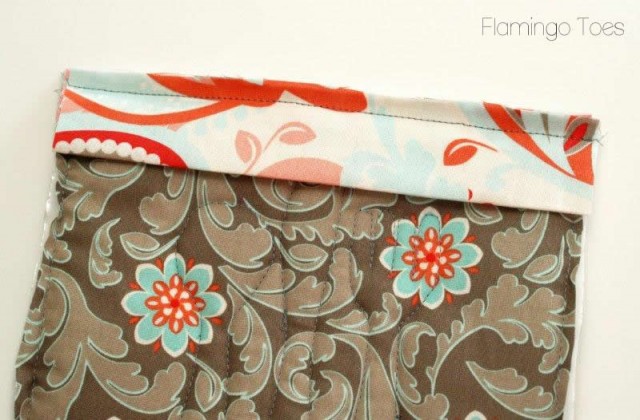
Fold the binding over the top of the potholder piece to the front. Cut a length of moonstitch ribbon the width of the potholder front – 7 1/2″.
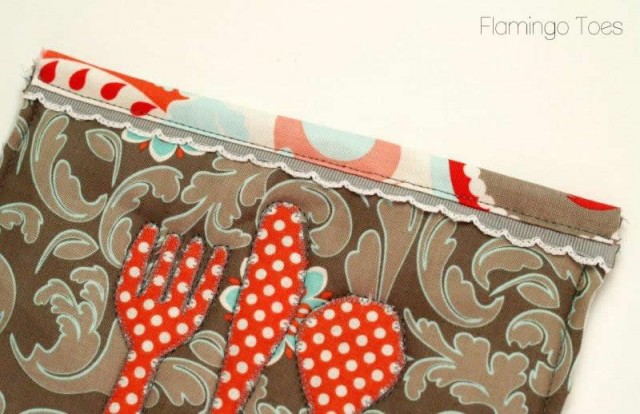
Tuck the ribbon under the fold of the binding so half of it is peeking out. Sew the binding down just inside the folded edge, sewing down the ribbon at the same time.
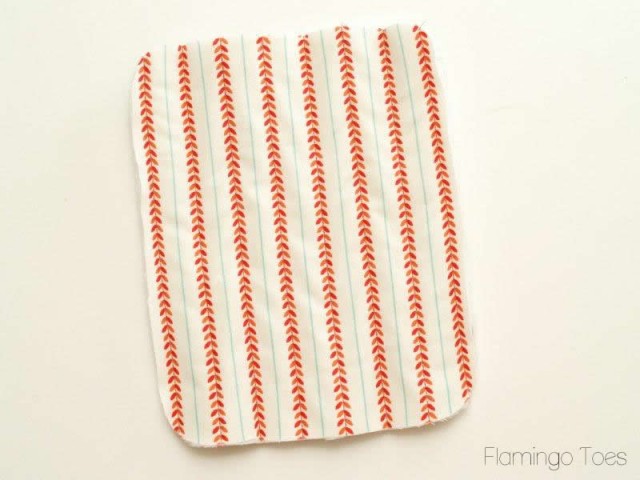
Layer together your back potholder pieces just like you did the front. Quilt the pieces together – you can do this any way you like. I followed the lines of the front fabric and quilted the pieces along the rows.
Sew around the edges with a 1/4″ seam and trim the edges.
Fold your long binding piece in half and press. Place your two potholder pieces together and pin. Pin it to the back side of your back potholder piece, like you did the top binding.
Sew the binding on with a 1/2″ seam – but leave the bottom section open. Make sure you have extra binding on both sides.
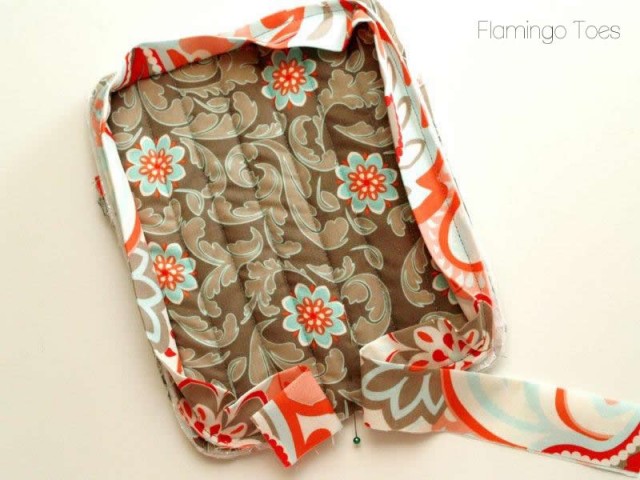
Mark the point where the binding would meet in the center. Open up the binding and sew the pieces together right sides together.
Press the seam open and fold the binding back in half. Sew the binding around to the front, just inside the folded edge of the binding.
That finishes it off!
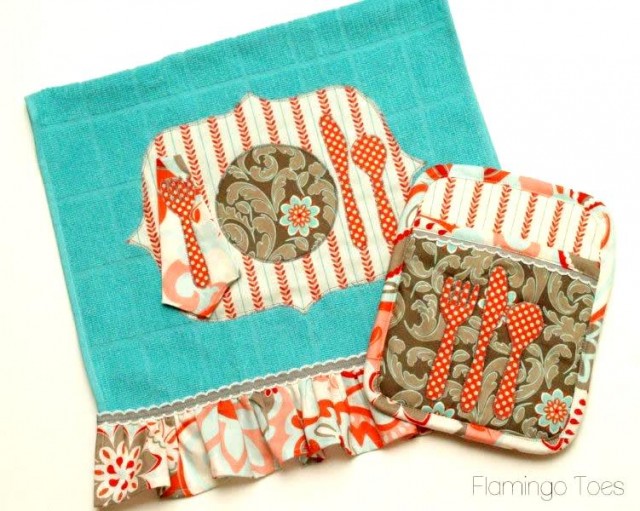
It makes such a cute set with the little Dishtowel!
I hope you enjoyed the series – I’d love to see if you make any of them!

What do you think?
Linking up awesomeness at Sunday Scoop, Today’s Creative Blog, Met Monday, Skip to my Lou, Quilt Story, Tutorials & Tips Tuesday, Shabby Creek Cottage, and the other fabulous parties on the party page – make sure you check them out!
~~~~~~~~~~~~~~~~~~~~~
Just a quick note: If you’ve been considering Ad Networks for your blog, you should check out the ad series over at byAimee.com! I am over there sharing about the ad network I use – Rivit Media. Come on over and check it out!


Wholly Moley! These are CUTE! I am totally pot holder challenged…you are so inspiring me to make some super cute ones!
What a great potholder tutorial. I love the matching set. Thank you.
Oh, I love the whole set. The apron is adorable. I wish I was that good with applique.
I could not do applique eather untill a frend showed me something on m machine if you have azig zag machine try all the stiches and fine one tha works for you thats what she showed me and now I am akeing christmas table runers fo sale, good luck joann
Very cute. I love the trim.
Bev, you seriously amaze me, my friend. Every time you whip out a potholder like that you move up another notch on the “wowza” scale. I mean, these need padding and everything! So many layers!
And of course the fabric is to die for. Love it!!!
This is really cute. And I love your philosophy of having pretty things to use, not just display, I totally agree!
You continue to amaze me with your incredible ideas. Once again…perfect!
This is one very beautiful potholder, and I couldn’t agree with you more! Why not use something amazing?! Life is short, enjoy every moment! Thanks for this great tutorial. It looks easy. I may have to try it one day.
So very cute, and GREAT tutorial, as always!
Just the kind of thing I’ve been wanting to make with all my scraps! Found this on allfreesewing.com (one of my favorite sites!).
Gosh, these are so cute…. I had just started thinking I needed new potholders and dishtowels and you have inspired me. Have a lady I work for who loves cats…. will be incorporating cat fabric into mine…. ^_^
You are so talented… thanks for sharing with us….
Hi, I’m new to sewing and this might seem like a dumb question but is there anyway you could add a back view to your lovely potholder. The visual would be so appreciated. Thanks!
I love the potholder! I can see that the width is 7 1/2 in. What is the length..top to bottom..of each piece? Is there a pattern for the silverware appliques?
How adorable is this!
these are really cute I am going to try making them for Christmas presents
I would love to make this darling little potholder but the sizes of all the pieces are never given….do we just make up the size? I found the patterns for the silverware but would love to know sizes of the rest of the stuff. Thanks
Rosemary, you can print the pattern, that’s where the measurements are.
The link to the pattern is at the bottom of the materials list.
I love this potholder, it’s really beautiful! Thanks for sharing this lovely tutorial!
I featured it on my blog, you can see it here: http://www.sewingshop.net/blog/potholder-with-cutlery-applique/
I just made 3 potholders for myself and 2 of my daughters. Your directions were so easy to follow and they are a good size. Thank you!