Here are some basic Jewelry Tips that we use all the time here at Flamingo Toes!
I hope this will be a great reference for you in your jewelry making. These are basic, starter skills that you’ll use in a lot of the tutorials here – and in most jewelry making!

Flat Nosed Pliers
These are great for holding rings and chain, as well as crimping beads.
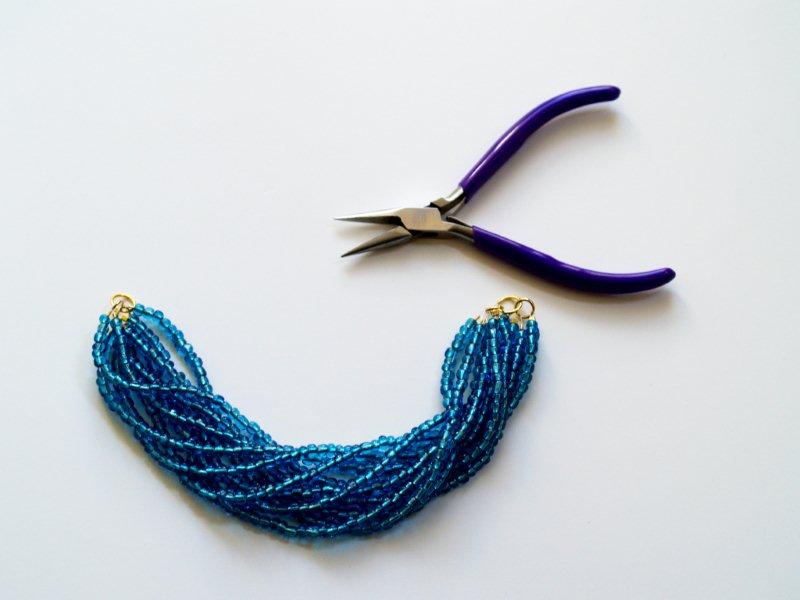
Round-Nosed Pliers
These are just like your flat nosed, but round. Shocking huh?
Use these for holding rings and chain, but also for creating loops with wire.
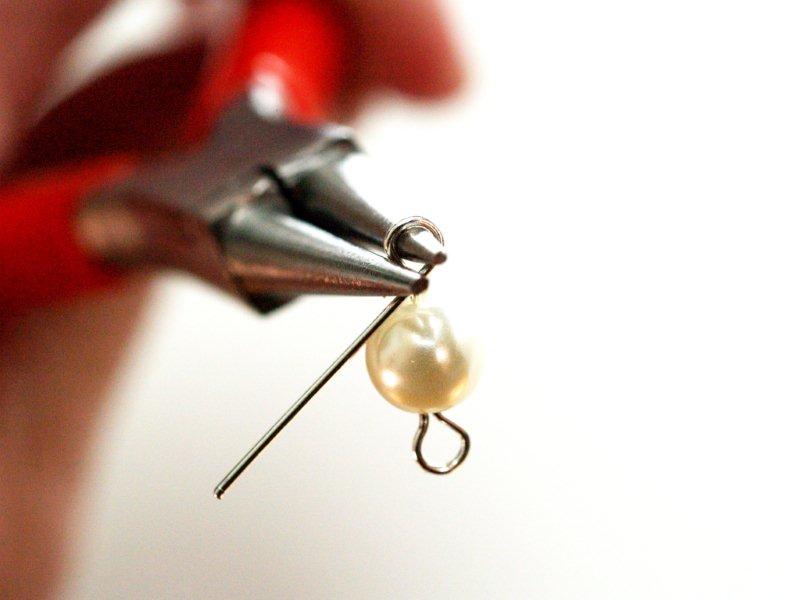
Wire Cutters
These are small wire cutters – you don’t need anything too crazy and huge. Use these for cutting wires and chain.
But remember, always point the wire cutters away from your face. The last thing you need is for the end of a head to meet your eye.
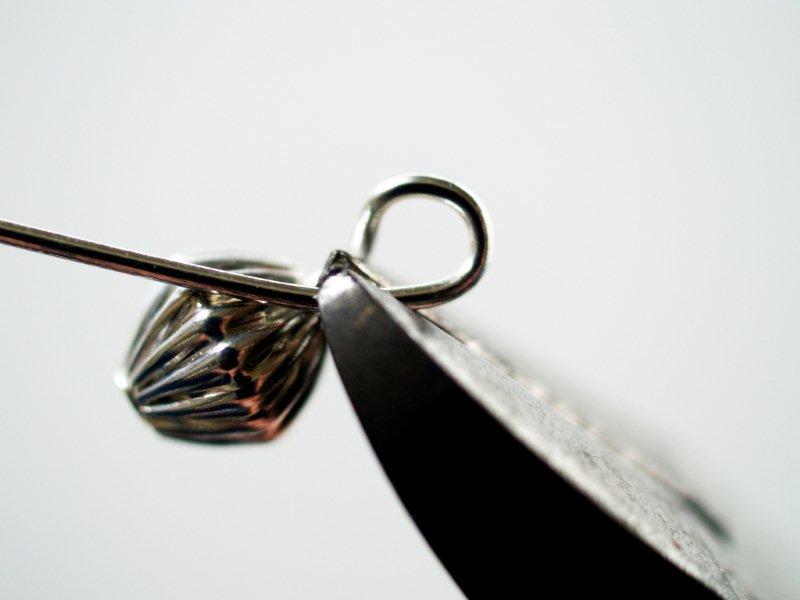

Jump Rings are just rings with a cut in them. Always open jump rings by twisting the open ends away from each other.
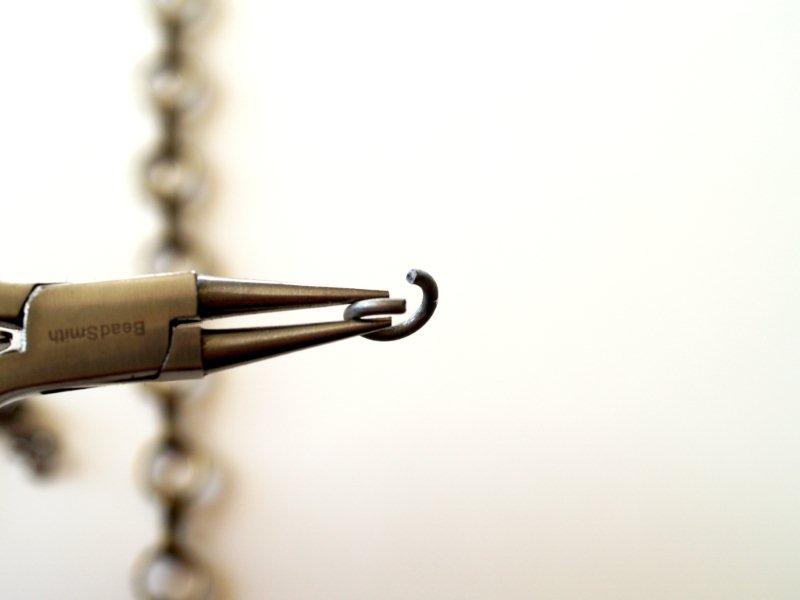
Don’t open them by pulling the ring wider. This will weaken the ring and distort its shape. Close the ring the same way, by bringing the ends back together.

Place your bead on a head pin.
This is a wire with a flat end. They are sold in most craft stores – or you can make your own if you are super talented. In which case you probably don’t need this tutorial. :)
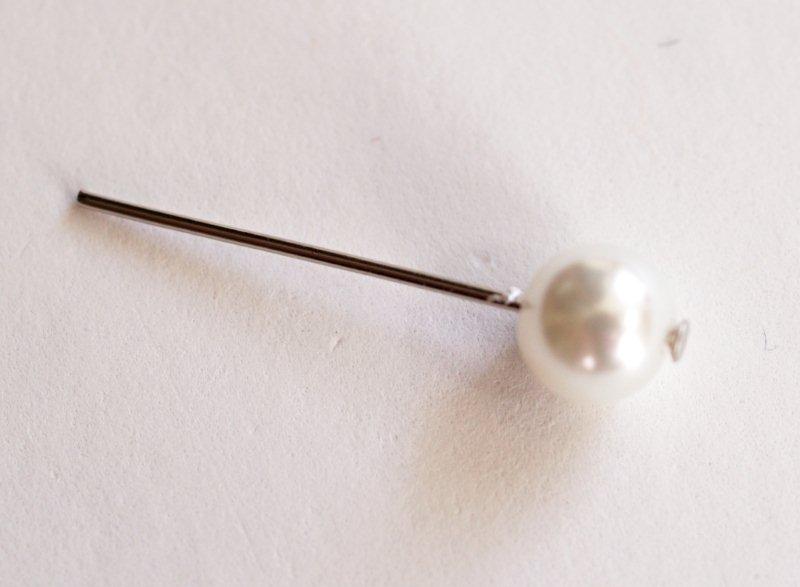
Bend the pin at a slight angle a the top of the pearl.
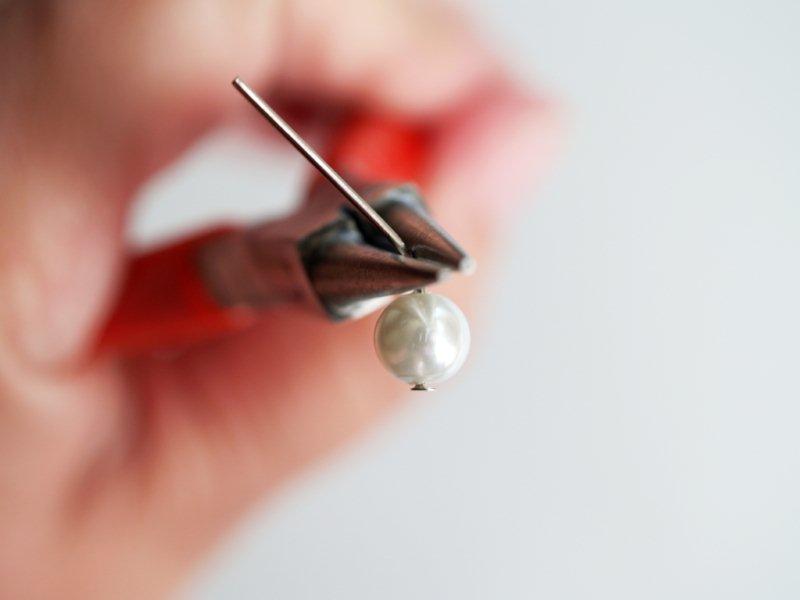
Wrap the pin wire around one side of your round nose pliers, making a loop.
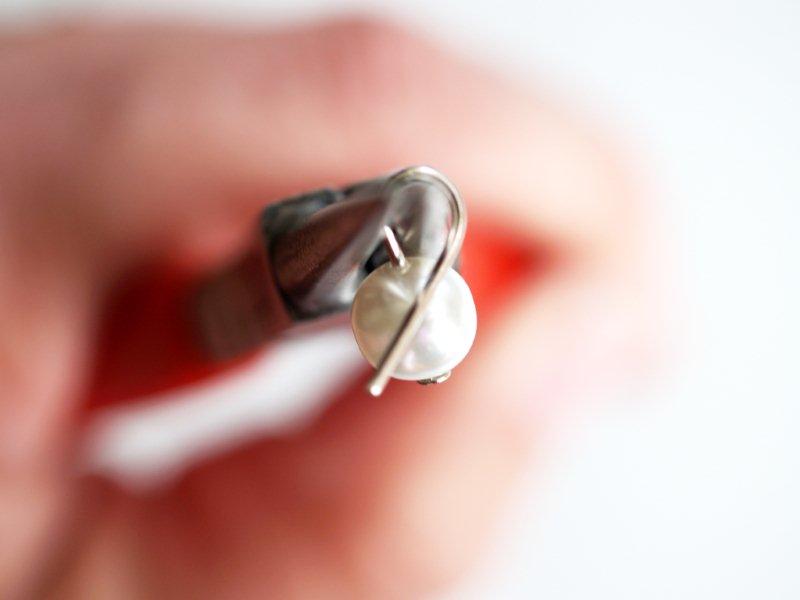
Clip the wire off at the top of the pearl using your wire cutters. Remember to point the flat side of the cutters away from you.
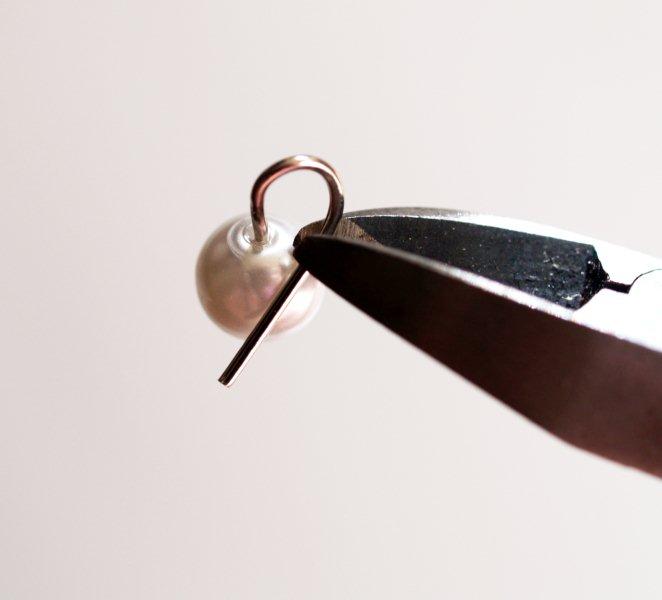
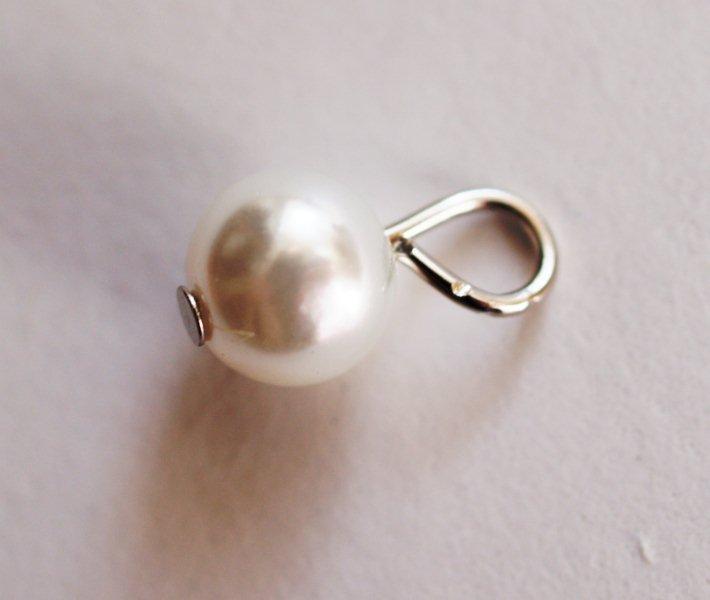
Bend your pin wire just a bit more so that it makes a complete loop.

A briolette sounds scary but it’s not. It’s just a bead that has a hole that goes across the top – instead of through the center of the bead. Usually they are tear drop shaped.
To make a wire loop for a briolette – cut a length of wire about 5″ long. I used 24 guage wire.
Feed the wire through the hole on the bead – leave one side a little shorter than the other.
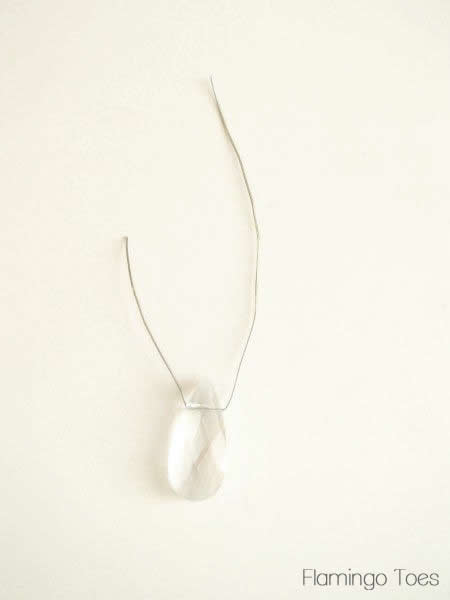
Cross the wire over the top of the bead. With flat nosed pliers, bend the short side so it’s perpendicular to the bead, bend the long side so it’s straight up
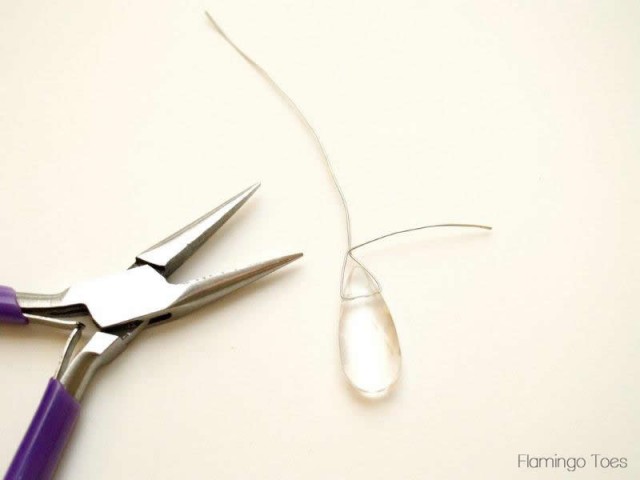
Hold the wire in your flat nosed pliers, just above the bead. The bead should be to the right of the pliers (if you’re right-handed).
Grasp the small end of the wire with round nosed pliers and begin wrapping around the long end of the wire.
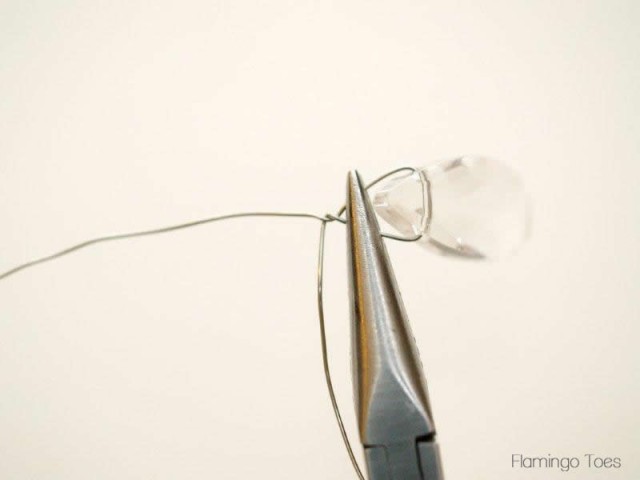
Wrap the wire two or three times, then cut the remainder of the short wire.
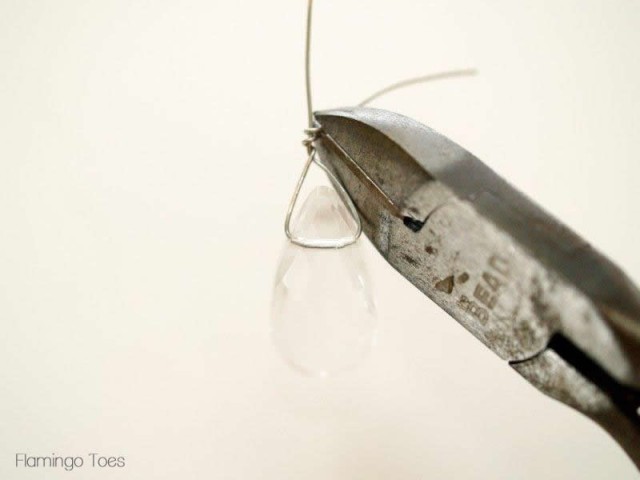
Use your pliers to make sure the cut end is flat against the wire.
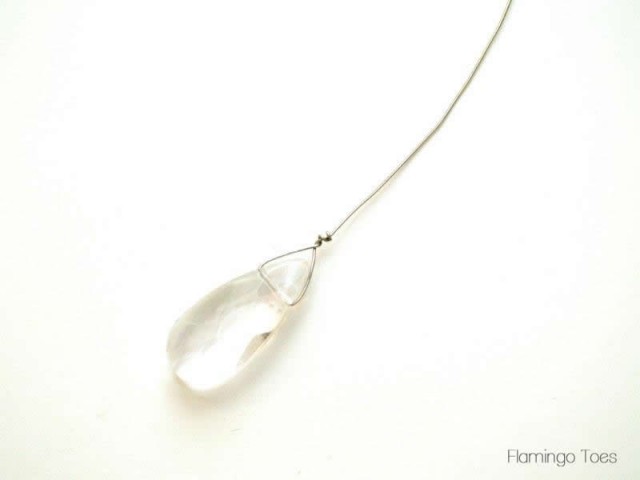
Create a loop above the wrapping with your round nosed pliers.
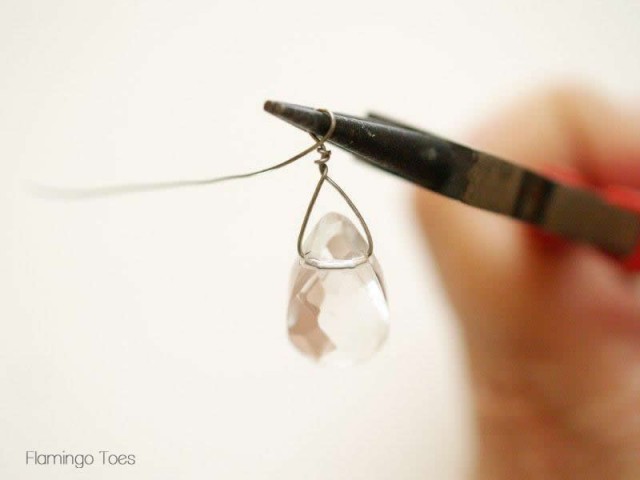
If you are adding the loop to a chain, slip the end through a link in the chain, without bending your loop.
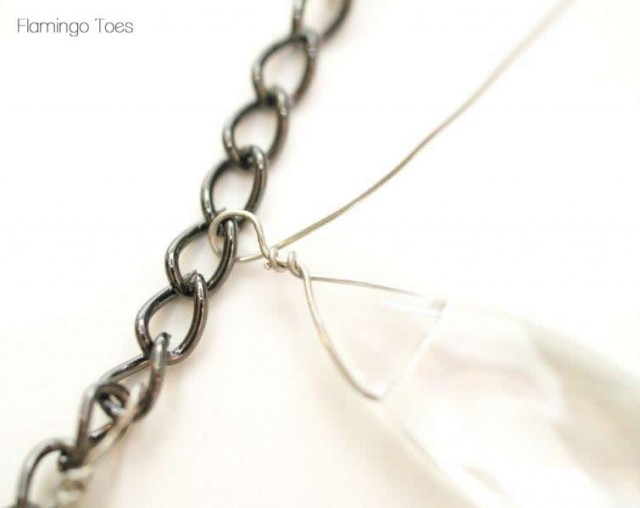
Hold the wire with flat nosed pliers at the loop section.
Wrap the end of the wire around the main wire, covering the other wrapping. Try and keep your wrapping as neat as possible – (not like this so much lol.)
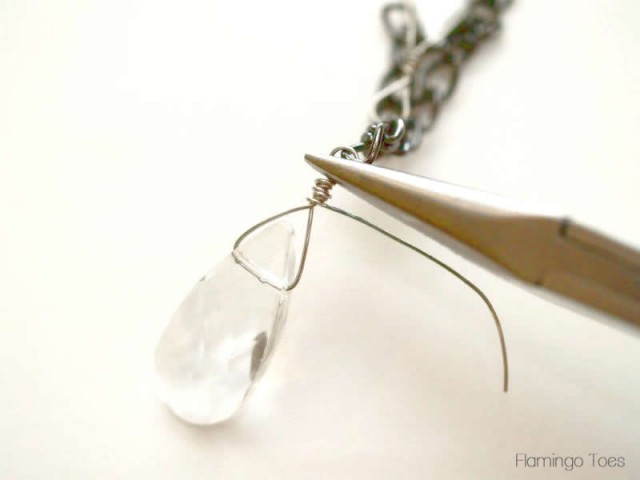
Clip your wire end and make sure the end of the wire is tucked up against the loop.
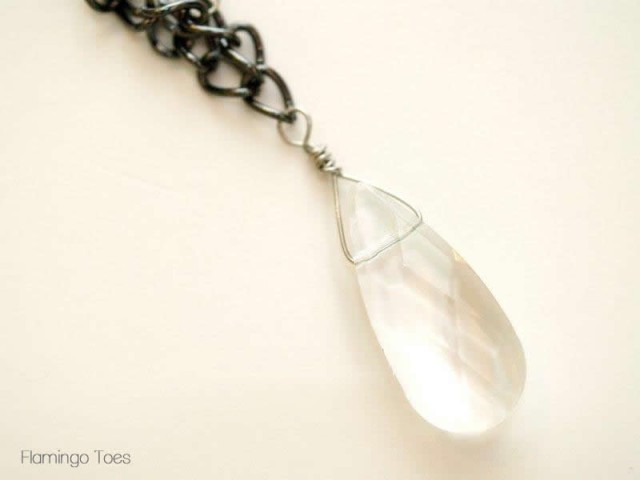

You can use plastic or thread cording to string beads.
Usually we finish a bead strand with a jump ring, this makes it easy to add to other strands or necklace closures.
I recommend you cut your cording at least 4″ longer than the length you’ll need your strand to be. That way you have plenty for looping around the jump ring.
Thread a crimp bead onto your length of cording and loop the end around a jump ring, then thread the cord back through the crimp bead.

Leave a tail of about 1″. Crimp the bead tightly, but leave a little loop so the crimp bead is not right up against the jump ring.
Crimp the bead tightly with flat nosed pliers. This will hold the cording in place.
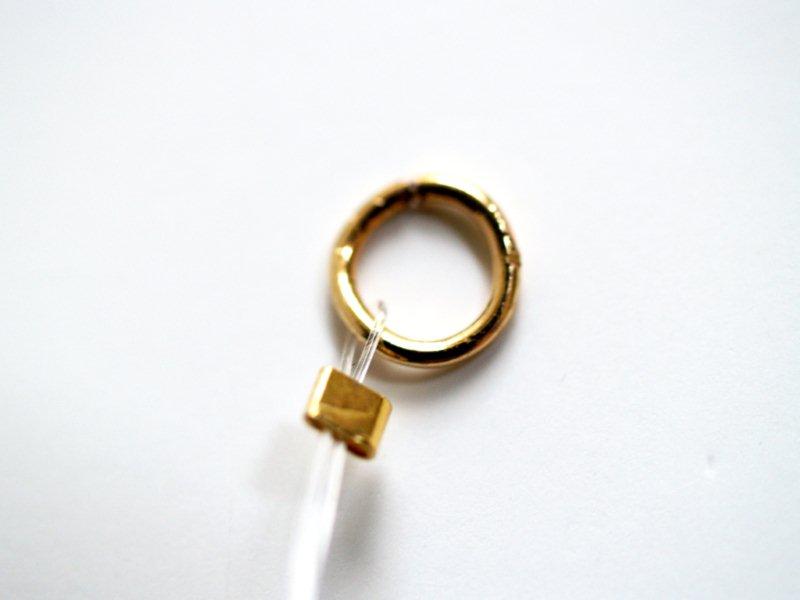
Thread beads onto the cording – it will help control the cording if you thread the loose end through a needle.
As you thread the beads, make sure they cover the small end of the cording as well.
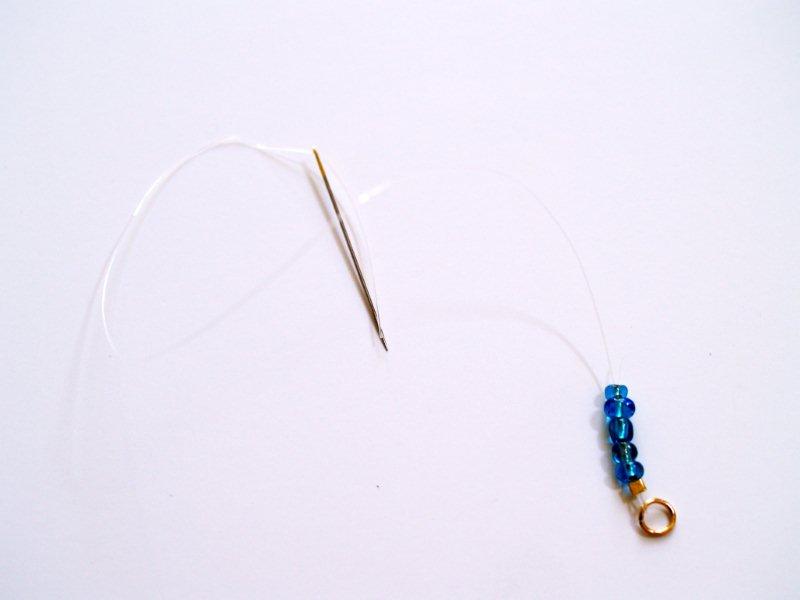
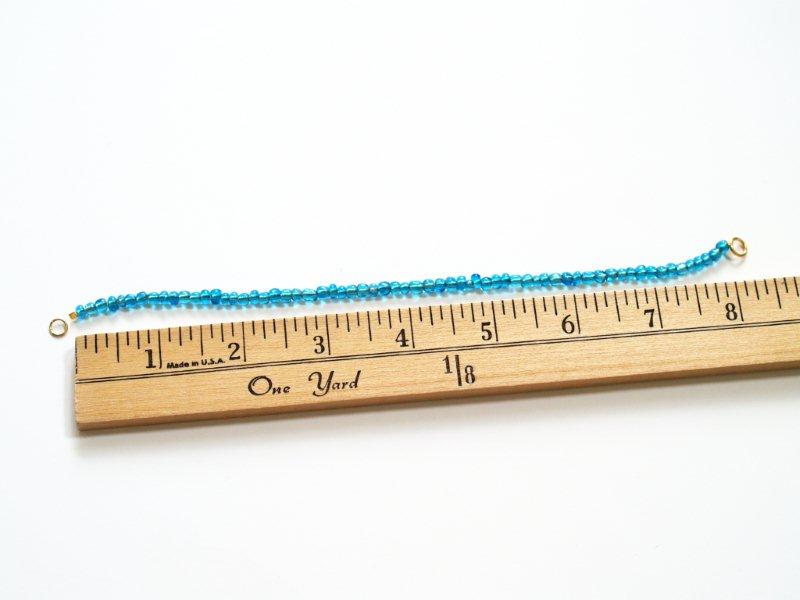
Continue threading beads until your cord is the length you want.
Finish the cording the same way you did the other end, with a crimp bead and jump ring. Cut your cording so you have about one inch left and feed that back through your beads.

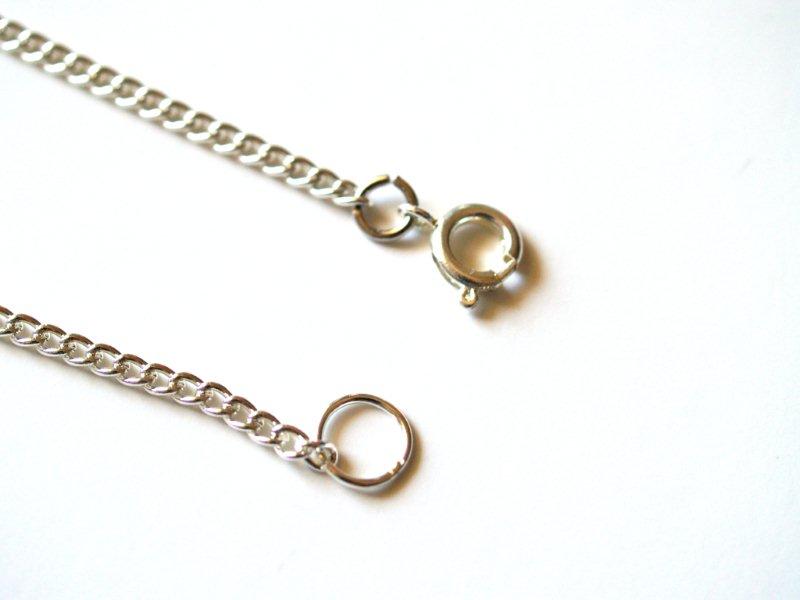
One of the best ways to finish off a necklace is with a Lobster Closure. Now that you know how to do jump ring, these are easy peasy.
Just add the lobster end of the closure to one of your chain with a small jump ring, and add a large jump ring to the other end of the chain.
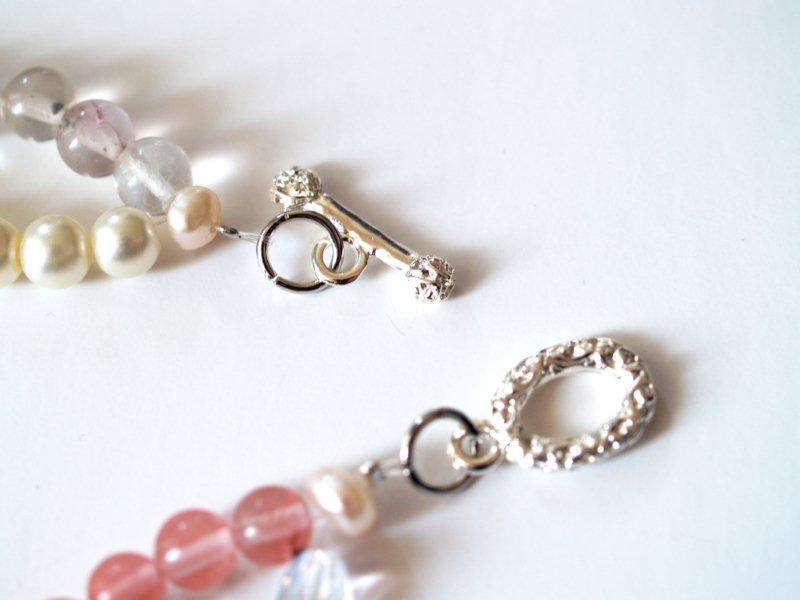
You can also use a Toggle Closure. This is a large ring for one side of the necklace, and a post for the other side.
Attach each piece to the sides of your necklace chain with jump rings.
There are lots of other closures – these are just a couple easy ones.
That’s it for now, I’ll be adding more as we use them. If there’s anything you have questions about, let me know!

Perfect. :)
THANK YOU for such precise and simple instructions. I am VERY new to this area of crafting, but I am eager to learn and make stuff for gifts.
Thanks so much for your great instructions and pictures!
I’ve been searching for something simple like this. This is so helpful, and I’m beyond grateful! I never comment, so that’s how happy I am :)
good instruction and pictures. I use lobster clasps, but I’ve branched out to use the closures that screw closed and open. If I’m making something a bit pricier, I use magnetic clasps and add $5 to the cost. They go on the same way as the lobster clasps, just cost more to use.
I invested in a crimper tool – it looks the same as pliers and wire cutters – but it is specifically designed to crimp the crimp beads – in fact with the crimper I do the crimp twice – the second time I catch the edges and fold them over – making a very secure crimp. It’s a nice to have but not absolutely necessary.
exelente este sitio ,me encanta muchas gracias por compartir tantas cosas bonitas.
Another suggestion – if you are going to work with memory wire you will need another wire cutter – one that is designed just for memory wire cutting. Memory wire is really hard to cut with regular wire cutters, but you can do some fun, cool stuff with memory wire.
Im really interested in making my own jewelry but couldn’t figure out some of the stringing and attachments until now! Love your instructions and pictures that actually show what you are talking about. THANK YOU and I look forward to more of your tutorials.
what size/type of needle do you use for stringing the beads? thanks
Finally someone who covers all the bases, has great pictures, plus simple info others don’t seem to think I need. I’m very new to this and will rely on your information and instructions all the time. Thanks so much.
So happy to have found your Wonder Filled Site plus all your FAB Tutorials.
Thank you for the instructions. Check out my shop: etsy.com/shop/GabbysBoutique2
This is a great tutorial especialy w/pictures. Thank you. So many people speak of what to buy but leaves confusion if new the craft.
Wow! now the only thing left to do is to buy a Flat Nosed Pliers to set my necklace right :)
I’m so happy I found your webiste! I am a serious crocheter and knitter. Thanks, Bev! (and others! I know from experience that these sorts of things are hard to do alone!) :D
Thanks for the tips. Your attention to detail with the photos is extremely helpful. Loving the blog