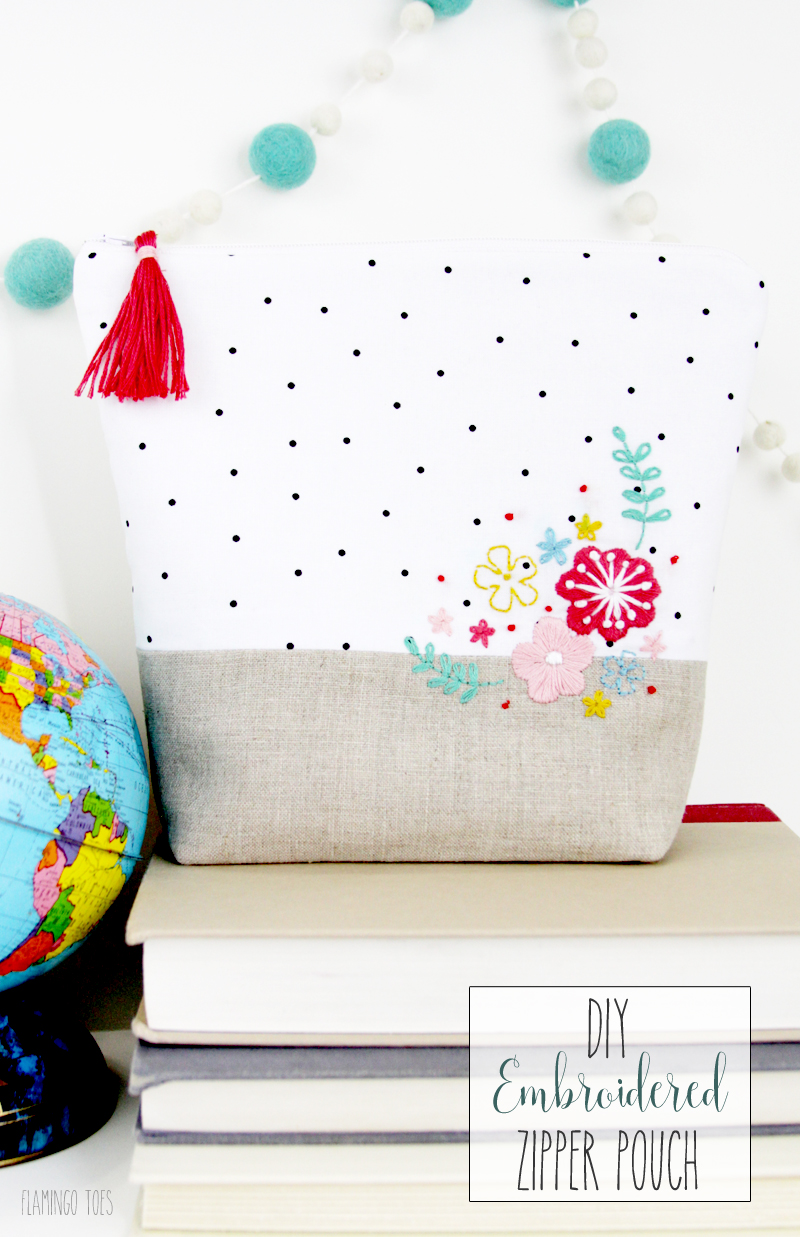
I’m kind of addicted to making zipper pouches! They are so great for keeping things organized and you can make so many different varieties.
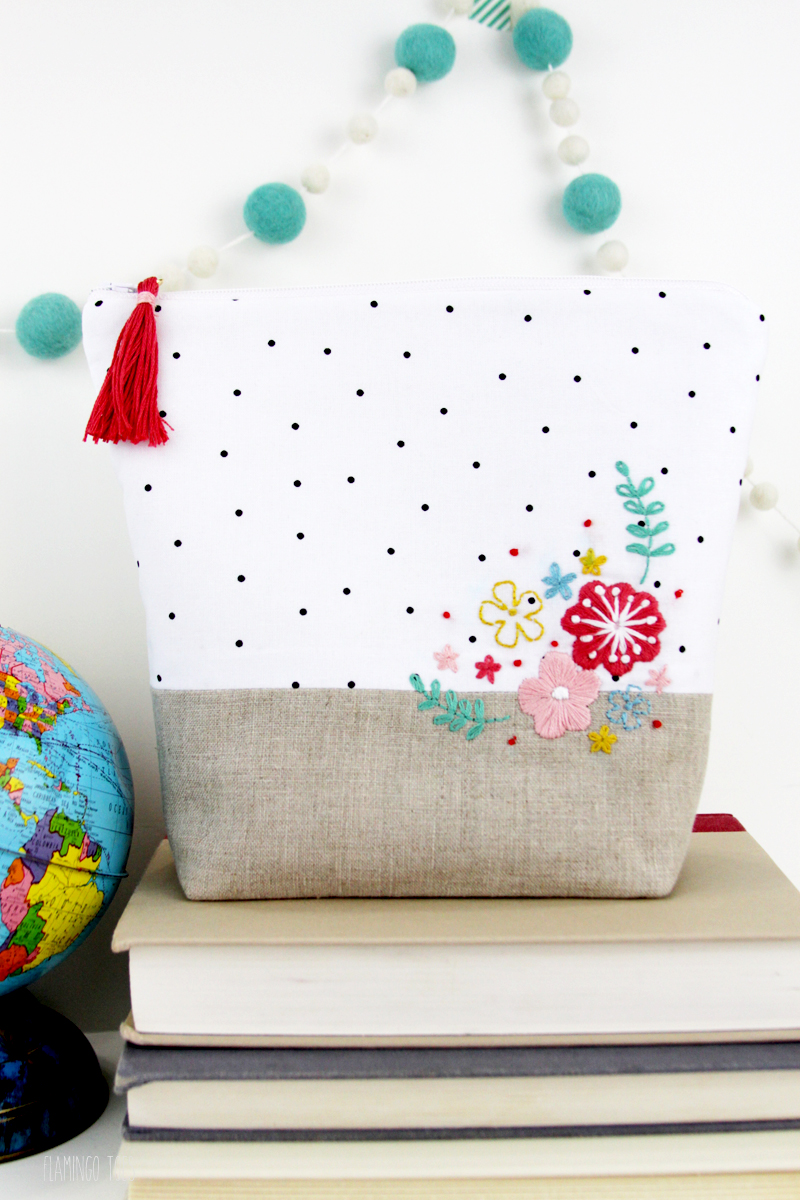
This sweet little DIY Embroidered Zipper Pouch is so fun to sew up and it would make a great gift too! Or you could buy your friend a Starbucks card and keep your cute zipper pouch. I won’t tell on you. ;)

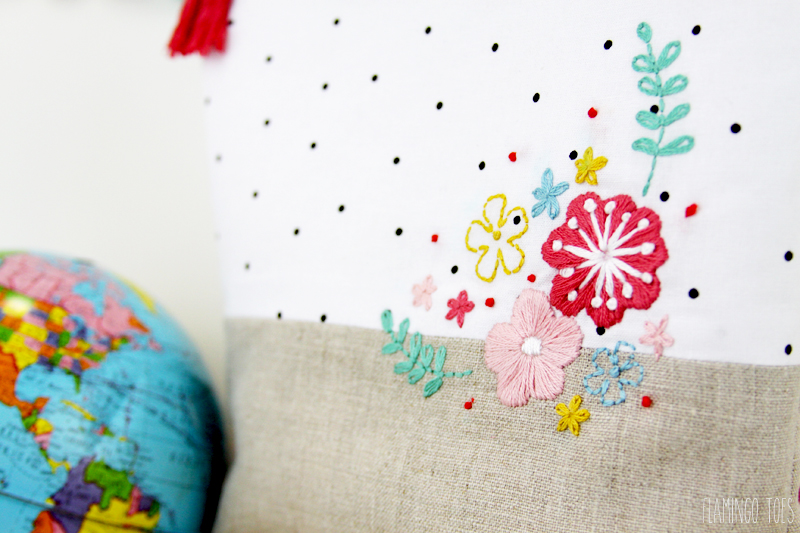
Our bag is all decorated with a little embroidered flower garden. If you haven’t done embroidery before, I have some great basic stitch tutorials you can check out. I promise anyone can do this!
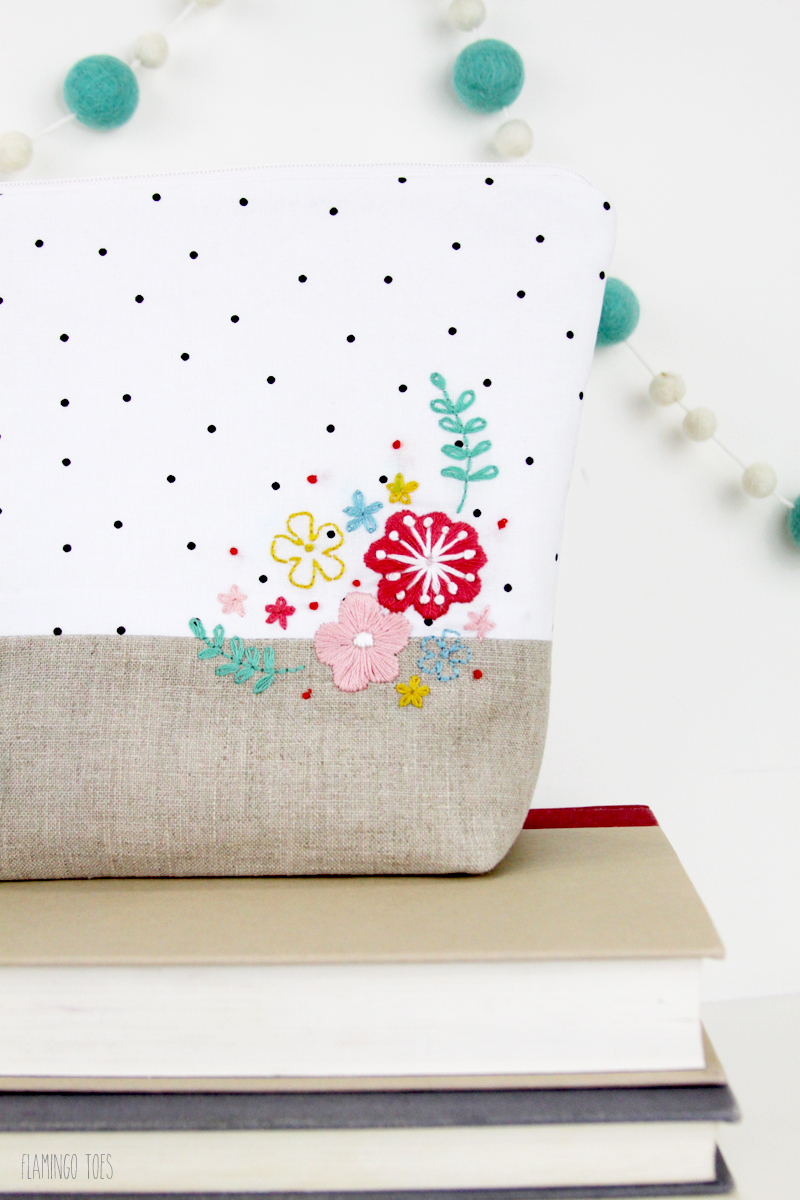

Are you ready to get started? Here’s your materials list:
- Top Outer fabric: 2 pieces 10″ x 6″
- Bottom Outer fabric: 2 pieces 10″ x 5″
- Lining fabric: 2 pieces 10″ x 10″
- Fusible Fleece: 2 pieces 10″ x 10″
- 9″ zipper
- DMC Embroidery Floss: white, 597, 666, 761, 992, 3820, 3832
- Embroidery Needle and Embroidery Hoop
- Gold Jump Ring
- Floral Embroidery Pattern
- Coordinating thread, plus sewing machine, scissors and marking pen
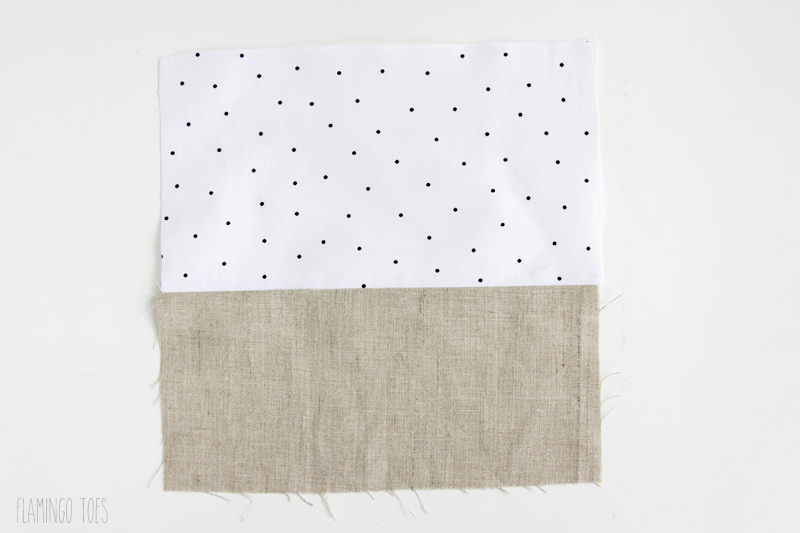
Begin by sewing each of the top outer pieces to a bottom outer piece, so the print is on top and the linen is on bottom. Use a 1/2″ seam allowance and press the seam open.
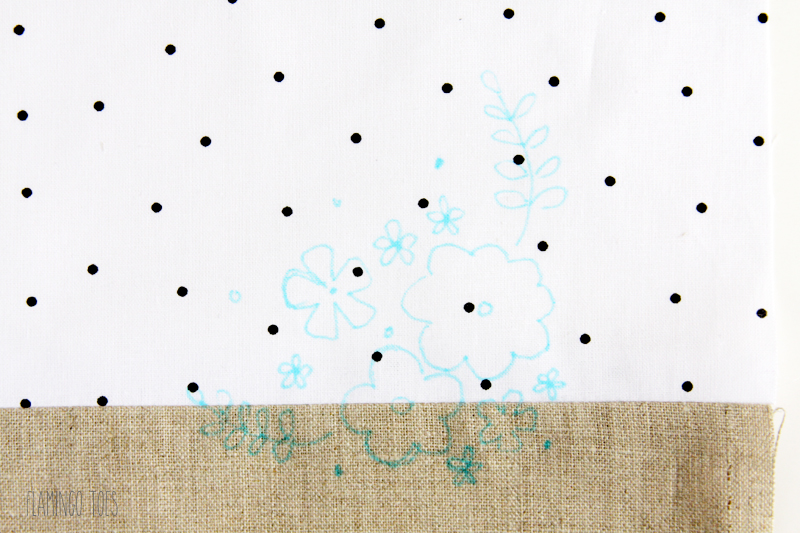
Trace your embroidery design onto the fabric so it overlaps the linen just a bit, 2″ from the right side of the fabric.
Stitch the design according to the pattern.
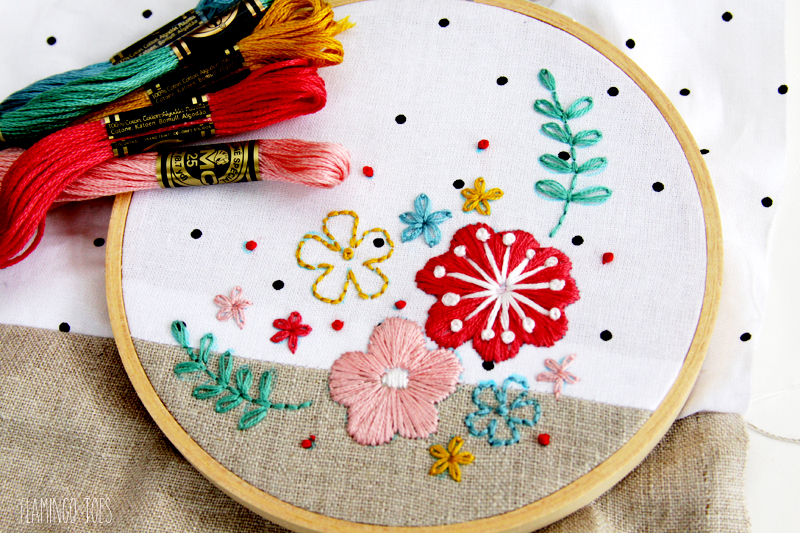
Once you’ve finished your embroidery, remove it from the hoop and press the piece. Remove any visible marking pen as well. Press the wrong sides of the front and back outer pieces to the fusible fleece.
Lay the front outer piece of the zipper pouch down face up. Lay the zipper face down along the top edge of the piece. Layer the lining piece face down over this, lining up the top edges. Sew along the top of edge of all three items, using a zipper foot.
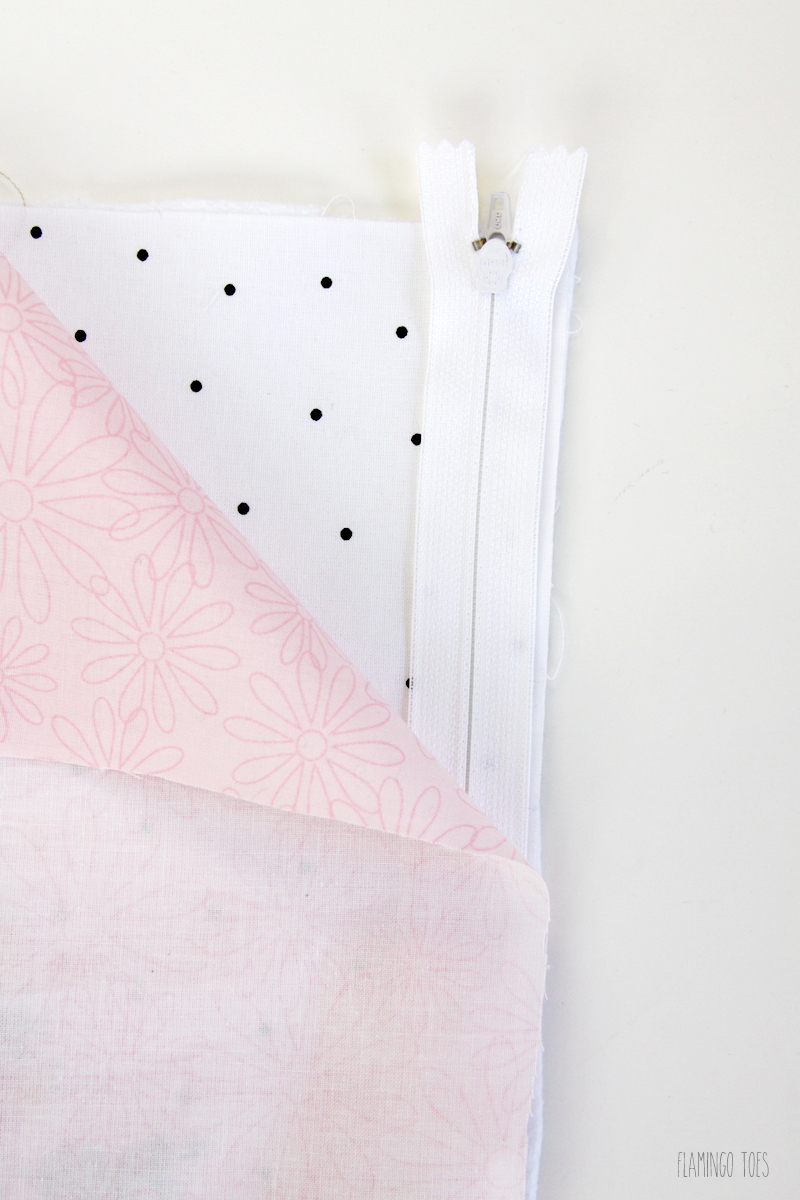
Open up the pieces and fold the lining back so the wrong sides of the pieces are together. Line the remaining back outer piece and lining up with the other side of the zipper. You’ll want to make sure the right sides of the lining are facing each other and the right sides of the outer fabrics are facing each other. Sew the fabrics to the other side of the zipper.
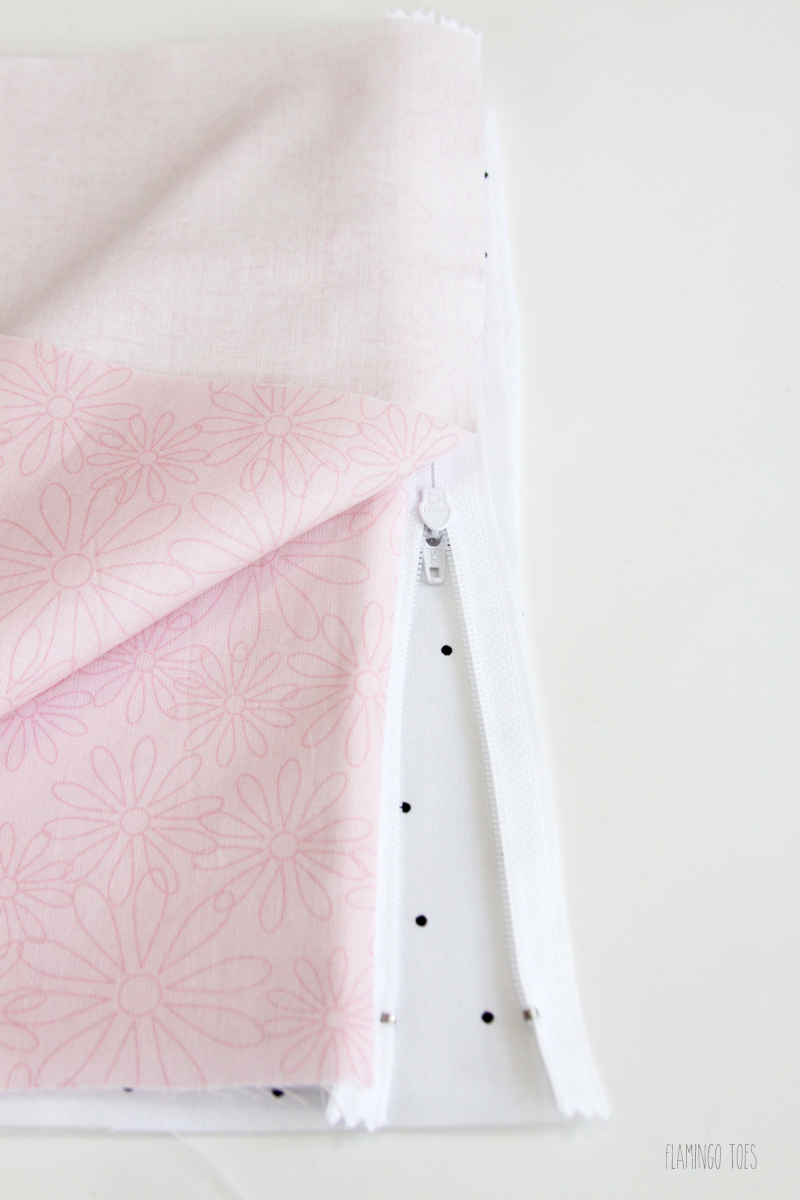
Open up the fabrics and press away from the zipper.
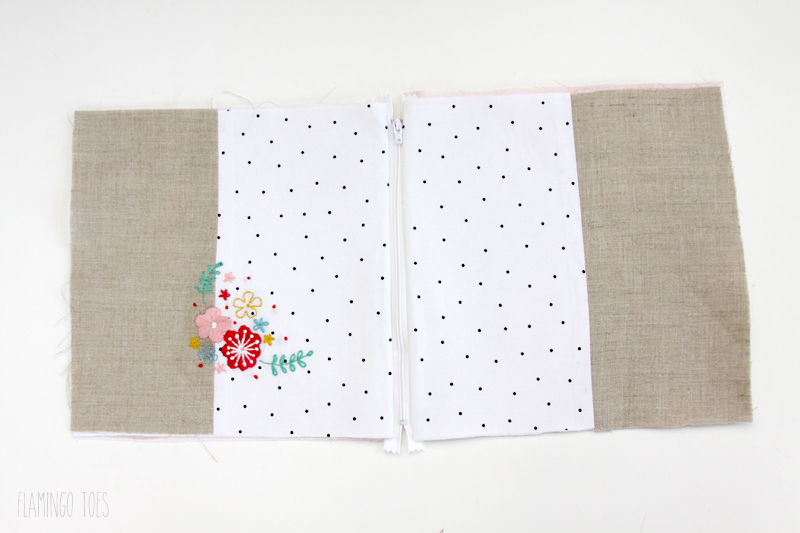
Fold the front of the lining pieces together so the right sides are facing each other and do the same with the lining, to make a large rectangle with the zipper in the center. Open up the zipper a few inches. Sew around all four sides, leaving an opening in the bottom of the lining piece for turning the fabric right side out.
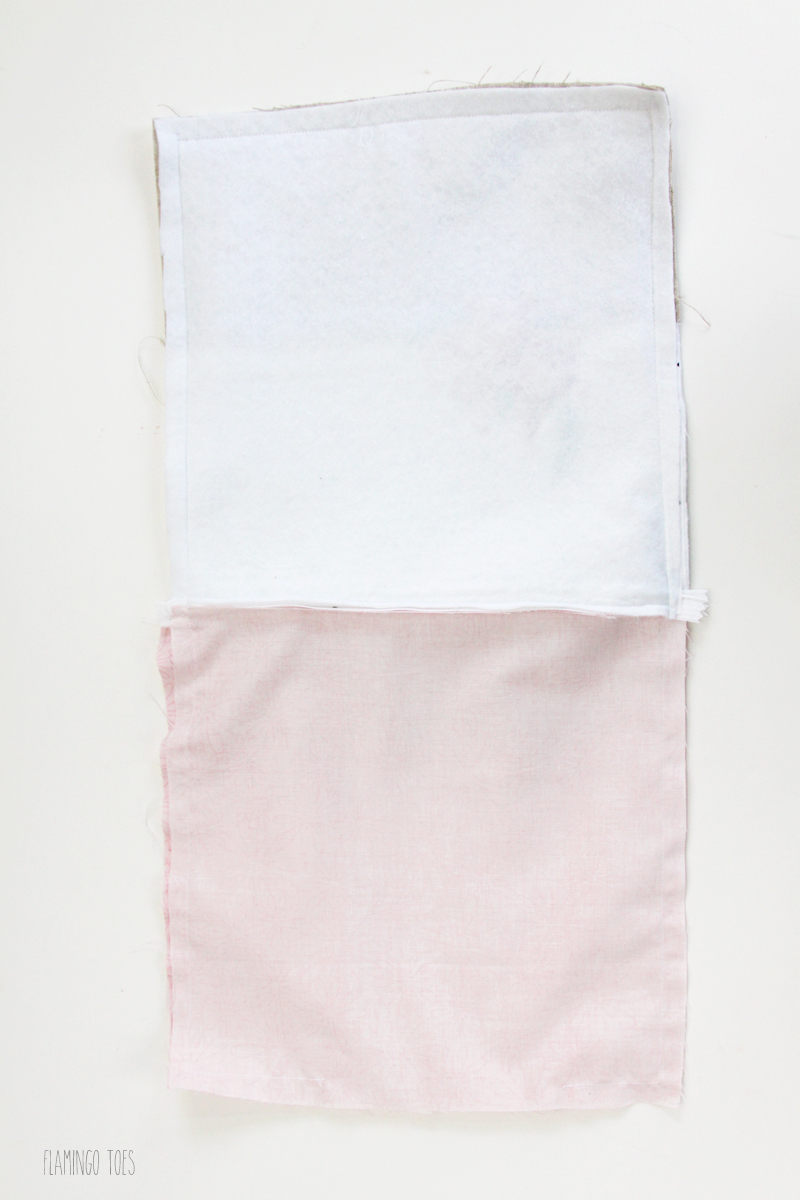
Clip all four corners.
To make the box edges of the bottom, take one corner and fold it into a triangle with the corner at the top and the side seam meeting up with the bottom seam. Measure down from the point 1 1/2″ and draw a line. Sew across this line.
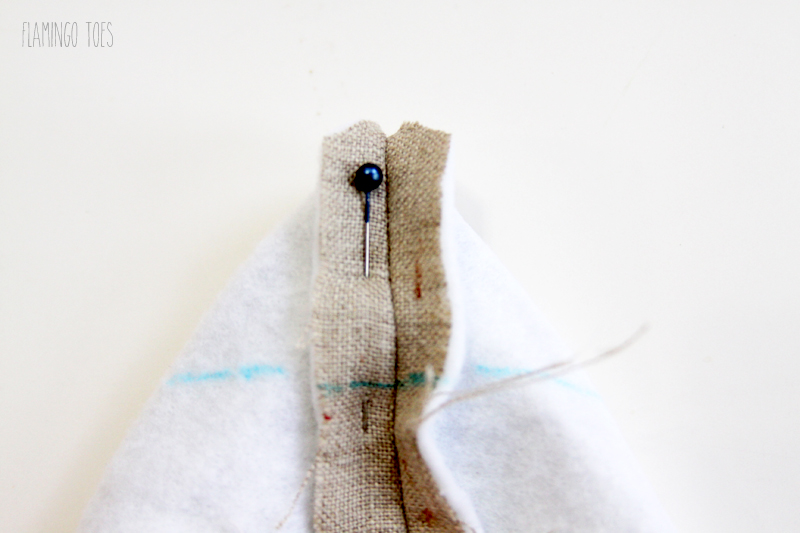
Repeat for all four corners. Trim off just below the seam. Turn the pouch right side out and hand sew the opening in the lining closed. Tuck the lining into the pouch and press.
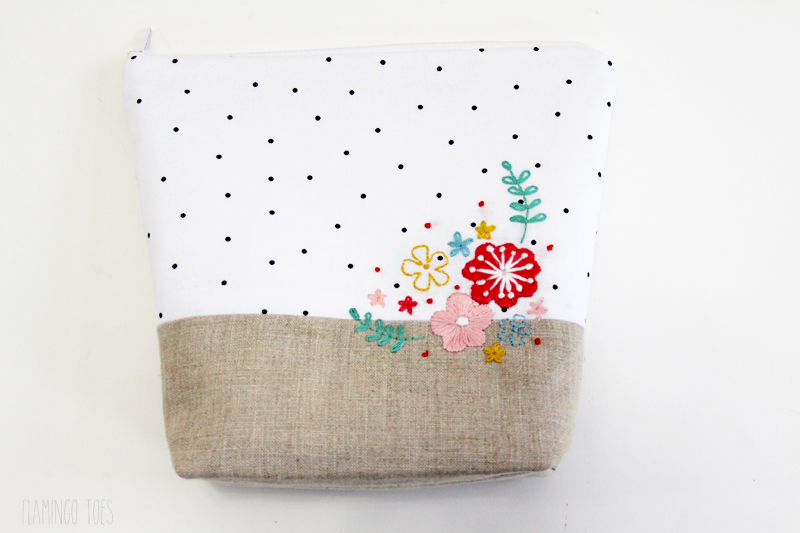
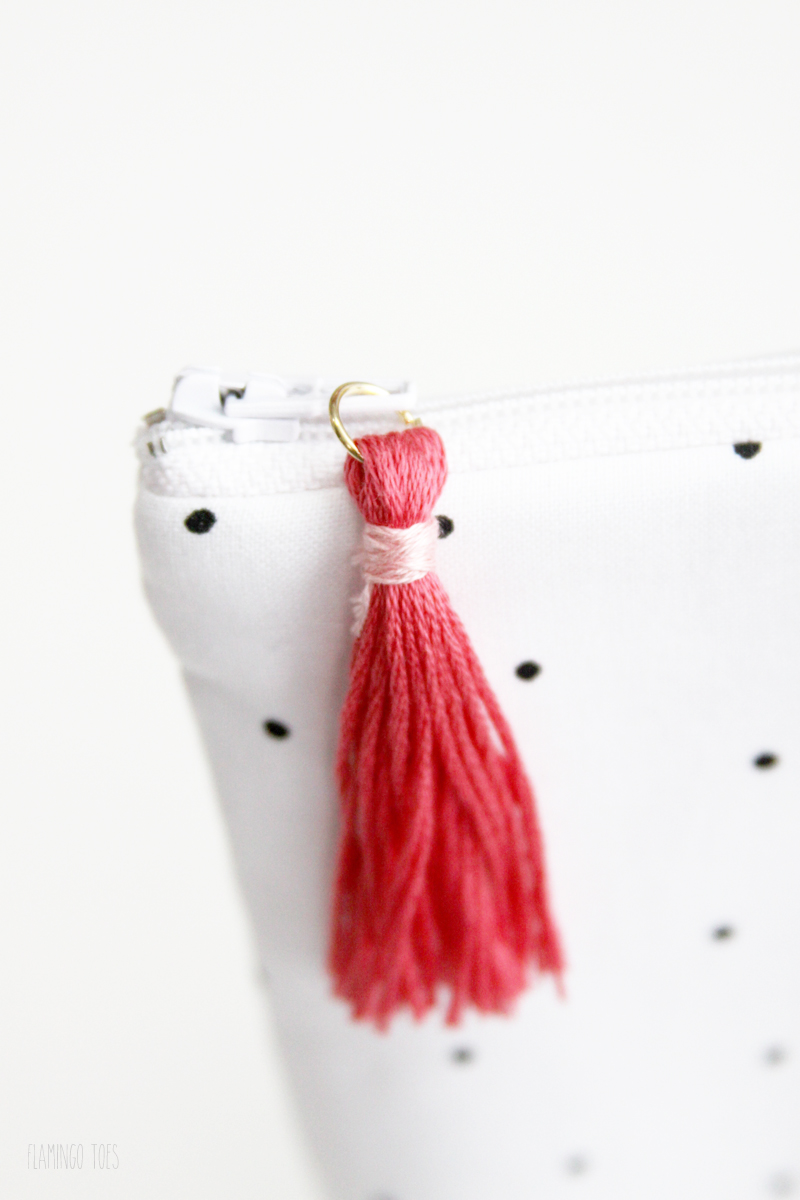
Make a small tassel from one of the embroidery floss colors and add it to a jump ring. I have a super easy tutorial for mini tassels here.
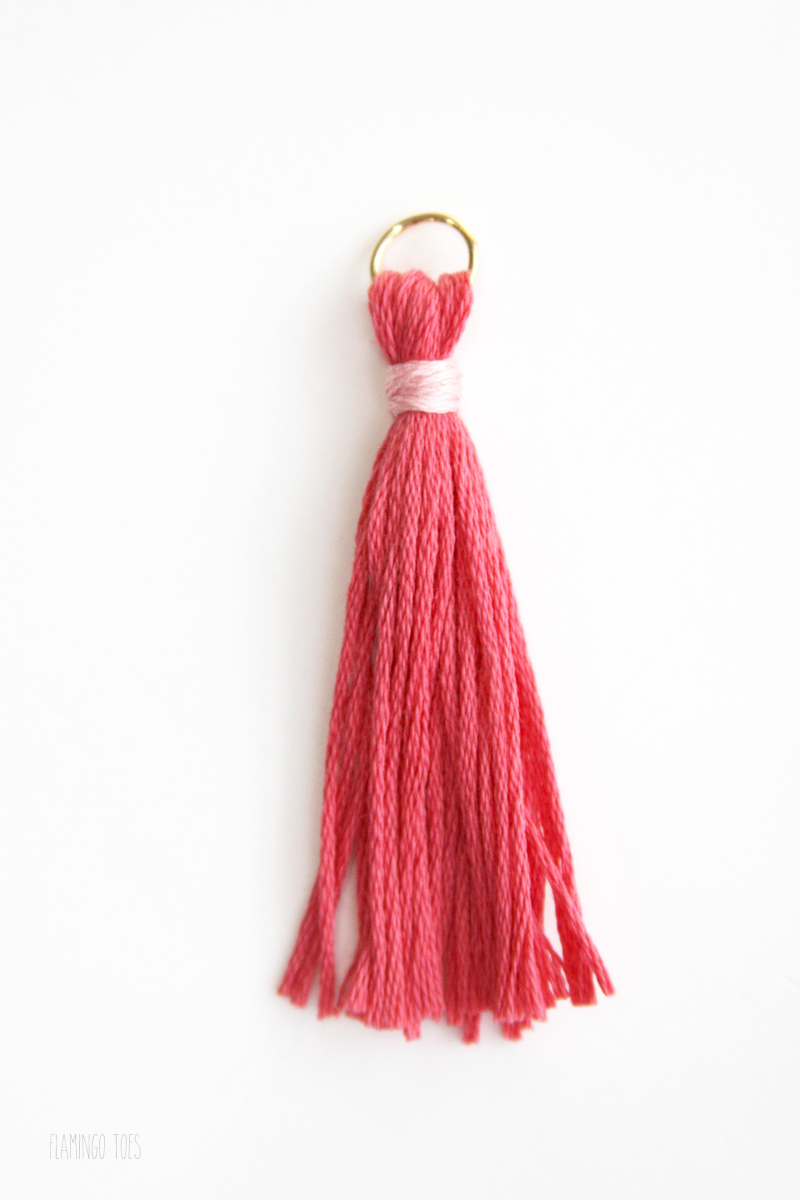
Add the jump ring to the zipper pull and close the ring. Now you’ve finished off your cute embroidered zipper pouch!
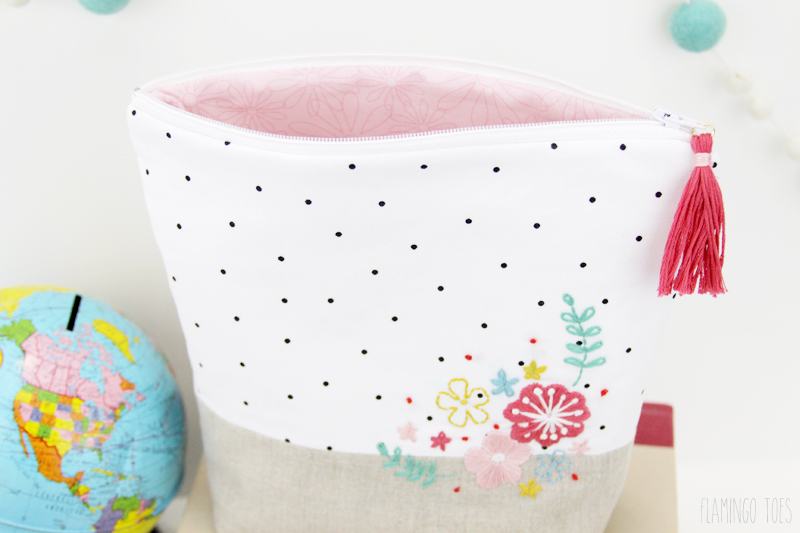
I love how the lining looks when you open the bag. You could use a laminated lining too if you want – then it would be great for makeup!
I hope you give it a try!
Here are a few more fun projects you might like!


Definitely on my To-do list. Getting back into embroidery after a long hiatus. Love your designs and this tutorial is well done. Thanks for sharing !
I also love zipper pouches. This one is really nice and your embroidered flowers are very pretty! Thanks for the pattern and tutorial!
Love your zipper pouch looks awesome. I use zipper pouches as a handbag inside a handbag, I put all my bits like chapsticks, tissues etc inside them instead of loose in my bag.
Thanks
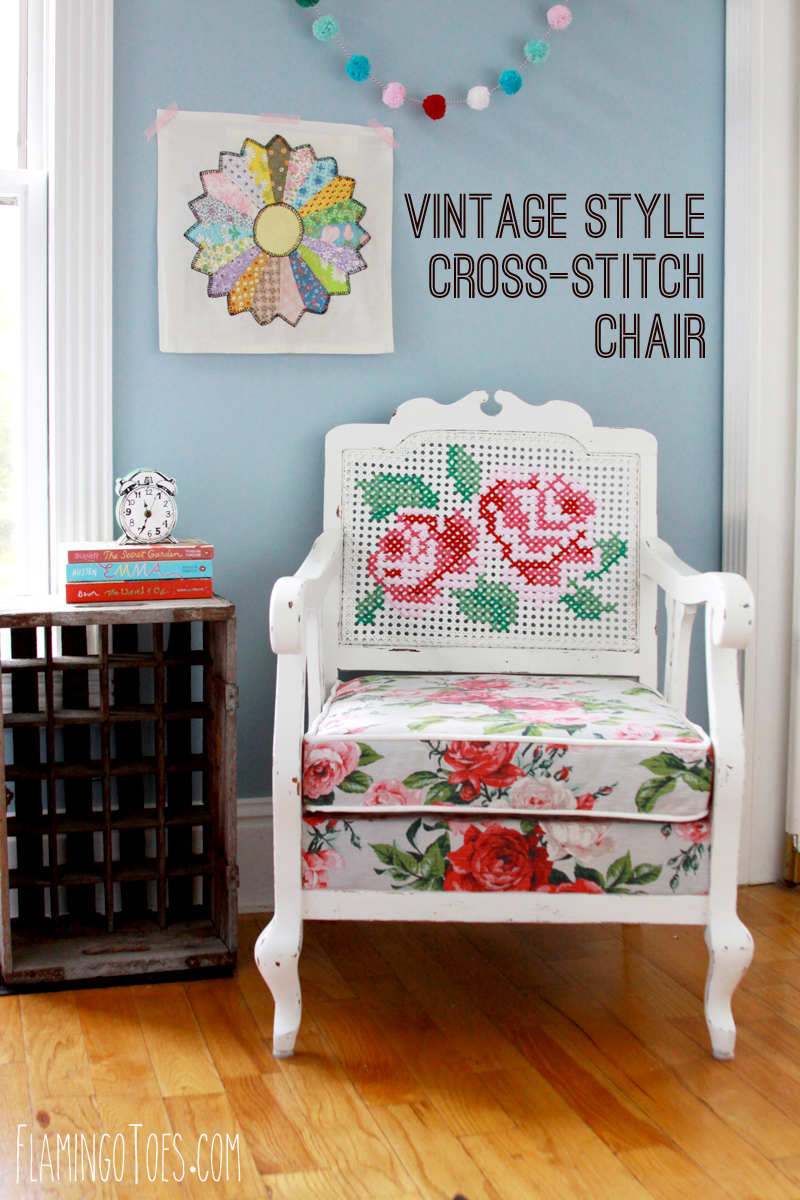
Wow, Bev, you are so GOOD! Just love the little embroidery on the pouch, and the colors are perfect! Thanks so much for sharing on craft schooling Sunday! And noticed that quilting square taped to the wall in your cross stitch chair photo, I actually have about ten of those that I picked up at the flea market like 20 years ago and still haven’t figured out what to do with them! They’re a bit brown, so i guess at some point I should really wash them. And now you’ve inspired me to get them out and at least share them! Thanks so much for sharing on craft schooling Sunday, great to reconnect in 2016!
Beautiful! Love the Embroidery. Thank you for sharing with us at Snickerdoodle Sunday! Would love it if you would share this or any other posts with my readers at Brag About It link party – a Tuesday link party that starts Monday at Midnight. Hope to see you there!
~Laurie
Absolutely love this, the colours are lovely and vibrant! Thank you for sharing with OMHG Wonderful Wednesday Link Party.. Have a great day, co-host Evija @Fromevijawithlove x
Just beautiful!! You are a gifted artist, my friend. :)
I love to make little purses too, they’re useful for so many things! Your embroidery is beautiful, did it take you very long to do?
Thanks Anna! The embroidery on this piece was pretty quick – I think it took me about an hour and half. Perfect for doing during a movie! :)
Let me know if you have any other questions.
Thanks Anna! This wasn’t too long – I don’t remember exactly but maybe about 2 hours? :)
This is soooooo cute! I’ve sworn off sewing because I’m that horrible at it, but this kinda makes me want to try one more time. LOVE!
What a sweet comment Sam! I’m so glad you liked it. If you decide to make it and need any help, feel free to email me!! :)
Oh my gosh, I LOVE them ALL! I think I might have to dust off my sewing machine! Very inspiring! Thanks for linking up to us on Throwback Thursday and we’ll be pinning to our board! Be sure to visit us there and I can’t wait to see what you’ll be bringing next week.
Hey, Bev! Just wanted to let you know that we loved your Floral Embroidered Zipper Pouch so much when you shared it at the #HomeMattersParty last week, we’ve FEATURED it THIS WEEK! Hope you can check it out when you get a sec! Happy Friday!!! http://lifewithlorelai.com/2016/01/21/home-matters-linky-party-70/
~Lorelai
Life With Lorelai / Home Matters Linky Party
Super cute pouch! Congrats on your #HomeMattersParty feature.
What beautiful work!! I love making things that are personal. So glad I saw this at the #HomeMattersParty
Just wanted to thank you for offering us this cute pattern. It is soooo sweet! Thanks very much for sharing
* * *
First step had me a bit confused…
We’re putting right sides together and sewing along the bottom…
… pressing the seam open; opening the two pieces out full length one above the other;
and that is what we are looking at in the first image, yes?
* * *
The rest sort of falls into place… we’ve made bags like this in our sewing class.
Yep, I’m just learning… our instructor recommended your site…
We love bags as well…
I would post an image… IF it was possible…
* * *
You know, a short video tutorial might help clarify some of the confusion others
might experience over the projects you present here on your blog… (wink)
Nothing fancy… just three to five minutes showing the major steps and
tricky parts. . . most cell phones do a decent job of recording video…
Your children look old enough to help “mom” create a video from time to time, yes…?
(grin)
* * *
Thanks for your willingness to share…
Until that time. . .
Very nice! So bright and so happy. Wish I had the time to learn to sew and I think I would love embroidery. To many fun things to do, not enough time!!!
So pretty and feminine. Love the flowers. I admire your skills. Thank you for sharing this cute project at DI&DI.
This is so pretty .. im not great as sewing at all so I always admire anybody who can!
Thanks for sharing with us at #OvertheMoon Link Party. I’ve pinned and shared. Have a lovely week.
This is so fun and colorful! Super cute! I’m totally pinning this to my crafting board. Thanks for sharing with us on the Family Joy Blog Link Party!!
>> Christene
Keys to Inspiration
I love the sweet simplicity of this little pouch. You do such a nice job with your tutorials, Bev! Pinned and sharing. Thank you for joining us at Family Joy Blog Link-Up Party. I hope you will join our next party starting Sunday at noon EST.
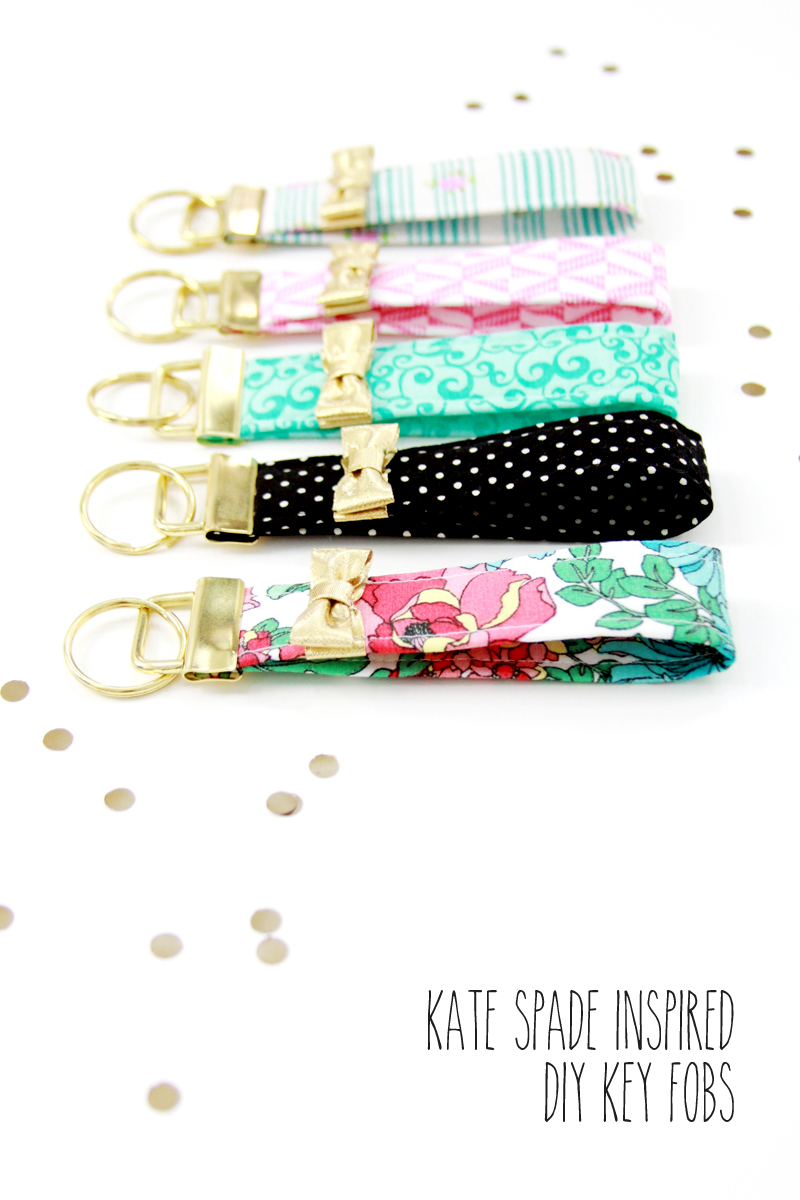
Hello Bev! I absolutely love this floral embroidered zipper pouch. I think the tassel on the zipper is so cute! Those key fobs are adorable as well, huge fan of anything Kate Spade inspired. Thank you so much for sharing with us at Dishing It & Digging It & congratulations on being featured this week!
This is so beautiful! Makes me want to work on my sewing skills and learn embroidery! Thanks for linking up with Merry Monday; I’m featuring your project in my round-up for this week’s party, which goes live tonight!
That is darling! I wish I had the patience for sewing.
Thanks for sharing with us at Funtastic Friday :)
This is an adorable bag! Thank you for the tutorial!