Like most girls I have a weakness for purses. I love everything from the Mary-Poppins-you-can-fit-a-coat-rack-in-here bags to little bags that barely fit a lipstick and my phone, and everything in between. It’s so fun to have a few cute bags that you can change out to freshen up an outfit with.
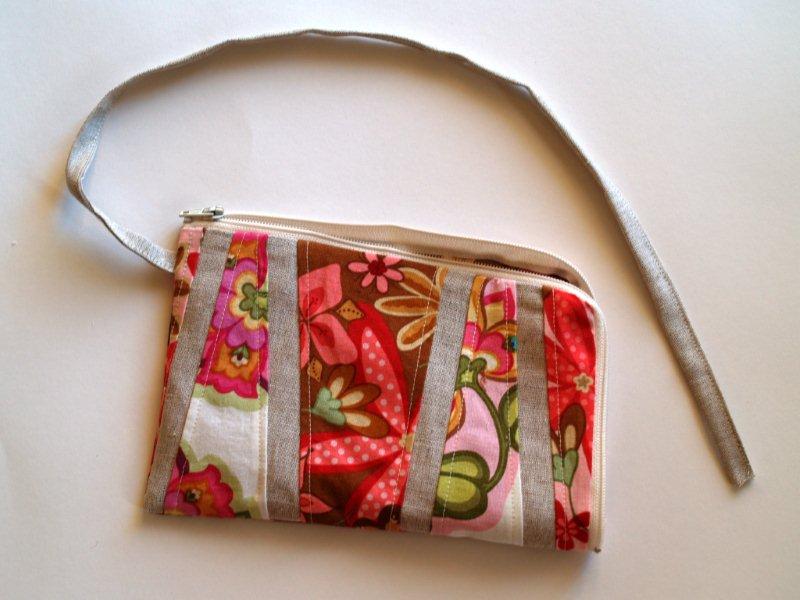
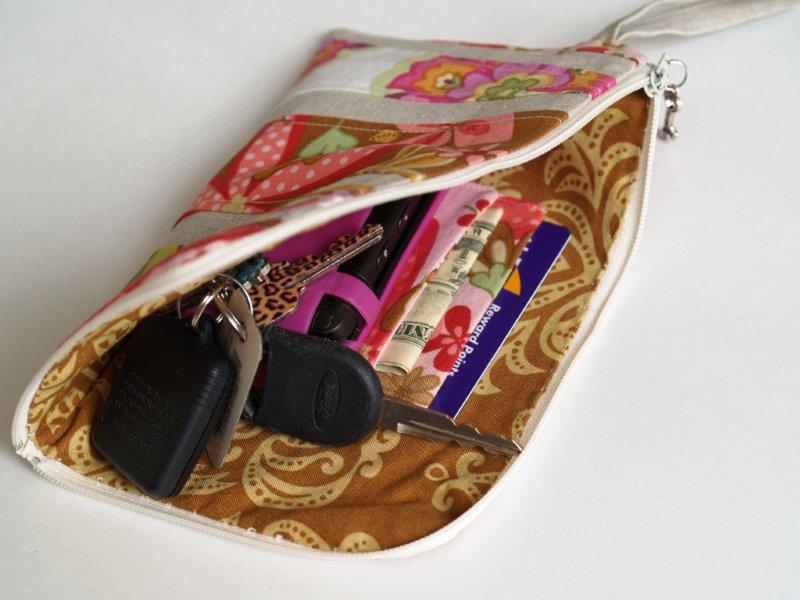
That’s just what I had in mind for this little wristlet. It’s not a huge kitchen sink kind of purse – but it’s perfect for a quick trip to the store or out to the movies on a date night. You could even throw it into a larger purse or diaper bag if you wanted!
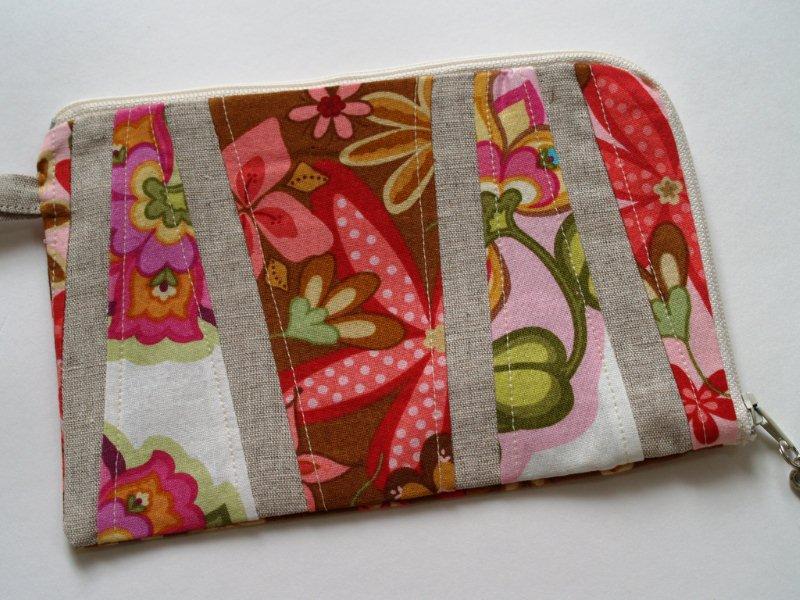
Here’s the wristlet:
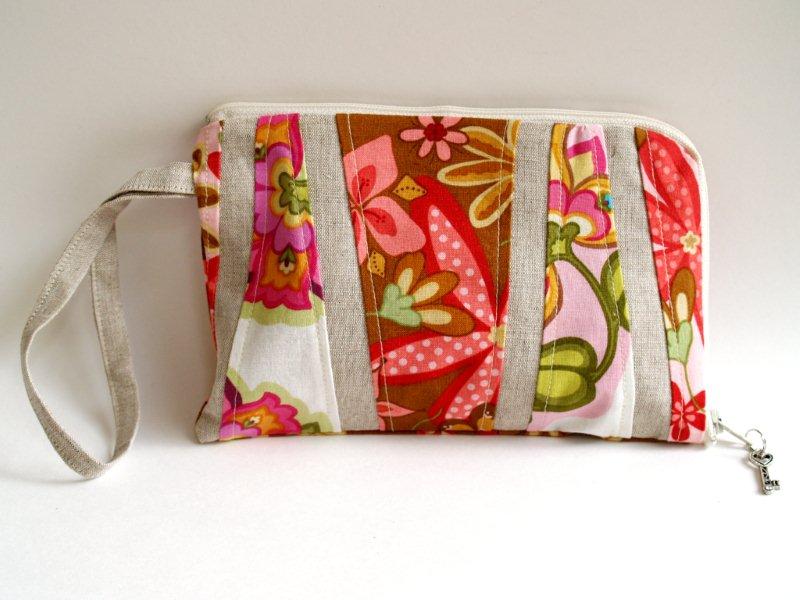
I think it’s so fun. And to make this tutorial a bit easier on you, at the end of the post I have a pattern for you to download! This is my first purse pattern – please let me know if you have any problems with it or have any questions.
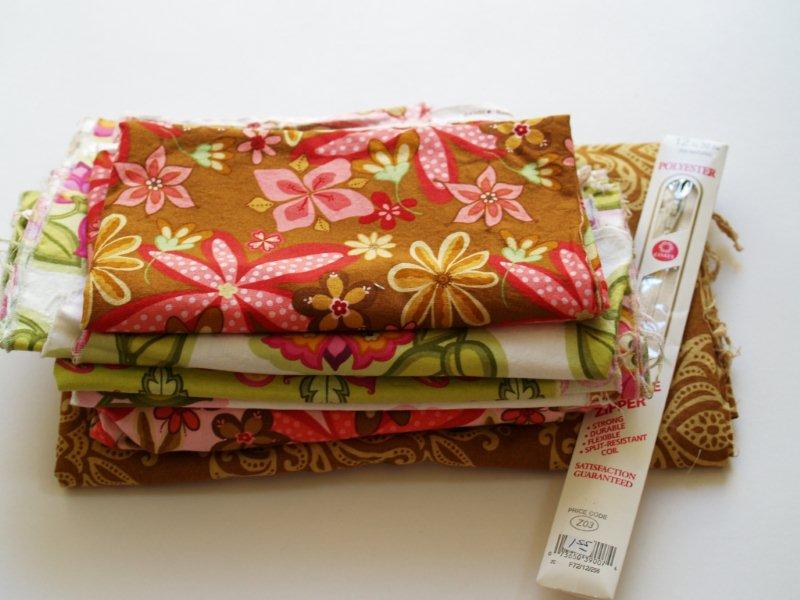
Let’s get started! I had this great Lila Tuellar fabric that I’ve been saving for something fun. I love the colors in it and I think they’ll make a fun transition from summer to fall. But you could use almost any scrap pieces you have – mixing and matching the panels on the front – or use all one print. Whatever floats your boat.
You’ll need about 1/4″ yard of fabric total – but you can use small pieces of a variety of fabrics to make up the front panel. I used a total of 6 fabrics. You’ll also need a 12″ zipper to match.
**UPDATE – There are some problems with the pattern. :( Boo.
While I work on the updates I’ve pulled the pattern – I’ll put it back once I get the pieces fixed!***
Cut out all the purse pieces. If you would like a little heavier bag, feel free to add fusible interfacing to the lining or outer panel pieces.
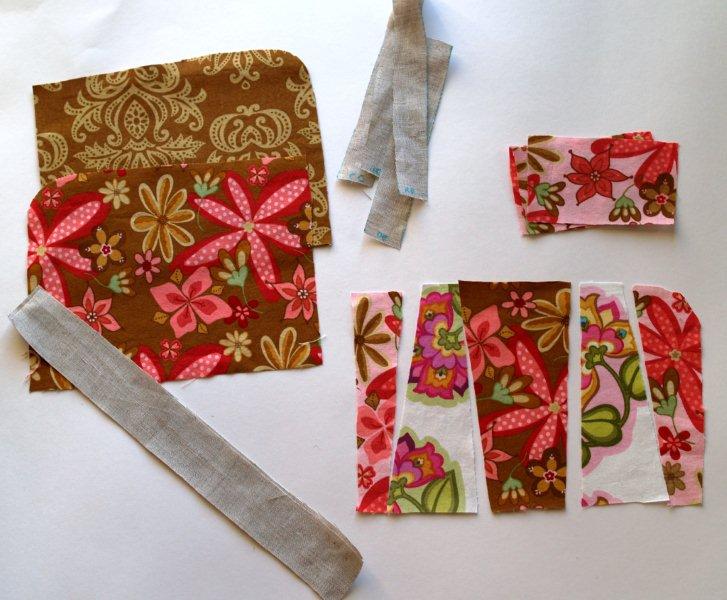
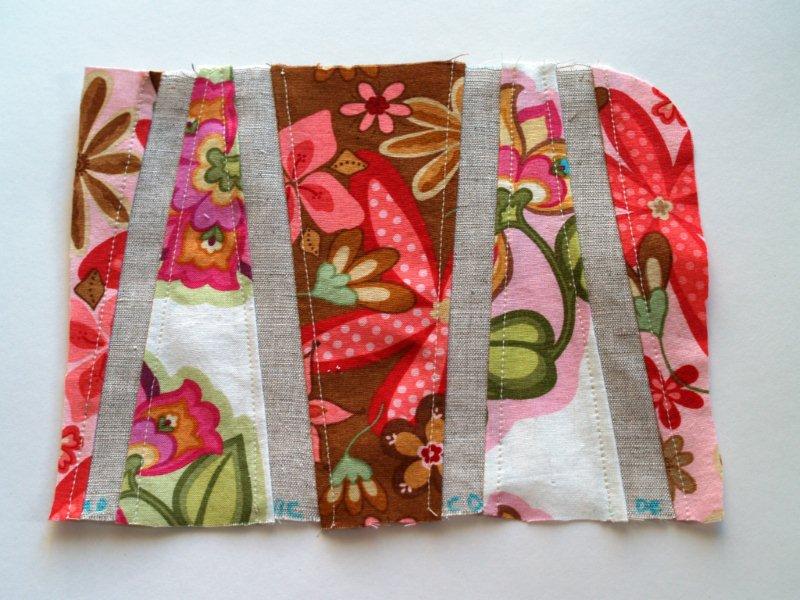
Start with sewing together the pieces for your front panel. I marked the insert (linen) pieces at the bottom with a fabric marking pen to help keep them straight. Begin with Piece A, sew that right sides together to Inset Piece AB, using a 1/4″ seam allowance. Then sew Inset Piece AB to Piece B, and so on across the front.
Press your seams away from the inset pieces.
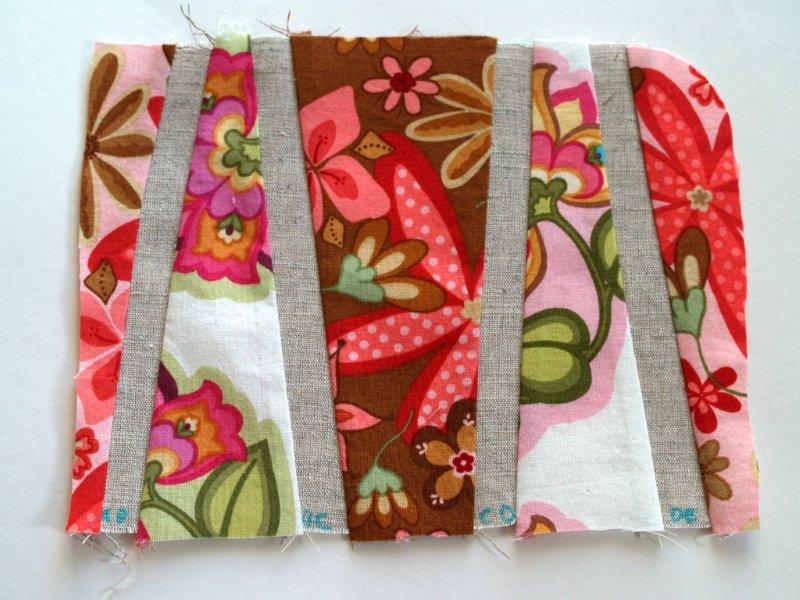
Topstitch your Panel pieces (not the inset pieces) along each seam with a 1/4″ topstitch.
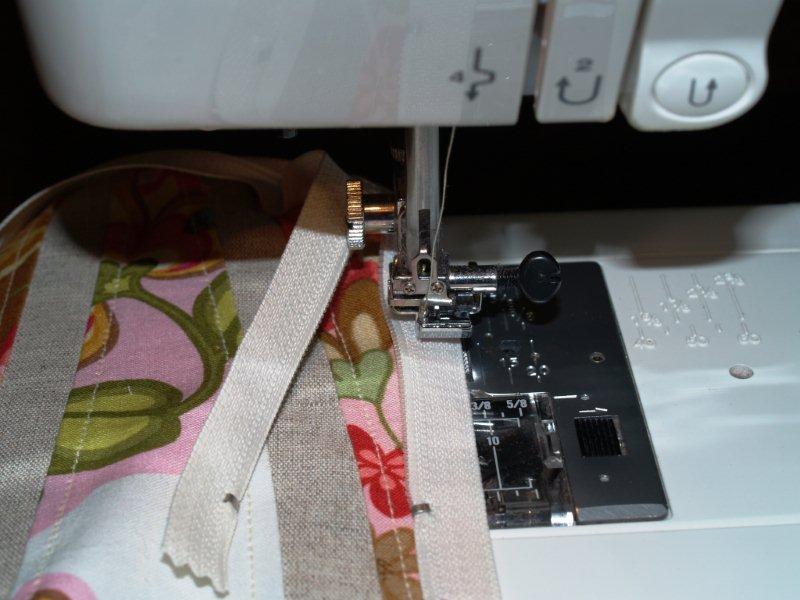
Pin your zipper to the front panel and sew on, using a 1/4″ seam allowance. I usually stop sewing before I get to the top part of the zipper, leave the needle in the down position, and open the zipper up so the closure is behind the needle. Then you can finish sewing the zipper on and the foot won’t make a little bump in the stitching line around the closure piece.
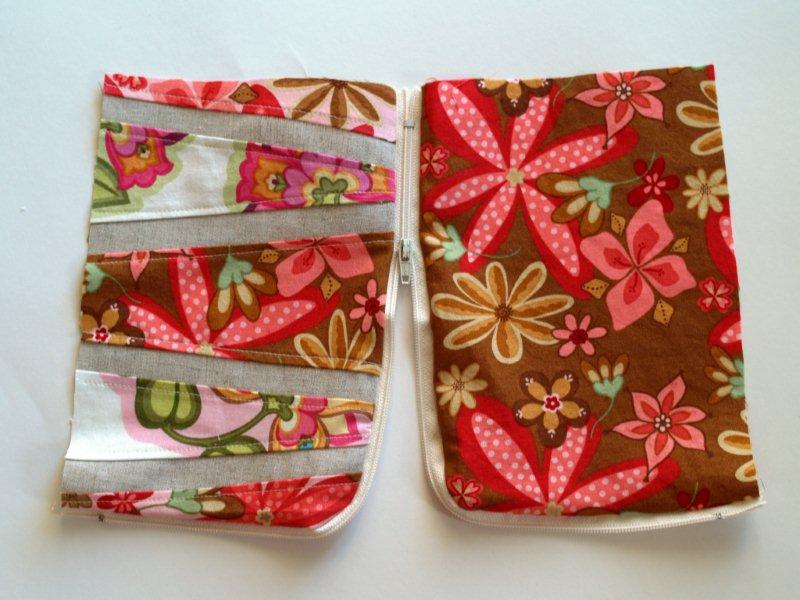
Pin and sew the opposite side of the zipper to the back panel piece.
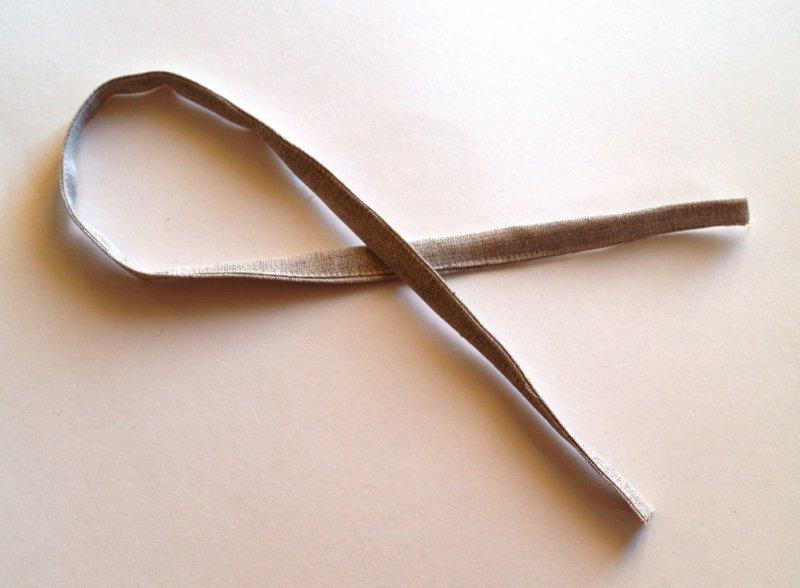
Sew the handle piece together by folding the two long sides in 1/4″, then folding the piece in half. Sew down the long edge.
Fold the handle in half and baste to the top left corner of the outer panel. (In some of these pictures it shows only one side sewn in. That’s because I”m a goober. Do as I say, not as I show in this instance.)
Sew the remaining two sides together, making sure right sides are together, with a 1/2″ seam allowance. Trim the corner seam so it turns nicely.
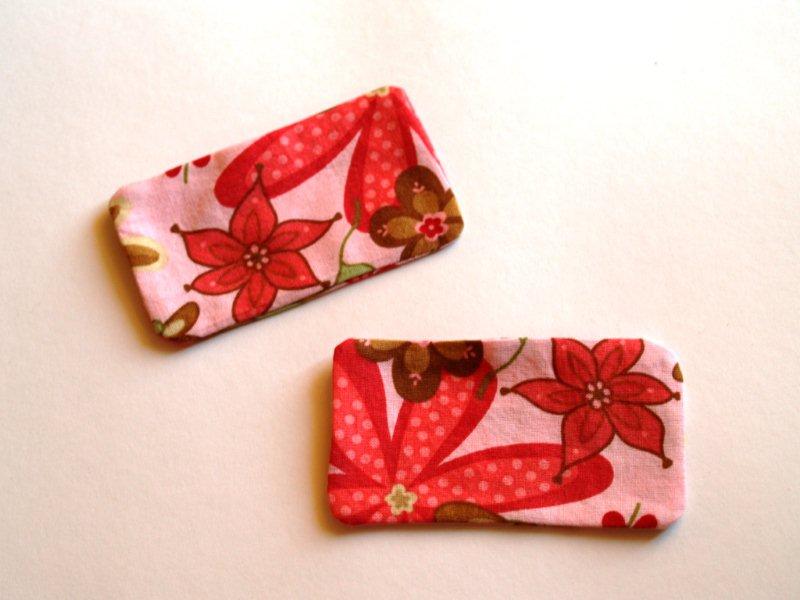
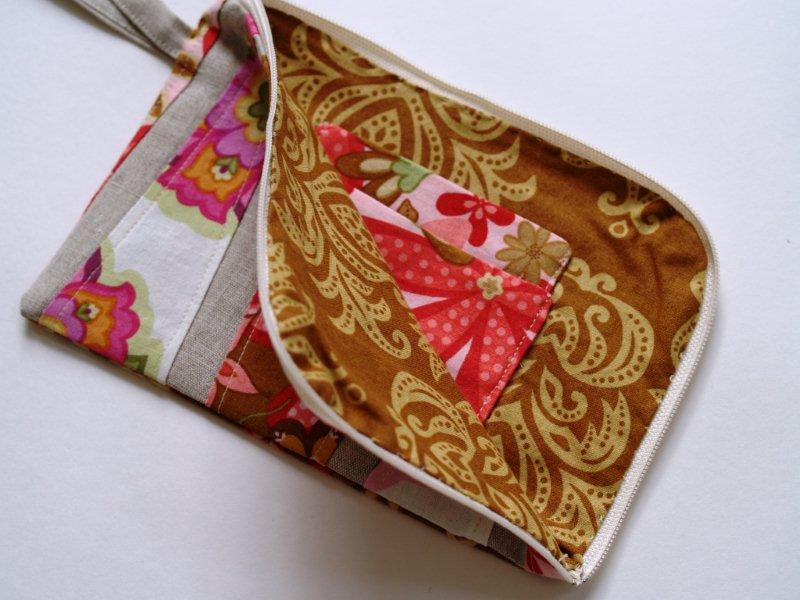
For the credit card pockets, place two pieces right sides together and sew around with a 1/4″ seam allowance, leaving an opening in the center bottom seam for turning. Repeat for the second pocket.
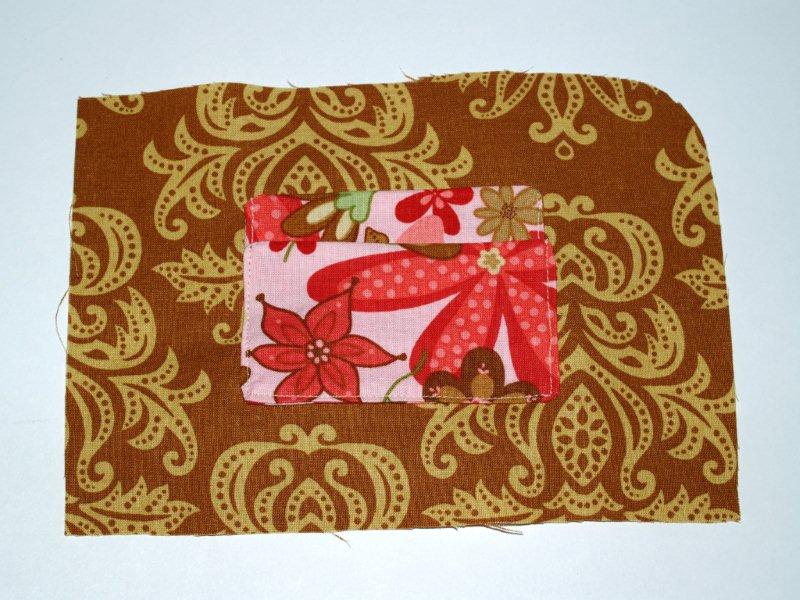
Lay the first panel on the right side of one of the lining pieces, 2″ down from the top and centered. Sew the pocket to the lining on the two side seams and bottom seam only, close to the edge to close the opening. Place the second pocket 1/2″ down from the first and sew down.
Place the two lining pieces right sides together and sew the left and bottom seams with a 1/2″ seam allowance. Trim the bottom corner.
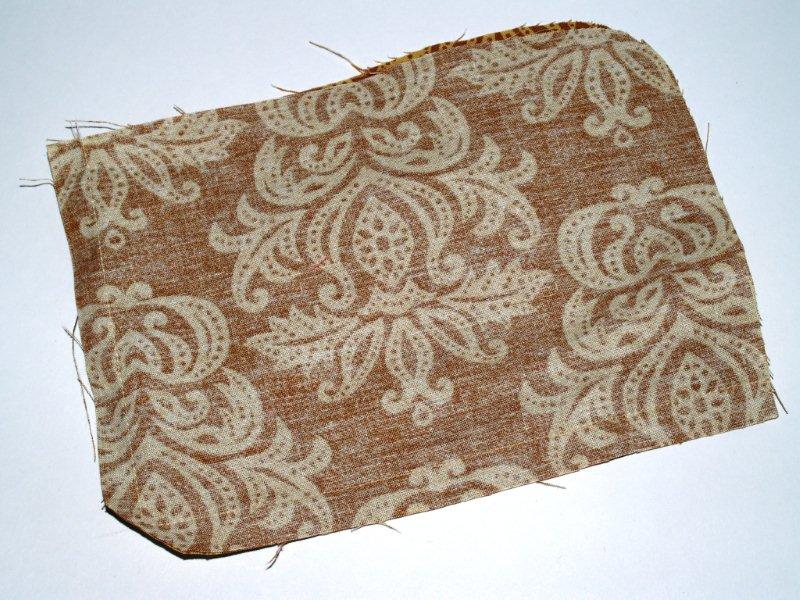
Place the lining inside the bag.
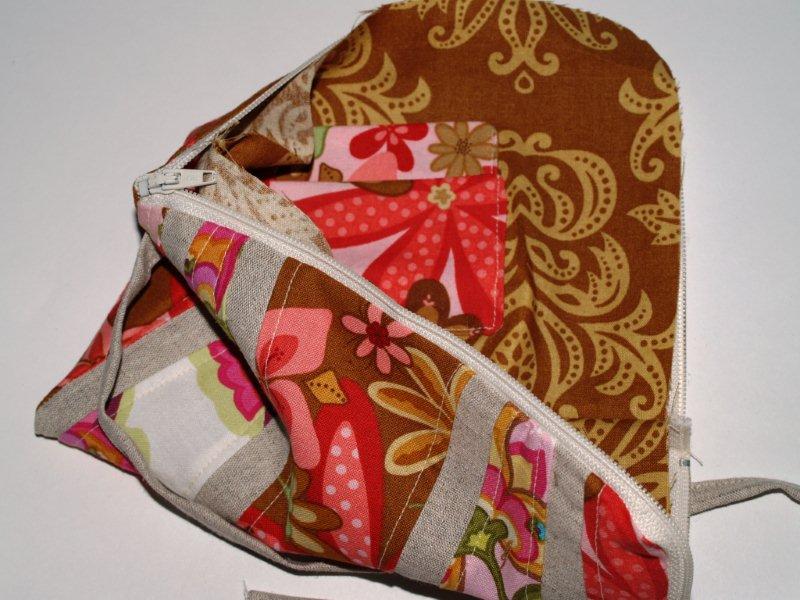
Handstitch the lining into the bag along the zipper, turning the lining under 1/2″ all the way around.
If you wish, add a bead or charm to the zipper for something fun. It also helps open and close the bag.
Here’s some more shots of the finished bag! Perfect for holding everything you need for a quick trip out. I’d love to hear what you think!


So cute, what a perfect use for those fabrics. I’m a bit of a purse addict also and now I’m convinced I NEED to make this, today. :) Thanks for sharing. You’re posts are always so lovely!
Too cute! I can’t wait to make one. Great idea for Christmas gifts.
Is that a gift for me??
Because I love it and I want it and I’m coveting it a little bit.
Great work!
I may have missed it, but what length is the zipper?
Great little wristlet! Loving it.
Thanks for linking with Sugar & Spice.
That is so incredibly cute! I’ve been in wristlet mode lately, but haven’t made one yet–might give it a shot!
its wonderful….very nice
So stinkin’ cute!!! I love how the zipper goes around the corner. Love it!
Love it definately going to have to make me one or more of these!!!
love it! so super cute! i have all this toile laying around from some bigger tote bags i have been making as gift, this would be a perfect compliment to them! you are so clever!
I love this! So quick & simple, but it turns out looking like you spent so much time working on it. Like the others, I like that you did the zipper around the corner instead of just across the top.
I love it. Such cute fabrics.
I love this soooo much! It’s super cute! Thanks so much for the project, I’ll be linking.
this is so cute! I love the pieced together look of it! Perfect fabric choices.
Love the tutorial and the fabrics are awesome! Great idea – thanks!
What a cute idea! Thanks for the tutorial!
Classy or casual. Diversity is good.
It is sooooo cute. I think it would be great for gifts. Thanks.
Very nicely done! Thank you for linking a great tutorial on my link party!
Cute, cute! and your tutorial is great! Even I can understand it! Must make one for the daughter-in-law.
Annette
You always come up with the cutest projects. I like them because they are full of details. Nice job, thanks for linking!
this is just the cutest! thanks so much for your inspiration…
Looks great! What do you think about using fabric from placemats? Would there be enough?
What a fun idea. I think you’d need two – one for the outside and one for the lining. The pattern piece (for the back and lining) is about 7 x 5. So it would probably work with two placemats. I’d absolutely love to see that if you did it.
how cute it that? and I love your fabric/color choices. Vera Bradley look out. :)
Pam
What a lovely idea, I am sure I will be making one! Christmas isn’t far away! Greetings from Germany
wow, what a great tutorial, thannk you for sharing.
Susie from
I Just Love That Fabric
New to your blog and I love it!!! I love this little purse too! Just started sewing, so your tutorial is perfect. Gonna go take a look around :) Thanks for sharing!
mickey
You always have the BEST stuff, girly!! I just love it and thank you so much for linking this up to my party at Frou Frou Decor!! Have a great weekend!!
~Terrell @ FFD~
Love this and thatnk you for the free pattern! Saw you over on Fingerprints on the Fridge!
http://www.jellybeanjunkyard.wordpress.com
I featured your adorable wristlet today!
http://memakingdo.blogspot.com/2010/08/featuring-you-friday.html
How adorable and practical! I think I’ll make on for my mom =) Thanks for the tutorial and inspiration!
I LOVE THIS PURSE!!! How cute!!! It looks so professionally done yet made with love and care. FAB!
I love love LOVE this wristlet – I can’t wait to try it – thank you so much for such a cute pattern! I’ve never done a zipper like that before so my fingers are crossed that I can do it properly, lol!
Ooo! Chic, fun, & flirty and I love how you finished off the inside as well! Its both practical and unique. Thanks for the great tutorial! :>
thanks for sharing this. i’m still very much a novice but i want to try!!!
I love how this opens up so I can see everything inside instead of having to ‘dig’ for my keys. Stopping over from Saturday Standstill. Happy Sewing! :o)
http://www.seamsinspired.com
So cute! I have been wanting to make a pieced pouch like this.
This purse is so pretty and smart! I love the extra length on the zip opening for maneuvering a little easier. Thank you for the tutorial.
That is such a cute wristlet with a unique design! Love it!
This is adorable and has SO many possibilities. Thank you SO much for sharing with us, Donna
That is SOOO pretty! I love it. Thanks for linking to FTF!
I love the fabrics! They are so fresh and fun. Well done!
Thanks for this great tutorial – this is beautiful.
This is so great! I need something like this for my purse, to hold a bunch of little things that are always floating at the bottom! Thanks for sharing!
I love the fabric and the design is great. I cannot wait for life to calm down a bit and I can make one too.
Cute project I must try soon! Thank you so much for the PDF.
I wish I had the patience to sew! I love your wristlet!
its so lovely.. your really good at making all those beautiful things..
Hey,
What a cute wristlet! I found you today on New Friend Friday and I’m linking up this tutorial over on my Fun Friday Links post. CUTE! Glad I found ya.
Anna
Just found you from craft girls fun friday links. I have joined. Check out my blog if you like!
I love this project. Thanks so much for sharing. I am looking to make something like this.
Hi
I like this, thanks
this is awesome! I look forward to making this soon for the days I don’t want to lug around a big purse. thanks!
I L-O-V-E this tutorial, and hope to make this soon!:) Thank you SO much for sharing!
This is adorable – I’m going to try this! Thanks for the pattern.
PS – I’m going to post a link to this on my blog. I hope you don’t mind if I include a picture! Thanks again!
Love, love! I’ve made something very similar before, but instead hand sewing the lining I sandwiched the zipper in between the two layers of fabric. Thank you for sharing your lovely wristlet!
yeah! if i can avoid the hand stitching i do!
This is adorable. I’m going to try it. Beverly, do you ever wish you had the zipper in the other way? I think I would tend to lose things and have stuff fall out. If the zipper started closing from the bottom, it seems like it would make more sense. Let me know. Thanks.
Beautiful!!!
Great idea!
Thanks!
This is really cute. I just made it tonight. I decided to put the zipper in from the other direction and didn’t have it go down the whole side. I had a 9″ zipper because I thought I was going to do a different style when I bought it. I was happy with it going across the top and only half way down the side, though. I would recommend not cutting out the credit card holder or the lining until you match up the lining with the outside and measuring a credit card with the holder. I wasted some material by doing it ahead of time. It’s really cute. Thanks for the pattern pieces and instructions.
love this! can’t wait to try it :D
Hi, I love this pattern but the download doesn’t seem to be available. Is it discontinued or am I looking in the wrong place? Thank you for the tutorial.
I agree with Valerie!!! This wristlet is SOOOOOOOOO cute, but the download??? Where is it???
Thanks for letting me know Valerie and Maggie! I’ve added back in a link to the PDF pattern – you can download it from there! :)
Am I crazy??? I can’t find the download OR the PDF link! Can you direct me/us?
I just made this purse and it’s great! I think a few of my family will be receiving one as a Christmas present this year… You can see my version here: PhysicsGirl on the Loose… scroll down past the dress stuff.
A few comments on the pattern: the back piece is backwards and the inset pieces are about a half inch too long. I also agree about putting the zipper in the other way. Otherwise, it went together really nicely!
Just a thought – you might be able to use the sewing machine for the lining. The handstitching looks nice but I would be afraid of ripping the lining out if I went into a frenzy digging through the wristlet for something. :) To do the machine stitching you can flip the wristlet inside-out, pin the lining in place, then flip it right-side out and sew on top of where you attached the zipper to the outside piece. It sounds odd but it works!
Great tutorial, this will get me started on my wristlet/diaper pouch project that I’m making for a friend!
I can’t wait to try this! quick question though:
when I go to print the pattern, is there a certain size you recommend? like the zoom set at 72% or 100%… I don’t know if that will make a difference or not.
Thanks for the wonderful pattern! can’t wait to use it!
:-/ my front panel looks NOTHING like the picture…..it ended up waaaaay too big and the inserts were waaaay too long. I cut my pieces exactly to the pattern. :-/ I’m gonna mess with or and see if I can cut it down to fit. Bummer because I looooved this!
Once I read through the comments, I’m glad to know I’m not the only one coming up with the problem with the inserts! I thought I was cutting wrong, or had an error with the scale when I printed the pattern. Any chance we could get an update with that glitch fixed? I’m pretty new to sewing and really have no idea how to mess around and fix it myself without it looking awful!
so cute i try tomake but i m a beginner sewer and also i don t find the link to the pattern
thanks for the tutorial!
I can’t wait to try this! When will the PDF be back up?
Pattern ????’ please !!!!
May I have the wristlet pattern please. It’s so cute, I would love to make it
Thank you to send me the pattern you announce at the beginning to help us to be easiest.
This wristlet is so cute.Can’t wait to sew it. Thank you again.
I love this wristlet but I can’t find the pattern