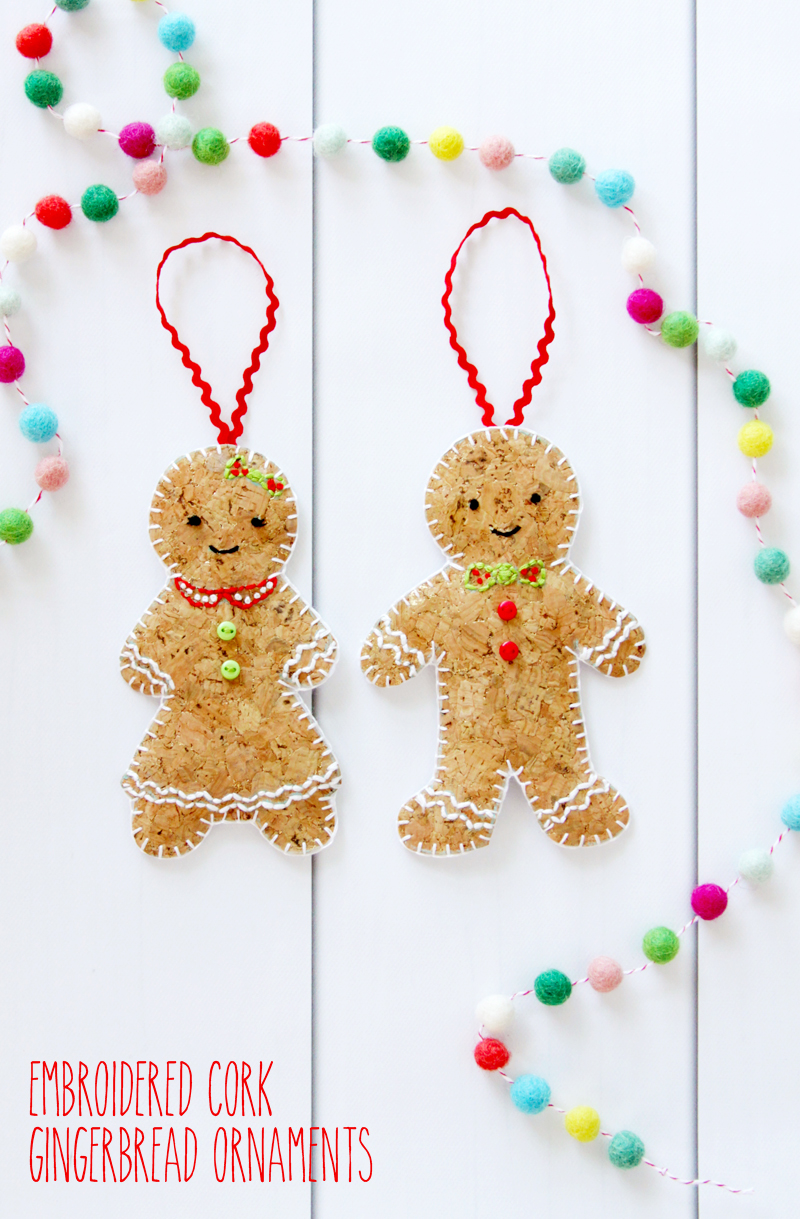
I’ve been having a lot of fun making new ornaments for the tree this year! It kind of freshens things up, having a few new ornaments here and there, don’t you think? Plus – I love using ornaments as gift toppers – they’re kind of like a little bonus gift! These little embroidered cork gingerbread ornaments are super easy to stitch and look so cute on the tree!
I’ve dressed mine up with a little embroidery and wee tiny buttons (I can’t resist those little buttons!) but you could really have fun personalizing them – maybe with some ribbon or even fabric for a little dress or vest!
The stitching is perfect for a beginner and these make a great project to do with your kids! The cork is the new DMC Cork Fabric – it’s a cork material on a flexible fabric that is perfect for stitching on! You can find it at most craft stores and your local stitching shops too.
Embroidered Cork Gingerbread Ornaments
Materials:
- 1 – 10” piece of cork fabric
- 1 – 8“ piece of batting
- 1 – 8” square of white felt
- DMC Floss – white, 310, 704, 666
- 4 tiny buttons
- 18” small ribbon
- Needle
- Scissors
- Transfer paper
- Marking Pen
- Gingerbread Ornaments Pattern
Instructions:
1. Trace the gingerbread boy and girl onto the cork. It works best to use transfer paper, then go over the lines with a removable marking pen.
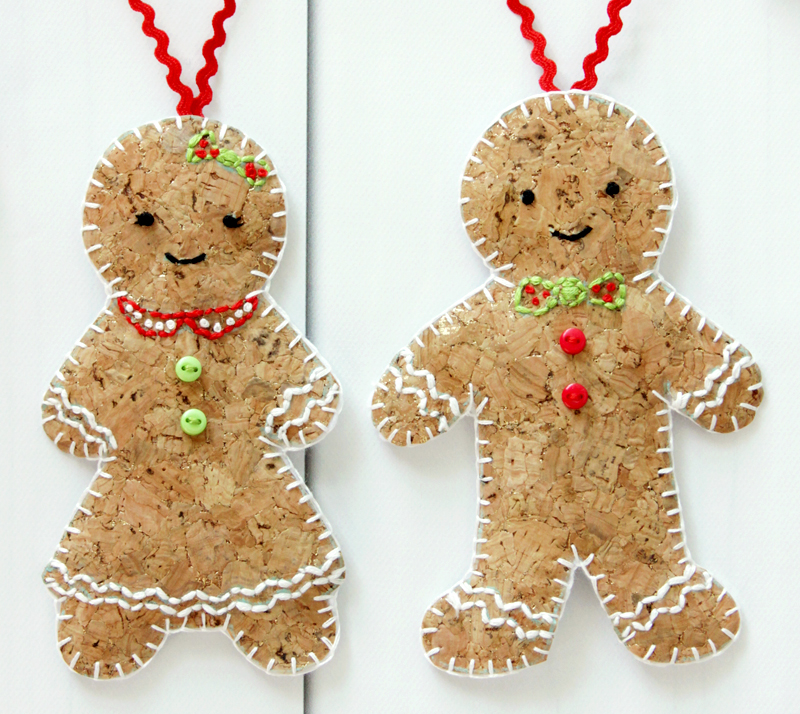
2. Using three strands of floss, stitch the details onto the boy and girl. Use a back stitch for all outlines and frosting lines. Fill the bows with a light satin stitch. For the eyes, details in the boy’s bow tie, and details in the girl’s collar, stitch French Knots.
3. Stitch buttons in place.
4. Carefully cut out the gingerbread shapes, making sure you don’t cut through any of the stitching.
5. Using your pattern as a guide, cut out a piece of felt the exact size of the gingerbread pieces, and a piece of batting slightly smaller than the shapes.
6. Cut your ribbon in half. Fold the pieces in half and knot the ends together. Stitch the knot to the top of the batting pieces.
7. Layer the pieces together, with the felt on the bottom, then the batting, then the cork piece. Stitch all the pieces together with a blanket stitch.
Super easy right?

I hope you have lots of fun stitching them up!
Some other projects you might want to try
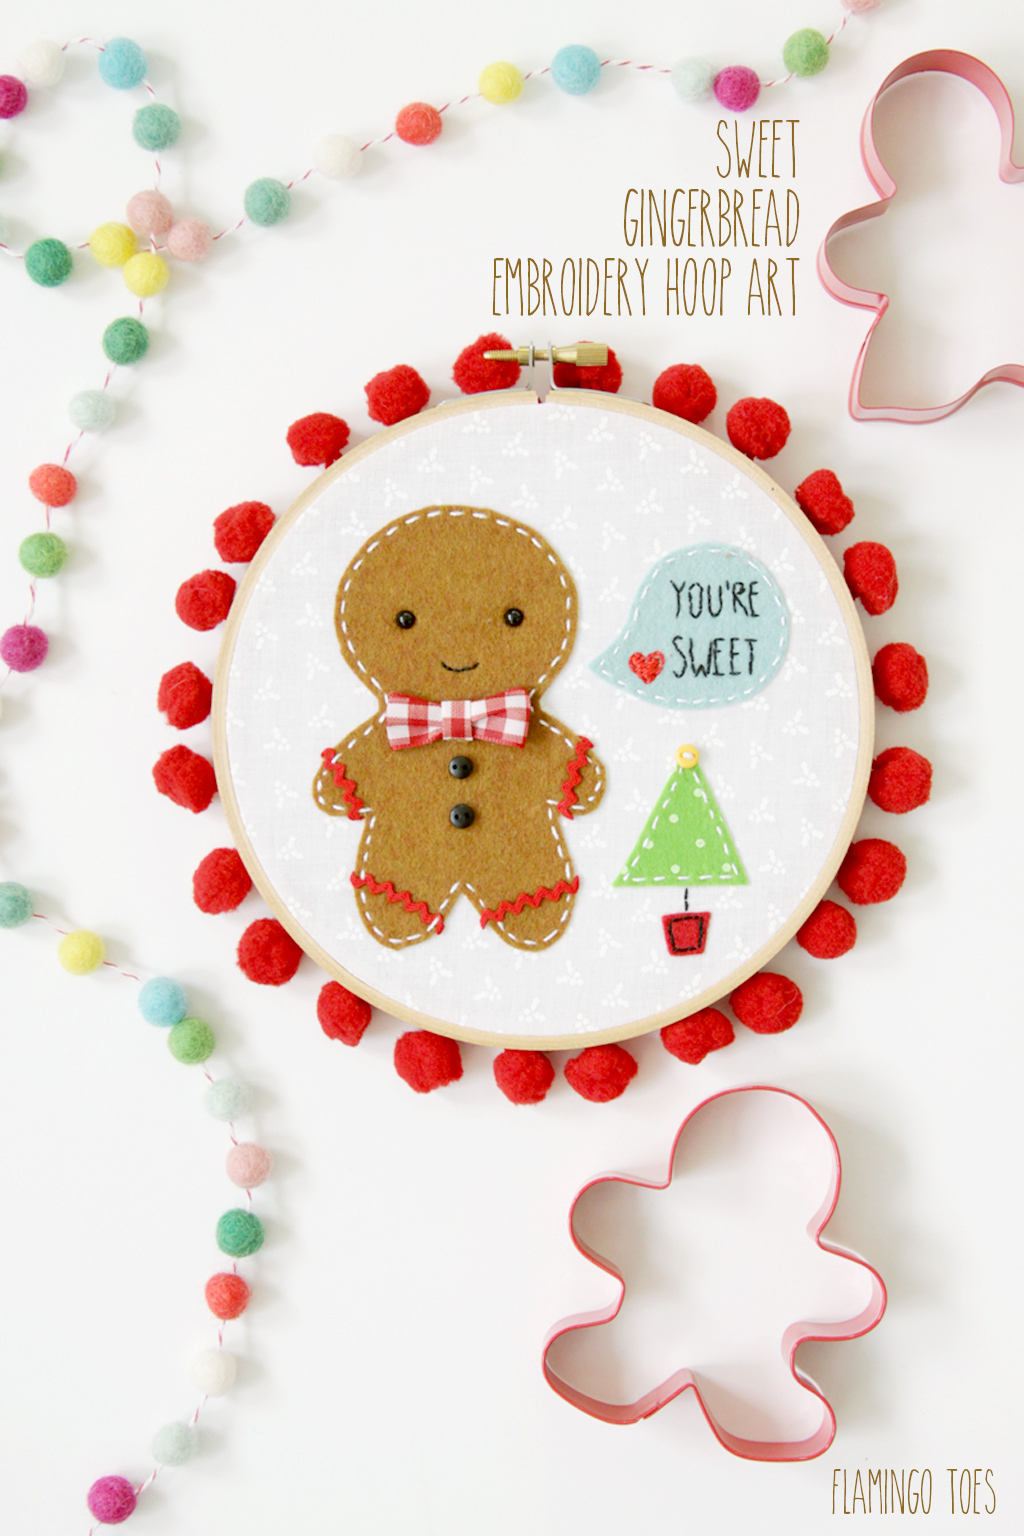
Sweet Gingerbread Embroidery Hoop Art
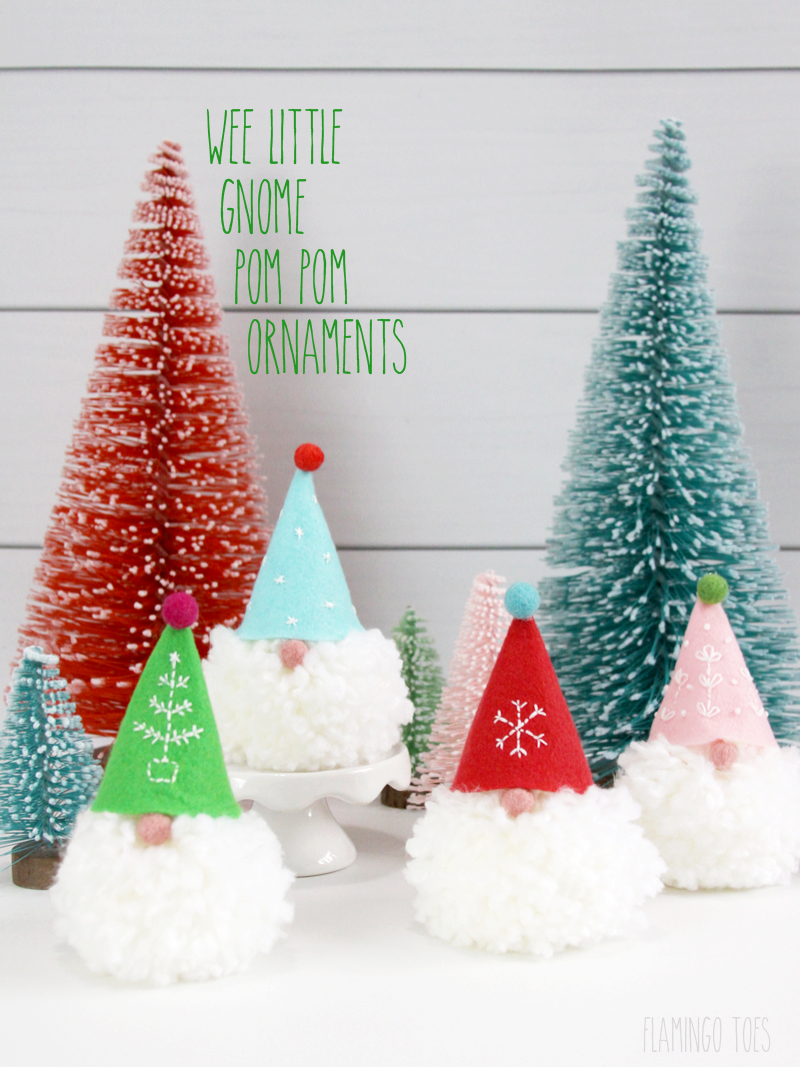
Wee Little Gnome Pom Pom Ornaments


Wow, it’s like the cork was made for making these! They look great!
They are so adorable! I agree with Monica, the cork is made for these cuties. Thank you for sharing!
Okay! I need tons of time so that I can make all the cute ornaments you’ve posted lately. I already bought supplies for your plaid flannel ornaments. These might be next. I love the gnomes too. So much cuteness!
These are so adorable!!! I want to make them for everyone on my list!
They are so cute and adorable! Loved them. thanks for joining us at the Family joy blog link up party. Pinned.
Hi Bev! Those little guys are too sweet! The cork works perfectly! Thanks for sharing at Dishing It & Digging It!
I have never used cork for any craft projects but I can’t wait to make these cuties! Thanks so much for the inspiration!
Super cute idea! Thanks for sharing at the Inspiration Spotlight party. Shared. Happy Holidays!
This is amazing! Cute beyond belief :-D
These are adorable!! Cork fabric, who knew??? What a great idea!!
Thanks for sharing at Bloggers Spotlight!
Oh my goodness, these are so cute! I will have to remember to make them for next Christmas. Thanks so much for the idea!