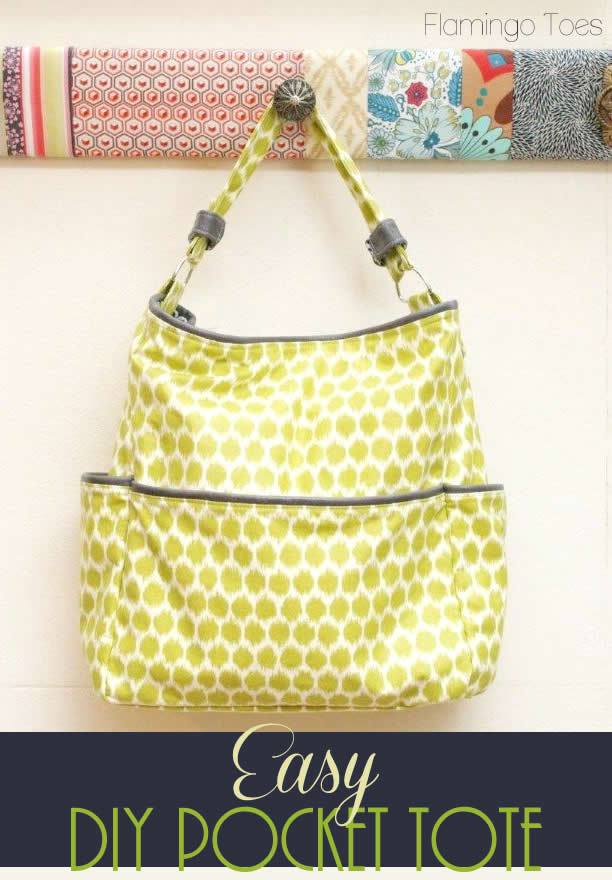
I have a fun new Purse Tutorial for you today! This cute bag is super easy to put together and it’s accented with leather trim and these great pockets all the way around the bag!
It’s my Easy DIY Pocket Tote!
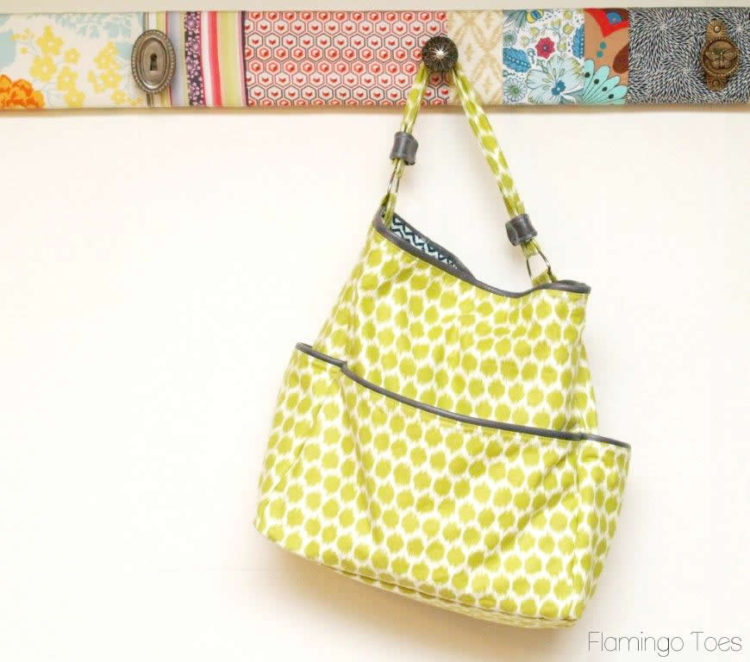
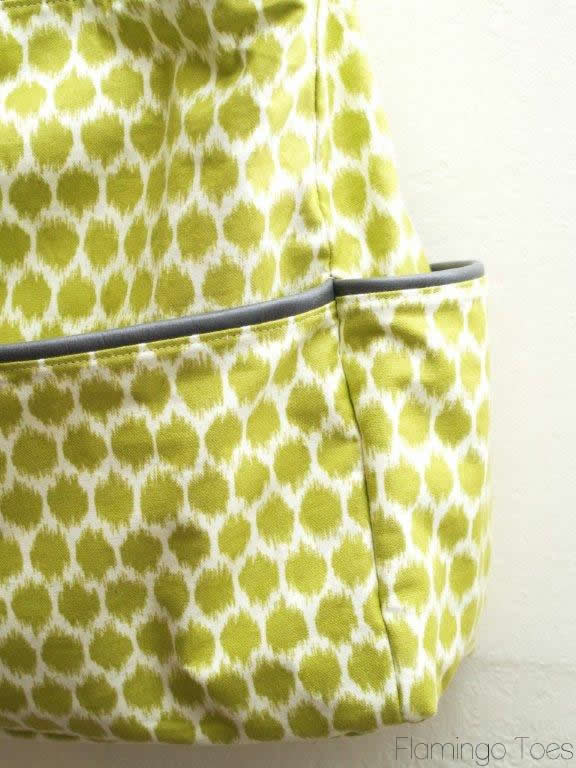
It’s plenty big enough to hold everything you need – wallet, keys, phone – even maybe a small tablet or diaper kit!
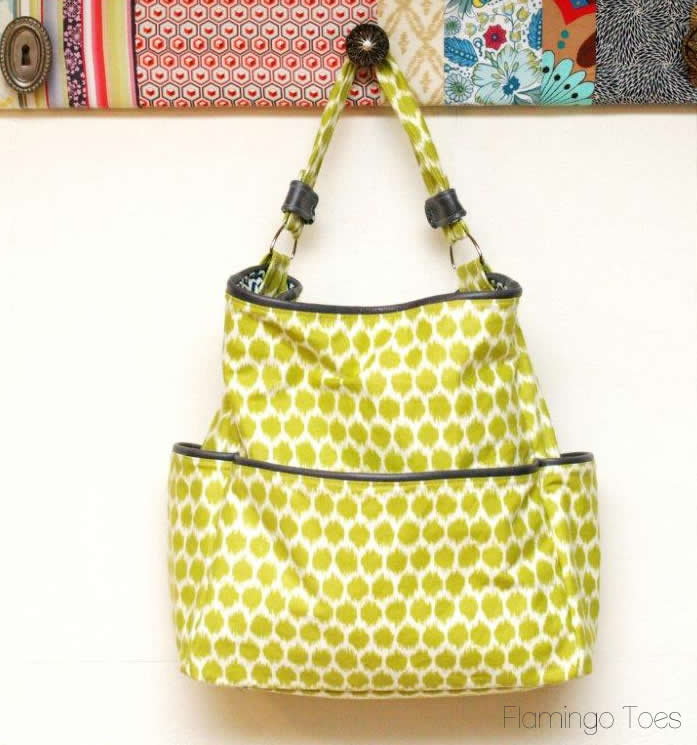
Ready for the tutorial? This is great for a beginner or advanced sewist!
Materials:
- Fabric for outside of fabric – 1 yd
- Fabric for lining: 2/3 yard
- Medium weight interfacing (use heavy weight if you’re using light fabric for the outside of the bag): 2/3 yard
- 2 D Rings
- Leather Trim: scraps – see measurements for cutting below
- 1 Magnetic Snap
- Matching Thread
Fabric Pieces:
- Cut out of your main fabric:
- Two pieces 13″ wide x 14″ tall for front and back
- Two pieces 7″ wide x 14″ tall for sides
- Four pieces 13″ wide x 7″ tall for front and back pockets
- Two Pieces 7″ x 13″ for bottom of purse
- Four pieces 7″ tall, 8″ wide at the top and 7″ wide at the bottom for side pockets
- Two pieces 2 1/2″ wide x 20″ tall for straps
- Four pieces strap holders (pattern here)
- Cut out of lining fabric:
- Two pieces 13″ wide x 14″ tall for front and back
- Four pieces 7″ wide x 14″ tall (two for sides and two for pockets)
- One Piece 7″ x 13″ for bottom of purse
- Two Pieces 1″ x 4″ for strap accent lining
- Cut out of Interfacing:
- Two pieces 13″ wide x 14″ tall for front and back (fuse to lining pieces)
- Two pieces 7″ wide x 14″ tall for sides (fuse to side lining pieces)
- Two Pieces 7″ x 13″ for bottom of purse
- Cut out of Leather or other fun trim or fabric:
- Two pieces 1″ x 8″
- Two pieces 1″ x 7″
- Four pieces 1″ x 13″
- Two Pieces 1″ x 4″
Ok whew! We survived the cutting out. Why is that always the worst part? Or maybe that’s just me?
Let’s get to sewing!
(All seam allowances are 1/2″ unless noted.
Start with one of your short side pocket pieces. (7″ tall, 8″ wide at the top and 7″ wide at the bottom). Sew a 1″ x 8″ strip of leather to the top, right sides together, with a 1/4″ seam allowance.
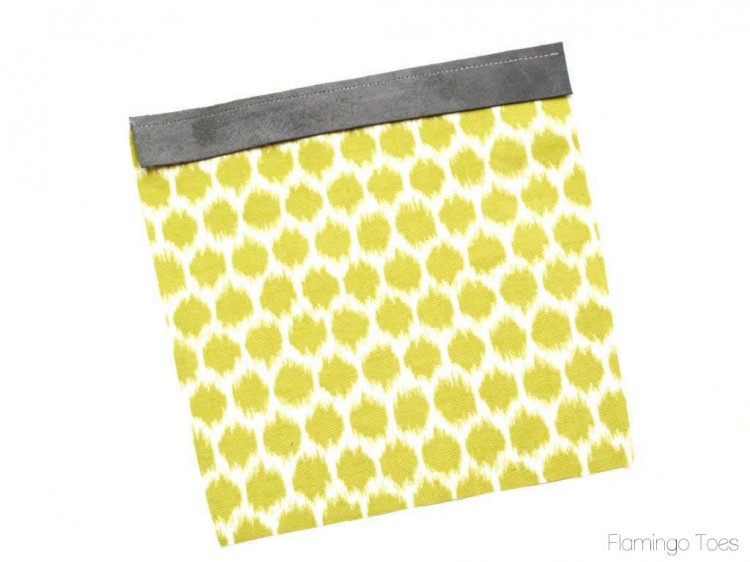
Sew another side pocket piece to the other side of the leather strip.

Fold the pocket pieces wrong sides together and press the seams as close as you can to the leather, without ironing over the leather. Pin in place.
Topstitch just under the seam on the fabric side of the top of the pocket. You might need to place a strip of fabric around the leather to get it to feed through your machine. Just cut a thin strip and lay it just over the leather part and sew, making sure you don’t catch that extra strip.
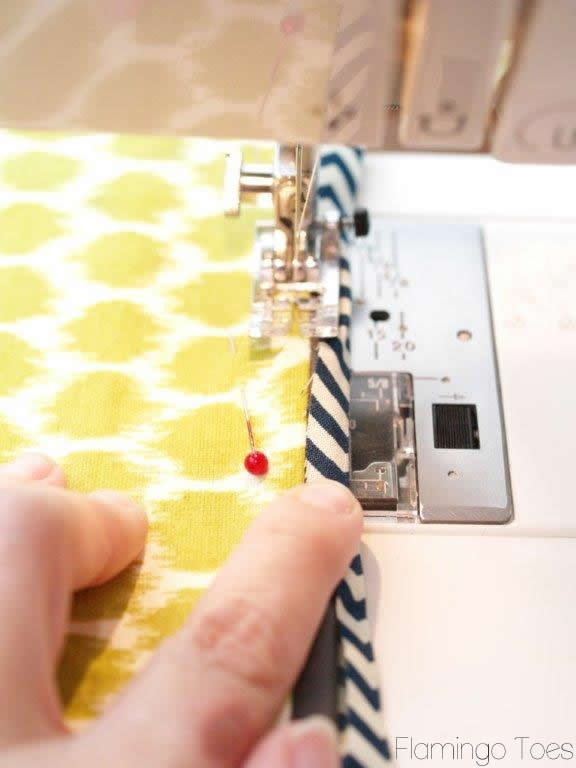
Awkward hand placement is entirely optional.
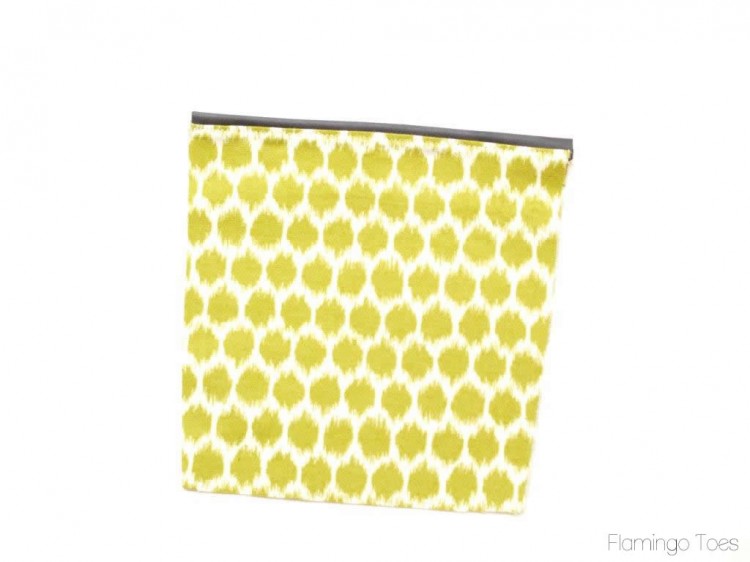
Repeat for your other side pocket and sew your front and back pockets the same way.
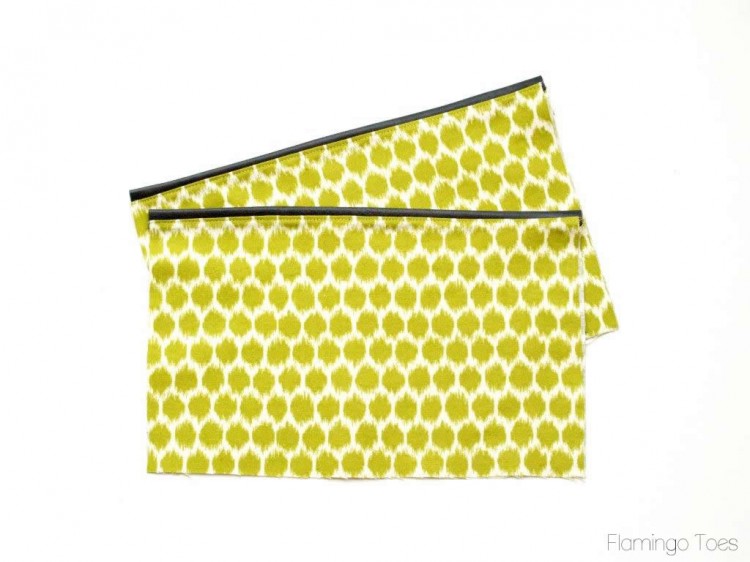
Baste your pocket pieces to the corresponding main pieces with a 1/4″ seam. So your front pocket lines up with the bottom and sides of your main front piece, and same with the back.
For the side pieces, line up the bottom, then line up the sides and pin in place. There will be a little gap on the side pockets since the pocket is wider than the side piece.
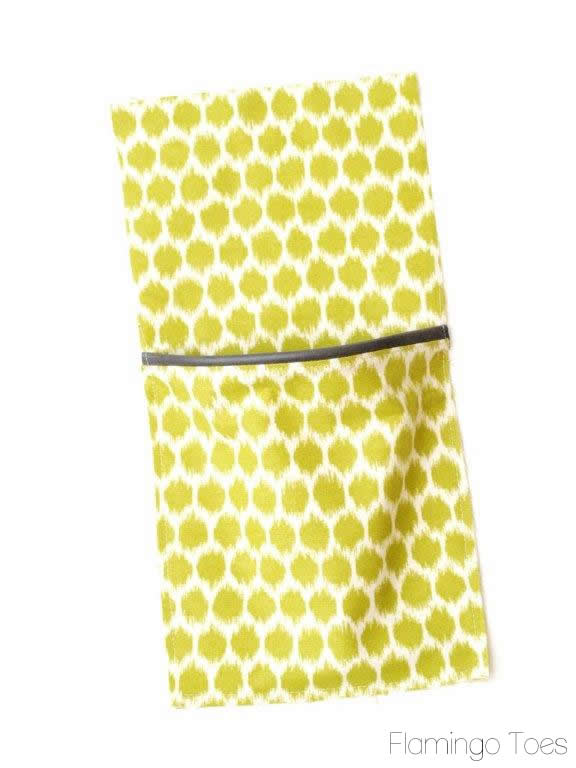
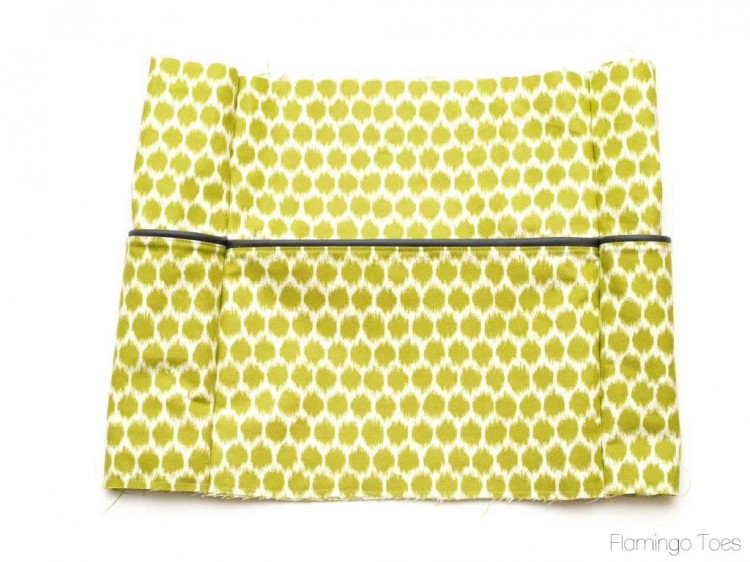
Sew your side panels to the front and back of the main fabric pieces. Do your best to line up the pockets so the leather trim is at the same point all the way around the bag. You might have to go slowly sewing over these sections – make sure you’re using a leather needle too. Go over those sections on the side seams a couple of times to reinforce them.
Fuse one of the bottom pieces of interfacing to one piece of the bottom main fabric.
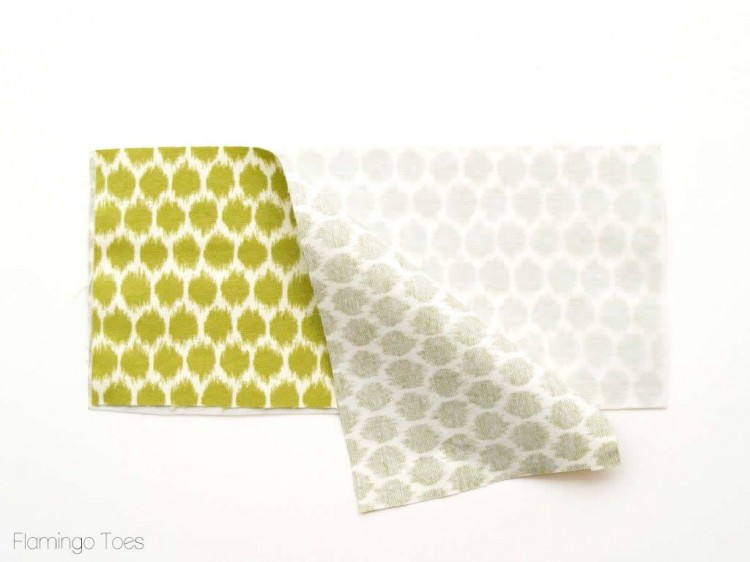
Baste the two bottom pieces together with a 1/4″ seam.
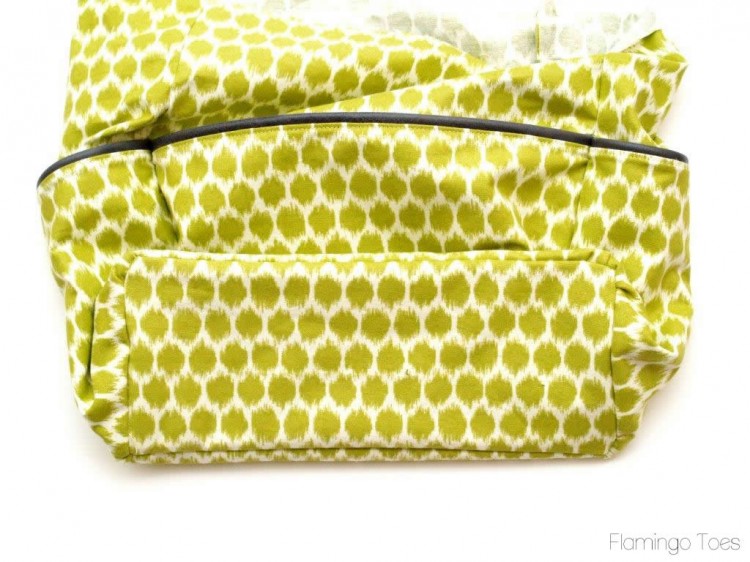
Line up the base of the bag with the sides and bottom of the main section. The side seams should line up with the corners of the base. Sew the bottom to the main section, right sides together, easing the corners just a bit if you need to. Trim and clip the corner seams.
Fold your two pocket pieces in half, long ways. Sew around the sides and bottom, leaving a 2″ opening in the bottom for turning. Clip the corners.
Turn right side out and press.
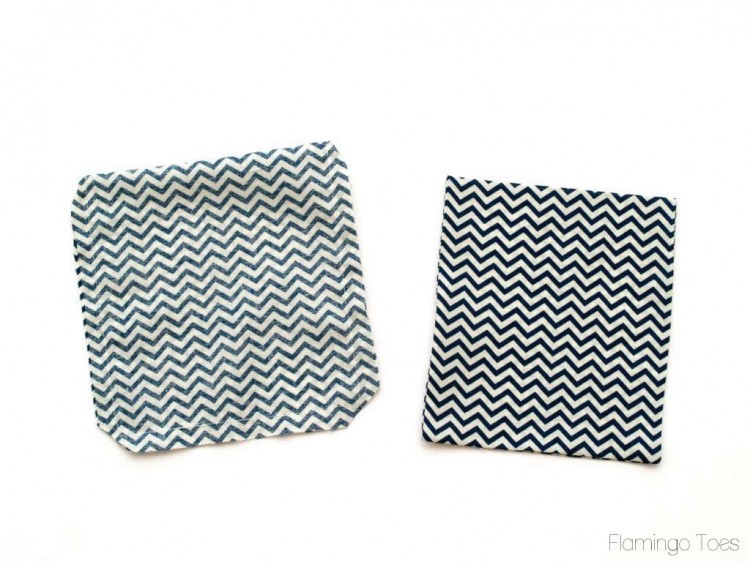
Place a pocket on the front and back lining pieces, 3 1/2″ from the top and centered on the piece. Sew around the sides and bottom, just inside the pressed edge.

Sew the side pieces of the lining to the front and back lining pieces.
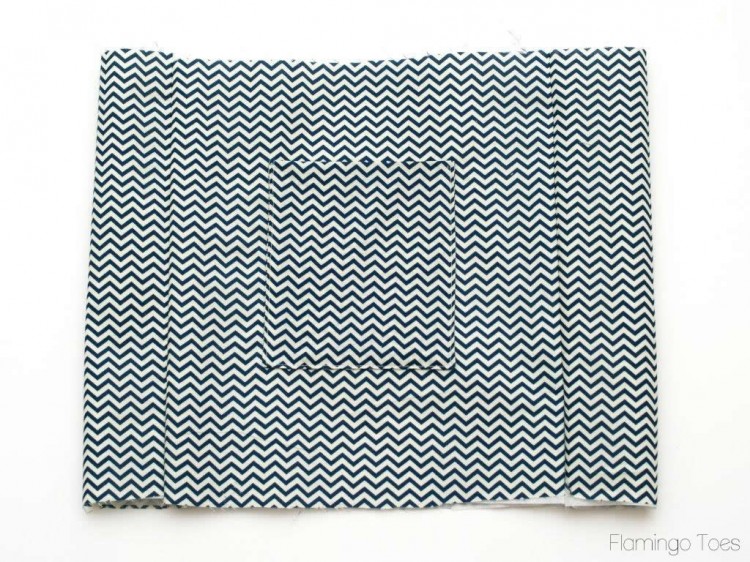
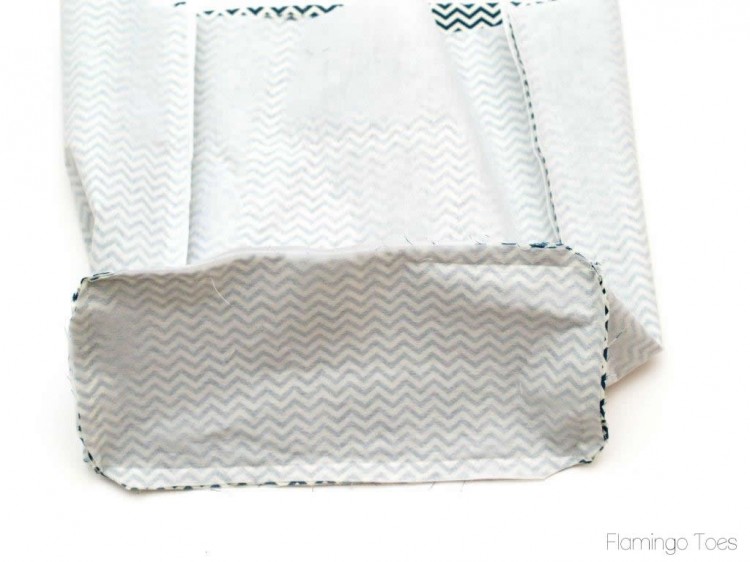
Sew the bottom lining piece to the main lining section like you did the outside fabric, but leave a 4″ opening on one long side for turning.
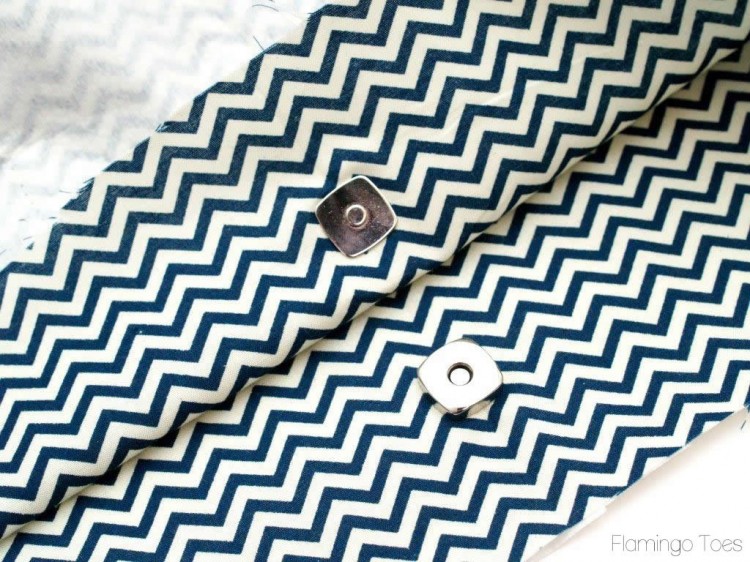
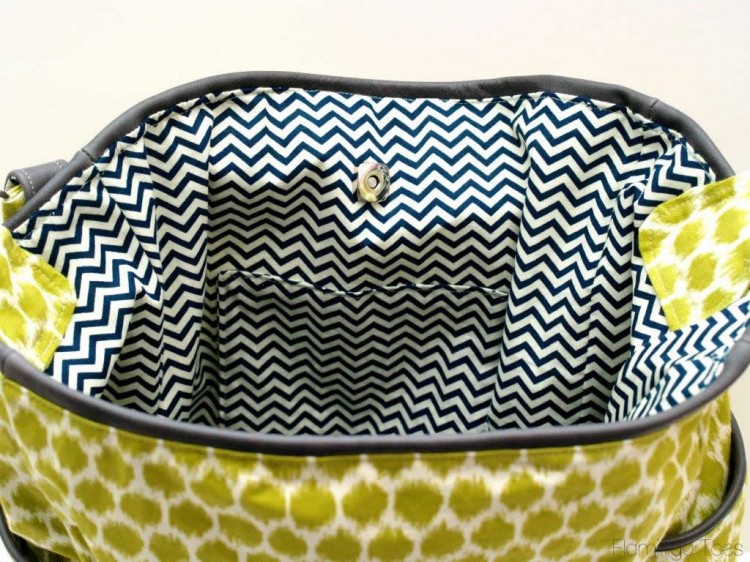
Follow the instructions on your magnetic snap packaging to put in the magnetic snap front and back to the lining pieces. They should be centered on the front and back pieces, 2″ down from the top.
Sew your top leather trim pieces together, with the two side pieces between the two long pieces.
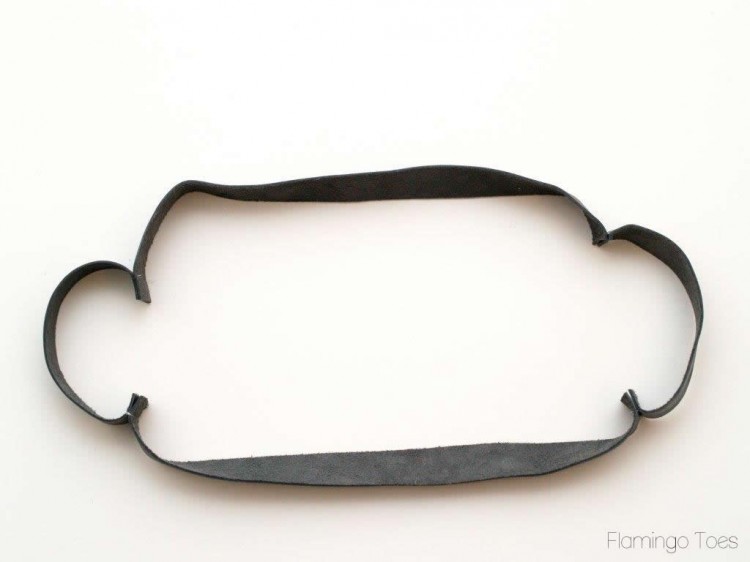
Line the trim up with the top of the main fabric of the tote bag, right sides together. Sew all the way around the top of the bag with a 1/4″ seam allowance. Make sure the trim seams line up with the bag seams. You’ll want to finger press the leather seams open as you sew.
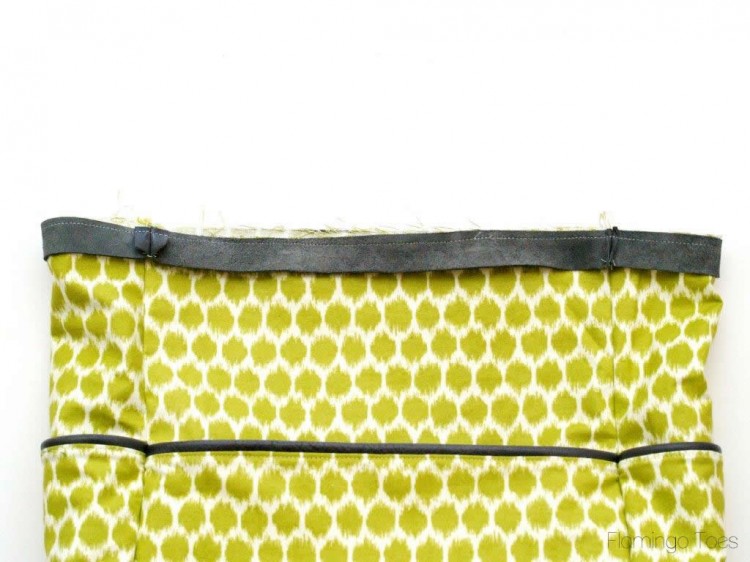
Place the main bag piece inside the lining section so the right sides are together. Open out the leather trim on the top of the main bag and line up the raw edge with the top edge of the lining. Sew around the top, sewing the leather to the lining top with a 1/4″ seam.
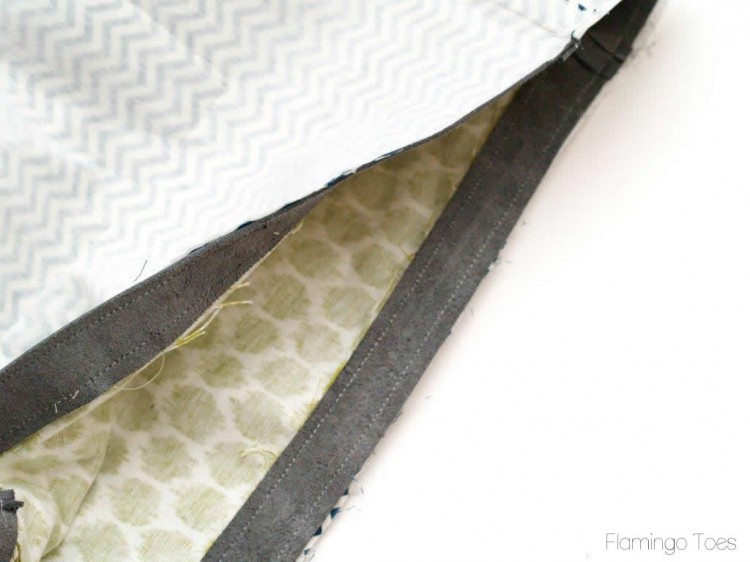
Turn the bag right side out through the opening in the bottom of the lining. Press the lining and bag and hand sew the lining opening closed. Press the top seam close to the leather like you did with the pockets. Top stitch all the way around the top of the bag. You’ll need to go slowly over the seams and talk real nice to your machine but you can do it. :)
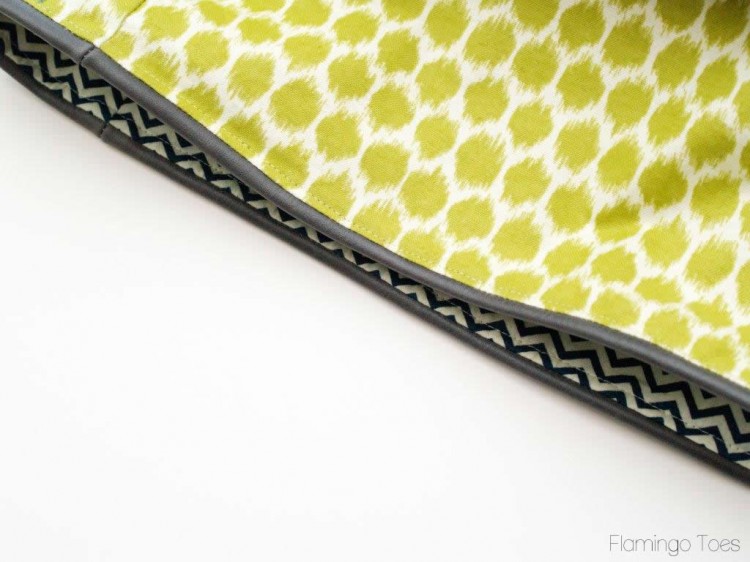
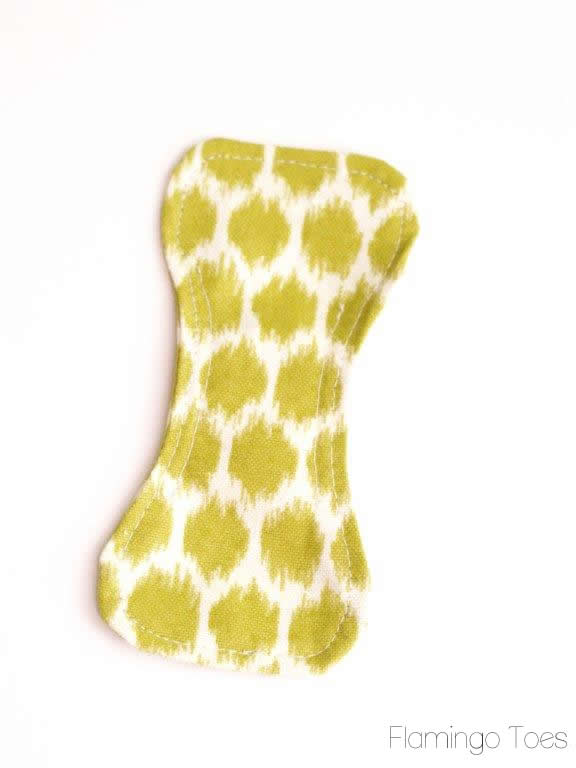
Sew your strap holders together, right sides together. (You’ll have two of these). Leave a 1″ opening for turning. Trim and clip all the curves and turn right side out, press. Top stitch inside the edge all the way around. Sew a second top stitch row 1/4″ from the first top stitching, just on the center section. (not the bottom curves)
Fold the strap holder in half and lay over the top side of the bag. Center the strap holder on the center of the side piece, one side on the front of the bag and one side on the inside of the bag. Slip a large D ring inside the strap holder and pin in place. Sew the strap holder to the bag along the sides and bottom, meeting the inside top stitch row as you sew around.
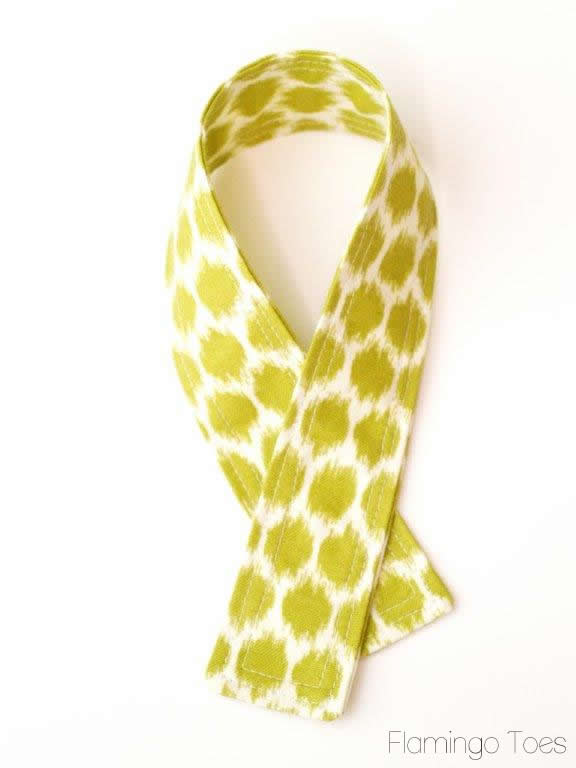
Lay the two strap pieces right sides together and sew all the way around, leaving a 2″ opening for turning. Turn right side out and press. Top stitch around the strap twice, 1/4″ from the edge and 1/4″ from the first row of top stitching.
Sew the leather strap accent piece to the lining piece, right sides together, with a 1/4″ seam leaving one end open. Turn right side out, fold the pieces of the end in, and top stitch. Hand sew the two ends of the strap accent together to make a tube.
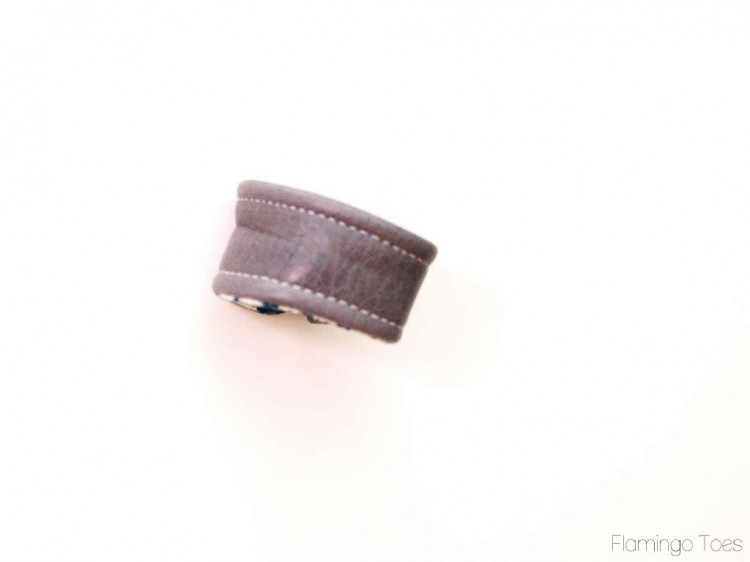
Slip the strap accents onto the bag strap, pushing them towards the center.
Feed one end of the strap through the top of one of the D rings and fold the end back over the strap so it overlaps 2″. Sew two rows of stitching 3/4″ down from the edge.
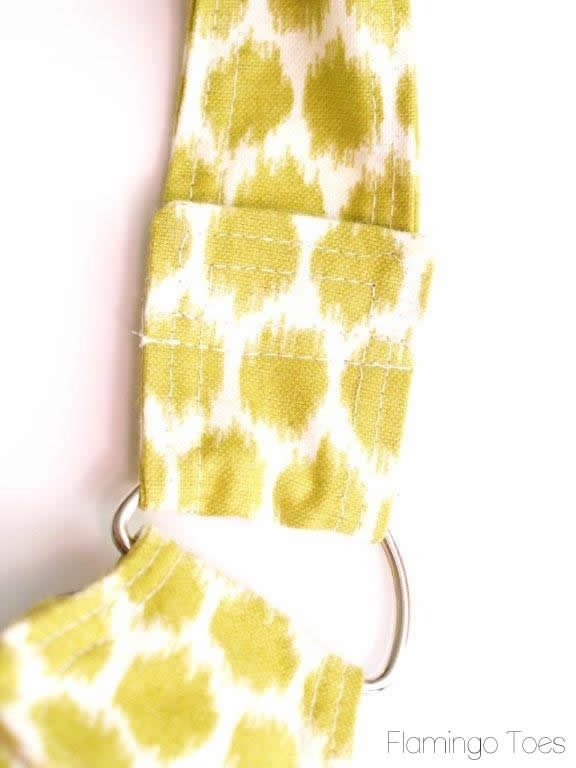
Pull the strap accents down towards the D rings, placing them over the strap stitching. Hand stitch them in place on the back side.
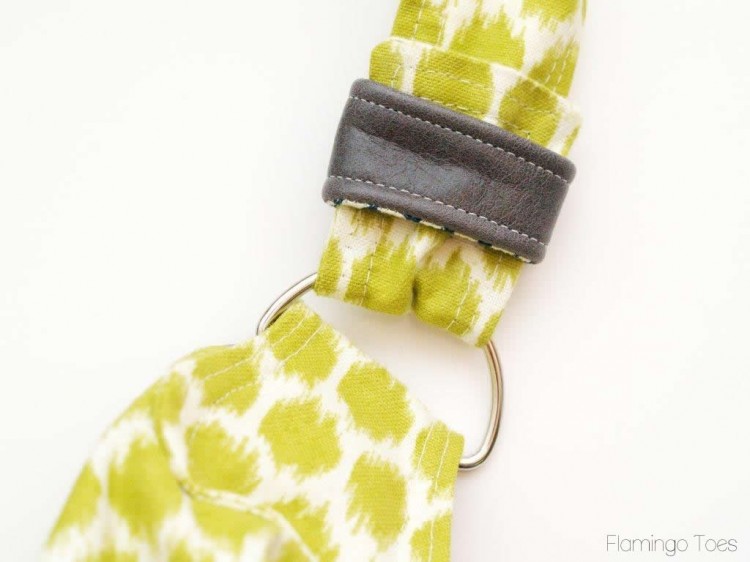
And now you have a cute new bag!!
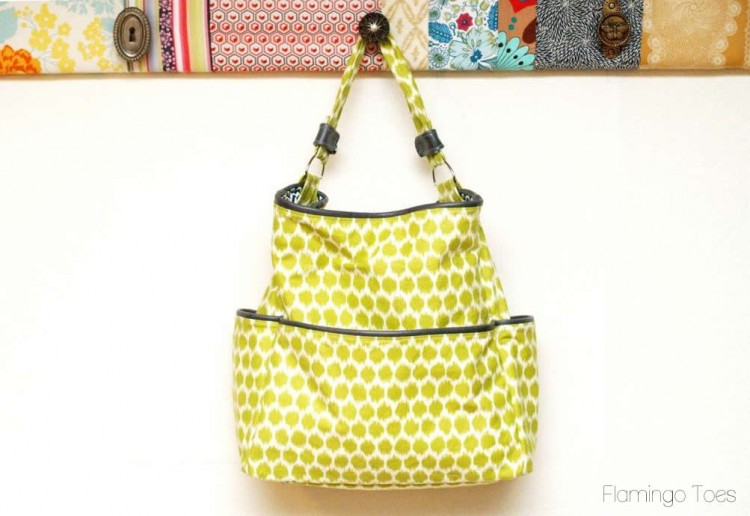
I love the contrast of lining – it’s so fun!
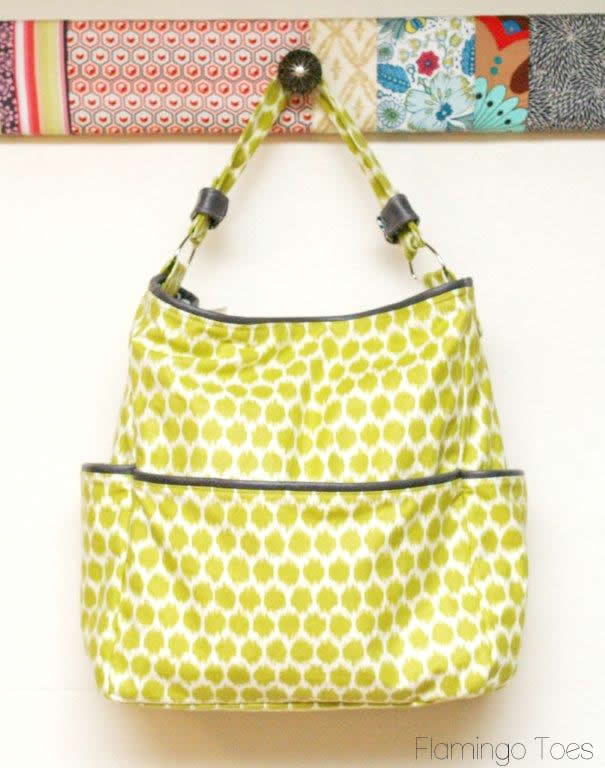
The fabric I used is an awesome new Waverly fabric from Jo-Ann’s!
Waverly is celebrating their 90th Anniversary – how awesome is that! – with a cool Facebook contest!
Check it out – you can win $250, fabric and more!!
I hope you like the bag!
Disclosure: I was provided with materials to make the bag. All ideas and opinions are my own. :)


Great tote bag! Thanks for the tutorial!
Hope you have a nice day!
Hugs!!!
…and another tote to sew on my list….. ;)
Thanks for sharing this great tutorial, Bev!
Cheers,
Dorothee
This is like the perfect diaper bag. How awesome. Thanks for sharing!
You never cease to amaze me. You always make it look so easy. The color, design and choice of fabrics is stunning. Anthropologie may soon be doing knock offs of YOUR projects. :)
Ohhh man do I ever love everything about this bag! I have to say I almost deleted it due to the leather but I love it so much I’m going to give it a try. 2 questions – 1) Is it hard to stitch leather and 2) Where do you purchase that? JoAnn’s as well?
Thanks for the great tutorial.
Hi Karen! Thanks so much – I’m so glad you like the bag!
I don’t think sewing on leather is hard – you will just want to go slow and take your time. You’ll need a leather needle for your machine, and to use the fabric trick I had in the post to get it to feed evenly through your machine. You might need to go slowly over the seam sections too, just like you would if you were sewing through a lot of fabric layers in a seam. I recommend practicing on some scraps a bit first.
I found my leather in a shop in LA but you could easily find pieces on Etsy. Or you could use the faux leather Jo-Ann’s carries – that would work great for the trim on this bag. If you can’t find leather I think the bag would look just as cute with a contrast piping on the pockets too!
Thanks again!
Bev
Oh, how I love this bag! Seriously, I could marry it. :) The leather trim is perfection. I’ve got a post on Craft Gossip scheduled for later this evening that links to your tutorial:
http://sewing.craftgossip.com/tutorial-pocket-tote-with-leather-trim/2013/09/05/
–Anne
Wow, it looks great, I like the addition of the leather detailing.
i love it! and i’m loving the little knobs!
I love it! I love the leather accents. Great job, lady!
Super cute Bev – I want one!
I have been looking for a bag like this for a long time! I am in the middle of making a different bag, but when it wears out I will give this one a try! I have a toddler and I’m tired of a diaper bag, but still need a bag for both of us. Thanks for the cute tutorial!
How cute! This is a good tutorial for a GREAT and multi-functional bag!
I love this bag! i will definitely try out your tutorial and post a link to the final product!
Great tutorial! Thanks for sharing, I am pinning it now!
Great tutorial! Thanks for sharing. I’d love if you’d link up to The DIYers! http://homecomingmn.blogspot.com/2013/09/the-diyers-28.html
I just finished my bag last night. I love it! I didn’t have any leather so simply used contrasting fabric. I will certainly be looking for some thrifty leather pieces so that I can make another. I do have a question. For the trim pieces you have listed that you need 4-4″x13″ pieces. Is that correct? I didn’t use them. I actually ended up having to cut 1 of them down into 4-1″x13″ pieces. Just curious if I screwed up – VERY VERY possible.
thank you for a great tutorial – well written and the pictures were ever so helpful! I am blogging about my bag today.
Thanks for catching that error in the top binding measurements Rhonda! I’m updating the instructions now. Oops!!
I’m so glad you liked the pattern – your bag turned out so great!!
Bev
Love it!
I have to make a bag like this for me!
Thank you for the tutorial!
OMGosh, Bev. This is so detailed and awesome!! I love those fabrics, especially together. You are such a sewing pro!!!
I could totally carry a tote like this around with my two little ones. It would fit all of their “needs” and mine as well!
This is such a great little bag! I love a bag with pockets! The prints you picked are so happy and cute together as well. Love it!
I love this. I want one. I need one!
Hello, thank you so much for this tutorial, i love this bag !!!! i’ve made one, you can see it on my blog if you want ;o)))
http://aikelo.canalblog.com/archives/2014/01/03/28743056.html
this was a gift, but i think i will make one for me :)
I love this bag, and the fabric!! I would love to use this as a diaper bag if possible. I’m cloth diapering so I need something with some decent space. What are the dimensions on this bag? Sorry if they were listed and I overlooked them! Pregnancy brain!!
Love this bag! My last bag took me nine hours to make… I’m out of practice again so it looks like this purse will keep me on my toes, too!
Hoping someone can help me out. I am in the middle of making this bag and I seem to be having some issues. The pattern I printed out for the strap holders doesn’t seem to look right. The strap accents were supposed to be cut at 1″x4″ but by the time you sew a 1/4″ seam all around you end up with a 1/2″ wide strap accent, which doesn’t seem wide enough to me. Also, I cut the strap pieces 2.5″x20″ and then sewed them together using 1/2″ seam (because the directions didn’t state otherwise) and I end up with a strap that’s 1.5″ wide, which also doesn’t seem right. It seems like the only thing working out for me so far are the trim pieces. Am I doing this all wrong? Please help!
Ooooh i love this one
So talented
http://missjayci.blogspot.fr
I love this bag, but I am not a seamstress and cannot possibly make it. Do you sell them? Would you be able to make one for me (and I’ll pay for it, of course)?
I really like the bag, but what are the measurments of the finished bag?
Thank you so much for this great tutorial. I love this bag and I am half way through sewing it on my own.
Cant wait to make this bag! Can you tell me if you made the rack its hanging on? Would you share how you made it?
Thanks so much Carla!! Yes, I did make the rack, you can find the tutorial here: http://www.flamingotoes.com/2012/09/patchwork-knob-rack/
I hope you give it a try! :)
Does this pattern have a copyright on it? I would like to use it to make totes for my sisters and niece.Thanks
Bonjour, pourriez vous m’indiquer qu’est ce que le fusible? qu’est ce que l’interfacage? merci