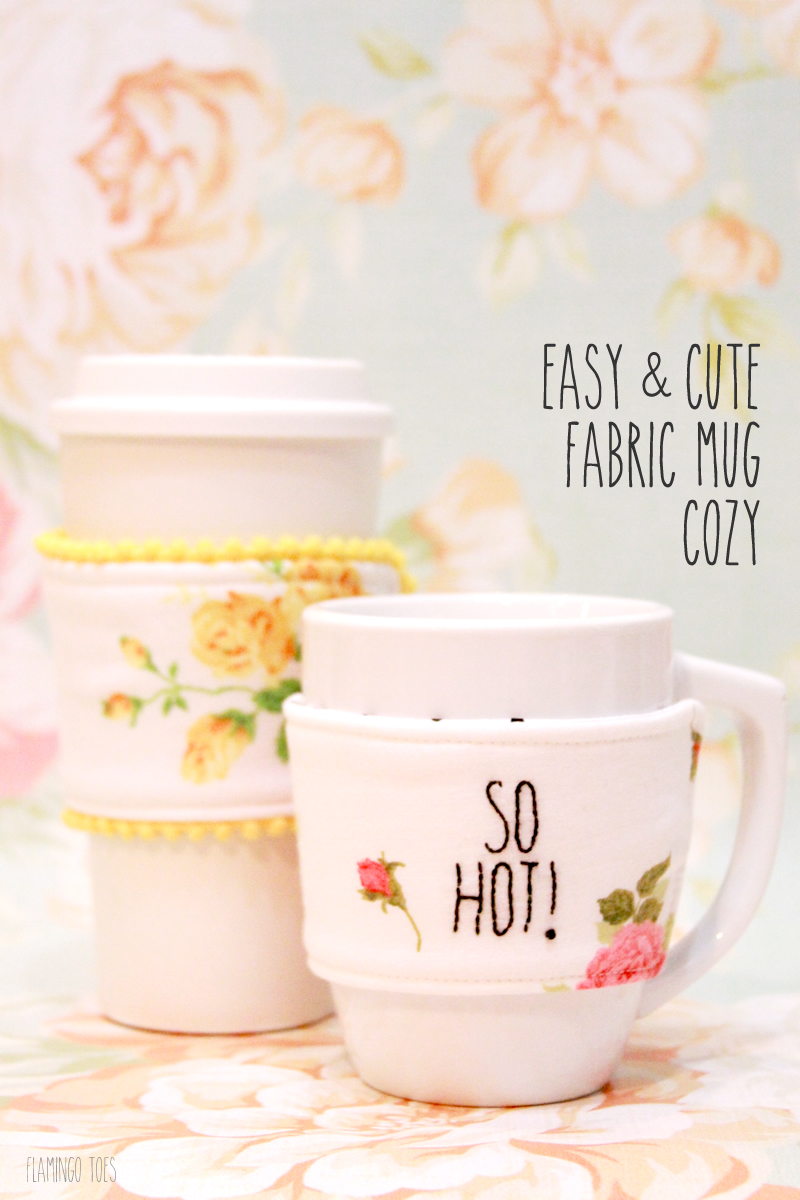
Are you working on your handmade gifts? I am slowly chipping away at them but I need to step up my game!
I just love the convenience and ease of giving gift cards – but there’s a part of me that just wants to add a little something personal too. That’s what I love about these mug cozies – they go perfectly with a simple mug and a Starbucks gift card for a great gift! And let’s face it, this time of year I am always running behind on time. But it takes hardly any time at all to whip up this easy and cute fabric mug cozy. You can even take the extra step of adding a little sassy embroidery for a bit more fun. Everything is cuter with sassy embroidery.
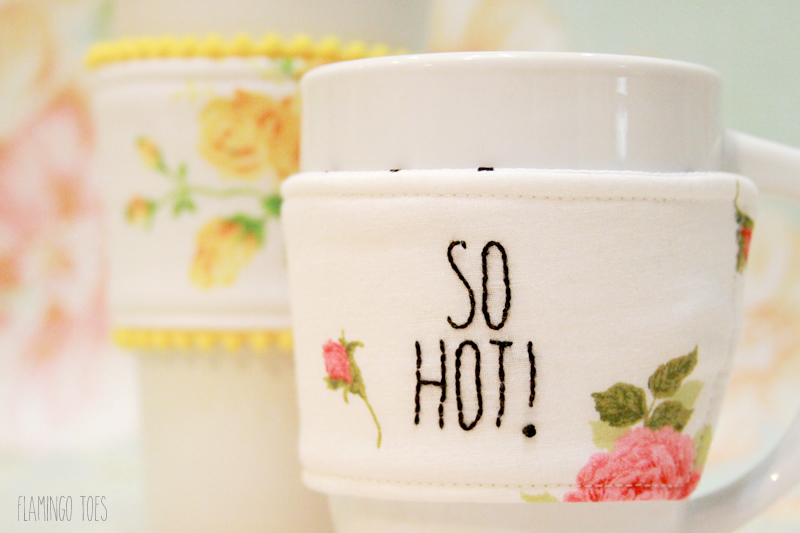
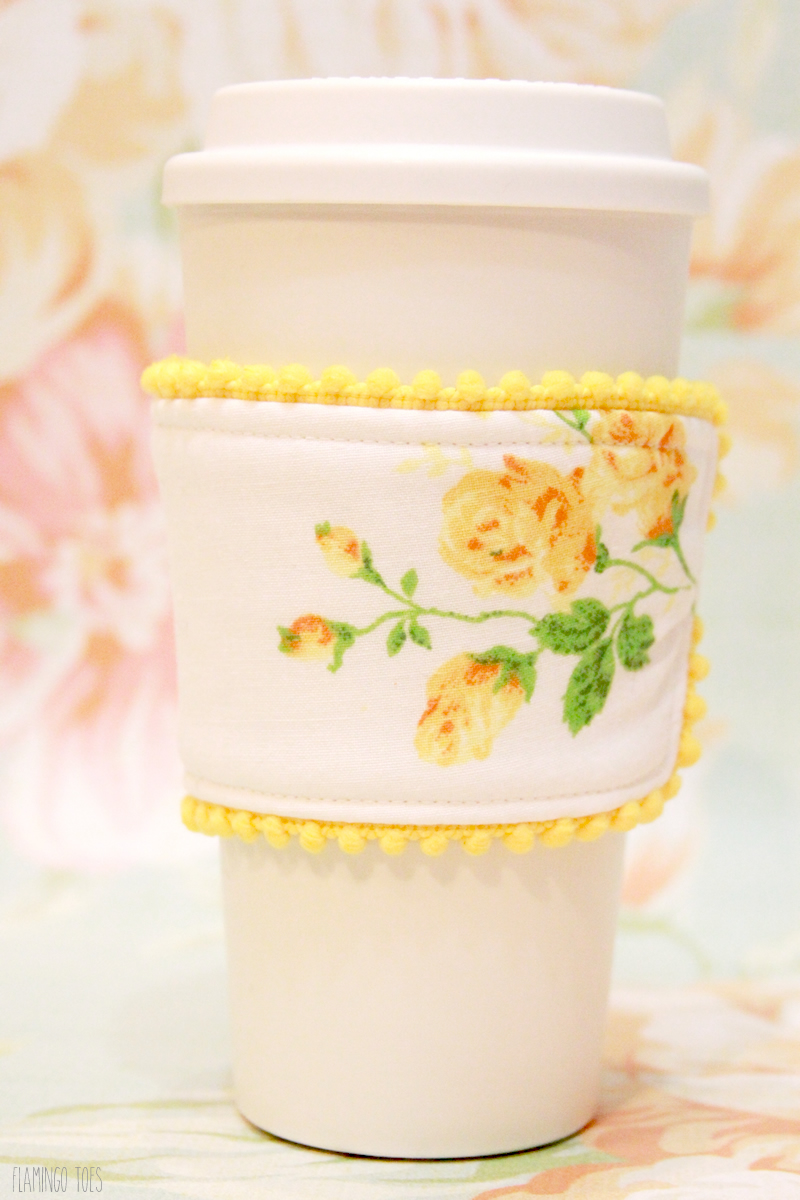
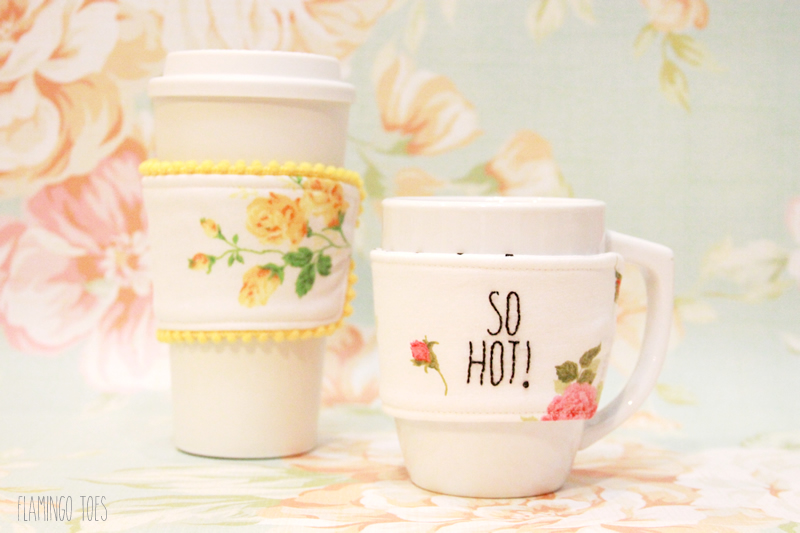
I have a free mug cozy pattern for you that works great for regular size mugs or for travel mugs! This travel mug cozy doesn’t have any embroidery but I dressed it up with a little mini pom pom trim.
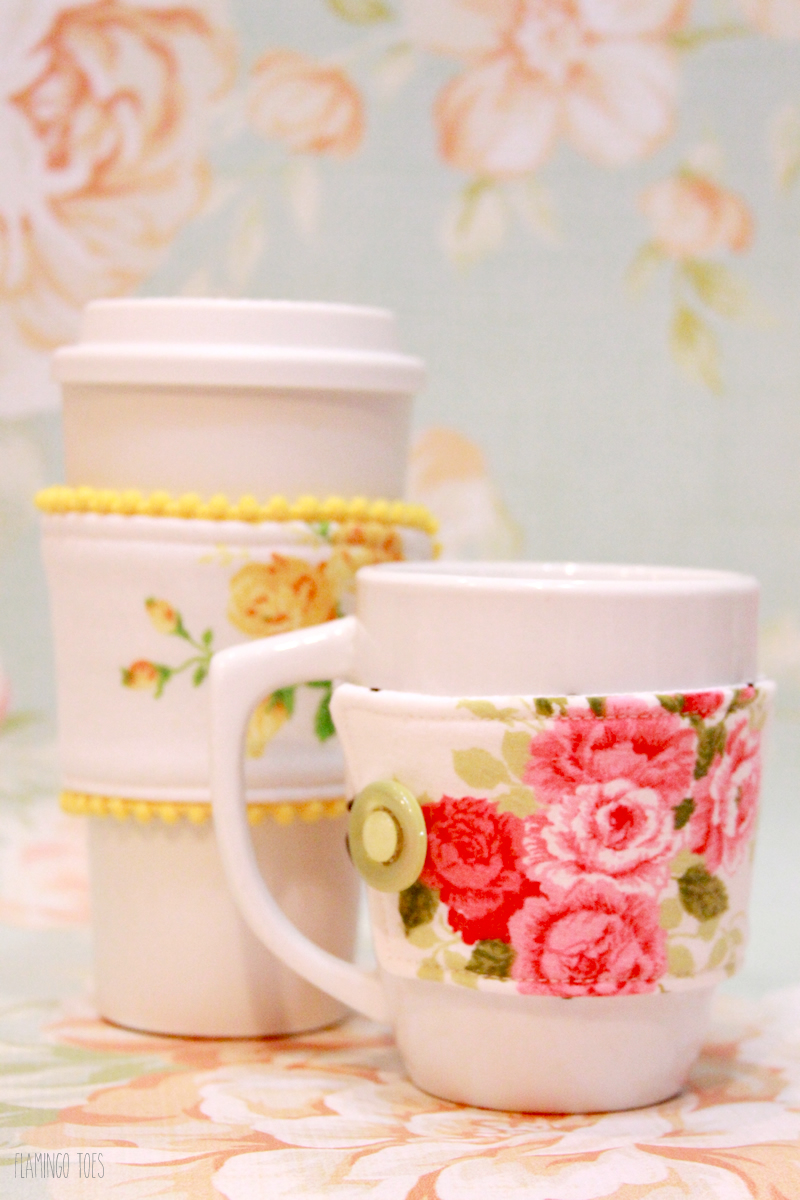
Since I love all things vintage, I used these pretty vintage fabrics and buttons. But the pattern would be great in any fun print. Or you could do something creative and repurpose an old sweater!
Here’s what you’ll need for this Fabric Mug Cozy Tutorial:
- 12″ x 4″ piece of fabric for outside
- 12″ x 4 piece of lining fabric
- 12″ x 4″ piece of fusible fleece
- embroidery thread, disappearing marking pen, hoop, and needle (optional)
- elastic hair tie
- large button
- Mug Cozy Pattern
If you are adding embroidery, do that first. Trace your cozy pattern on your fabric and your embroidery phrase with a disappearing marking pen. Pop your fabric into an embroidery hoop.
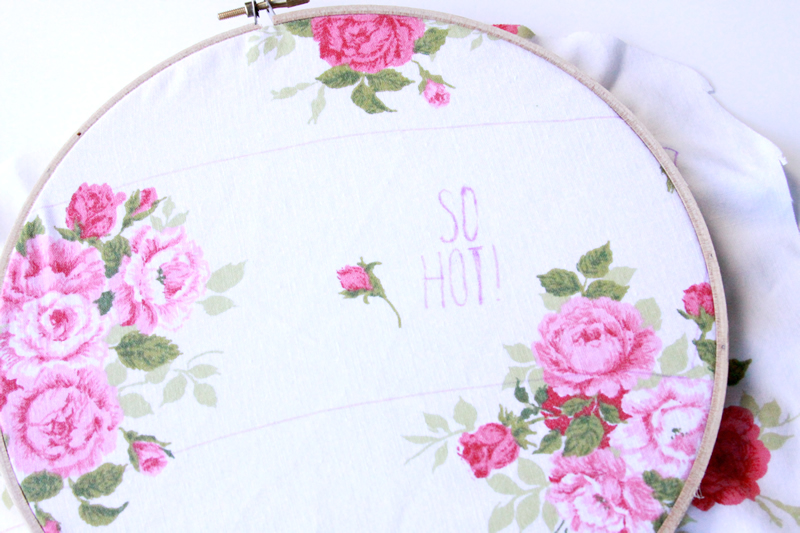
Embroider your phrase with a simple back stitch. You can find embroidery stitch instructions here.

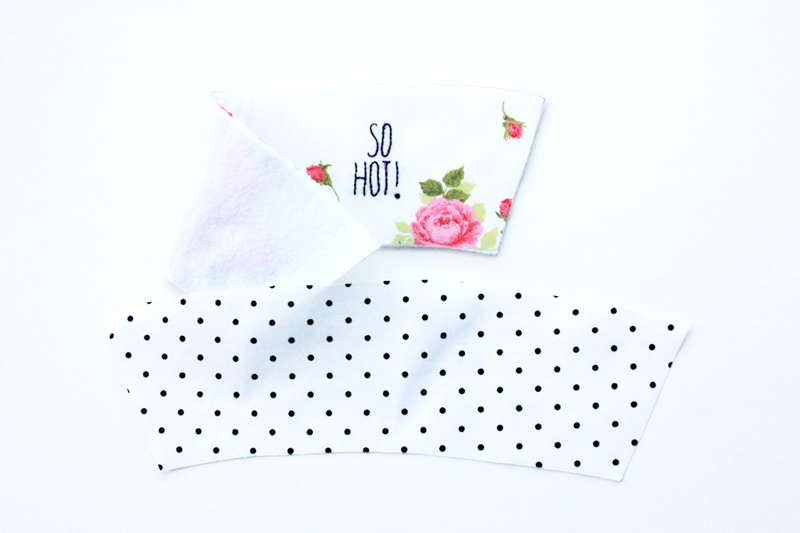
Cut out your outside fabric, lining and fleece. Fuse the fleece to the wrong side of the outside fabric.
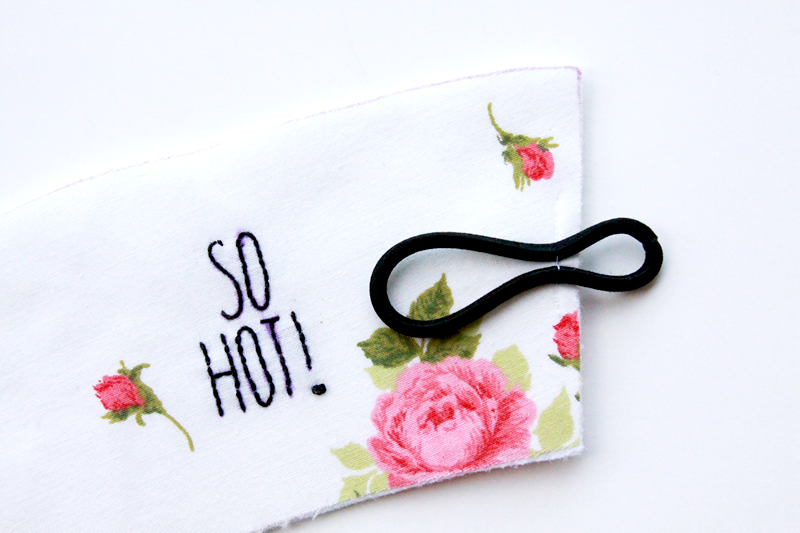
Fold your hair tie elastic so that it is pinched about 1/3 from the end. Place the end so that the larger amount faces into the main part of the cozy. Sew over the tie slowly 1/4″ from the edge.
Place the outer fabric and lining right sides together and sew around all the sides with a 3/8″ seam allowance, but leave an opening in the bottom center about 2″ long. Clip the corners.
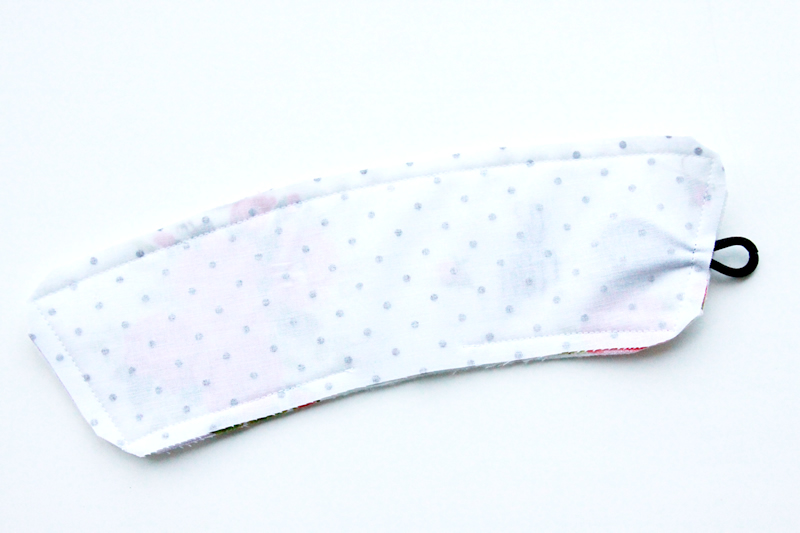
Turn the cozy right side out and press. Sew around the cozy just inside the edge. Sew a large button onto the side of the cozy opposite the elastic. Using an awesome vintage button is optional but highly preferred. :)
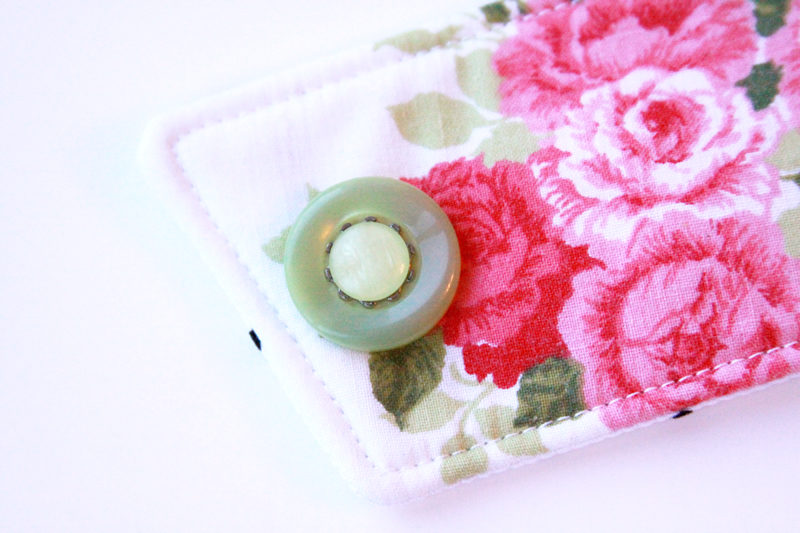
Wrap your new cozy around your favorite mug and you are good to go!

For the yellow cozy, I followed the same steps, I just left off the embroidery. Before I sewed the front and lining together, I sewed the pom pom trim to the outside of the cozy with the pom poms pointing to the center. Use a 3/8″ seam allowance for this small trim.
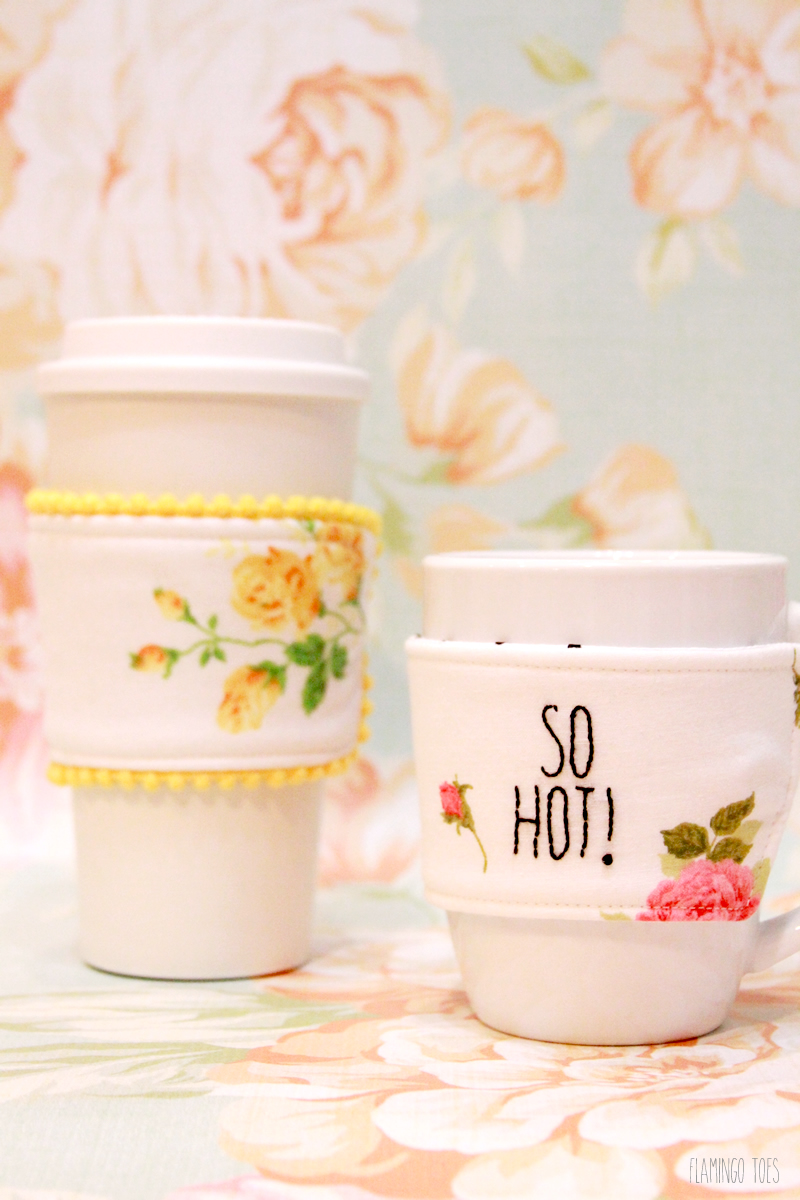

Such an easy and cute gift! I hope you give it a try!


bonne idée.Merci
Love, love, love!! I’ve got a Craft Gossip post scheduled for later today that links to your post:
http://sewing.craftgossip.com/free-pattern-fabric-mug-cozy/2014/11/28/
–Anne
I love these, Bev!! The mini pom poms just entirely won me over. Besides the witty phrases. ;) I’ll be making some of these!
I featured this in my Daily Dose of EyeLoveKnots Finds for December 8th. Thanks for the opportunity to share!
eyeloveknots.blogspot.com/2014/12/daily-dose-of-eyeloveknots-finds_8.html
Thank you so much!! :)
Hi Bev! I love these cozies (and all your tutorials). After making several of these, I’m wondering if you have any words of wisdom on how to make it easier to sew the mini pom-poms on? It is a serious challenge for me. I’m considering trying one with the fringe sewed on the outside. Thank you!
Hi Lisa!
Sorry you’re having trouble with the trim. Have you tried sewing it on with a zipper foot? Or maybe baste it in place first? I know that would add some extra time but maybe it would secure it enough for you to sew it on. I hope that helps!! It is tricky stuff!
Bev
Hi Bev, these are sooo cute!!! I have lots of fat quarters I bought for other projects that I didnt get to, but your tutorial has given me renewed inspiration, I really must try a few.
Thanks for sharing on #OMHGWW, I really must feature this next week.
Wishing you a Happy New Year!
Karren
These are so cute…what a creative idea! Thanks so much for sharing with us at Share The Wealth Sunday!
xoxo
Lisa
So adorable!! Love the embroidery. Pinning to our scrap fabric board!
These are adorable! I love the fabric you chose and the little saying. Pinning.
These are so cute! I’m featuring this at this week’s link party! http://www.thelifeofjenniferdawn.com/2016/01/6-amazing-sewing-projects-to-try-today.html
So cute! What fabric is the pink rose? Thanks!!