I have a fun new Sign tutorial to share with you today!
I’ve been wanting to do a bit of artwork for my mantel now that it’s summer and I’m ready to change things up a bit. And since it’s pretty much common knowledge that I’m addicted to making things with vintage sheets – I thought we might as well go with that. ;)
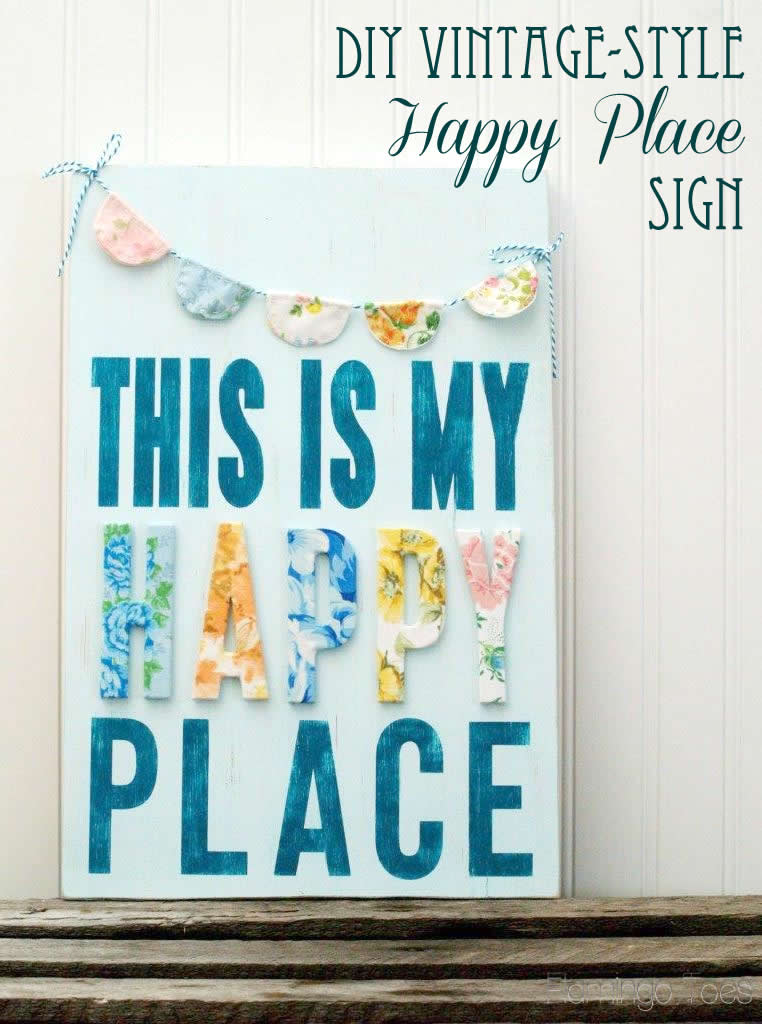
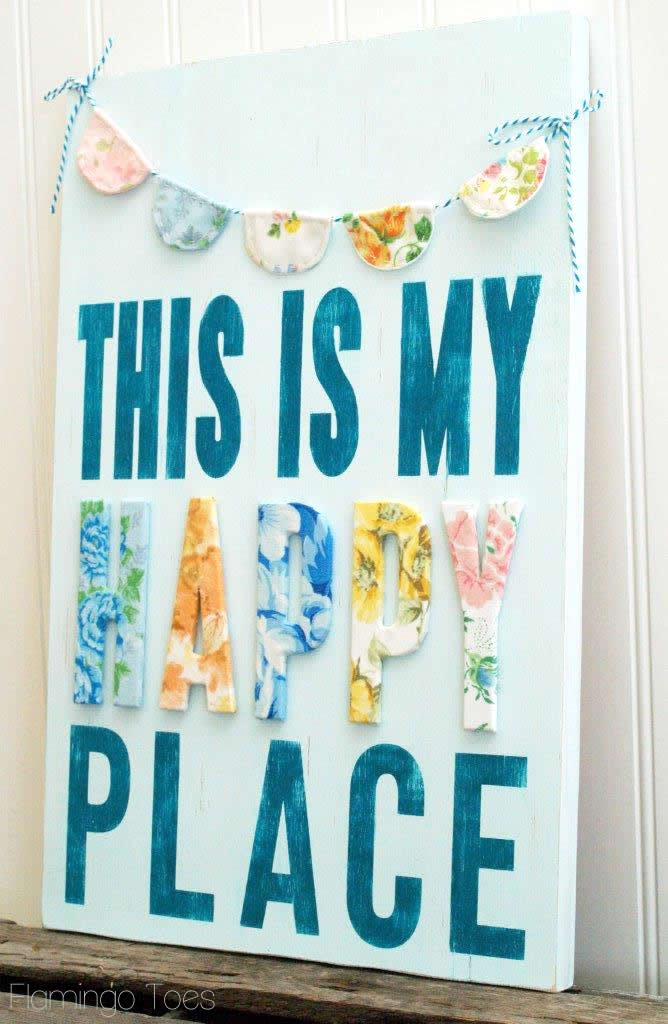
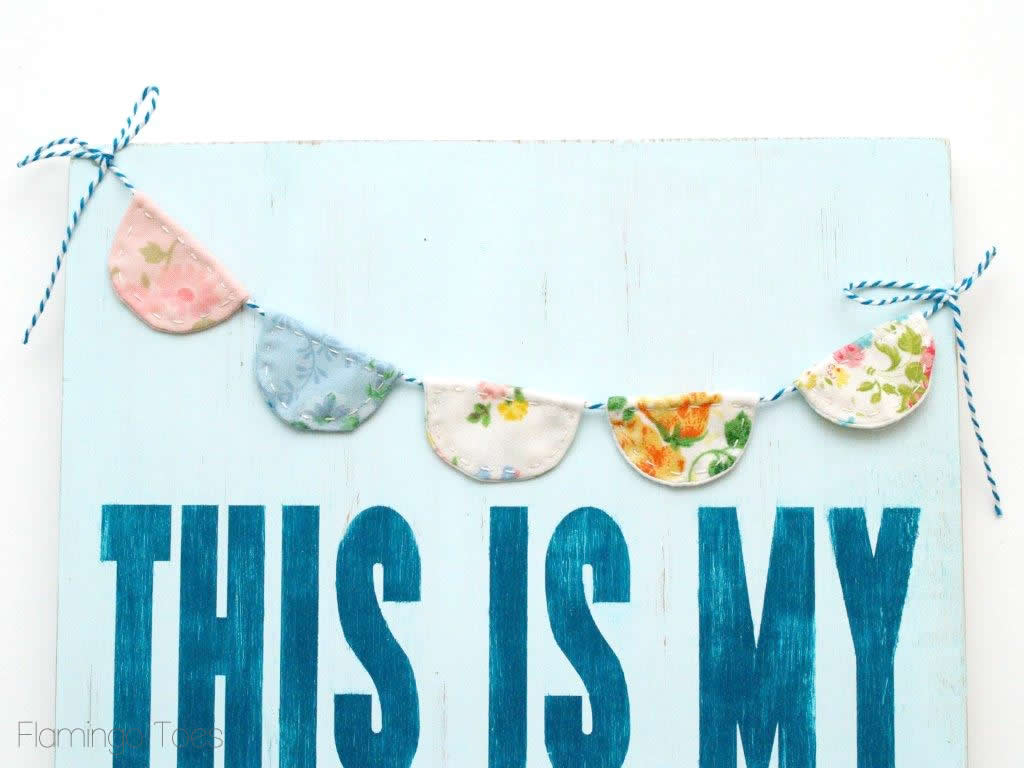
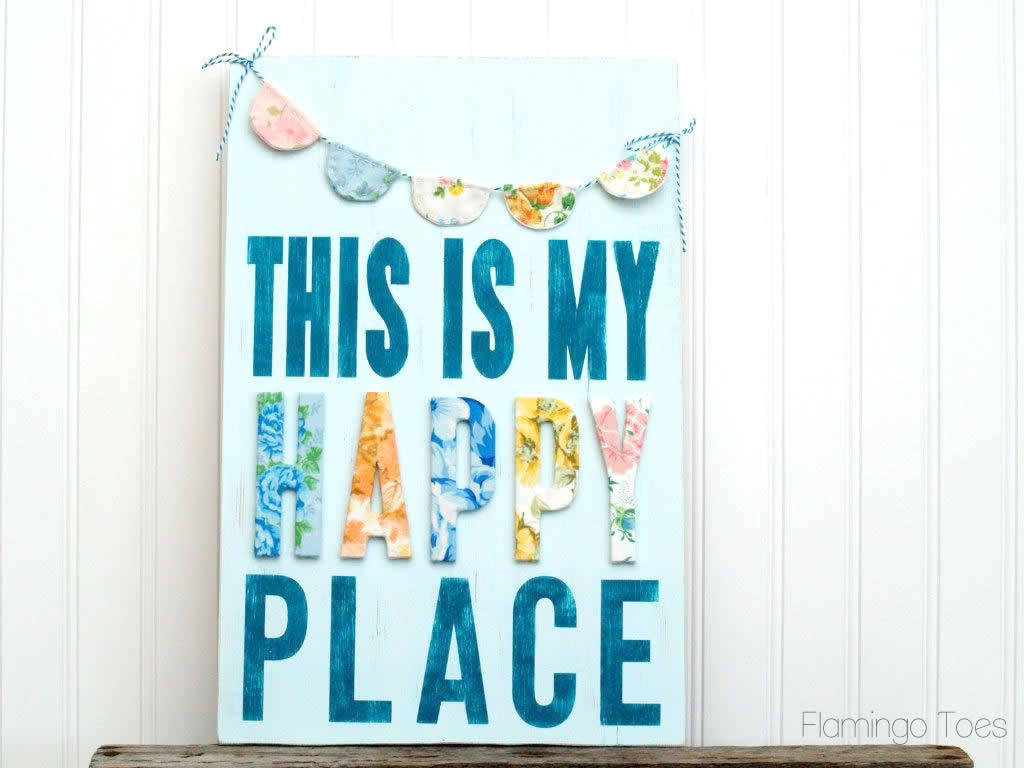
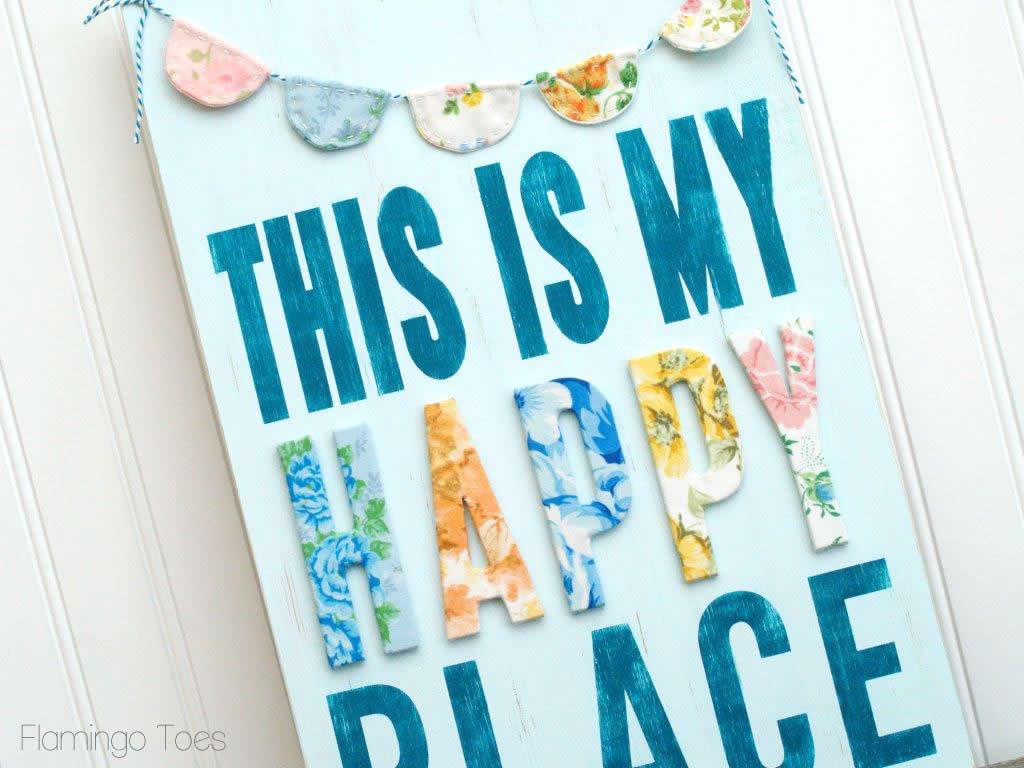
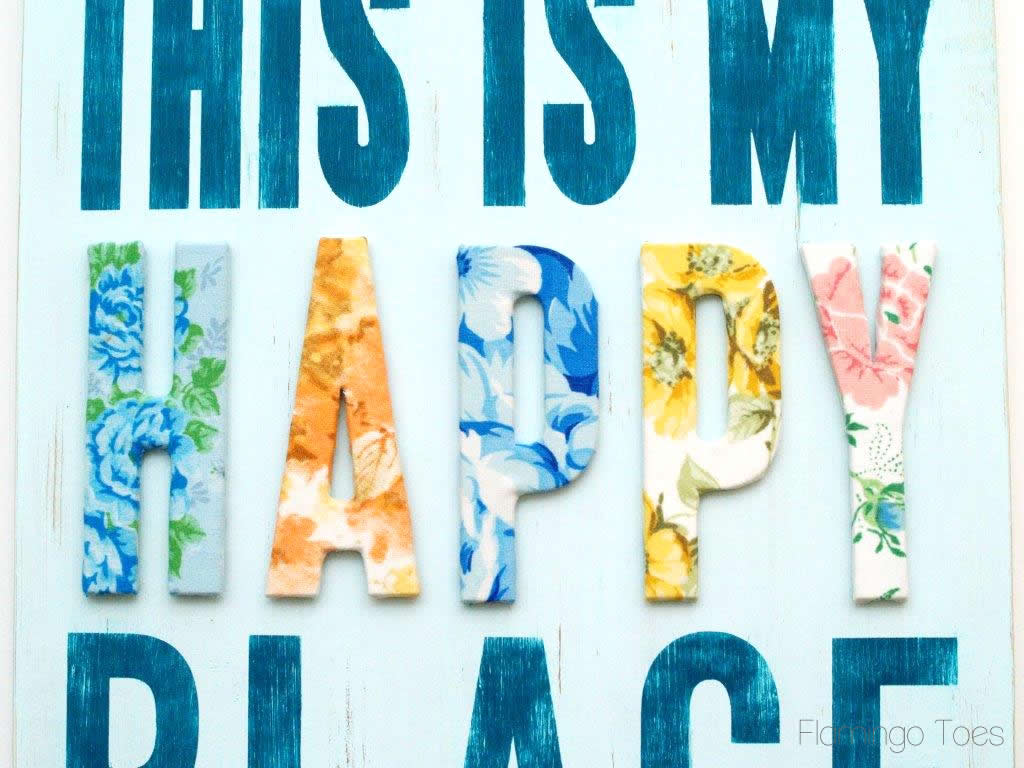
So I have my new “Happy Place” sign – all painted up and decorated with some vintage-style letters. :)
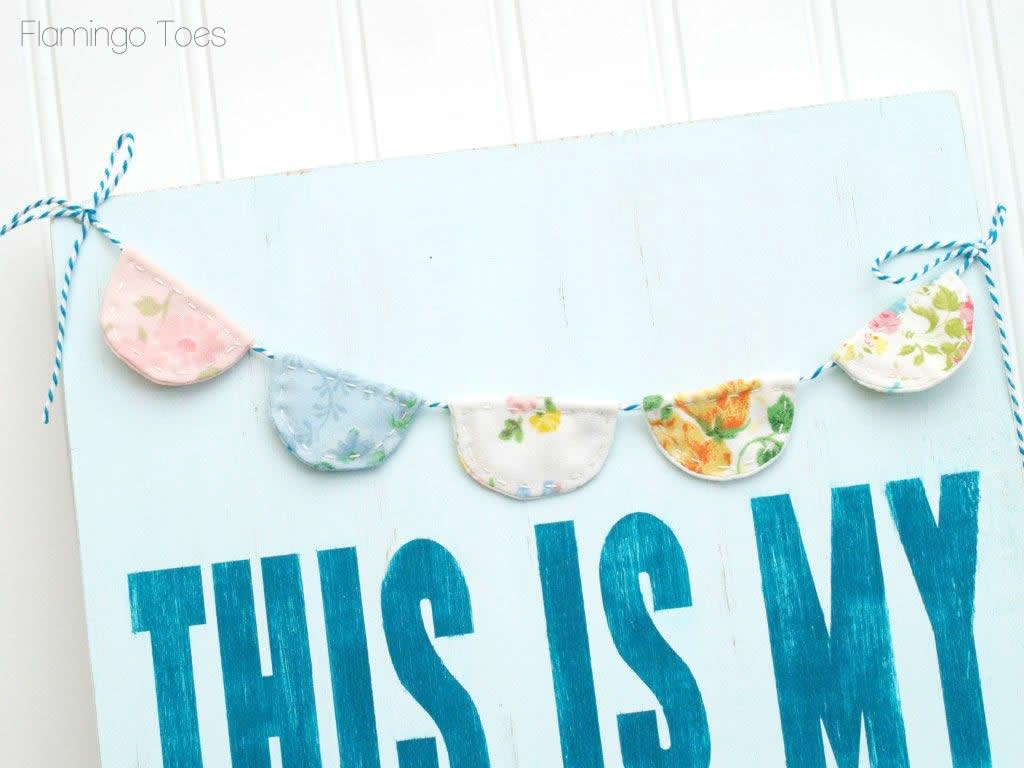
There’s a sweet little bunting along the top – made just like the vintage sheet bunting that’s on Gallery wall – but in mini size!
Isn’t it so fun?

It’s really easy to put together too!
Here’s what you’ll need:
- 12 x 17 x 1 piece of wood
- paint for background and letters
- vinyl for letters stencil
- wooden letters – I bought mine at Craft Cuts
(not sponsored – just a cool little shop with fun wooden shapes and letters in almost any font and size!!) - vintage sheets to cover letters and for bunting
- twine, hot glue, fusible fleece
Start by cutting out your wood rectangle. You can do this with a jig saw, or even ask the nice folks at the hardware store to cut it for you.
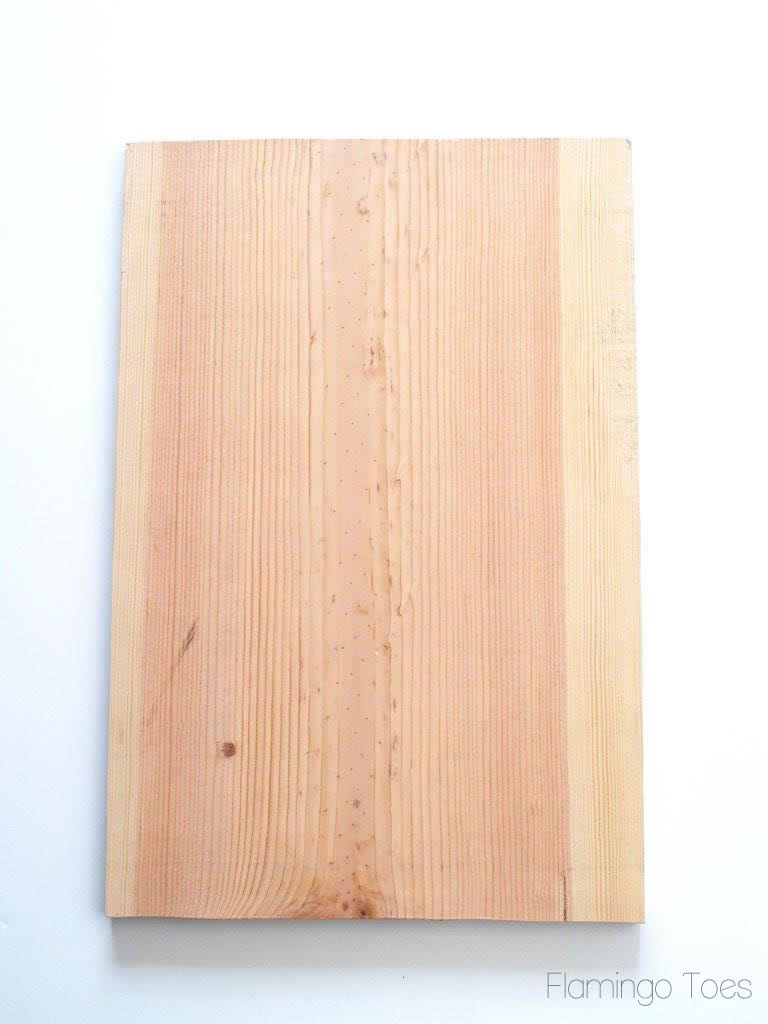
Cover the whole piece with your base color. You’ll probably need several coats.
While your paint is drying, work on covering your letters. You can do this a variety of ways – but here’s what I did.
Start by painting the letters white. The vintage sheets were so thin that the white brightens up the fabric just a bit and makes the colors stand out more.
Cut pieces of fabric just larger than each letter and wrap the fabric around, gluing the fabric to the back side of the letter. Make cuts along curves and corners to let the fabric lay as flat as possible.
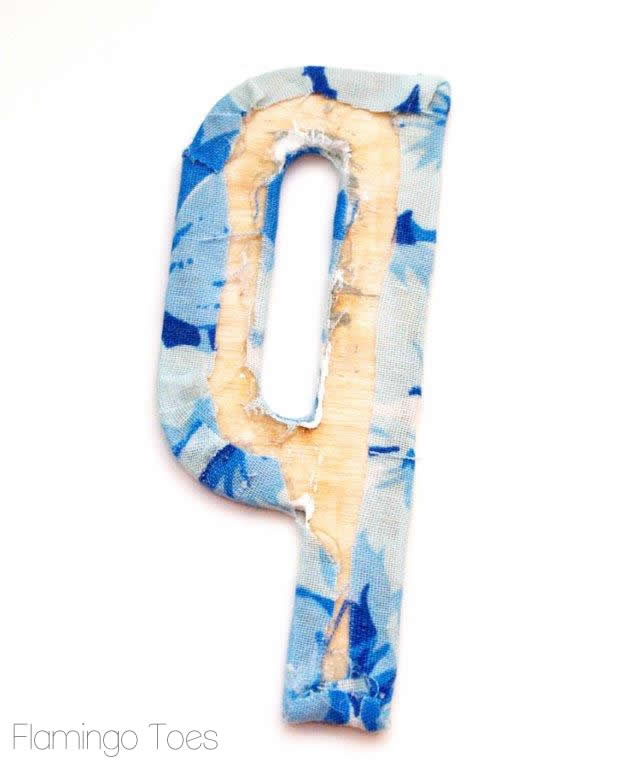
I found the glue on the back looked nicer than Mod Podge in this case – it tended to make the fabric look a little dull and was super messy with all those tiny pieces.
The hot glue was messy too, but I found that putting the glue on a paper plate and adding it to the curves of the letter with a toothpick worked best.
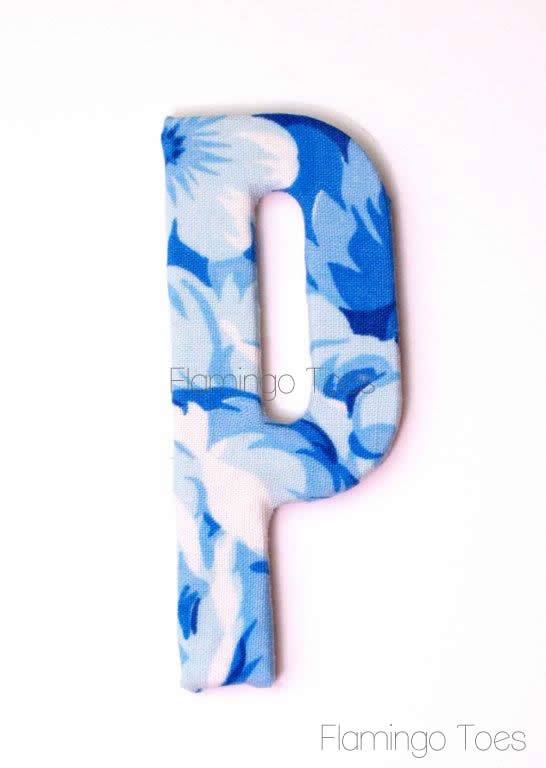
Cover all your letters the same way – with different fabrics.

Cut your letters that will be painted out of vinyl. I used a Silhouette but your could definitely do this by hand as well.
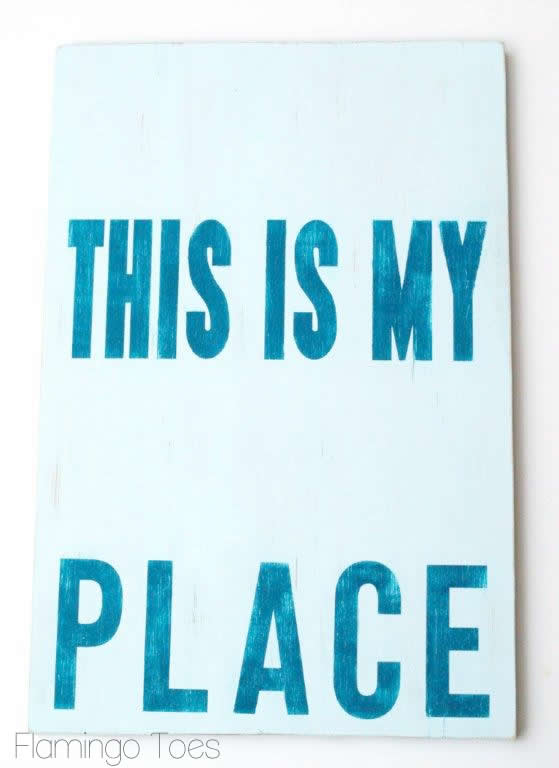
Add your vinyl stencil to the bottom of the wood sign.
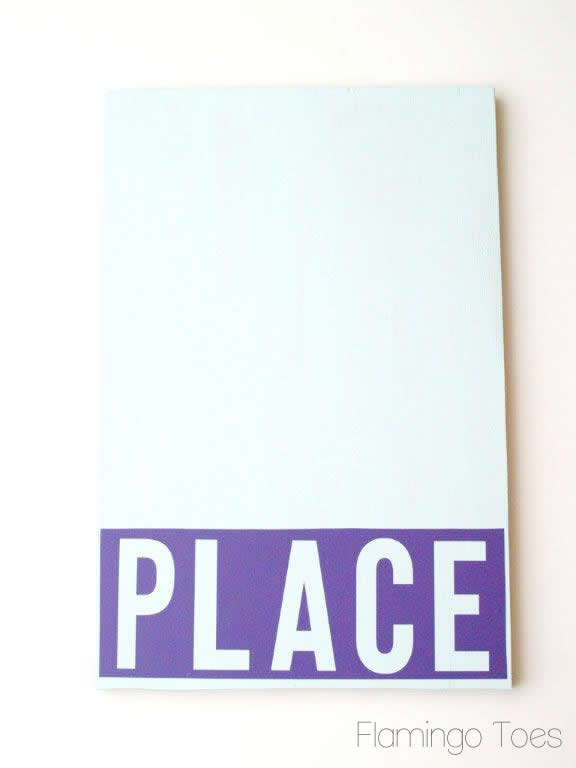
Paint the letters in – then remove your stencil.
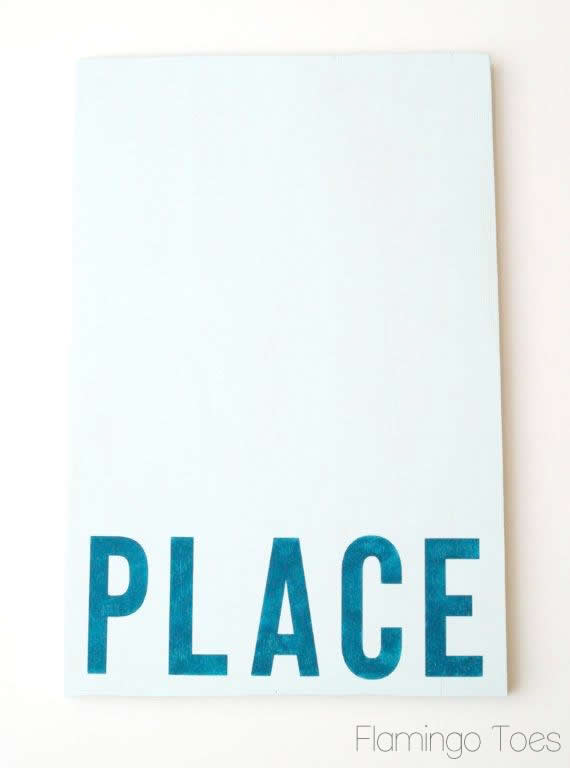
Repeat for the other words –

Once your paint is all dry, take your sign outside and sand it up a bit. You’ll want to sand lightly over the letters, along the sides, etc.
You can also sand off all the little bits of paper towel stuck to the paint on the back of the sign. Possibly. Or maybe that’s just me.
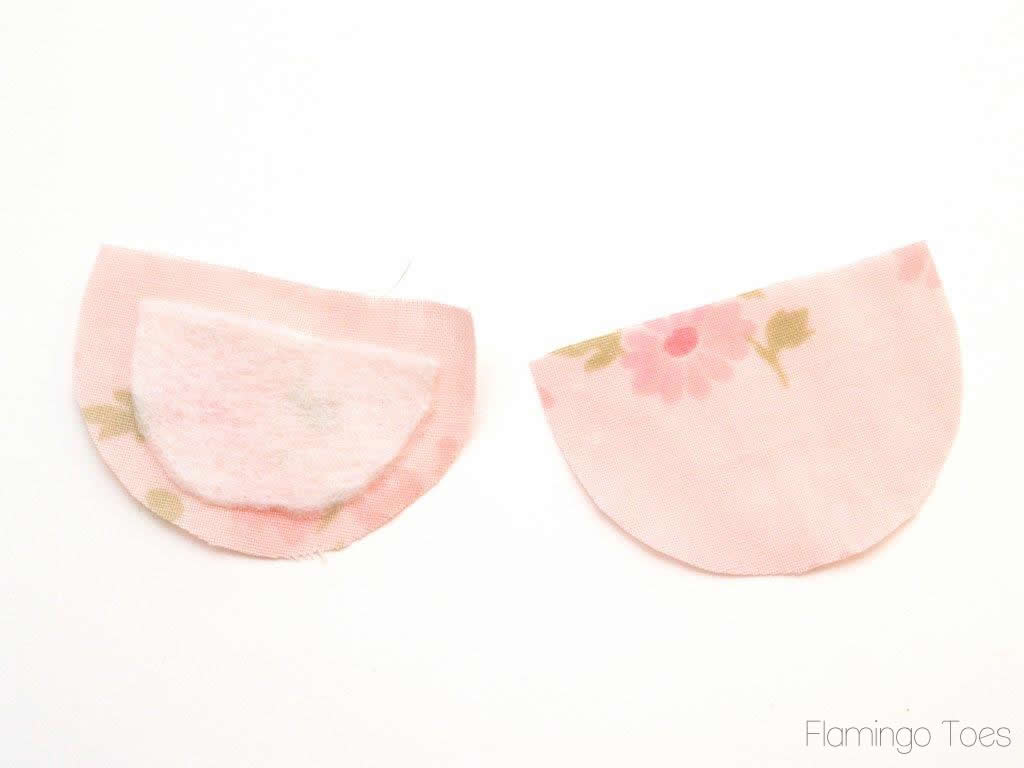
To make your mini bunting, cut 2 small half circles out of each fabric. I traced a large Mod Podge bottle as my pattern.
Cut a slightly smaller piece of fusible fleece and fuse this to one of the half circles.
Sew these two pieces right sides together, leaving the straight side open. Clip all the curves well.
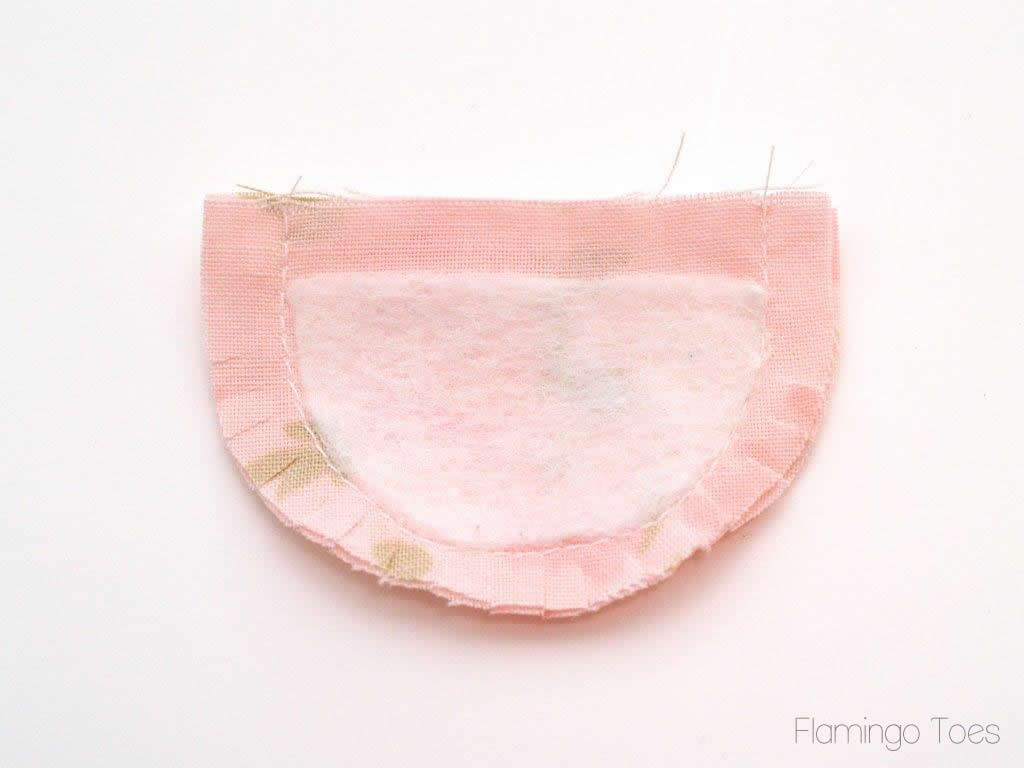
Turn right side out and press.
Fold the top of the bunting over a piece of twine and sew the piece on by hand At the same time do some little running stitches around the edges of the piece.
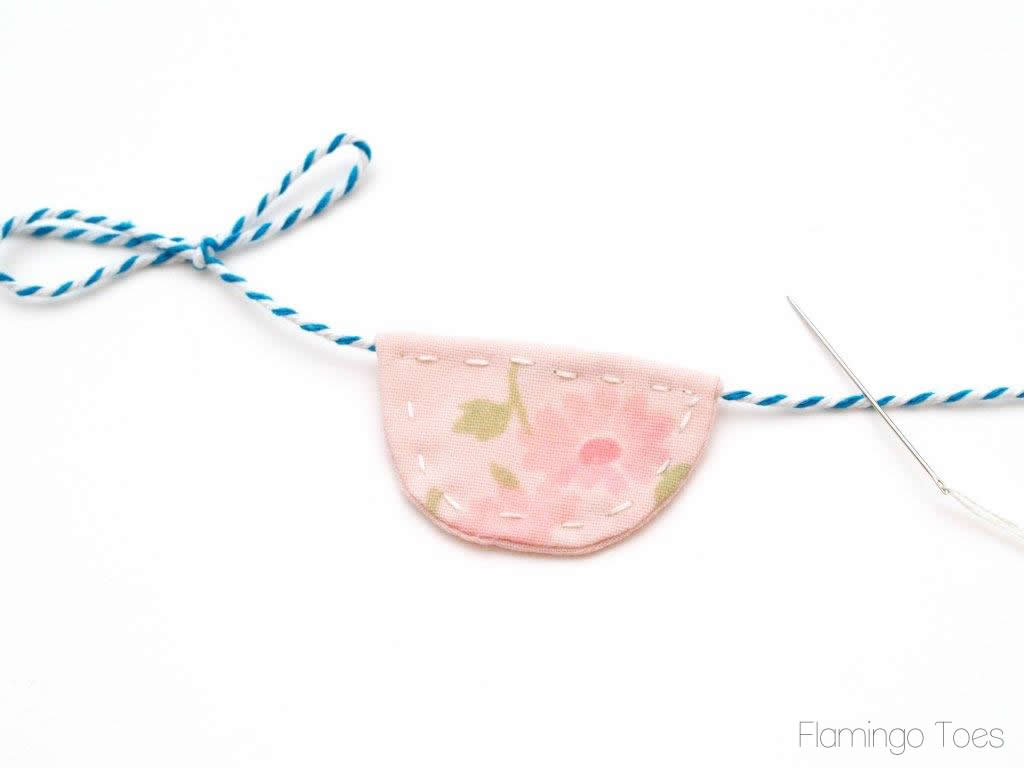
Make four more little bunting pieces and sew them onto the twine.
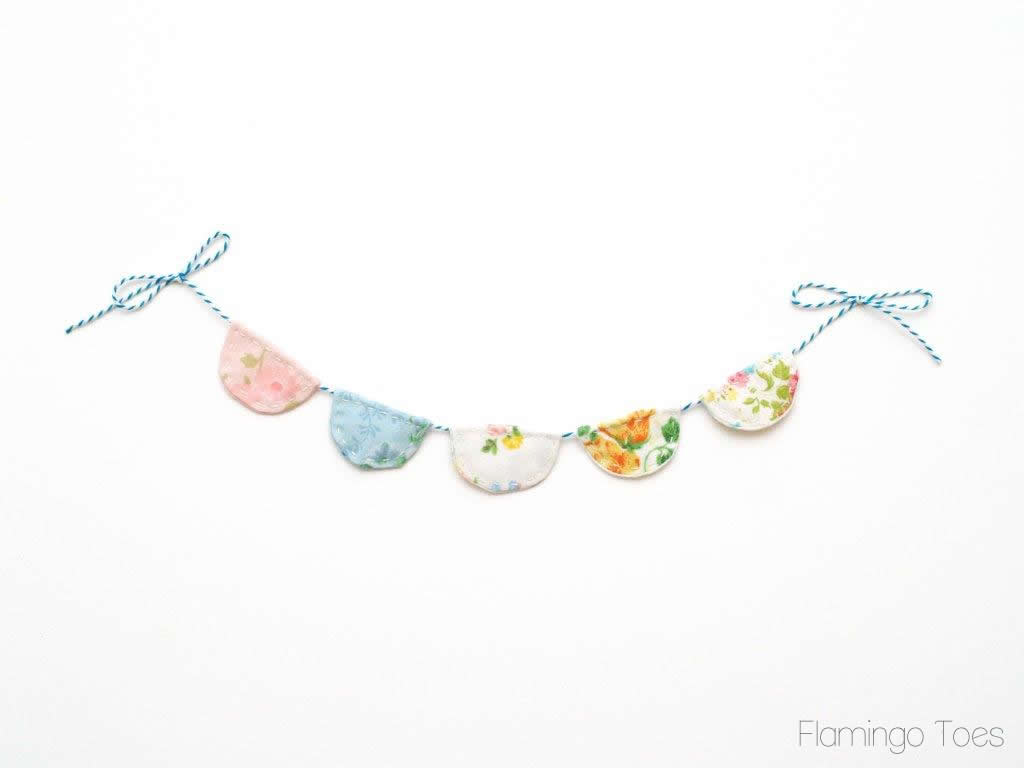
Tie little bows in the twine and glue the bunting with just a bit of hot glue to the top of the sign.
Do a little happy dance cause you love your new sign so much! (entirely optional – but awesome all the same)
It makes me very happy. :)

I hope you like it!
Linking up at Sunday Scoop, Today’s Creative Blog, Met Monday, Tutorials & Tips Tuesday, Quilt Story, Shabby Creek Cottage, My Repurposed Life, 504 Main, Everything Etsy and the other fabulous parties on the party page – make sure you check them out!


Gorgeous! I love all the yummy vintage fabrics. This would be perfect for any little scraps laying around
Bev,
This is fabulous!! Your blog is keeping my to-do list full. Thanks for the tutorial; I love the vintage fabrics.
Blessings…
This is absolutely adorable! I will definitely be sharing it out. :)
This is seriously adorable! I love, love, love the fabric wrapped letters in “happy.” Something like this hanging by my work space would be so perfect! Thanks for sharing. :)
Hello! How cute is this?? I love the 3-D effect and, of course, the vintage sheets!! Great color scheme!
Swooning over the cuteness. I love it all, especially the adorable bunting.
This is adorable! I love the look of the fabric-wrapped letters.
So so cute cute cute! Love the dimension in your covered letters and the bunting makes it awesome- YOU are awesome! Thanks for sharing! Pinned so I can do something similar :)
Bev-This is so super darling. Love the vintage floral, it totally makes it perfect!! (pinned) :)
Super cute!! I love the floral print!! Pinning it!!
Sooo cool!!! It would make a great sign for my quilt studio… Thanks for sharing the tutorial!
Darling sign and wonderful tutorial!
Judy
Bev, I love your multimedia approach to this art piece! So beautiful, happy, sweet and cheery! Wonderful!
Jenn
so so cute!
I LOVELOVELOVE this!! It came out beautiful!! I am going to make one asap…thanks for sharing such a great idea!