This post is a partnership with Plaid. All ideas and opinions are my own. :)
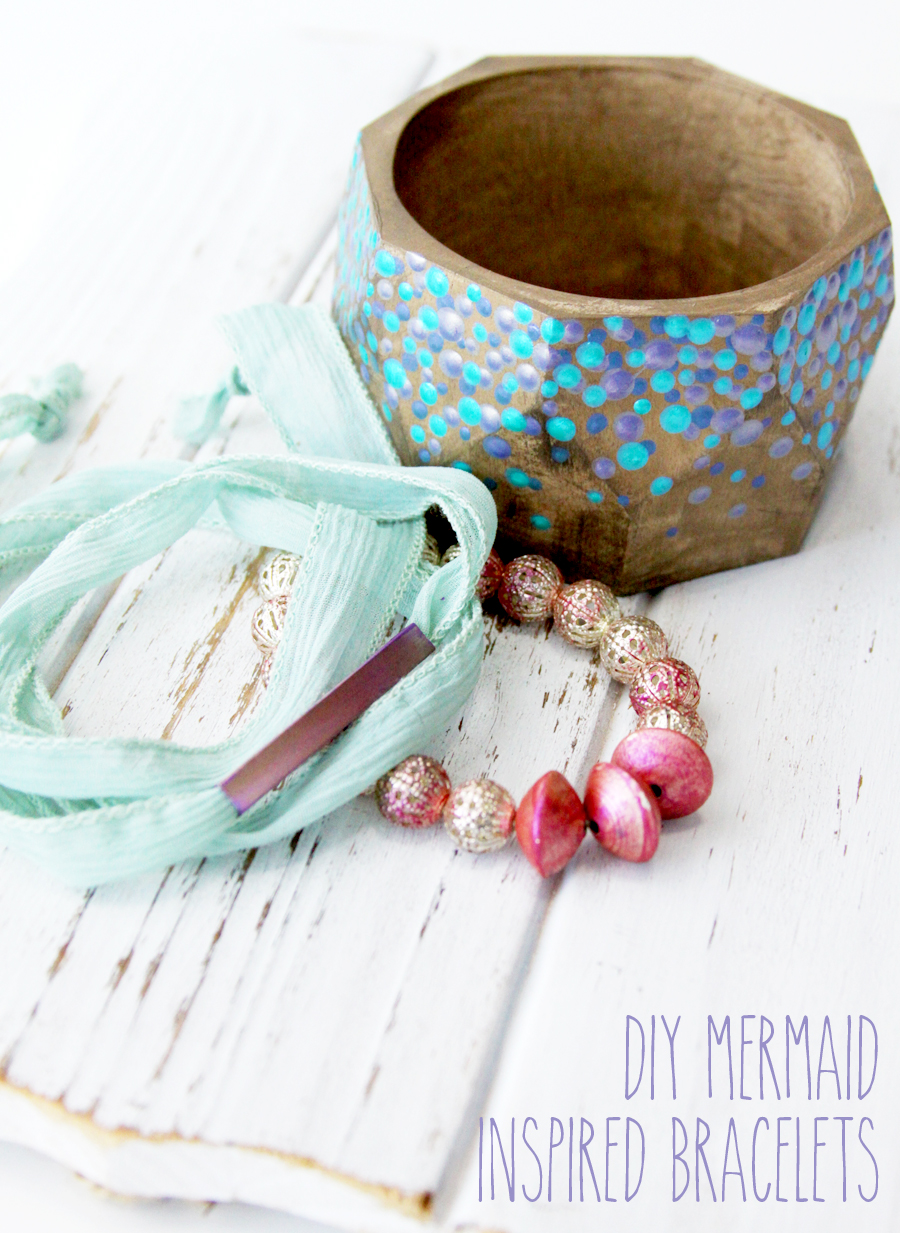
I am always up for jewelry projects, and bracelets especially are so fun to make! I love how these DIY Mermaid Inspired Bracelets turned out – they look so pretty together or by themselves too!
These are made with two new paint lines from Plaid – FolkArt Color Shift™ and FolkArt Brushed Metal™. These new lines are so fun!! I used the Brushed Metal a bit but all the color in these is from the new Color Shift Paints. The paints have an almost iridescent look to them, the colors shift shades as you move them. When I saw them, I immediately thought of a mermaid! The colors in the line are all rich jewel tones and they compliment each other so well.
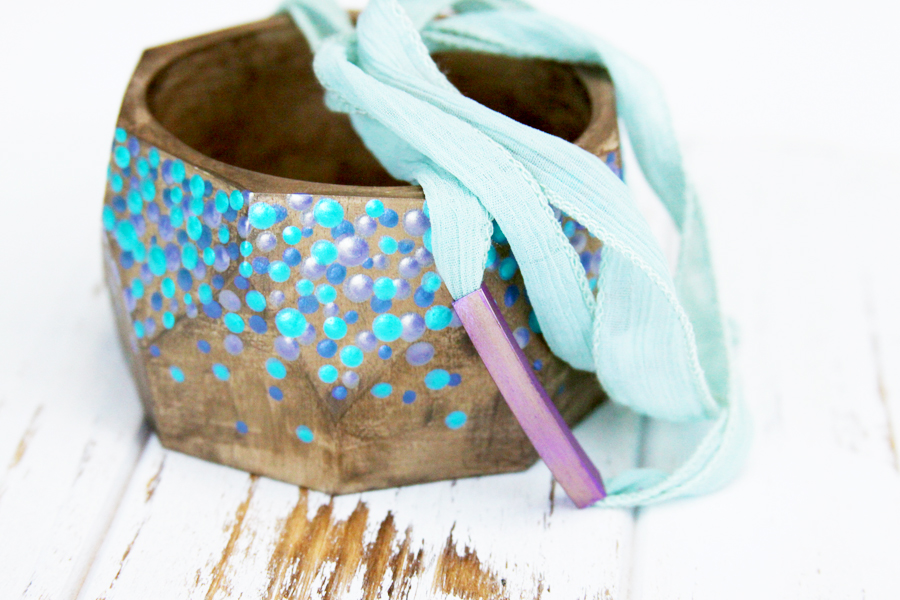
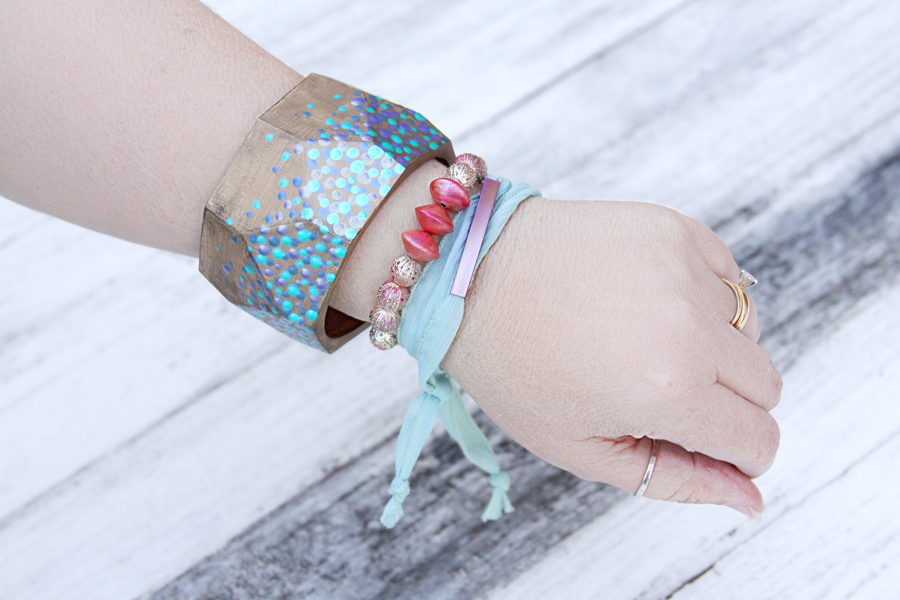
These are all very basic jewelry tutorials too – so anyone can make them, even if you don’t have any jewelry making experience. They would be so fun for a girl’s night out project too!
Here’s what you’ll need to make your own.
Wood Bangle:
- FolkArt Color Shift Paint – Aqua Flash, Blue Flash, Purple Flash
- FolkArt Brushed Metal Paint – Brushed Bronze and Brushed Black
- Wood geometric bangle
- Paintbrush
Metal Stretch Bracelet:
- FolkArt Color Shift Paint – Red Flash
- Paint Brush
- Stretch Cording -.5 mm width
Ribbon Bracelet
- FolkArt Color Shift Paint – Pink Flash
- Brass Tube Bead
- Ribbon for Tie
- Paintbrush
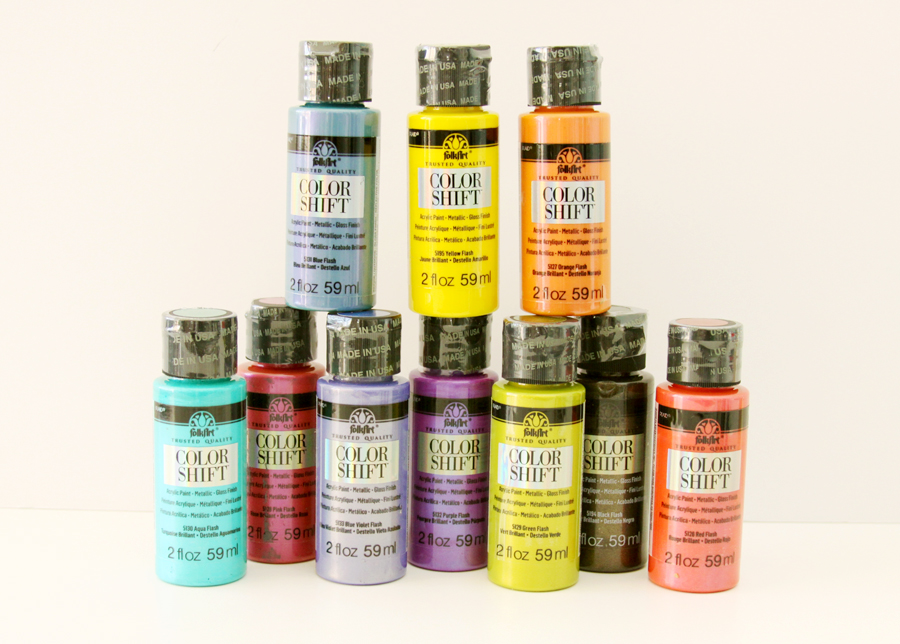
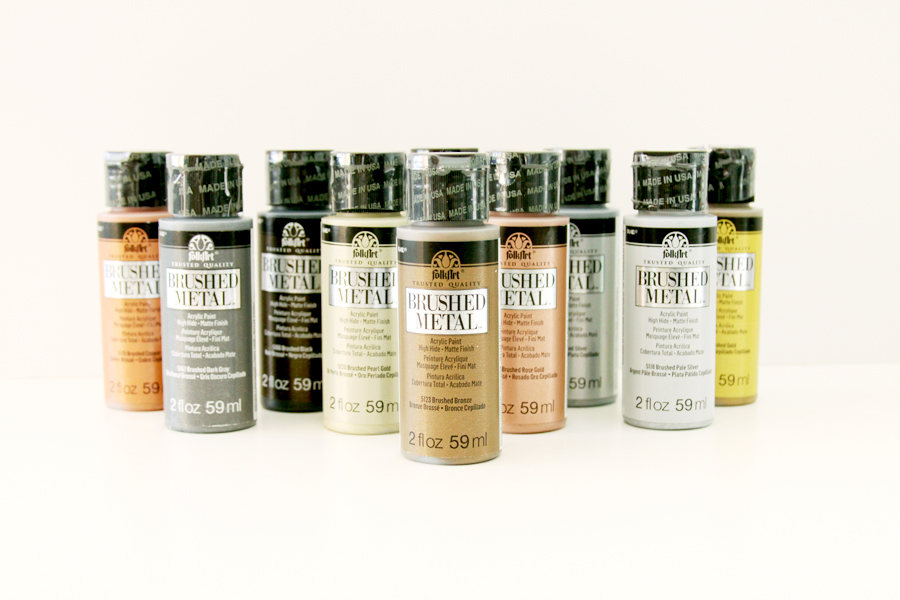
The Color Shift and Brushed Metal paints are perfect for jewelry because they come with the sealer built in. So you don’t need to add any type of top coat or seal to get that pretty shimmer and the color changes! I love too that they are good for indoor and outdoor use (can’t you see those colors on some fun outdoor decor??). These are the 2 oz bottles but they also come in 4 oz bottles if you’re making a larger project. I love having options don’t you?
Directions:
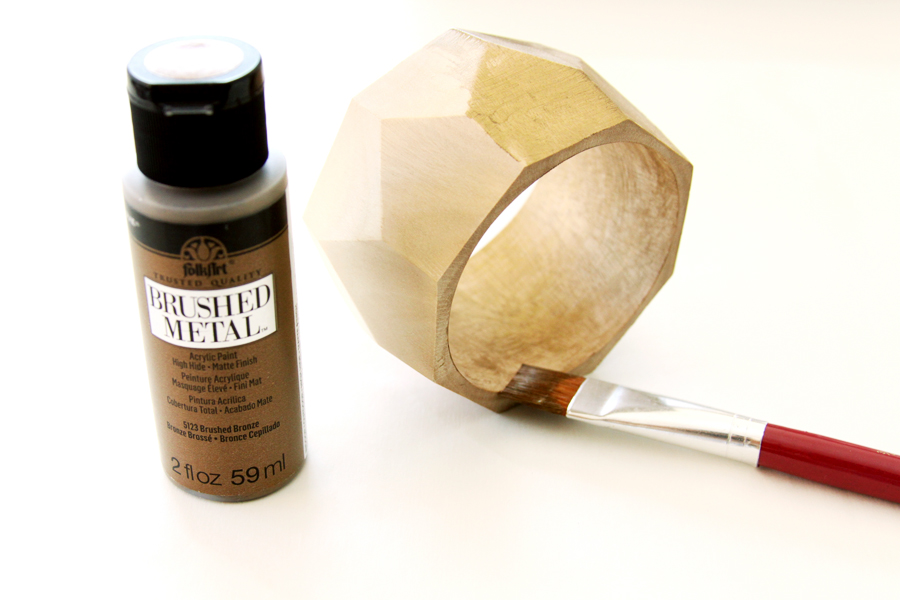
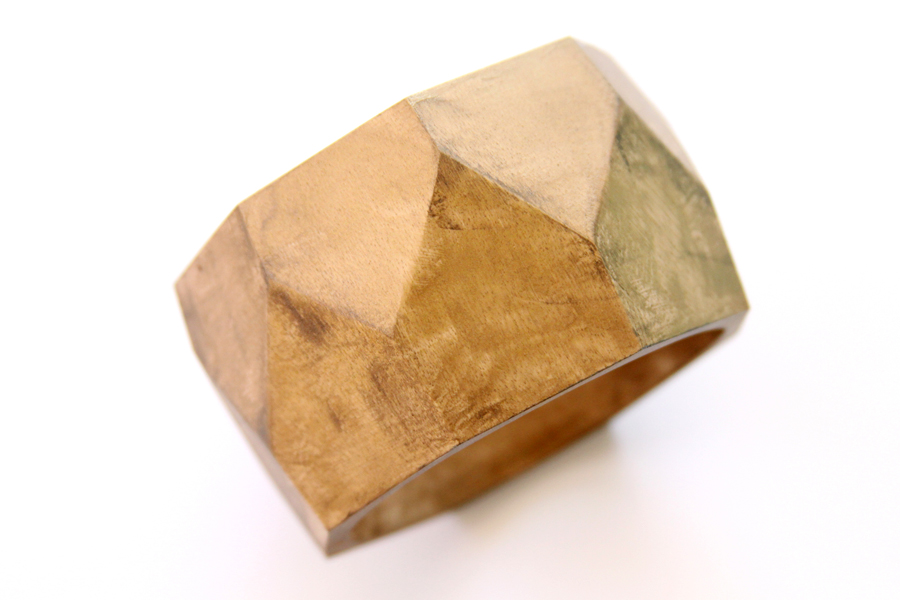
For the Wood Bangle, start with a basecoat of the Brushed Bronze Metal Paint. The paint has a great coverage, I did this with one coat. Brush on a light coat of the Brushed Black paint along the edges of the bangle and the details. This will give it the wood that brushed metal look.
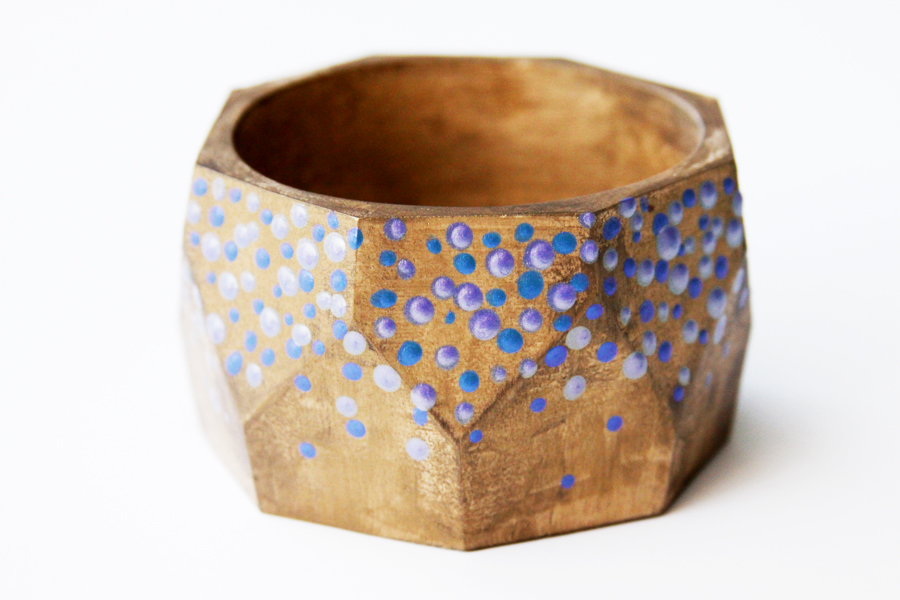
For the color portion of the bangle, I used the rounded end of my paintbrush. Pour out the paint onto a plate or paint palette and dab the rounded end of the brush into the paint. Dot the paint along the wood bangle, keeping the dots more frequent along one side and tapering down to the other side. Start with just one color and let completely dry – about 2 hours.
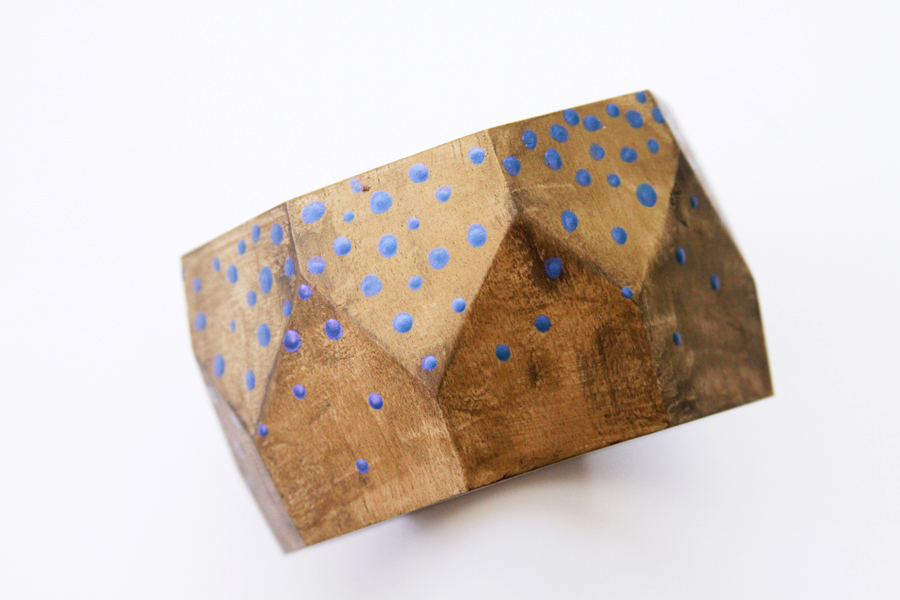
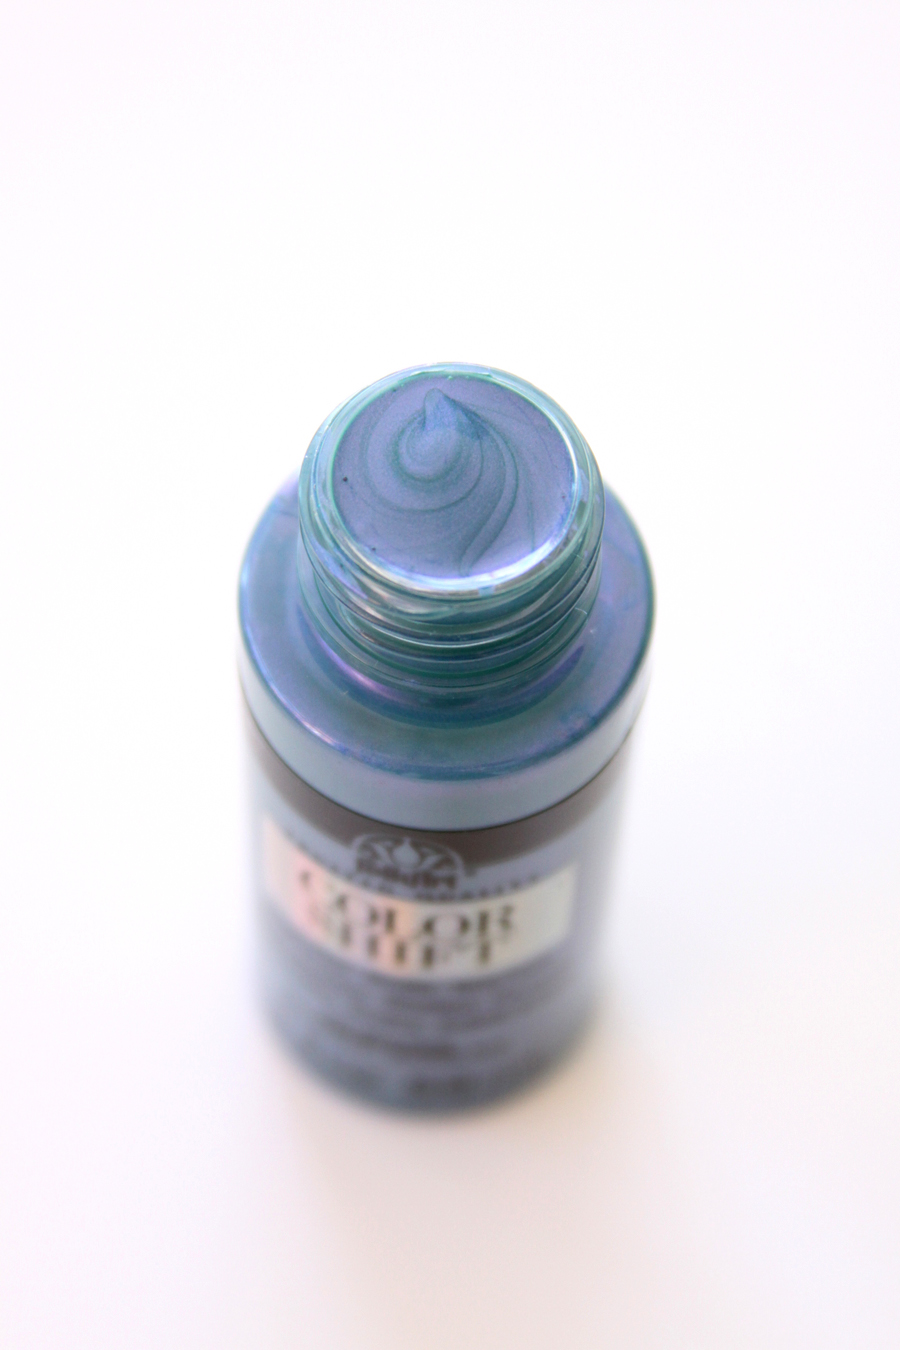
It’s hard to tell on the bangle since this is a still photo, but the color looks so pretty when you move it around. You can see a bit of the color variance in the top of this bottle!
Paint on your next color of dots, filling in more of the space between the first coat of dots. Allow to dry again.
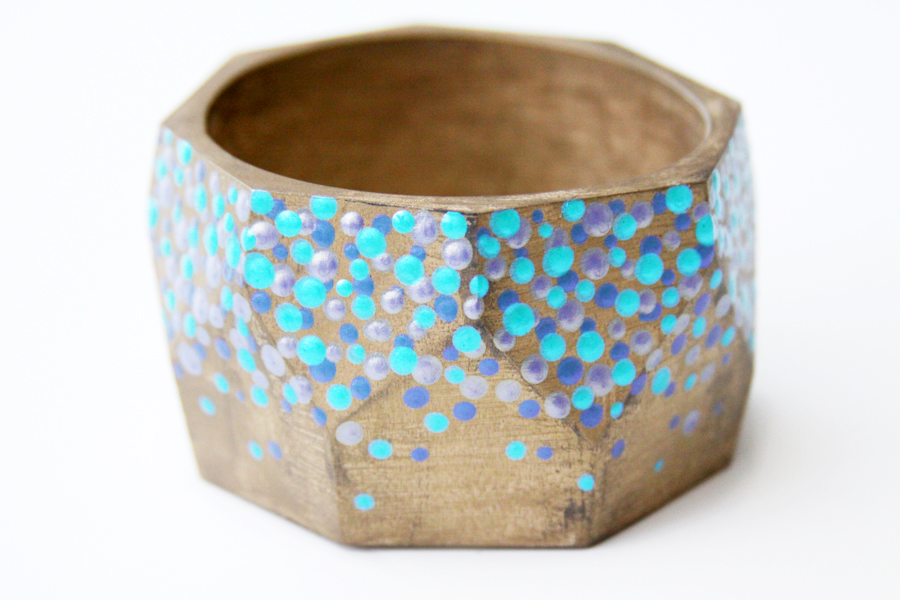
Finish with the last color of paint, making sure you have as much of the wood covered as you’d like. Layering the colors this way gives the bangle a really fun texture too – sort of like mermaid scales!
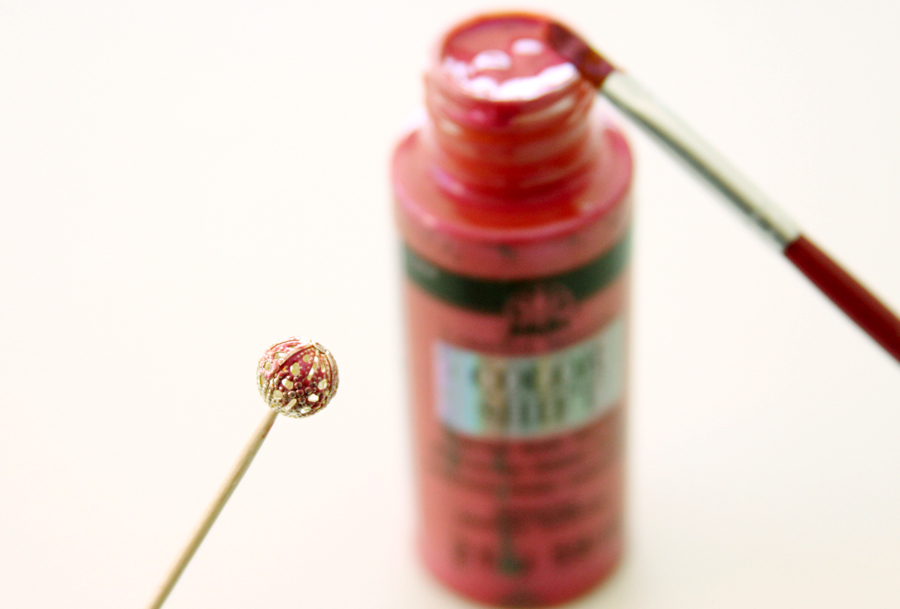
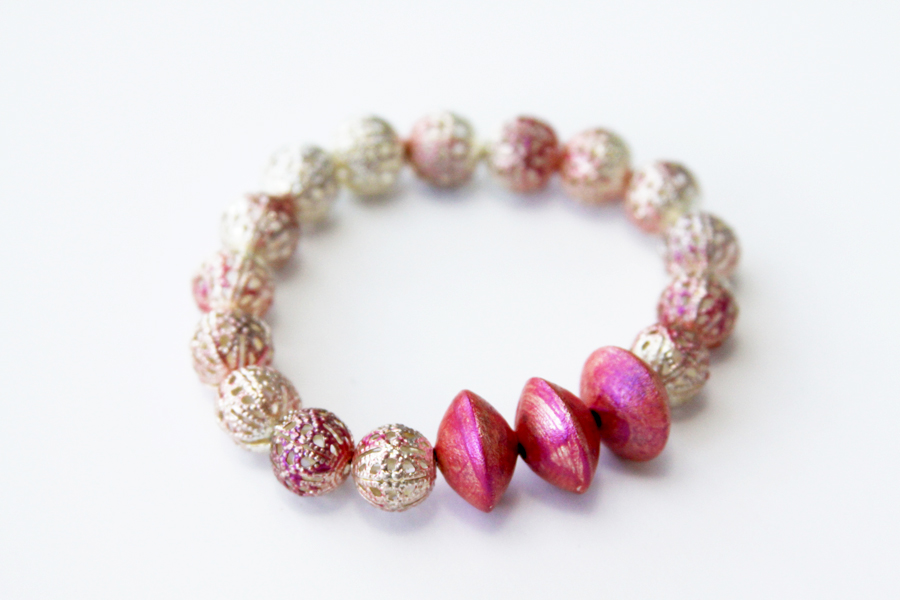
For the beaded stretch bracelet, I found some silver beads that had a fun texture. I painted them with just a few strokes of the paint so the silver would still show through. For the small beads, it works great to put the bead on a toothpick, then paint it.
Once the beads are completely dry, string them onto the stretch cording. Make sure you have enough beads to fit comfortably around your wrist. Bring the ends together and tie the ends with a square knot. Trim the ends of the cording and you have a super cute stretch bracelet. Super easy right?
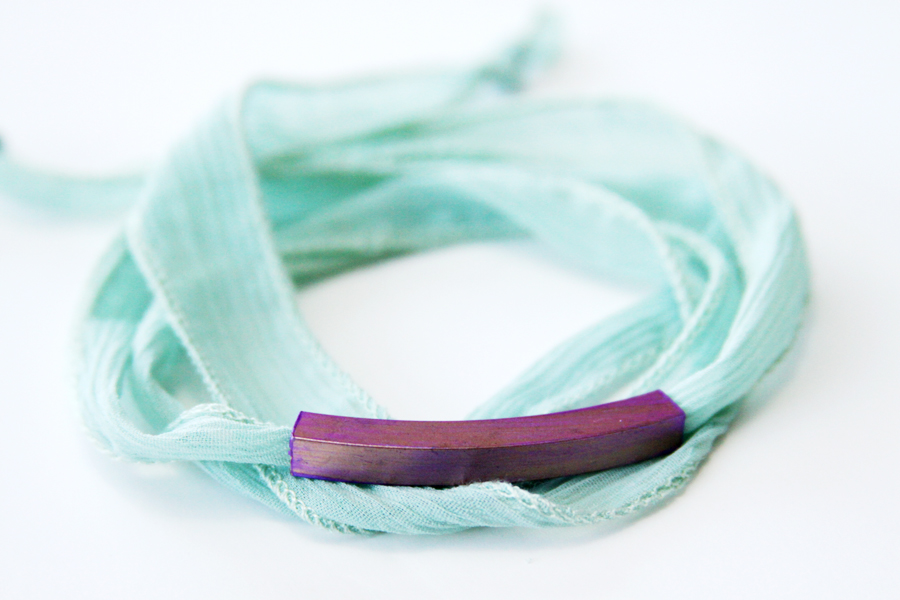
The Ribbon bracelet is even simpler! Paint the brass tube with paint and let dry. Thread the ribbon through the tube and allow enough to wrap around your wrist loosely three times, plus enough for a bow or knot. Cut the end of the ribbon and knot the ends to they don’t fray. Boom. You just made an adorable 5 minute bracelet. :)
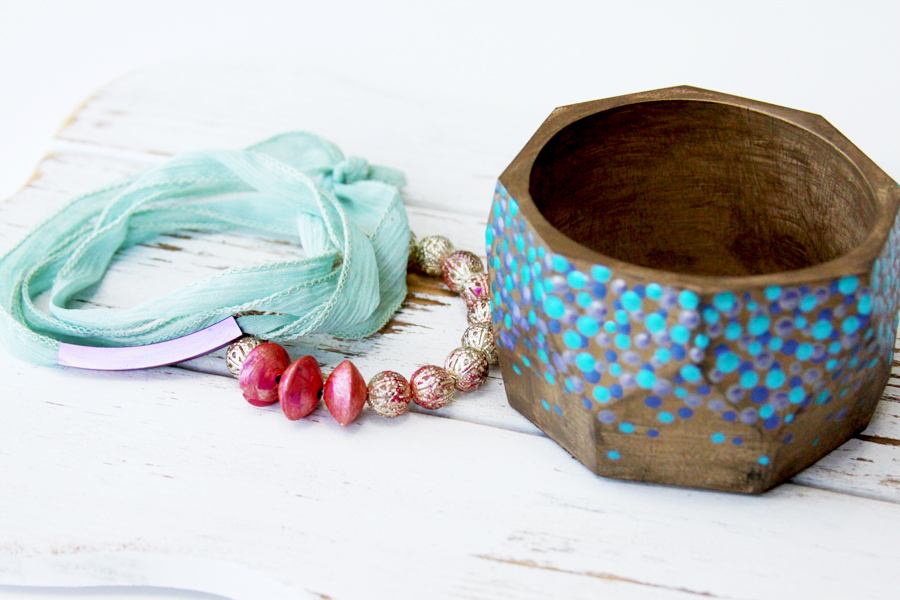
I think they make a fun bracelet set don’t you?
The Color Shift and Brushed Metal paints will be in stores soon so make sure you keep an eye out for them!
Save the date for National DIY DAY on April 2, 2017. Join the celebration by visiting nationaldiyday.com to register to win a Plaid craft party, get inspiration to celebrate or learn more about our cause partner AdoptAClassroom.org. #nationaldiyday

Here are more fun projects from my fellow Plaid Creators using the Color Shift and Brushed Metal paints!
[inlinkz_linkup id=700415 mode=1]


All of these are really pretty and so simple to make. Thanks for sharing Bev. I love all your creative ideas.
These are freaking adorable! I would totally rock these on my wrist every day. Thanks for the fantastic tutorials!
These are so cute. I love the mermaid inspired look of them. Thanks for sharing at Snickerdoodle. Pinning.
I think I will have to grab some of that paint for an outdoor project i have in mind. Great tutorial—except there are those out there that don’t know you use the wooden end of a brush for making perfectly wonderful dots. The larger/thicker the wood end, the larger the dot.
Lovely—all of them, Sandi
This is beautiful. I love how Folk Art is making such beautiful colors. Gorgeous! Thank you for sharing at Dishing it and Digging it link party. It’s great having you.
That wooden bangle along with the beautiful paint colors is just beautiful! Thank you for sharing with us at Funtastic Friday!
This is so cute!! My daughter is super into mermaids right now she would love that.
Thanks for sharing at #bloggerspotlight