This Post is a partnership with Plaid Crafts. All opinions are my own. :)
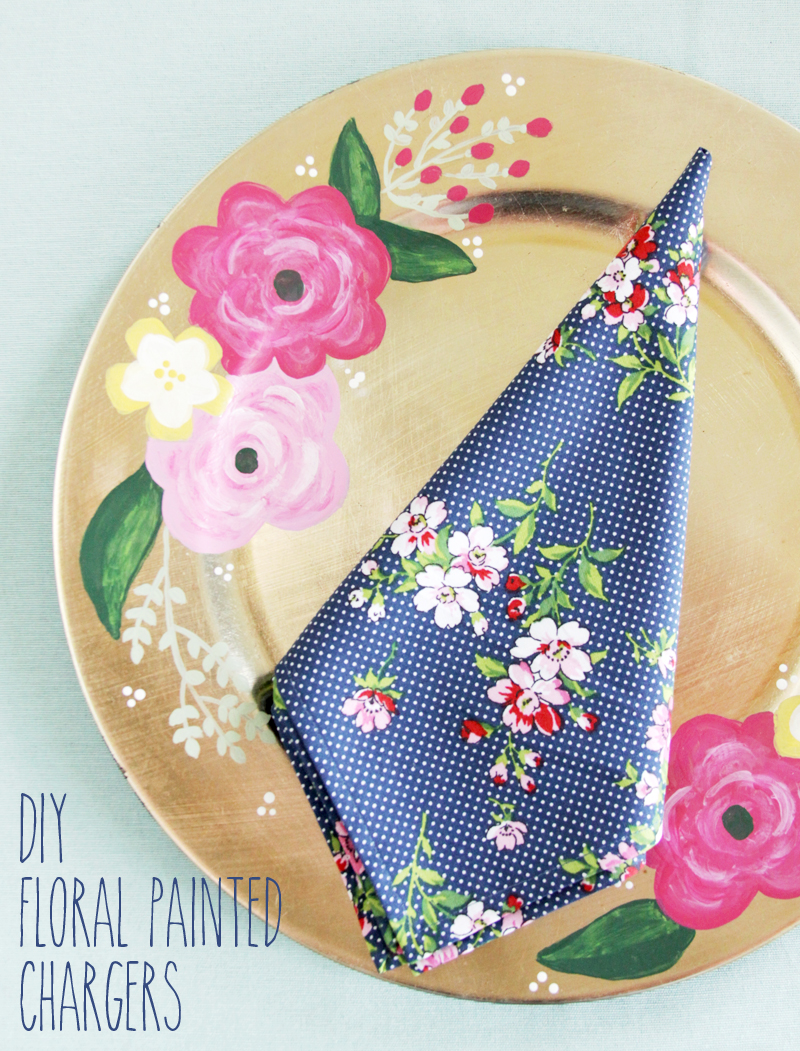
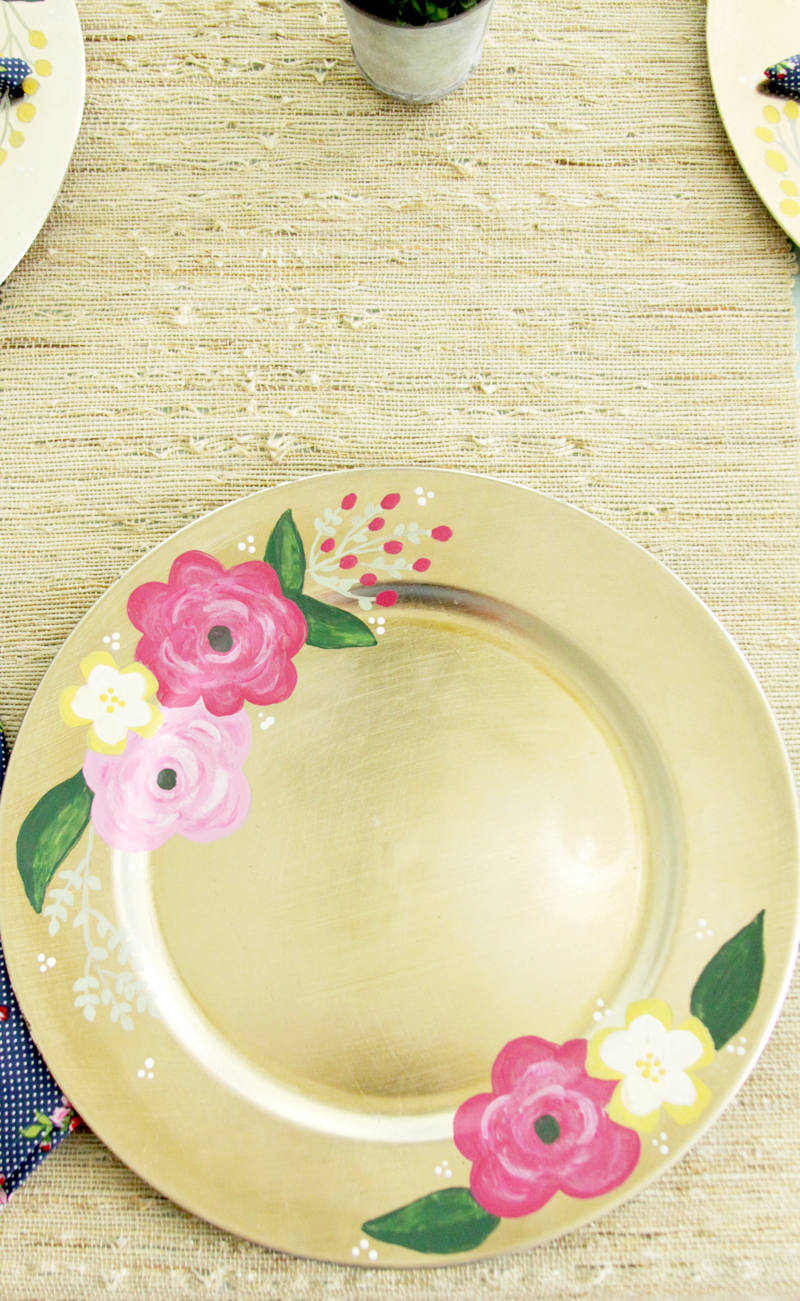
This DIY Floral Painted Chargers are easy to make and add so much fun and color to your dining room!
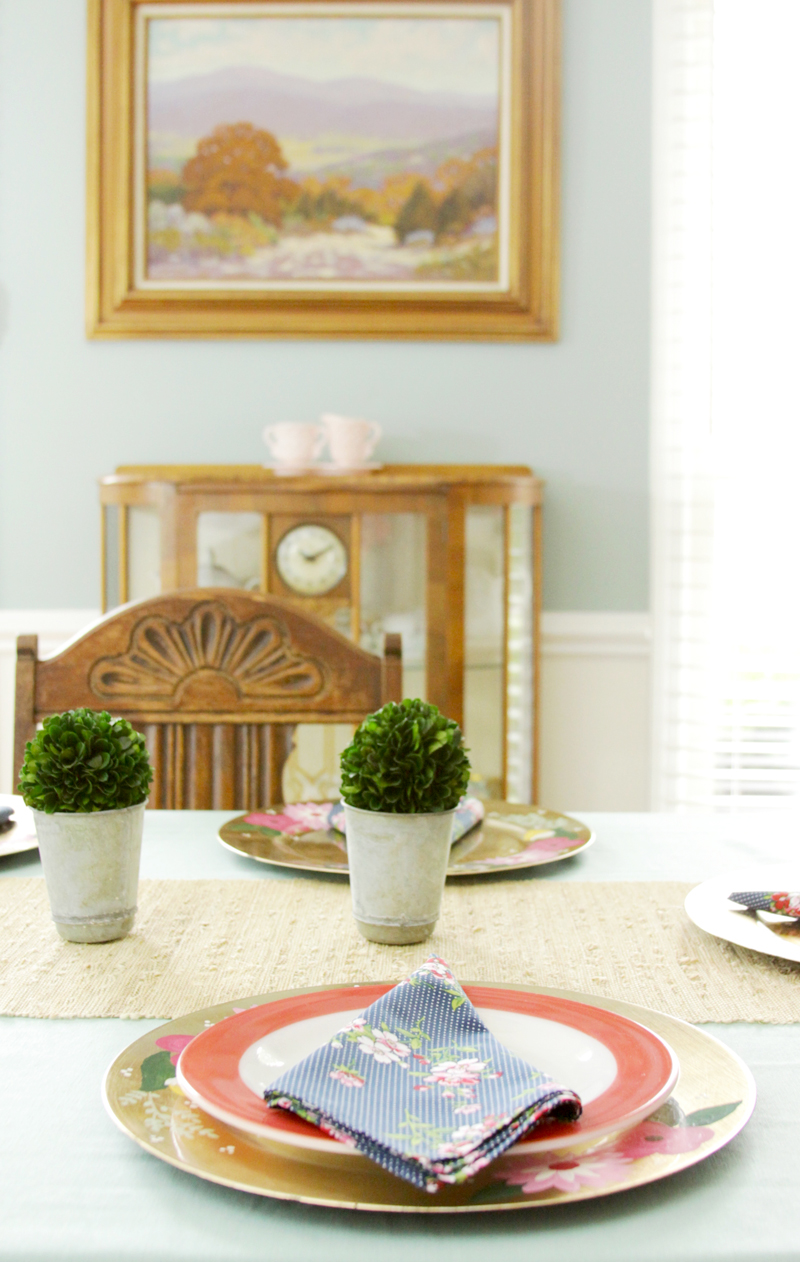
One of my favorite rooms in my home to decorate is my dining room. I don’t mean changing up the artwork or furniture, but just the simpleness of setting a pretty table can give the room a whole new look!
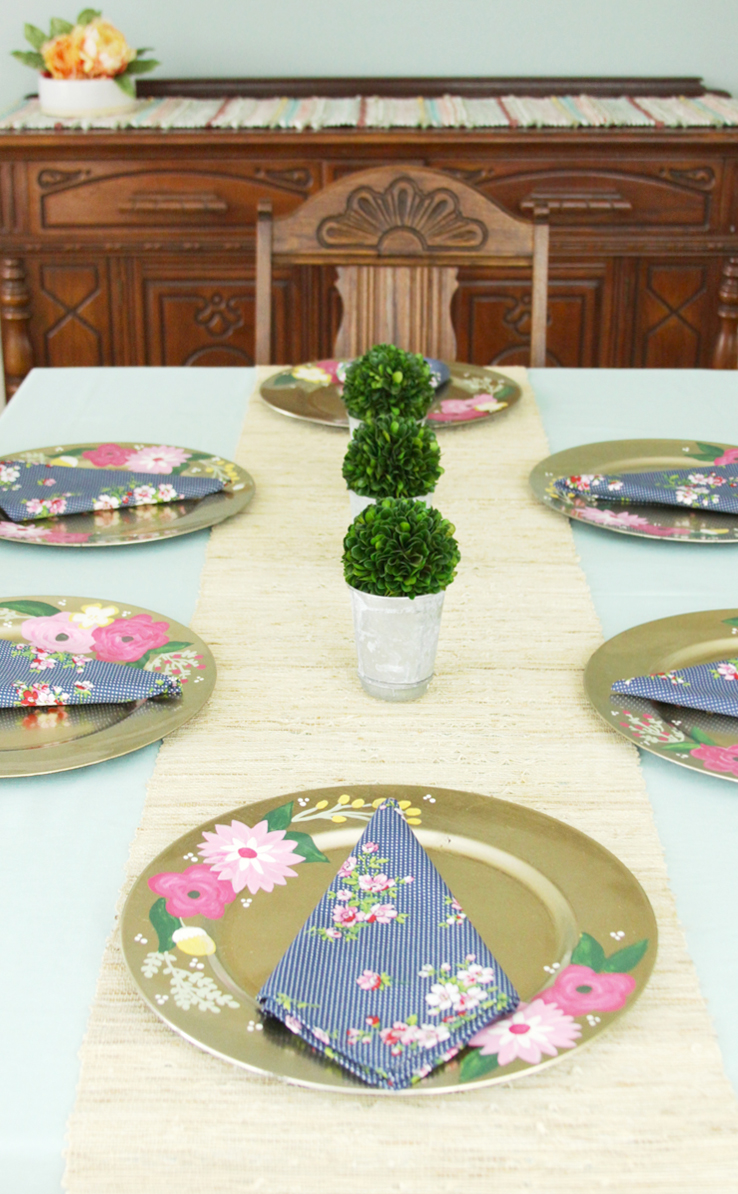
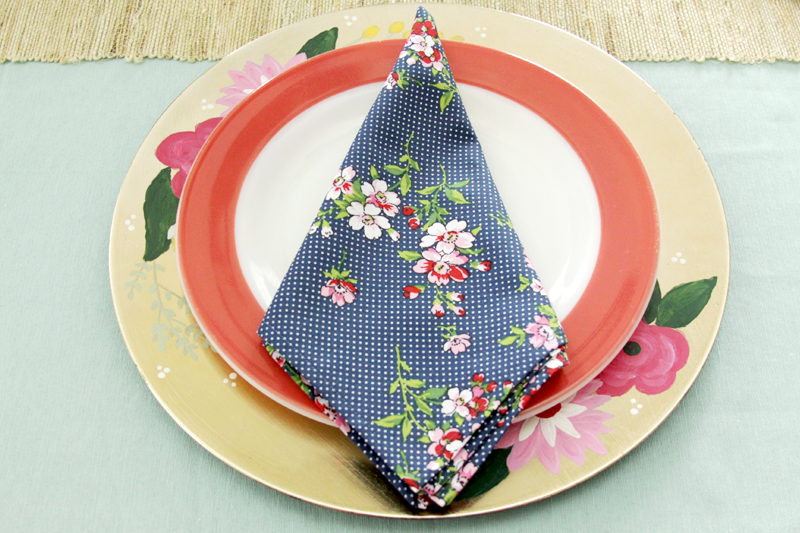
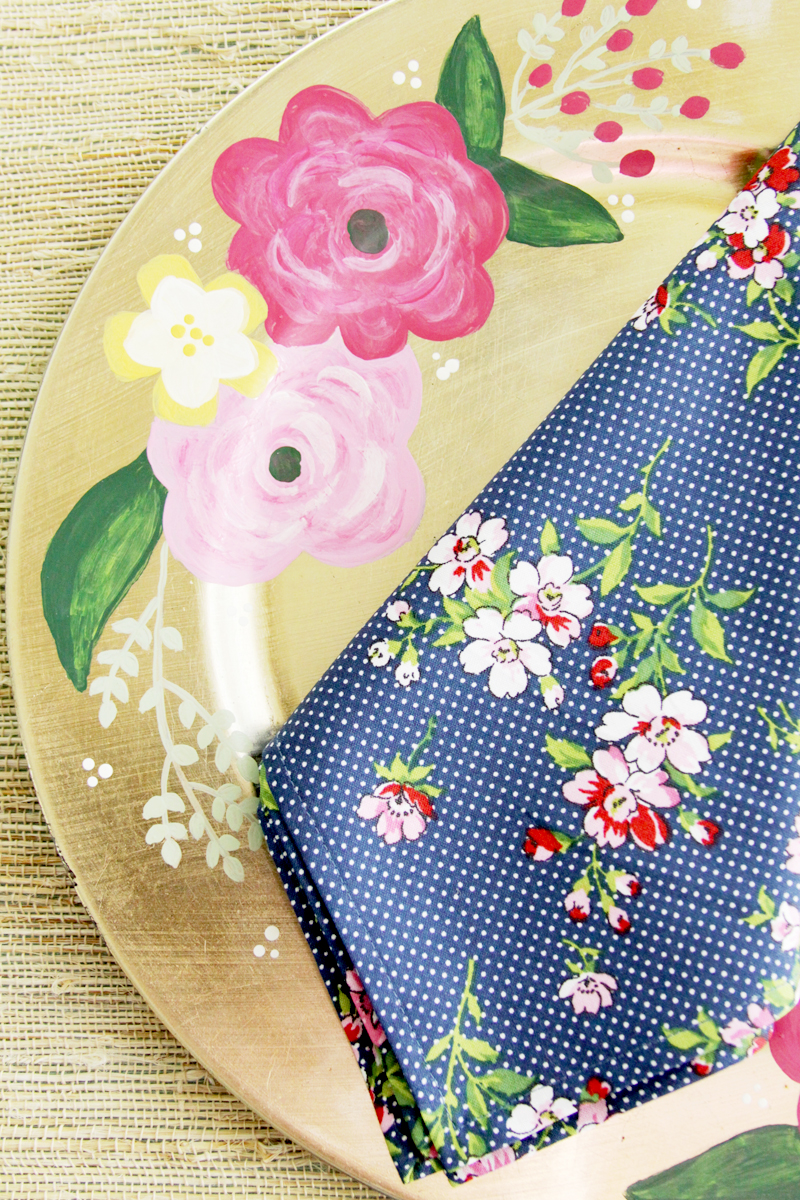
These pretty new DIY floral painted chargers were so easy to make and I love how they look in the room. They add so much color! You can really have fun mixing and matching your dinnerware with them too – take a look at how cute they look with my Pyrex dishes!
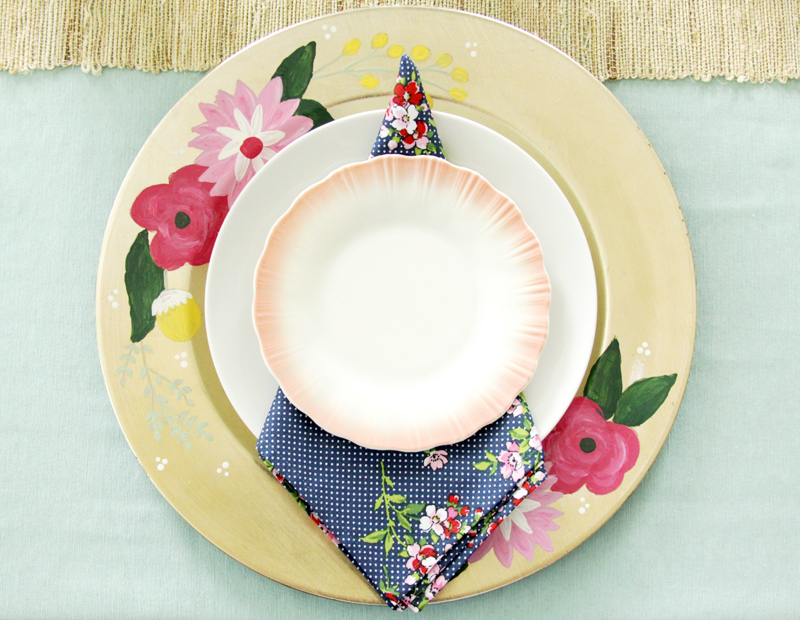
Or this pastel set!
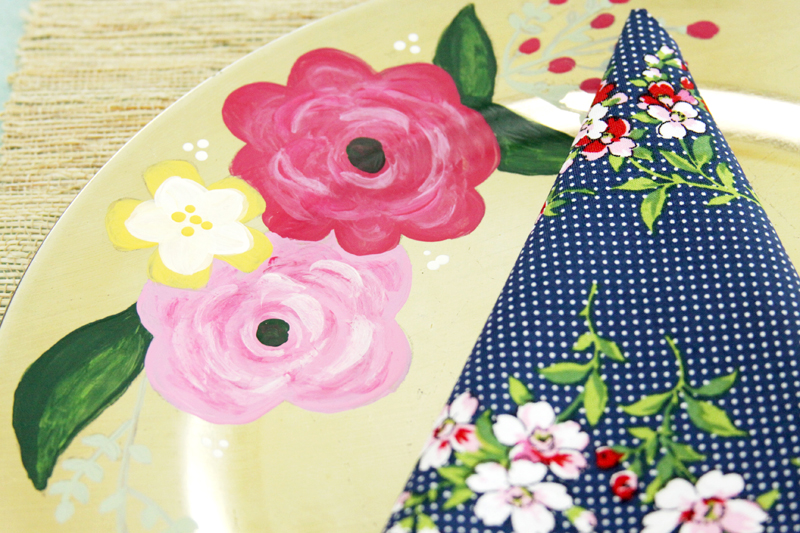
The paints I used are the new home decor paints by Waverly Inspirations. They are made to coordinate with their fabrics – pretty genius right? These are the semi-gloss paints and I love how they look with the Waverly fabric napkins I made too!
I created two patterns for the flowers – so you can mix and match your chargers. Or paint up just one set if you want. They’re all pretty easy to do!
Here’s what you’ll need for these fun DIY Floral Painted Chargers:
Materials:
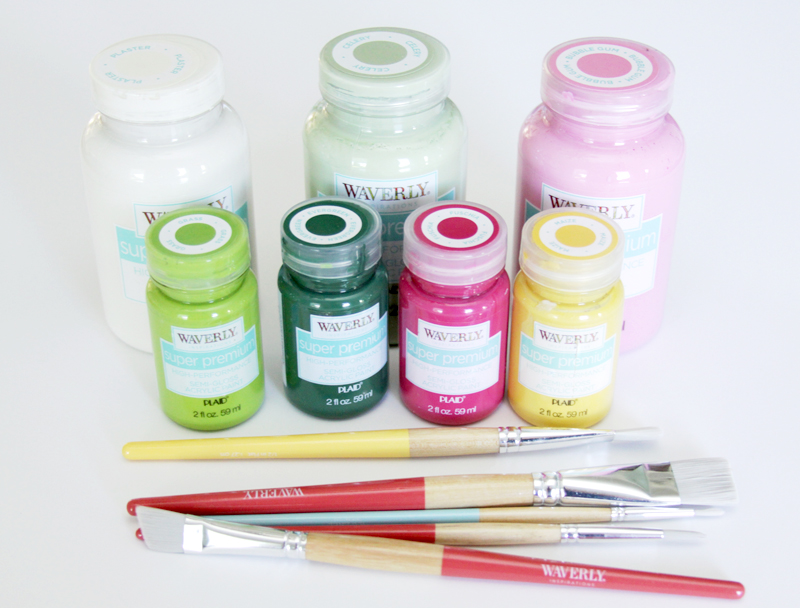
- Waverly ® Inspirations Super Premium Semi-Gloss Acrylic Paints – available at Walmart and Walmart.com:
Bubble Gum, Celery, Evergreen, Fuchsia, Grass, Plaster, Maize - Waverly Inspirations Brushes – an assortment of sizes
- Tracing Paper
- Pencil
- washi tape
- 6 Gold Chargers
- Floral Patterns
The paints and brushes are so gorgeous and the colors are so vibrant! They are perfect for home decor projects since they come in several finishes, including this super premium, chalk paint and high gloss. There are brushes (including stencil brushes!) in lots of different sizes too!
To make the chargers, start by tracing the patterns onto the chargers. The flowers on the patterns are in a large section and a smaller section, you want to trace these opposite each other on the charger, close to the edge. Place the tracing paper face down on the charger, then place the pattern on top of that. Hold the paper in place with washi tape. Don’t use scotch tape, it could remove the finish on the chargers.
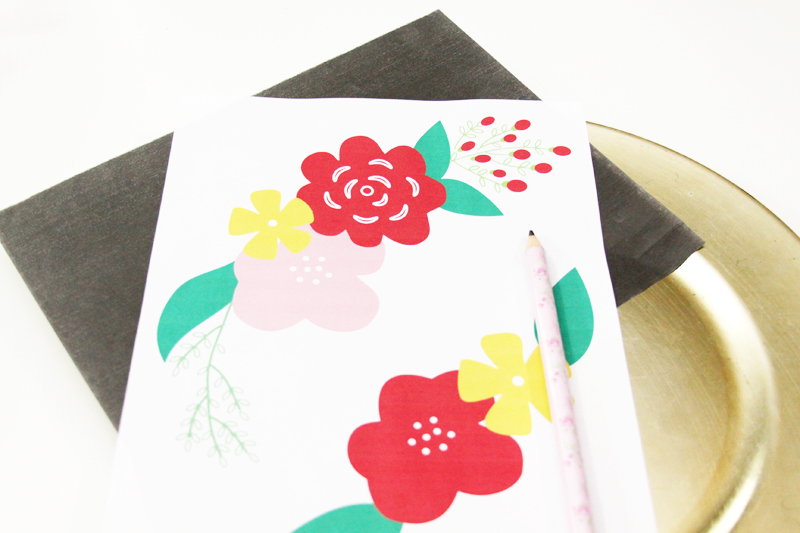
Trace the flowers and leaves with a regular pencil. The design will transfer onto the charger. Be careful not to smudge it, it could rub off.

For your painting, choose brushes from your assortment that fit the width of the design your painting – so small thin brushes for stems and larger brushes for flowers. Fill in all the designs with two or three base coats of paint. Do smooth coats so you don’t have lots of grooves and lines in your paint.
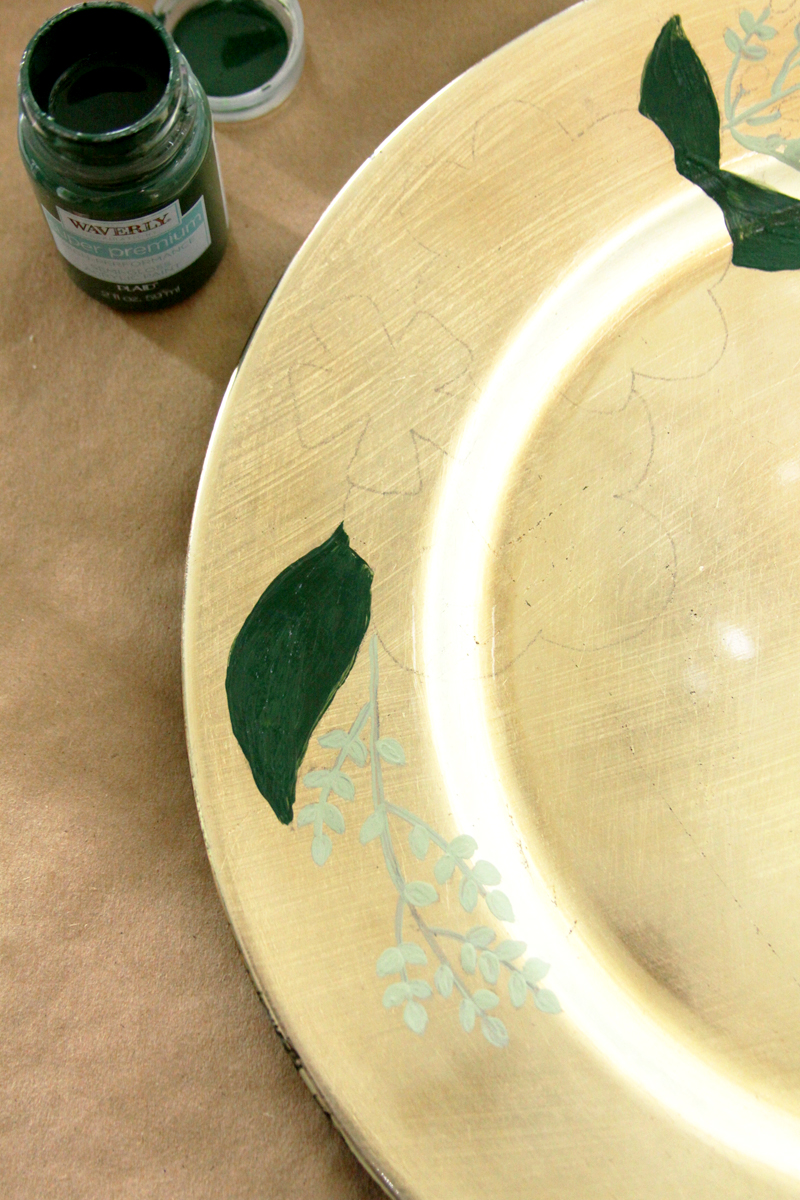
To add in your highlights, brush on a section of lighter color. In the case of the leaves, you’ll do a basecoat of Evergreen, then paint half the leaf with one coat of grass.
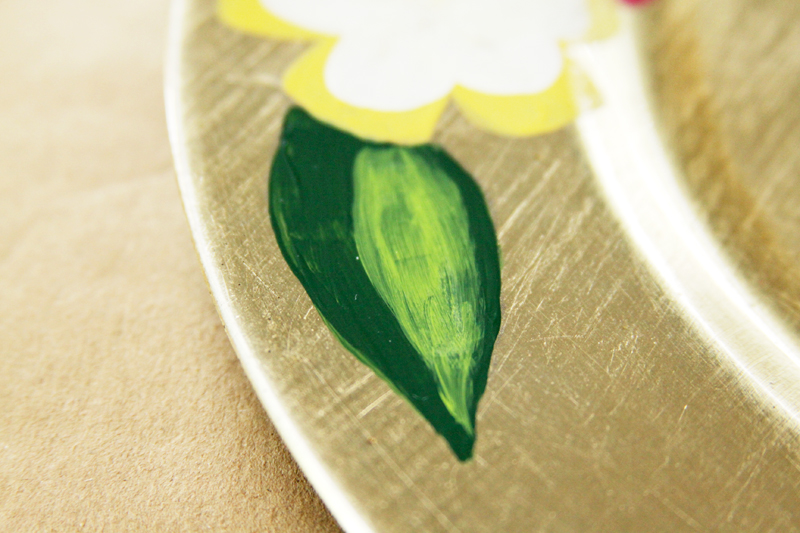
Brush another light coat of evergreen over the leaf, to blend the light color.

You’ll do the same with the flowers. On the big flowers, paint light curves on each of the flowers.
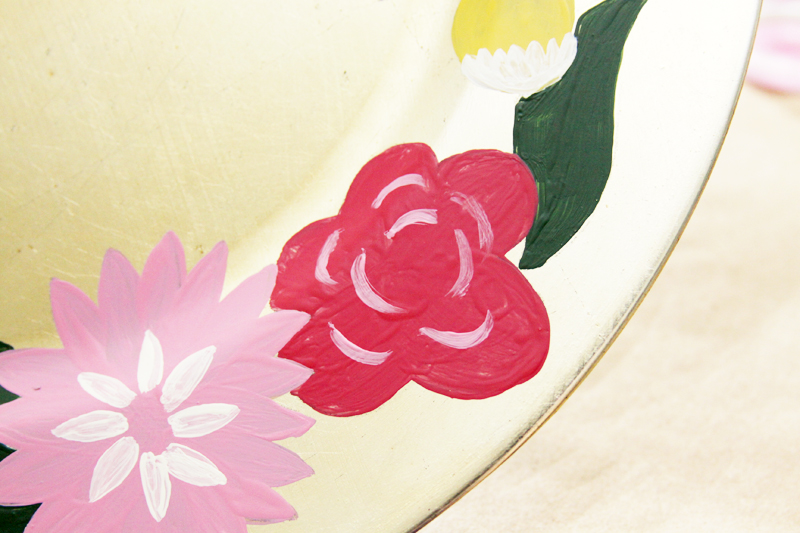
Blend and soften these a bit.
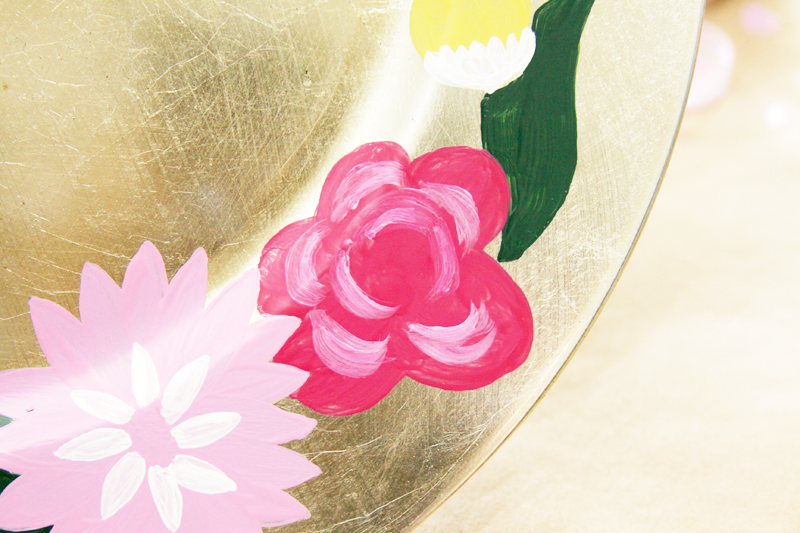
Add another coat of the darker pink on top, and keep blending and adding light or dark colors until you’re happy with the look.
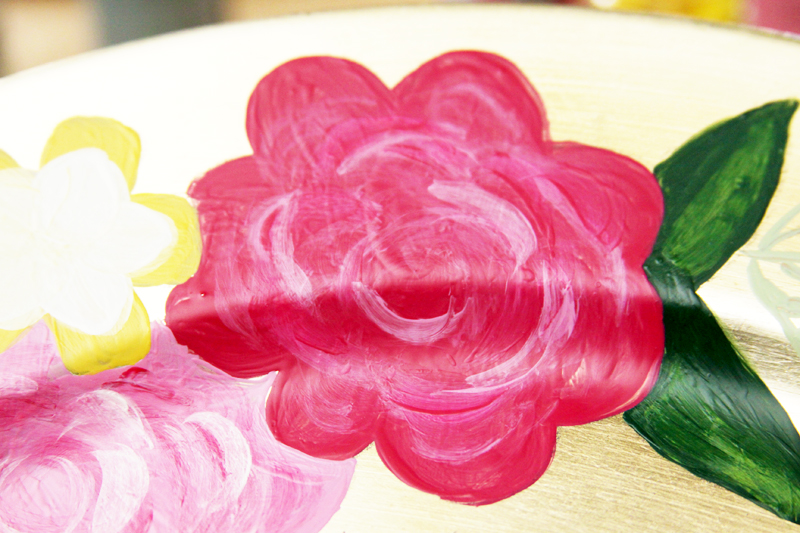
Paint dark green centers in the big flowers and use the ends of the brushes to paint little dots of yellow in the center of the white and yellow flowers. Finish off the chargers with trios of little white dots, around the flowers and leaves. So fun right??
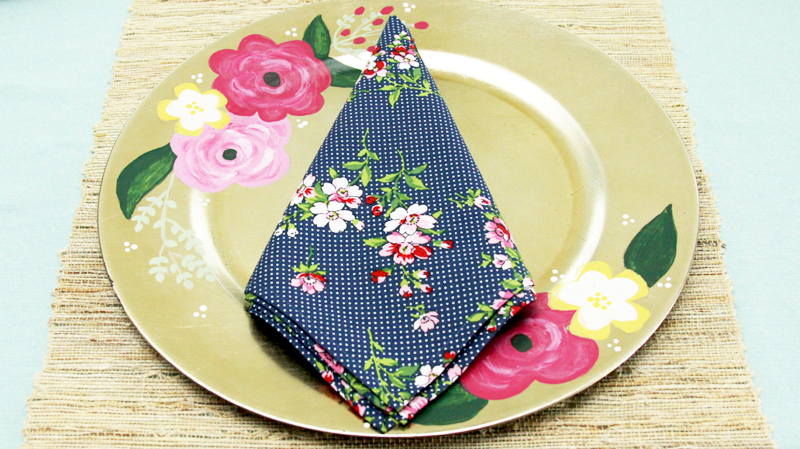
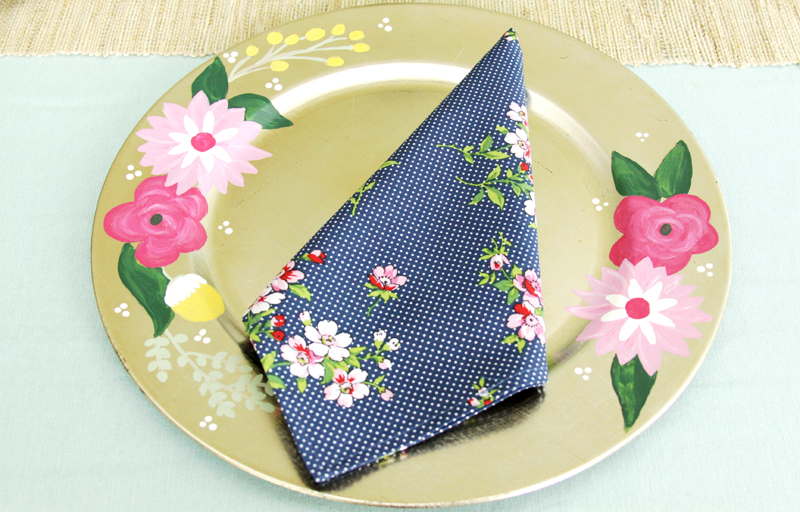
I created easy Fabric Napkins out of a coordinating Waverly Inspirations fabric! These are so easy to do and I’ll have the easy tutorial for you tomorrow!
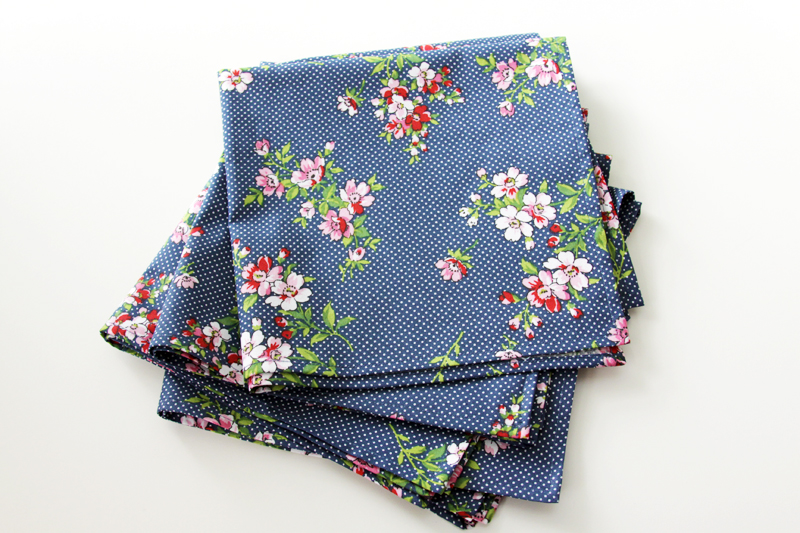
I love using fabric napkins, even for ordinary family dinners. They really dress up the table and add just a little extra something to dinner. Plus they save on paper napkins, so that’s a win win! This fabric pairs beautifully with the paints!
The Plaid Creators are all sharing Waverly Inspirations post so make sure to check them out! You can see all sorts of different colors and fabrics!
DIY A-Frame Play Tent – The Pretty Life Girls
Vintage School Desk Makeover – The Cards We Drew
Vintage Chair Makeover – Petticoat Junktion
Stenciled Canvas Instagram Photo Display – Erin Spain
Stenciled Color Block Clock – Made to be a Momma
Kitchen Accents – One Artsy Mama
DIY Wood Crate Bookshelves – Positively Splendid
Early Fall Centerpiece – Cherished Bliss
You can find all the details on the new Waverly Inspirations line at Walmart.com and Plaid. And check back for the Napkin tutorial tomorrow!


What is a “charger”?
Hi Shirley! A charger is a decorate “plate” that goes under the dinner plate. So kind of like a placemat, but not. :) They aren’t foodsafe, just there for decorative purposes. Super fun to add a little color or style to your dinner table!
Thanks for asking!
How pretty! I love the way you painted the flowers! I’m really excited about these paints.
How fun and pretty! I love that you made coordinating napkins too!
This is a terrific DIY idea. I recently was looking at dollar store pizza pans to use as chargers, but they would be too plain. This is the answer.
I am pinning this as well.
Oh I love these Bev! I love how fun they are with the pretty flowers and colours. You could use the same flowers and just different colours for each season… so cute. Thanks so much for linking these up to our Bewtichin’ Projects Block Party! Hugs, Lisa
Love your chargers and the sweet flowers on them. Great idea.
Thanks for sharing at Happiness Is Homemade,
Bev
Love the chargers! I would like to be able to paint but have no talent when it comes to that. Being able to trace the patterns is an option for me. Great idea :)
Visiting you from the Saturday Sharefest at The Sits Girls
Beautifully done. I love the colors and the choice to go with a couple big flowers. I would proudly set them out on my table :)
Looks gorgeous!!Thank you for sharing with us at #HomeMattersParty. We would love to have you again next week.
Bev, These are so pretty. I remember picking up a few of these chargers at Michaels Crafts. I might have to try this one! Or at least do one for an appetizer tray charger. Thanks for sharing at the #InspirationSpotlight Pinned & sharing