There’s something about the “look” of a store-bought item that is made up of multiple fabrics, but they’re all the same color.
I used to wonder where they got all the exactly matching fabric, trim and thread. Then I thought through it a bit and realized they DYE it all that way.
(You’re saying, DUH, right now, aren’t you? That’s ok. ;)
So I took my big brainstorm and decided to try it out.
I saw at World Market a few weeks ago a pretty gray scarf made up of lightweight Voile and lace. All the same pretty shade of gray.
(Sorry, I forgot to take a picture. And this isn’t really a knockoff, just a similar scarf. :)
I decided I’d take that idea, of blending lace and voile, and make myself a pretty turquoise scarf – I really like how it came out!

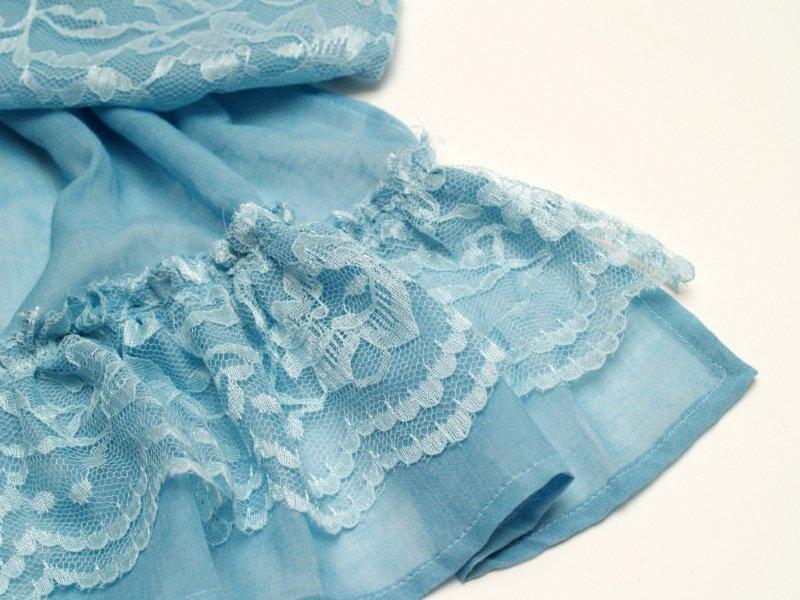
Look! The lace matches the fabric! And if you squint, even the thread matches exactly.
(ok, if you can really see that, I am seriously impressed. But trust me, it does).
This is soooo simple and fun to do – and it would be a perfect Christmas present!!
Here’s what you’ll need:
White cotton Voile (super thin cotton, I found mine at Joann’s) (2 yards)
White Lace fabric with scalloped selvages (1-1/3 yd)
Dye – whatever color you like!! (I used Rit Teal for this scarf)
Thread, sewing machine
This makes a 76″ scarf. Adjust your measurements if you’d like your scarf longer or shorter.
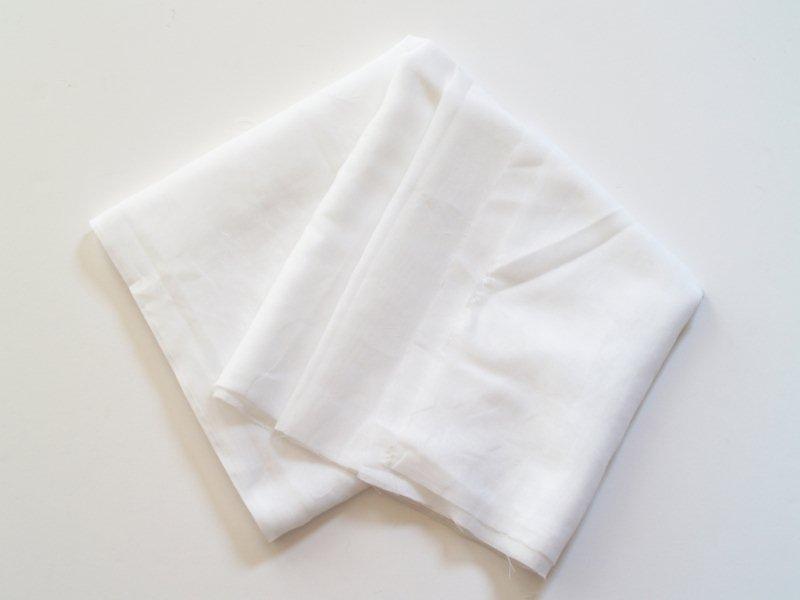
Begin by cutting out a long rectangle from the Voile fabric, 22″ x 68″.
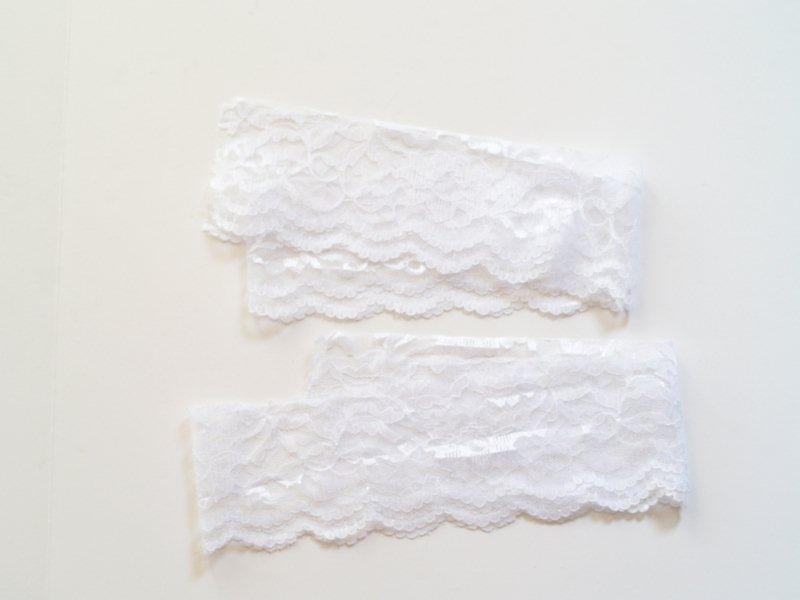
Cut out the lace ruffles next, they should be the length of your fabric – 48″ x 4″. Cut this from the scalloped ends.
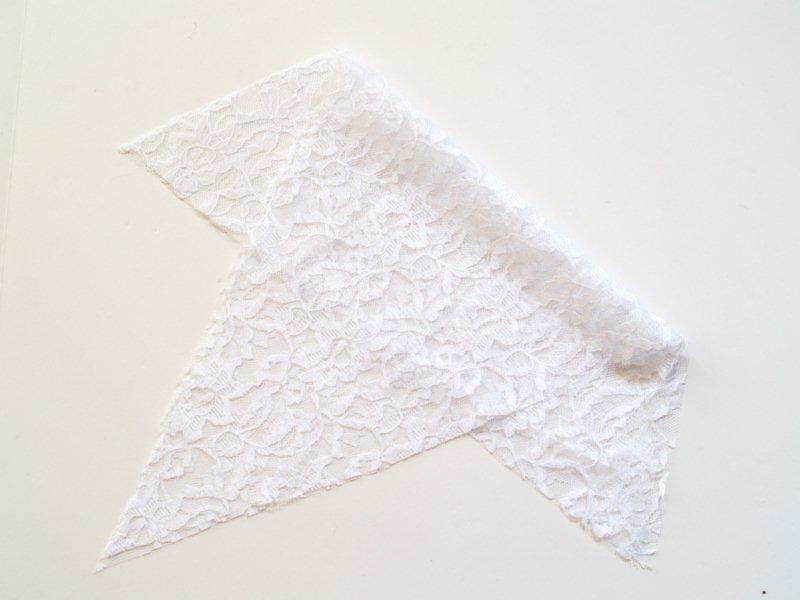
Cut out two triangles from your lace. The triangles should be 22″ tall and 20″ wide at the bottom.
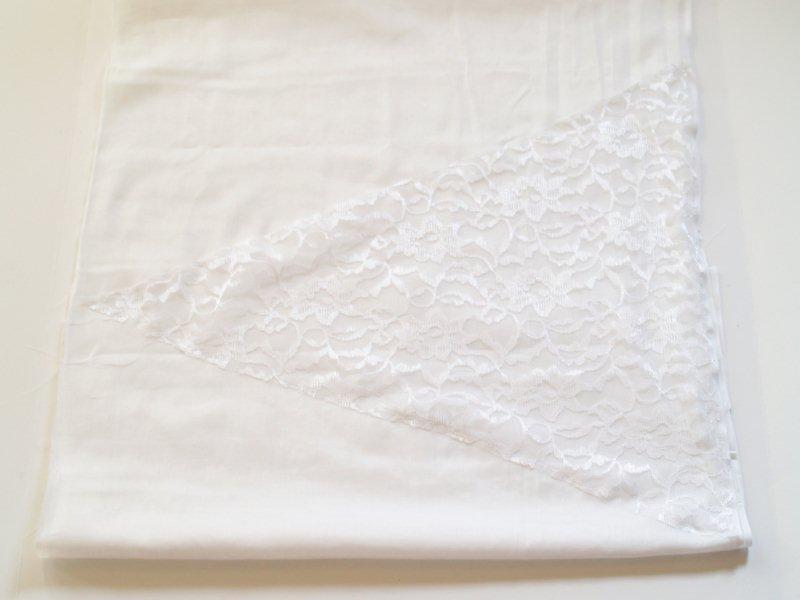
Measure up on the scarf 10″ from one end. Place one of the triangles on top of the voile so the long end of the triangle meets the long side of the scarf and the point meets the other side.
Sew the lace triangle on with a 1/2″ seam, leaving the edges raw. (You know I like raw edges, if you don’t, just turn under the edge of the lace and sew down.)
Repeat for the other end of the scar, measuring up 10″ and placing the other triangle so that it faces opposite the other one.
Sew down.
Hem all four sides of the scarf by turning under the edge twice and sewing down.
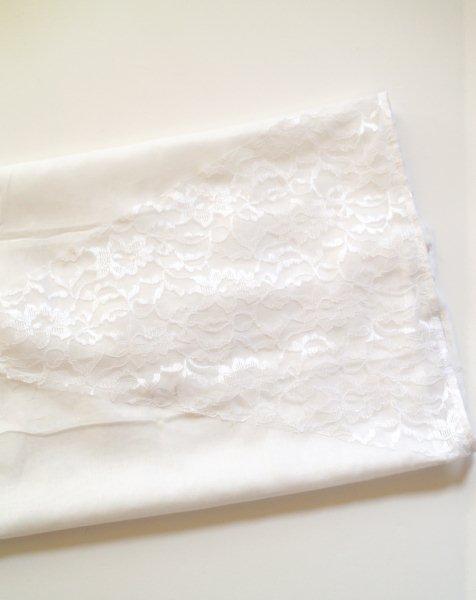
All this white on white is killing me. Sorry it’s so hard to see – I promise that is showing the hemmed sides.
Cut the voile ruffles out, you’ll need two long rectangles 6″ x 48″.
Hem three of the sides of the voile and the two short sides of the lace pieces.
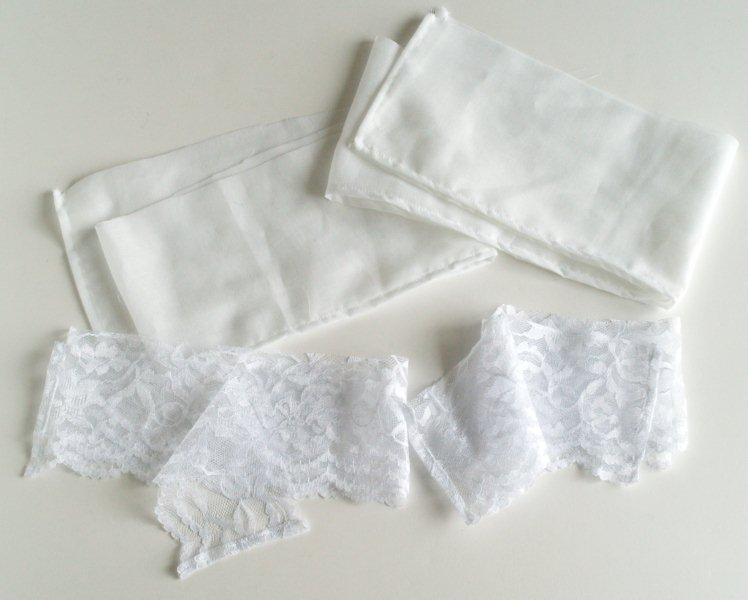
Place the lace ruffle on top of the voile ruffle and zig zag them together, right along the top edges. This will keep them from fraying. Pretty much.
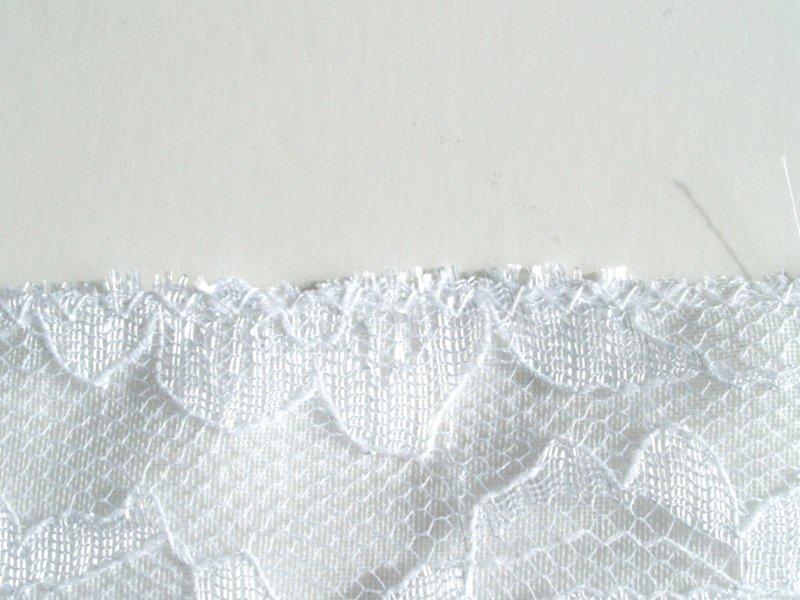
Sew a gathering stitch 1/2″ from the top edge. Repeat for the other ruffle.
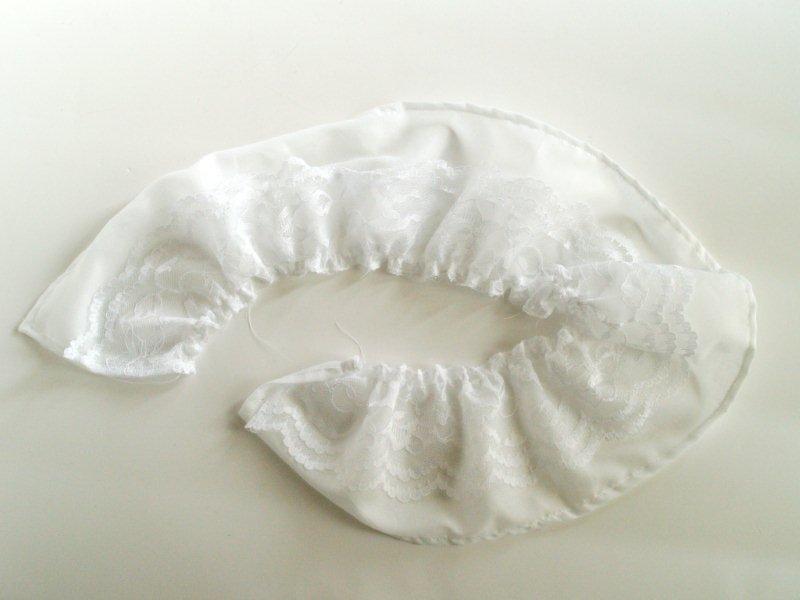
Place the ruffle right side up along the bottom, short side of the scarf. Lay the ruffle basting just over the top of the hemmed edge.
Sew the ruffle to the scarf along the basting seam, then sew down again, 1/4″ below that.
This will give it a nice secure seam and help the ruffles lay just a little flatter.
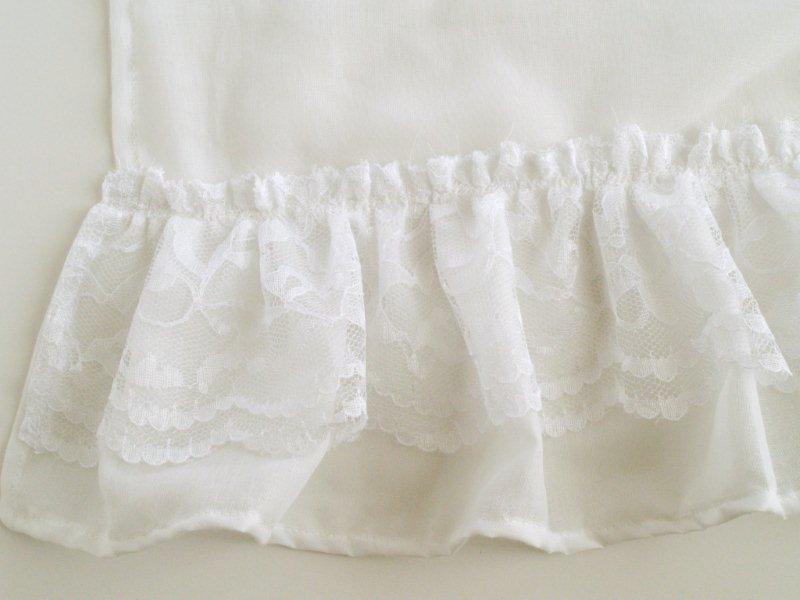
Cute right? Now comes the really fun part – the dyeing!!
Rit Dye comes with super-duper instructions – right on the box. I used the “bucket” method – it works great for small items like this.
I used half a box of dye for this scarf.
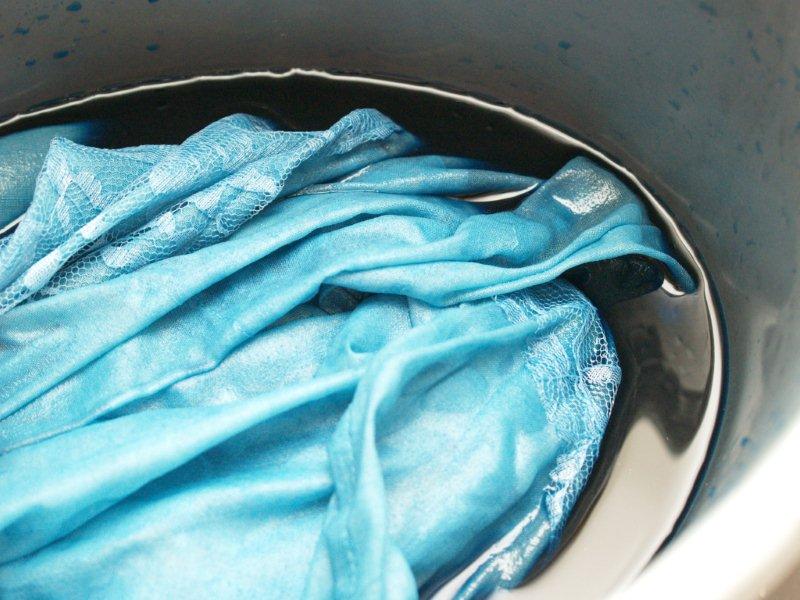
Here are a couple dyeing tips:
• Invest in some long rubber gloves. Those little disposable rubber gloves that go to your wrist don’t cut it. Unless you planning on trying out for the Blue Man Group.
• The color your item is when you take it out of the dye is always darker than it will be when rinsed and washed. Keep that in mind and leave it in the dye longer if you want a really dark color.
After your scarf has been dyed and rinsed according to the instructions, wash and dry it.
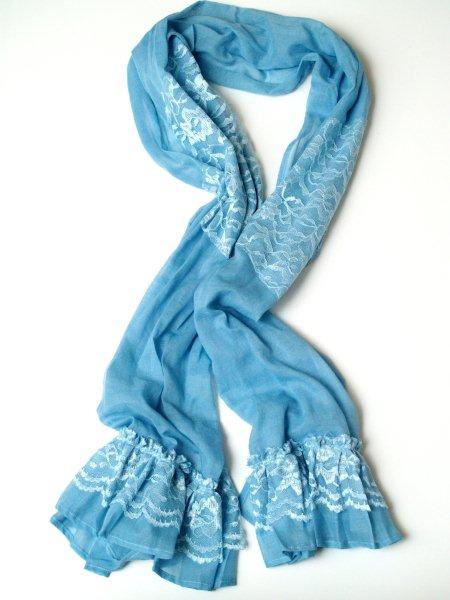
Then admire your super cute custom-dyed scarf!!
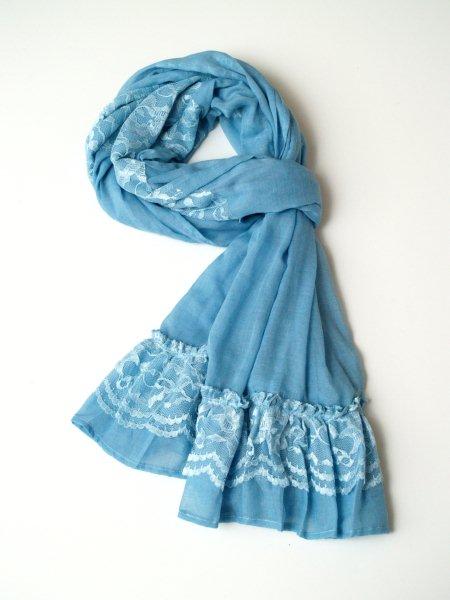
I laid the scarf out in a long line, then scrunched it up long-ways and pressed some folds into it. I wanted it to look a little more creased.
It almost looks tie-dyed in this picture below, it’s just the backdrop showing through the sheer fabric.
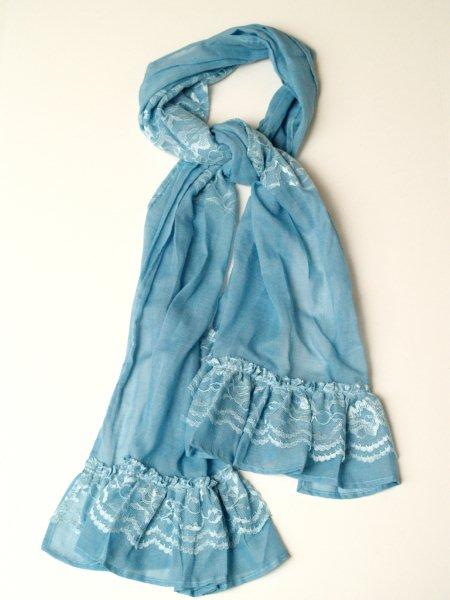
I think I’m going to have to make some more!
What do you think? Good gift idea? :)
Have you done any dyeing before? If not would you try it?
I’m linking to Sunday Scoop, Today’s Creative Blog, Met Monday, Skip to my Lou, Tutorials & Tips Tuesday, Funky Junk Interiors, Quilt Story, and the other fabulous parties on the sidebar – make sure you check them out!


What a great scarf! I love the shading that is created by dying the different materials – very cool! I think this would make an AWESOME gift! I am “pinning” this right now! :) Thanks for sharing! :) Michelle
Your scarf came out terrific. I haven’t done any dyeing since the early ’70’s.. I have been thinking about dyeing something now. I even bought the dye. Then I chickened out. Maybe I will give it a try.
Adorable scarf, Bev! And, um, genius! I wouldn’t have thought about the dye thing either. I make things hard that way. ;)
Wow Bev, this is so gorgeous! I was loving it in white before you dyed it but it’s so gorgeous after being dyed!
It’s gorgeous! I love how the lace took the dye a little lighter, it gives it such a depth! I would wear this in a heartbeat!
That scarf looks fabulous! Definitely a great idea for a gift, will be pinning this for potential Christmas gift crafting! ;)
Thanks for the tute!
Wow this is beautiful! The scarf looks great anyone would be lucky to wear it!
Aww such a pretty scarf!!! Ditto on the “I haven’t dyed in so long” thing. Thanks for sharing such a gorgeous creation.
I love this! beautiful!!!! xoxo
Your scarf is beautiful. Thanks for such an awesome tutorial. I think these would make amazing gifts.
Ruth
Awesome! I’ll take one as a gift!
This scarf is so pretty!
Super cute! Thanks for sharing!
I love this scarf!! I think this will make a great Christmas gift for my teenage daughter. Thank you so much for sharing :)
this is so beautiful I had to pin it! :)
What a cute scarf!
I like the color it turned out too.
Definitely a great gift idea!!
I’m wishing that at this year’s X’mas, Santa is going to give you (yes, you, Bev!) free tickets to the UK and force you to stay at mine and make the scarf in lots of different colours!!! And you know what, every time you say ‘I found/bought this at Joann’s’, I so wish I was living in the US (we don’t really have such big craft shops here)! Anyways, cheers to the fantastic job :)
This came out so pretty. I love the color. Would love it if you would stop by and share this at my linky party :) http://everything-underthemoon.blogspot.com/2011/11/bedazzle-me-monday-7_6572.html
Also, PRETTY PLEASE stop by and check out Random Act of Kindness Week going on all next week!! Would love to see you participate!!
http://everything-underthemoon.blogspot.com/2011/11/kindness-and-thanksgiving.html
Have a great week!!
This scarf really turned out nice. I tried to read this yesterday on my phone, but it wouldn’t open the pictures :(. Anyway, I really like it.
Um, you are basically fantastic. Just like this scarf. :)
Thanks for linking up – I’ll be featuring it on Saturday!
Sumo:)
This is such a great idea! I love it! I need to make one now, thanks for the idea!!!
Gorgeous! I’m going to have to give this a try!
Beautiful! I LOVE this!
I am going to try to make this scarf today as a birthday present!! Fingers crossed!
I am so glad you posted this. I’ve been interested in trying some dyeing with lace and other fabrics, but I was concerned the lace wouldn’t take the dye. Do you know the fiber content of the lace you used?
Thanks! And thanks again for posting!
Ann
I am excited to try this. Hopefully I will be successful and can make a few for Christmas gifts. (Now is the time to get started). I would also like to know the fiber content of the lace you used.
Thanks for your posting. And the beautiful project.
I must say that is an awesome idea and the tutorial is just grand and very explanatory. I think I am going to have to try this and see what I can come up with. Thank you for sharing.
That is so beautiful and SO creative, nice job!!