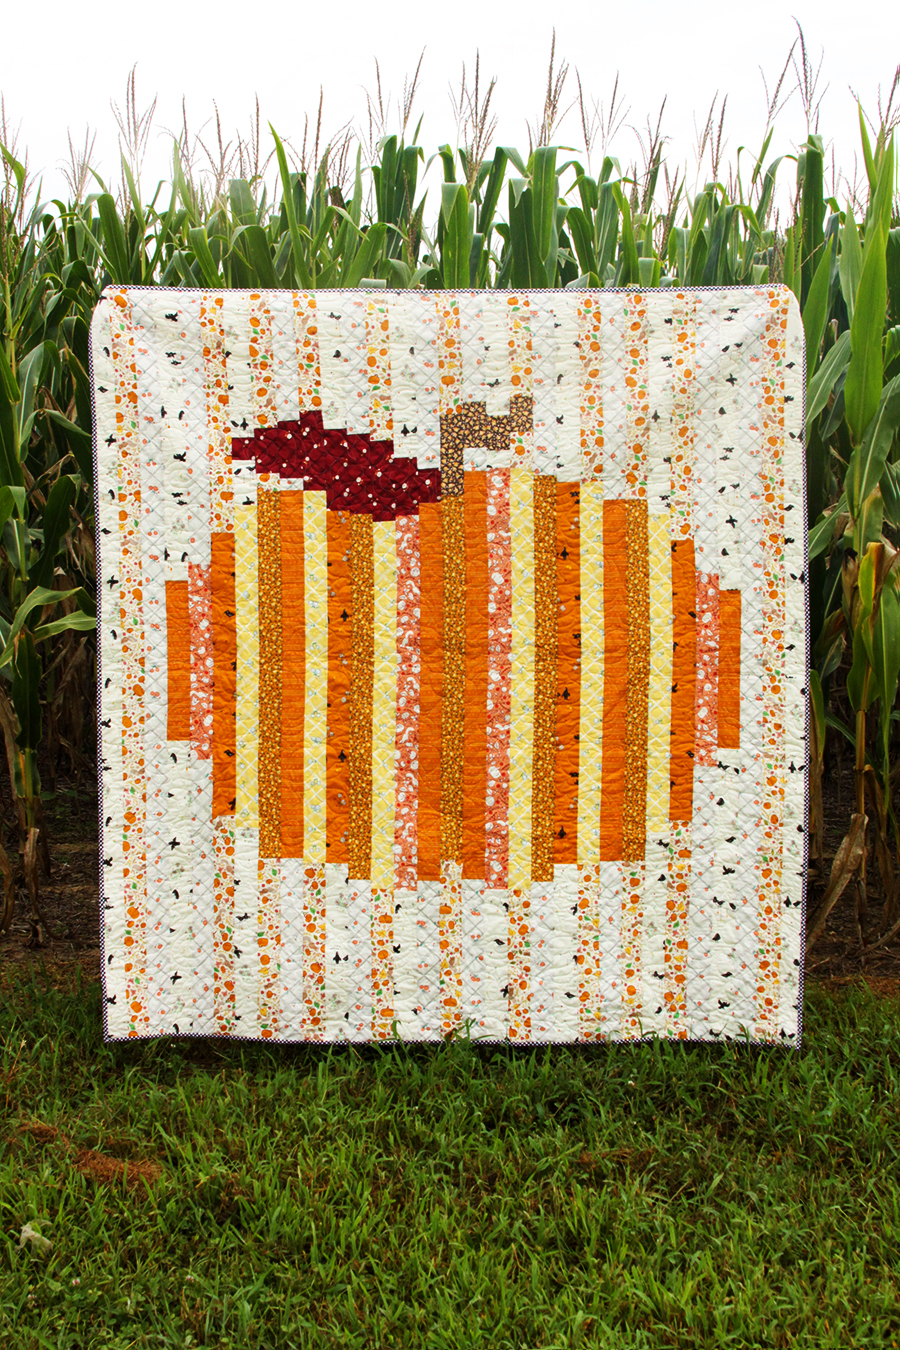
I realized not too long ago that I didn’t have a Fall quilt – and clearly that is a situation that needed to be fixed! And when Lauren Nash released her newest quilt line – Calico Crow – I knew that it would be perfect!
The fabrics are perfect colors for Fall projects and they have the sweetest illustrations – little crows, pumpkins, leaves and flowers. I love it! There is even a print made up with little recipe cards from Lauren’s family recipes.
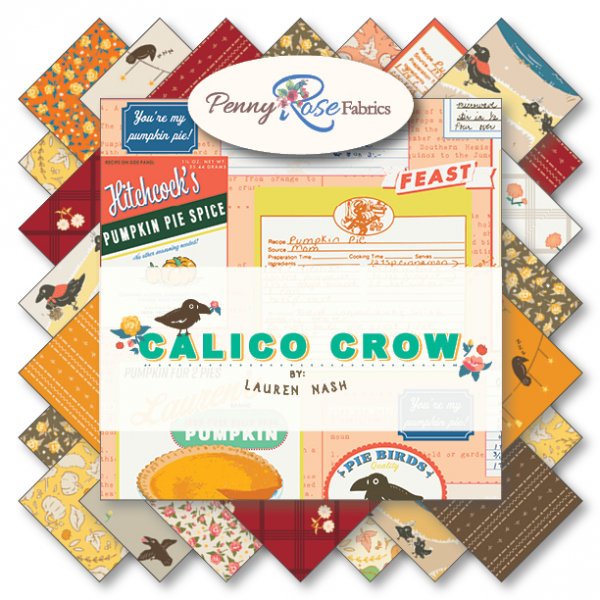
I used the simpler prints in this line for my this new quilt pattern – I thought a scrappy look for this strip quilt pattern would be really fun.
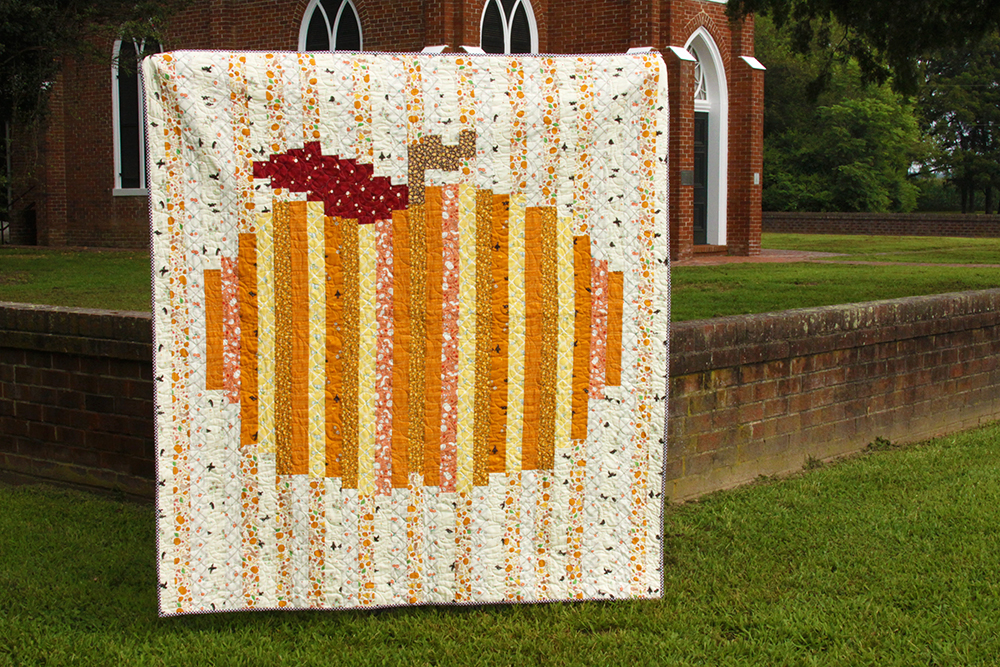
This was my first time taking a quilt onto a vacation as well! We found the perfect cornfield in Virginia to take some photos and right across the street was the sweetest church built in 1853. So of course, I had to take some photos there too!
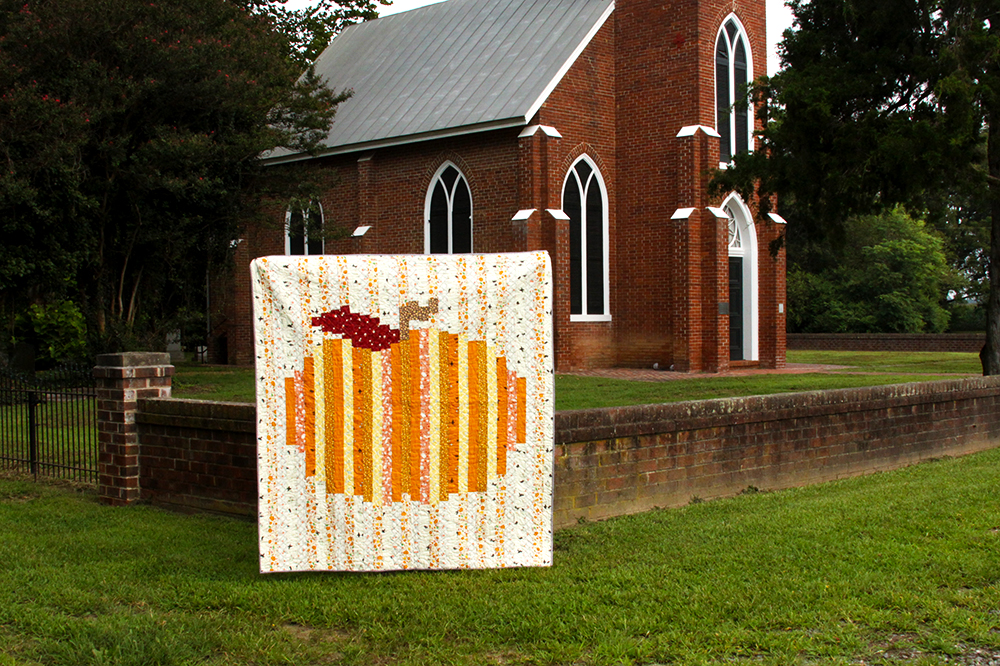
This Strip Quilt is super simple to make – I think the longest part is cutting all the strips to the right lengths. After that – it’s just straight line sewing and so fun to put together. So let’s get started!
Colorful Strip Pumpkin Quilt with Free Pattern
Quilt Size 61″ x 68”
Materials: (contains affiliate links)
- 1/2 yard – Brown Fabric for stem – Calico Brown
- 1/2 yard – Red for leaf – Plaid Red
- 4 yards Swiss Dots Orange on White – backing fabric
- 1 yard Riley Blake mini gingham in black for binding – cut on the bias
- Batting
Strip Pumpkin Pattern and Layout
Cut your strips 2 1/2″ wide and to the lengths according to the numbers on the layout. In the orange prints, T is the Tracks print, P is the Pumpkin print, C is the Crow print, F is the Calico Floral Print. In the Cream prints, C is the Crow print, P is the Pumpkin print, F is the Plaid Floral print. For the crows print, cut them out with the selvedge instead of against it so that the crows will be the right side up.
Set up your work area – you might find it helps to lay out the rows in order according to the layout so you can just take each set and sew each row together quickly.
Use the layout as a guide for piecing. I found it easiest to start with the far left strip, sew the full length together, then go to the next strip. Once you have 5 or 6 strips, line up the strips and sew the rows together. Continue piecing each strip, then adding it to the overall quilt. Make sure to use the pattern guide to check how the strips should line up as you sew each row. Start lining up each strip along the bottom edge and let the top edge be a little off. You can trim it all at the end.
That’s really all there is to it! Sew each strip together, then sew it to the overall quilt!
I’ve built in a couple inches all the way around for the sides to give you some room for adjustments if you need them. I recommend leaving the top and bottom uneven and quilting the front, batting and back together, then trimming the ends straight. Your quilt might be a little bit off of the 61″ x 68″ – there can be slight differences in seam allowances and that sort of thing but as long as your ends are straight, it won’t really matter.
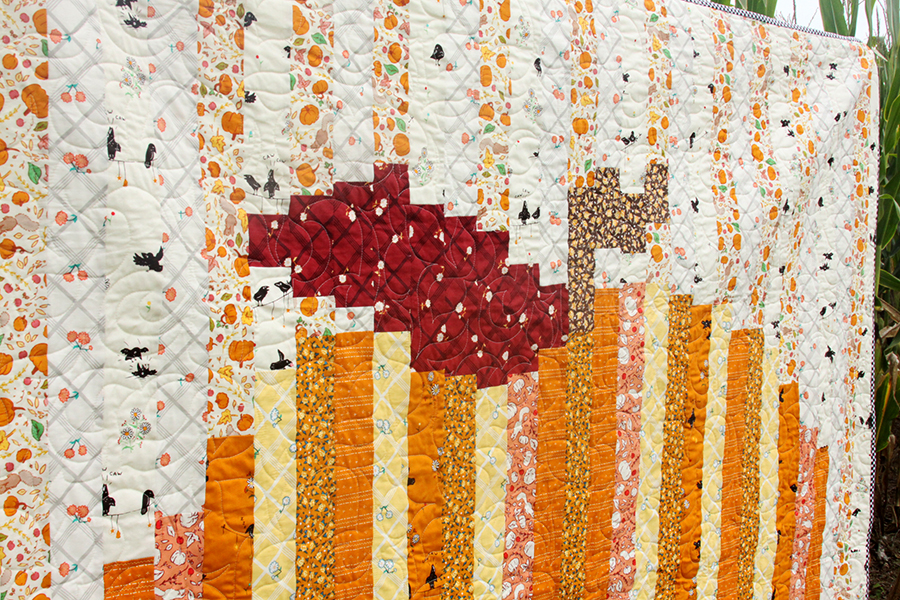
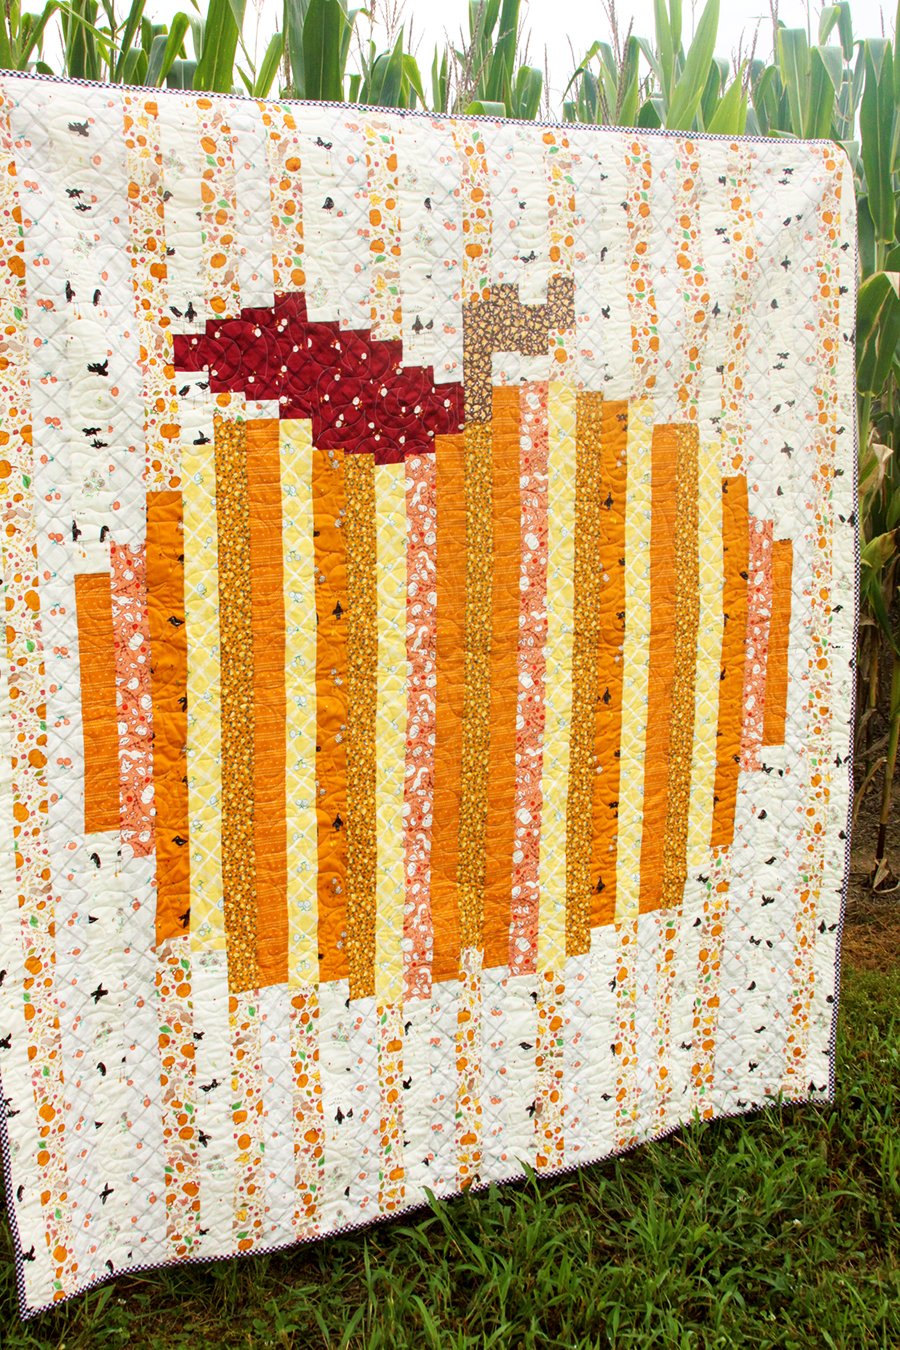
My quilt was quilted by Julie Williams Quilting – she used a really pretty leaf pattern on it and I love how it works with the fabrics.
For the binding, I used the Riley Blake basic gingham and cut it on the bias so the gingham would be diagonal. I love how it pulls out the black in the cute little crows!

I can’t wait to hear what you think!!


Thank you for sharing this cute pattern. Love what you designed!
I’m not one for strip quilts, normally; but your pattern is so perfect! I have just the fabric for it and am excited about making the quilt. Thank you so much for the inspiration.
Bev,
This is just the cutest fall quilt! Thank you for the tutorial!
-Jean
Hi,
Love this pattern and I plan to make it. Only one question…..I’m a new quilter, and I don’t see how wide to cut the strips. Am I missing something? Thank you so much for your website. It caught my eye because I collect flamingos. But I don’t see the flamingos.
PS. I’m an Illinois transplant to Tampa.
Hi Kathy- sorry about that! I’ve updated the pattern to include the strip width.
This pattern doesn’t have any flamingos but I do I have a Flamingo quilt if you’re interested in one in my quilts section!
Thanks. I just saw the pattern this morning and I quickly printer and looked through it. Yes, I would be interested in the flamingo quilt.
Such a cute quilt. And easy. I’m glad you are so creative, Bev! I get to enjoy the fruits of your creativity.
I don’t typically decorate for Fall, but I’m thinking this quilt would look fabulous on my mom’s couch if I did it in reds to make an apple! Thank you for the inspiring pattern!
Hi Bev!
This an adorable quilt! I want to print out the Instructions but, I don’t find a a place to click for that..what have I missed? LOL
Oh also, I noticed that you mention a Flamingo Quilt? I would very much like to see that, where can I find that?
Thank you so much
Lori
This is adorable!!! Thanks for sharing the pattern with us.
This is absolutely adorable. I took a quilting class many years ago but have never really made anything since. I’ve always meant to get into quilting and I think this cute pattern would be a great way to get started. It looks like it should be easy enough. Thank you for the pattern!
This would make a great quilt-as-you-go quilt. Love it!
What a great idea!
I loe, love, love it! Thank you for sharing. :)
Hi Beverley. With Fall just around the corner, your design will certainly inspire our readers. Thanks for sharing. I’ve included your post in our latest Top 10 in Craft. https://craftylikegranny.com/lifelong-learning-of-craft/ Cheers Jodie
Very cute quilt! I want to make one–and hope I have time to do that this fall. I will use fabrics in my stash, as much as possible. Think I should have plenty to choose from. :) Thanks for sharing your pattern!
Love it. Would love a print button to print this pattern!!
I love this quilt. I think it would be so wonderful to make. Thank you so much for the pattern. Your the best.
Very creative! I shall look thru my stash and see if I can replicate yours. I LOVE it.
I love it. It’s so different than other pumpkin quilts I’ve seen. I really the prints as well … especially the background. Thank you so much for sharing …
Love this, I have a friend who would really love this. I see one yard on the fabric list. I am thinking a half would be plenty. Did you have enough to do two quilts? Thank you for sharing. I appreciate it.
Bev, this pattern was fun to make. I scrounged for orange fabric and realized I didn’t have much orange. Found just enough to make this quilt. My daughter picked the outer border and binding for me! Thank you for sharing your free pattern! I would send a photo of my finished quilt but don’t know how to do so in this comment.
I do not understand the pumpkin quilt measurements. Do all of the numbers supposed to add up to the same length. I am a very new quilter and need the information in a clear concise manner to understand as I am totally lost.
Thank you for this wonderful, beautiful, fun pattern! We loved the pattern so much at The Old Craft Store in Carrollton, TX that we made it into a challenge – make the quilt top, bring it in to show us and get entered for a chance to win a gift certificate from the store!! We acknowledge your name and blog and also include a link straight to this pattern blog update.
You can see some of the entries on our FB page, https://www.facebook.com/QuiltingOCS/
Thank you again!!
I love this quilt! I’m reading the fabric requirements. It’s 9 yards total. Is this correct? Are there left overs. Add 4 yards for the backing. It’s a lot
Love the pattern, but I don’t see cutting instructions