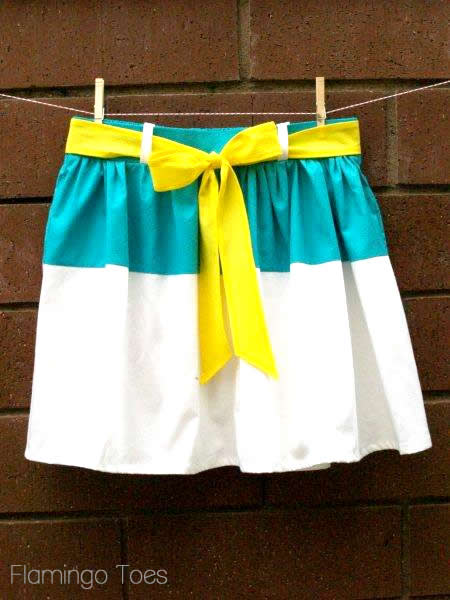
I’ve been wanting to make a colorblock skirt for a while now – so when the amazing Simple Simon girls asked me to guest post for their Skirting the Issue series, I knew this would be the perfect time to make it!
Skirting the Issue was a fabulous series held on Simple Simon & Co and Project Run & Play all about skirts!! Seriously – some of the cutest skirt tutorials I’ve ever seen! But even better than all the tutorial awesomeness is the reason behind the tutorials. Liz and Elizabeth are encouraging us to create handmade skirts and donate them to local (or national) Foster Care organizations.
Since I have teenagers I thought it would work out great to do something an older girl might wear – though now I’m all in love with it and I think it would be fun for any age! :)
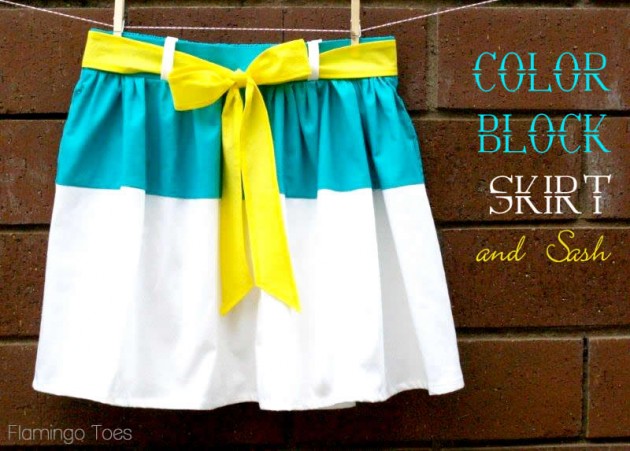
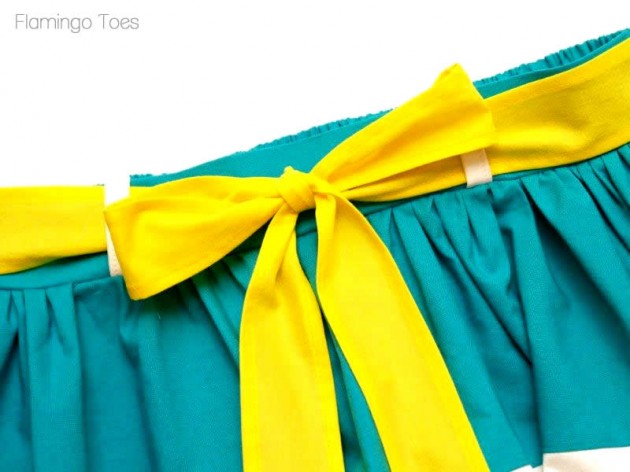
This skirt is really fun and quick to put together! It features a sweet colorful sash and an elastic back – super easy to do and comfy to wear.
It’s also got cute little belt loops to hold the sash in place!
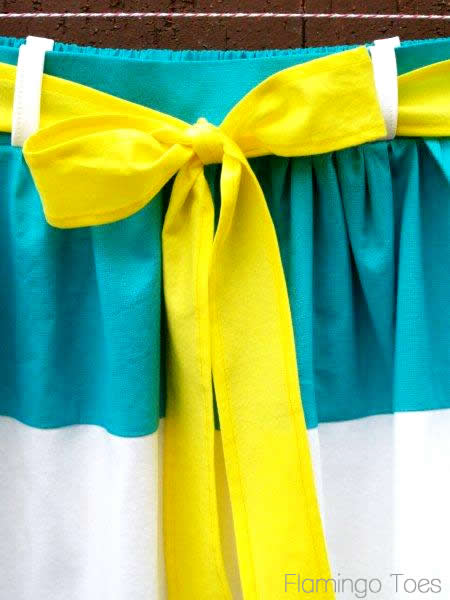
As far as sizing – I’ll give you an idea of what I did and you should be able to adjust the measurements for different sizes.
I measured the waist of my teenager and divided that number in half.
• I cut out a waistband front piece that was 5″ x half the waist measurement and a waistband back piece that was 5″ x total waist measurement.
• For the skirt pieces I cut 2 pieces that were 7″ x the total waist measurement – these are the top panels of the skirt
• and 2 pieces that were 13″ x the total waist measurement (bottom panels of the skirt)
• The sash was 2 pieces 3″ x 44″.
• Cut out a 2″ x 24″ piece for the belt loops.
• Cut a length of 2″ elastic half of your waist measurement.
• You’ll also need a piece of interfacing 2″ x half the waist measurement.
Begin by sewing the top panel to the bottom panel for both the skirt front and back.
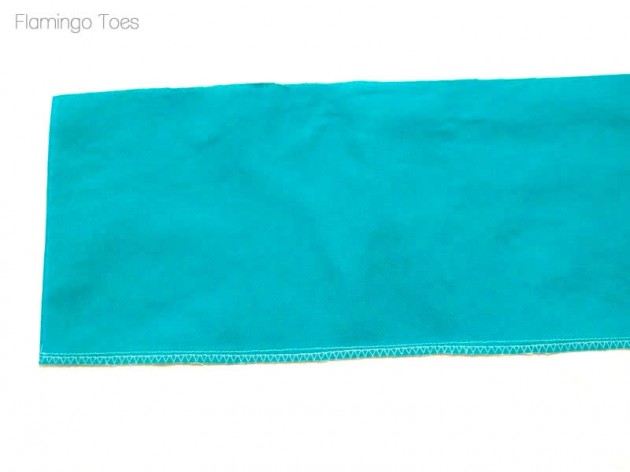
To make your belt loops, fold each long side of the 2″ x 24″ piece in to meet in the center. Press. Now fold the entire piece in half.
Sew an 1/8″ inside the folded edges, all down the length.
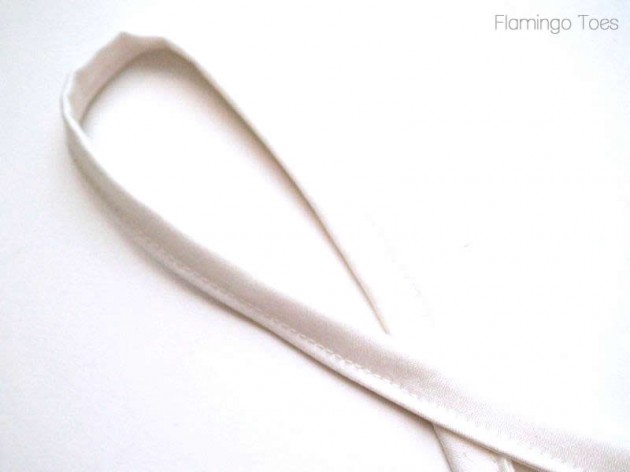
Cut the piece into 4 – 5 1/2″ pieces.
Iron your fusible interfacing to one side of the front waistband piece. It should be on the wrong side, 1/2″ from one end.
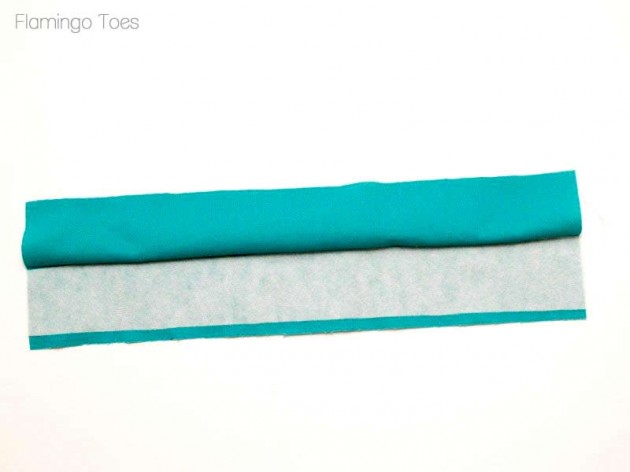
Fold the waistband piece in half, wrong sides together and press.
Gather the top edge of the skirt front to the length of your front waistband piece.
Place a belt loop piece between the waistband and the skirt, 5″ from each edge. Loop the piece over the waistband so that it wraps loosely around the waistband.
Sew the raw edges of the waistband to the top raw edge of the skirt.
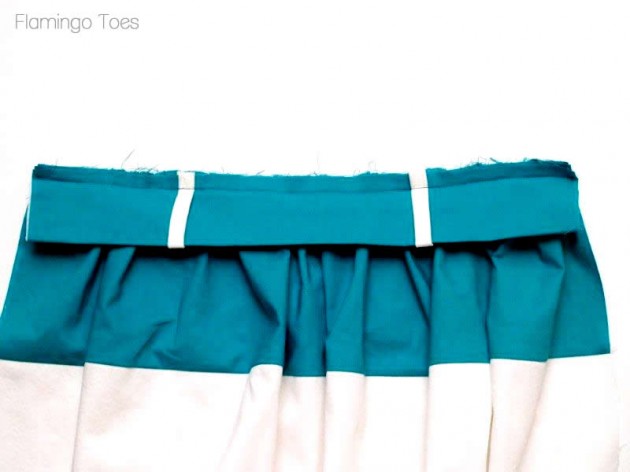
Press the seam towards the skirt.
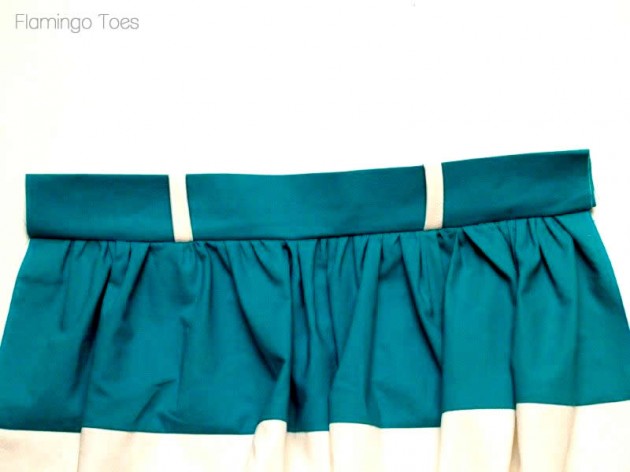
Lightly gather the back skirt piece. Fold the back waistband piece in half, wrong sides together.
Place the belt loop pieces in place, 10″ from each end.
Sew the waistband piece to the back skirt piece.
Feed the length of waistband elastic through the casing – stitching down the elastic at each end to hold it in place.
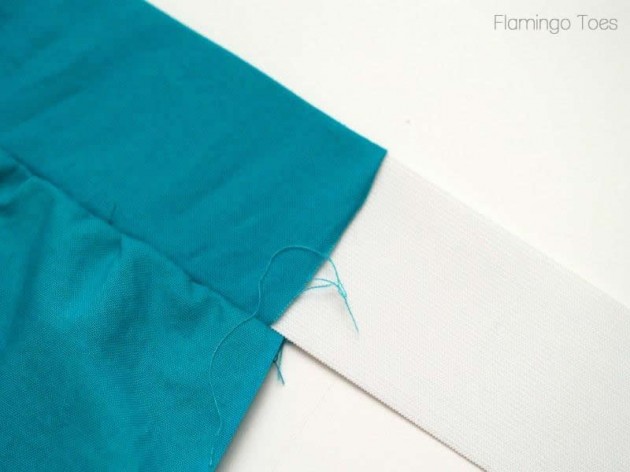
Sew your two side seams together, making sure to match up the seams in the panels.
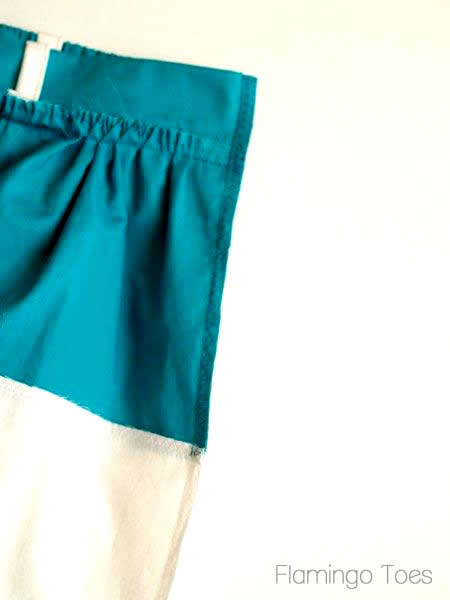
Hem the skirt with a small hem.
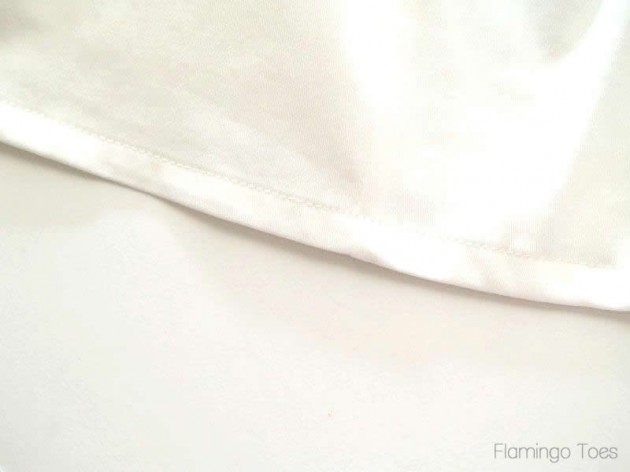
Sew the two sash pieces together along one short side. Trim the other ends at a 45 degree angle.
Hem all the way around the sash.
Find the center of the back waistband and sew the sash to the back of the skirt along the back seam of the sash.
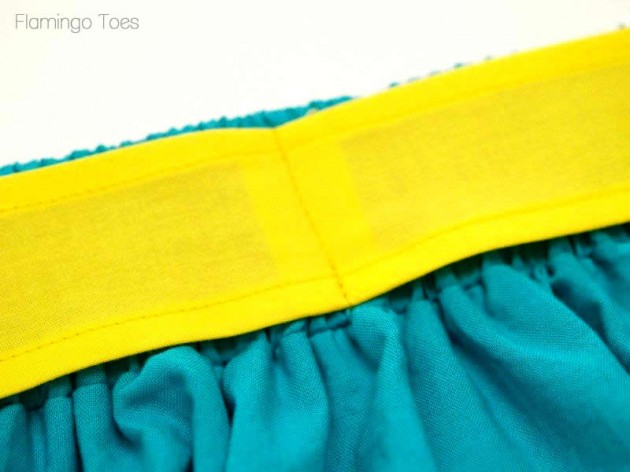
Feed the sash through the loops and tie it in a pretty bow!
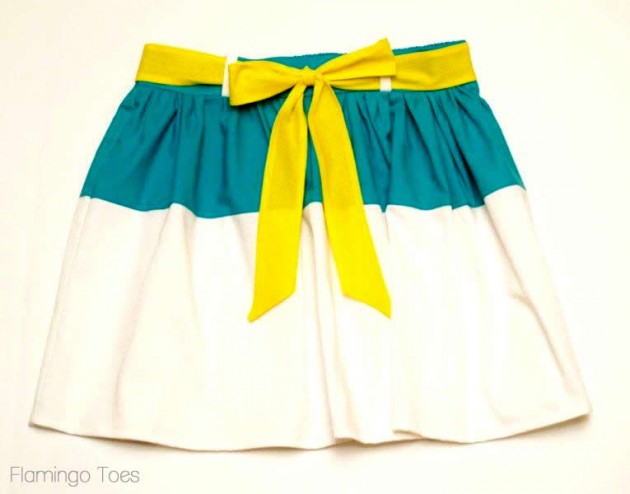
I think I’ll definitely be making one of these up for me too now!
There are still a few days left to join in – there is a Skirting the Issue Flickr Group that you can upload your skirts to until August 10 – and if you do you have a chance to win some great prizes!
Linking up at Sunday Scoop, Today’s Creative Blog, Met Monday, Skip to my Lou, Tutorials & Tips Tuesday, Shabby Creek Cottage, Quilt Story, My Repurposed Life and the other fabulous parties on the party page – make sure you check them out!


Oh wow it’s just gorgeous. I want one too.
This skirt is TOO cute, Bev! I love how the yellow belt just pops off of it. I would totally sport this! :)
This is too too cute!
This is so fun! I love color blocking, and the color combination in this skirt is so cute!:)
that is DARLING!!! i absolutely LOVE LOVE the colors too!!!
Adorable skirt Bev!! Thanks for the tute!!! ;)
Wow………..!!! What a beautiful skirt,Loved the colors too.thanks for sharing.
http://www.blissfulsewing.blogspot.com
I’d definetly wear this, and I’m definitely not a teenager! It’s adorable.
This is adorable! Thanks for the tutorial
this is so cute! the color combination is great!
I love this skirt and it would be perfect to teach a bunch of young women who have never sewed before. I’m a huge fan of color blocking.
If you get a chance I would love for you to link up this tutorial at my Pin Party either this week or next:)
http://sarahdawndesigns.blogspot.com/2012/08/pintastic-monday-link-party-3.html
aaahhhhdorable!!! I want it :o) I came over from someday crafts, would love for you to come over to my Link party… I’ve opened up my successful food party to crafts this week. http://www.nap-timecreations.com
So so cute. I love your color choices. Just may need to whip one of these up soon!
The yellow screams summery and fun loving!! Wonderful sewing talent!
So cute Bev. Love the color blocking and the colors.
this is darling! LOVE the colors & how you captured it in your photos.
xo
kellie
Great colors together! My little one would look adorable in a skirt like that.
LOVE!!! So cute!
I featured you on my blog today, come check it out :)
http://www.artsyfartsymama.com/2012/08/pinteresting-features-n-shtuff-44.html
Love this color combination and the fact that the color blocking is different widths, this adds more interest I think. Great tutorial, very thorough and easy to understand! Pinning! Heather @ Setting for Four
Very, very cute Bev. I love it!
Thanks for sharing on Show & Tell at SNAP! I don’t get around to all of the blogs I would like so I love it when friends link up.
xoxo, Tauni
Super cute!
This is adorable and your tutorial is great for a beginner like myself! Can u recommend a fabric choice?
Thanks for a great tutorial! I shared my version over at my blog today :-D
Sweet Katy – thanks so much! I will head over and check it out!