Time for Part 2 of the Circles and Waves Table Set – The Table Runner and Matching Vase!!
If you missed Part 1 – you can check out how to make the Placemats, Napkins, and Napkin Rings here.
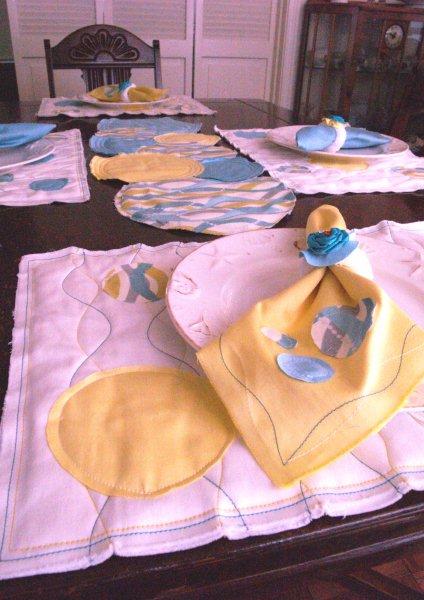
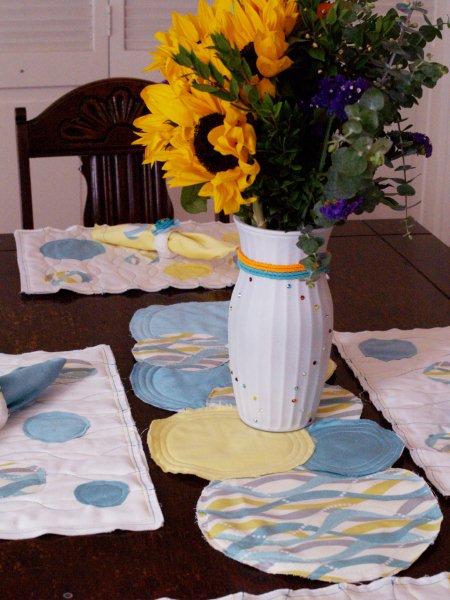
For the Table Runner, lay out your larger circles in the pattern you’d like. My runner measures 30″ x 10″ approx.
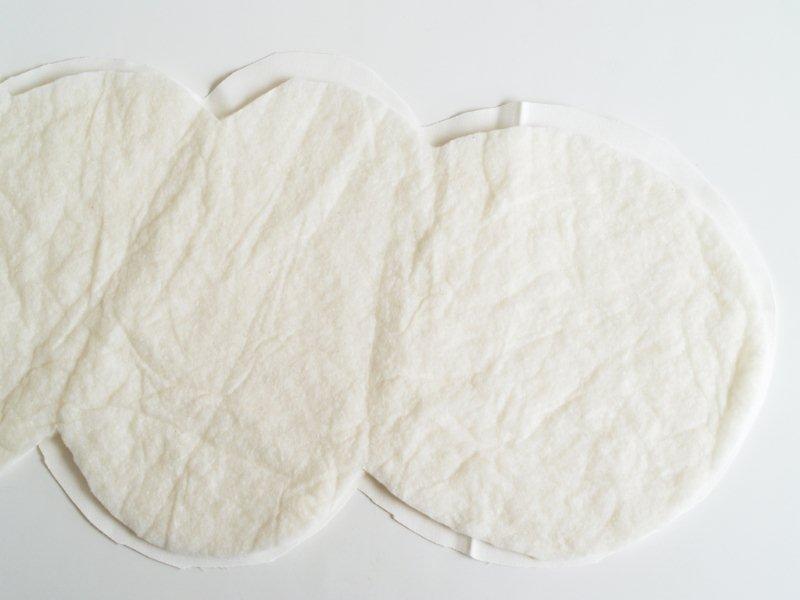
Cut out a white piece of fabric the outside shape of the runner and a piece of batting about 1/2″ smaller than the total shape.
Pin them together well.

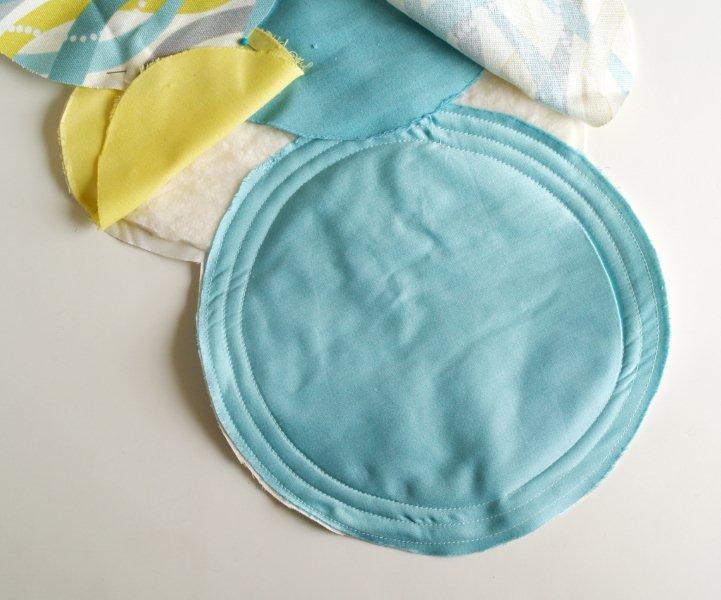
Start sewing your layers together with the bottom circles first. For the solid, dyed fabrics I did three rows of circles around the edges, 1/4″ apart.
For the prints, I sewed around the outside 1/4″ from the edge then sewed down a few of the wavy lines.
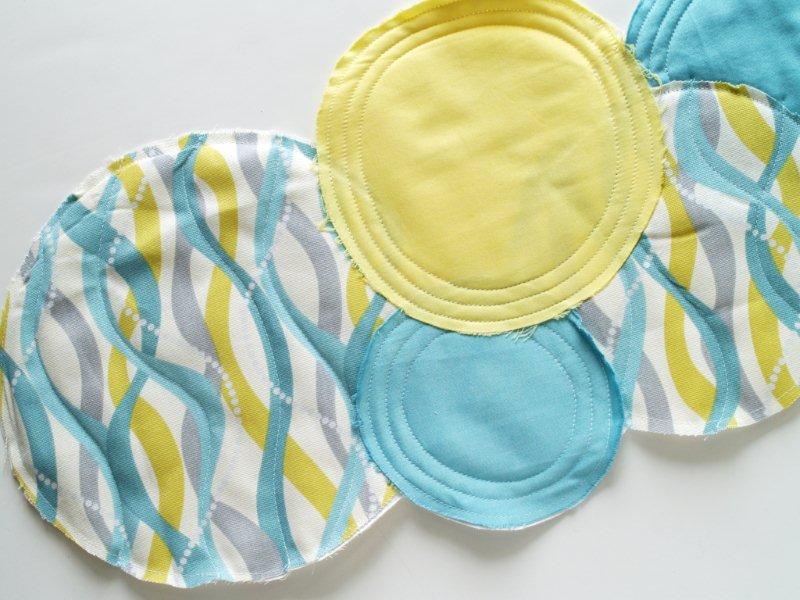
Once the bottom circles are sewn on, do the next layers, until all the circles are sewn down.
Then the Runner is finished!
Was that quick or what??
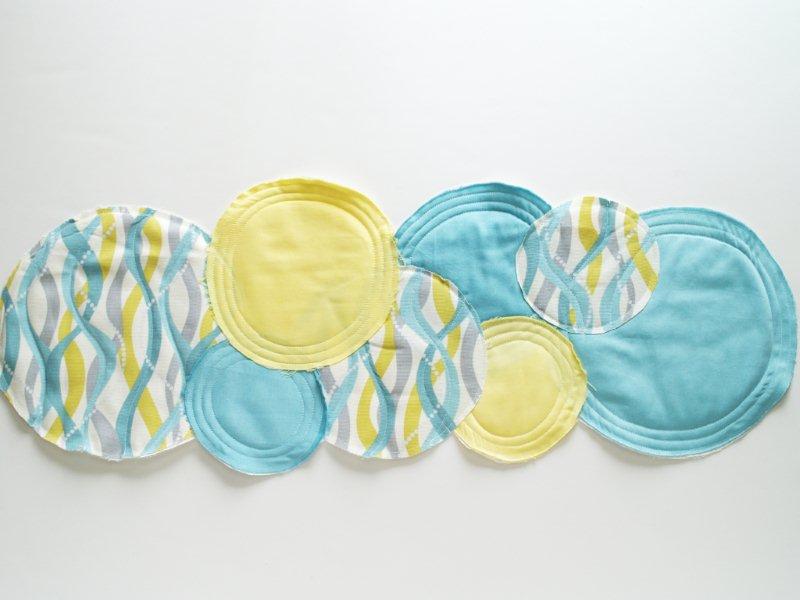
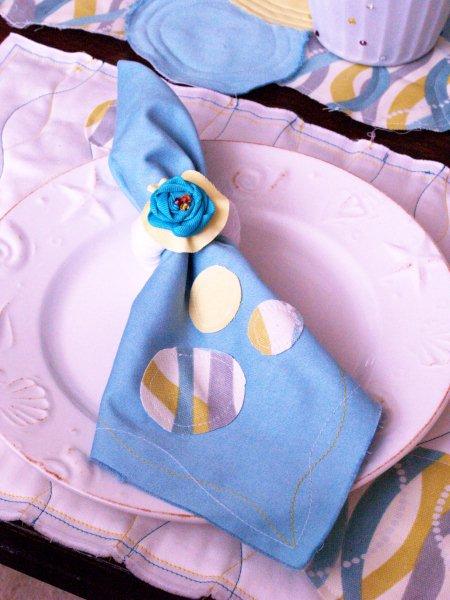
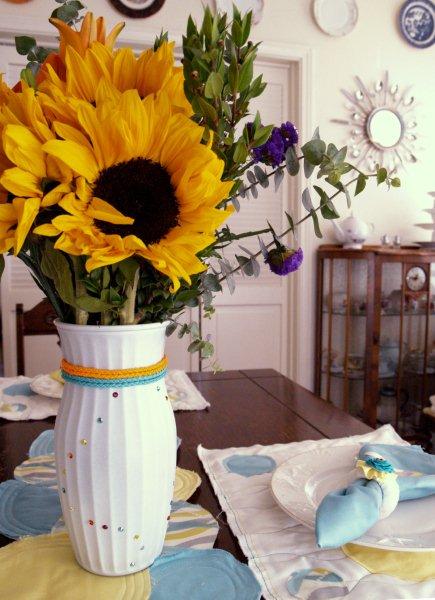
I love the pretty colors of the dye paired with the white fabric and the bright thread. It makes for such a fun place setting!
Next let’s do the Pretty Vase to match the set!
Materials you’ll need:
• glass vase
• white spray paint
• matte sealant
• 2 colors of cording
• rhinestones in asst. colors
• Glue (I used E-6000)
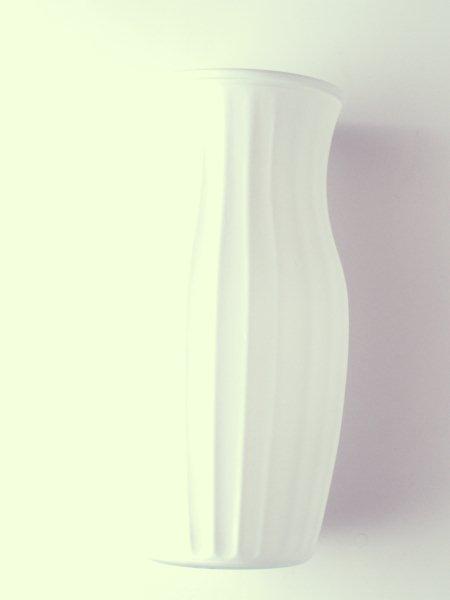
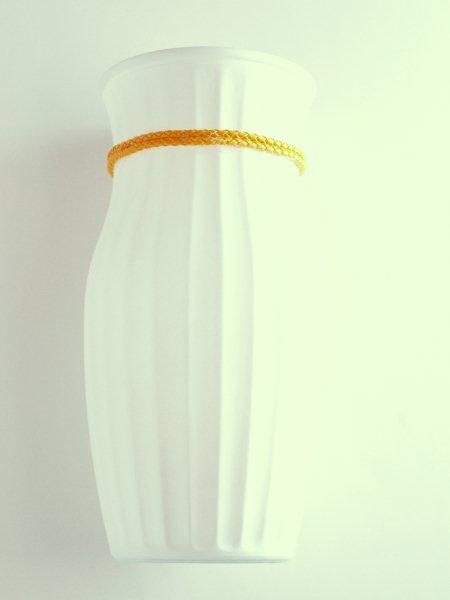
Start by spray painting your vase white. I used a plain freebie glass vase.

Once your spray paint is dry, I recommend spraying it with a matte sealant.
(This will help the paint stay on.)
I wouldn’t dunk your vase though to wash it. Just rinse the inside out after use.
Measure down from the top rim of the vase to where you’d like the first row of cording to start.
Make small pencil marks every few inches around the vase.
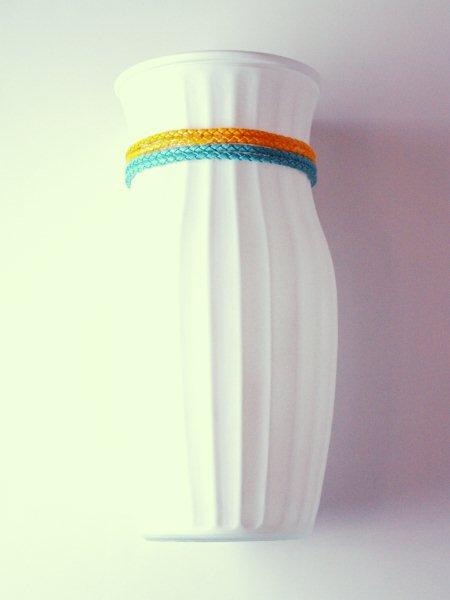
Glue on the first color of cording in two rows along your markings, making sure to pull the cording snug against the vase.
Repeat with the second color of cording, wrapping it under the first two rows.
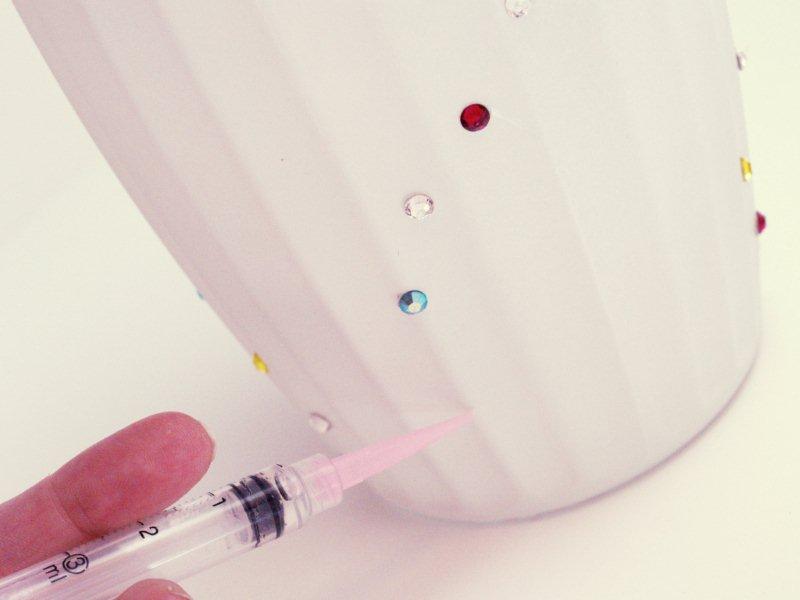
Decide how you would like your rhinestones to look. I decided to follow the wavy pattern in my set.
M & J Trimming has some great tools for applying rhinestones!
Start by adding glue to the small syringe. Dot the glue on the vase where you’d like your first few rhinestones to go.
The syringe adds a tiny spot of glue, just where you need it.
Use the wooden tool to dip into the beeswax just a bit. Pick up a rhinestone with the tool and place it on the spot of glue.
The wax is just tacky enough to pick up the rhinestone but not so tacky that it won’t stick easily to the glue.
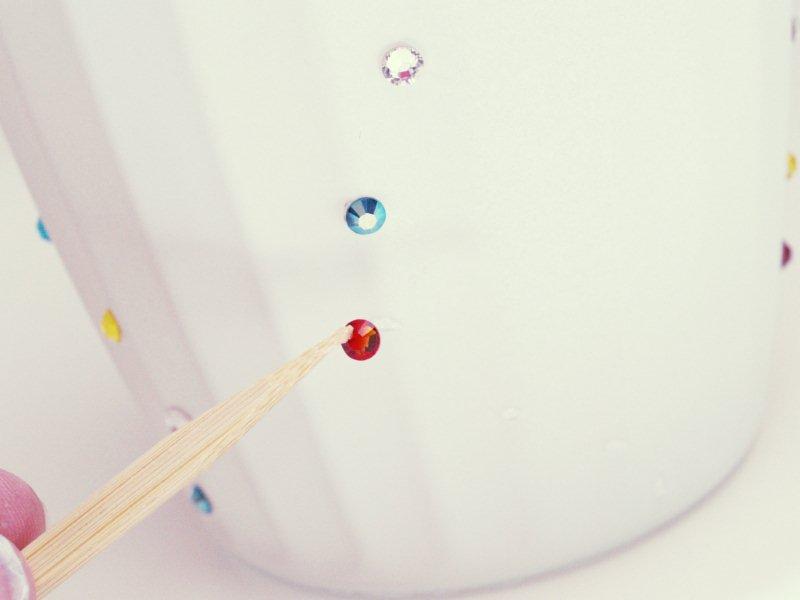
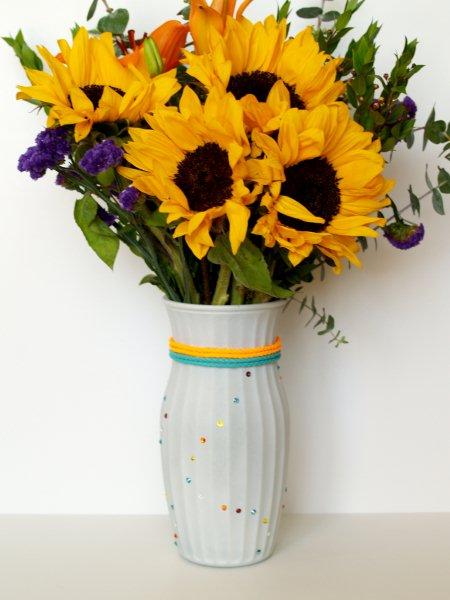
Once all your rhinestones are placed, the vase is finished! Let the glue dry for about 12 hours before moving the vase or adding flowers.
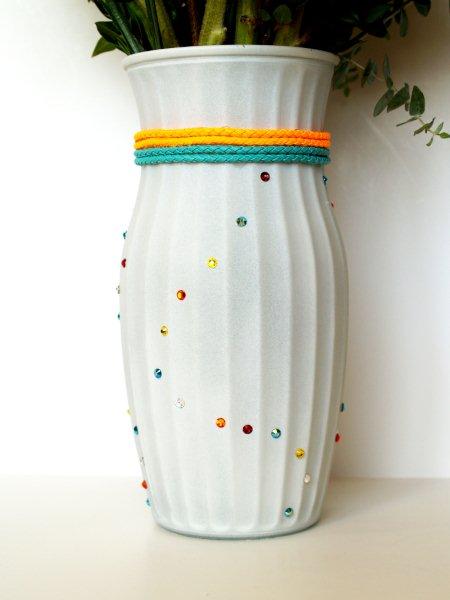
The vase makes such a pretty addition to the table set!
Thanks for letting me share this fun set with you!
I’m linking to Sunday Scoop, Today’s Creative Blog, Met Monday, Skip to my Lou, Tutorials & Tips Tuesday, Quilt Story,
and the other fabulous parties on the sidebar – make sure you check them out!


Very fun! The colors are so bright and cheery, perfect for a summer get together!
I love all of the little details that tie everything together for this tablescape, Bev! You did a magnificent job. (And I love the peek at the silverware sunburst mirror in the background!!!)
Great colors and a fun table setting Bev!
xoxo,
Amy
Bev, I just loved the tablescape you’ve created! I’m a newbie to sewing but I’m going to JoAnns today to get the needed supplies. Thank you for such a great idea, you’re awesome!
Katy
Just perfect Bev!
So adorable! I love the colors and the addition of the jewels on the vase!
Only you Bev….only you could make bedazzling cool! Love the vase and the runner too — great colors, pattern and design. Creative, original and chic as always!
Jenn
Oh my goodness! Now I’m going to need to make a runner to match the place mats! LOVE it! We would love for you to share this at our link party and come enter our free digital scrapbooking software giveaway!
Love,
The Sisters @ Six Sister’s Stuff
http://sixsistersstuff.blogspot.com/search/label/Strut%20Your%20Stuff%20Saturday
http://sixsistersstuff.blogspot.com/2011/08/my-memories-digital-scrapbooking.html