Ok – if you’ve been around Flamingo Toes for a while – you will probably recognize this skirt.
It was actually one of the first things I ever pinned (and can you believe that was less than 1 year ago? It’s crazy how much Pinterest has grown and changed things.)
But I’m off track. Shocking.
So I fell in love with this little skirt – and I had to have it for my very own!
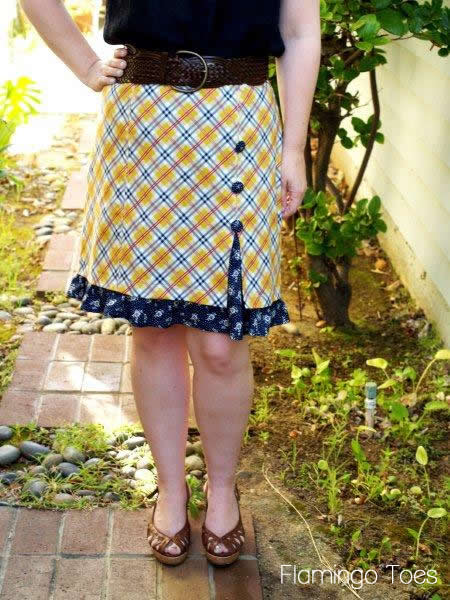
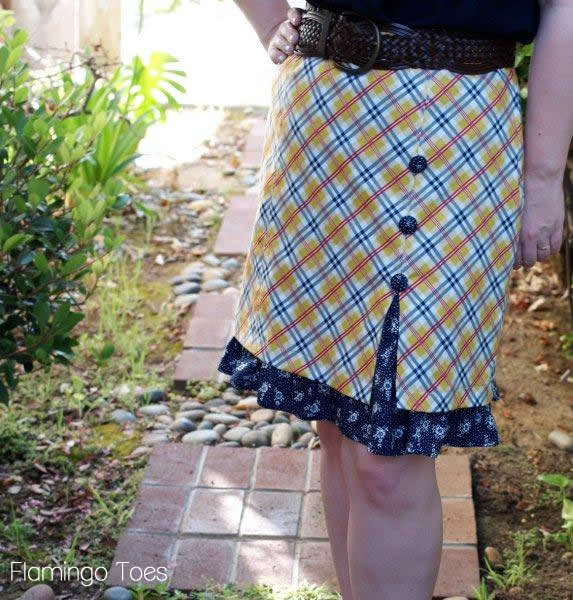
Here’s my version of it!
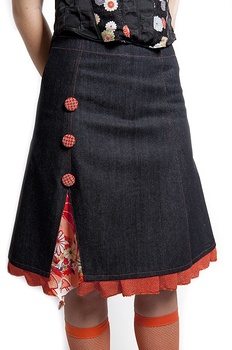
And here’s the original version – it’s from a company called Blue Caravan and they’ve been sold out of the skirt since I pinned it.
So I’m thinking it probably won’t be coming back.
I flipped my buttons to the other side for my version – and I decided not to wear the orange knee socks. I’m a rebel.
So are you ready for a tutorial? This is actually easier than it looks!
I decided to start with a pattern – since it’s been a few years since I did much sewing for myself. And I thought it would be easier for you to alter based on your size and measurements if you want to make your own!
I found this Lisette pattern from Simplicity – it was perfect! It had seams running down the front, as well as the sides, so it worked out great for the side panel with the ruffle.

I’m not going to go into all of the process – I’ll just tell you where I changed things up.
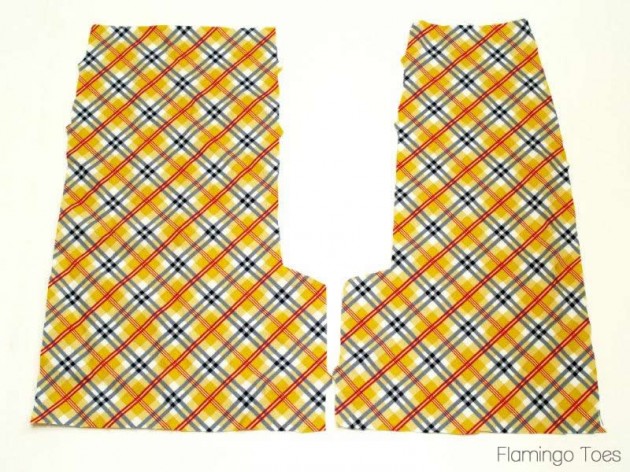
There are two skirt versions on this pattern – Version A has insets behind the four pleats, and version B is a little shorter and has straight seams – no pleats.
So since we’re adding a ruffle, I chose Version B. But on one of the side front seams, I cut out the pleat inset seams so I could use that for the front ruffle section.
Sew up the skirt as the pattern indicates, but don’t add in the pleat inset or undo the basting on that section.
Go all the way to the point where you are ready to hem the skirt.
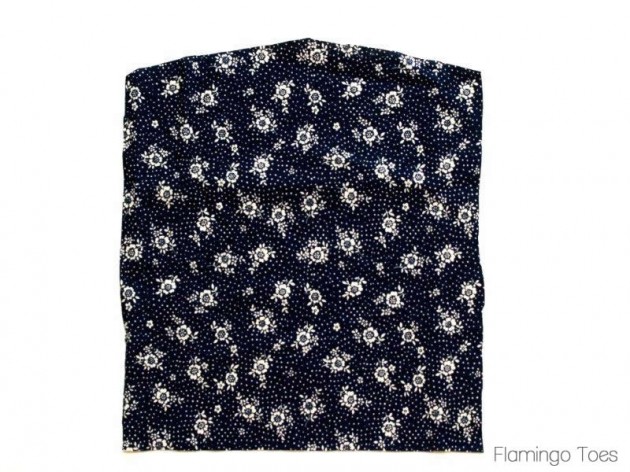
Using the pleat inset pattern piece, cut out a piece of your underskirt fabric that is twice as wide as the pleat inset, and 1″ longer.
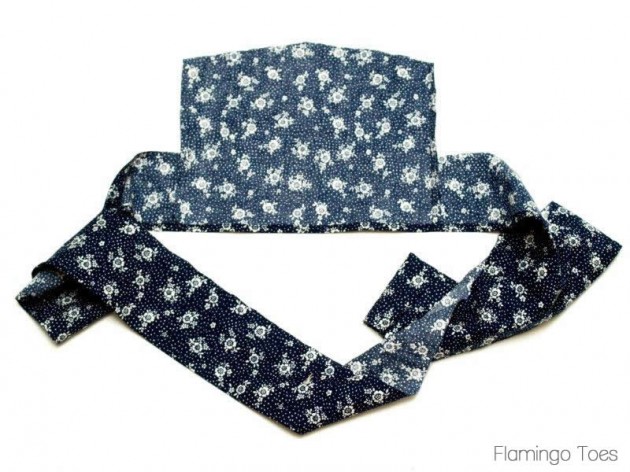
Cut a ruffle out of the underskirt fabric that is 4″ x 2 times the width of your skirt hem. You can piece this together if you need to.
Sew the right side of each end of the ruffle piece to the right side of the pleat inset piece – lining up the bottom edges.
Hem all the way around the bottom with a small hem.
Gather the top raw edge of the ruffle, and the top of the pleat inset.
Pin the ruffle to the bottom edge of the skirt, right sides together, lining up the pleat inset piece with the pleat section on the skirt.
Sew the ruffle to the hem, but don’t sew down the pleat section yet. Just stop the seams at the point were the inset starts.

Line up the top of the pleat inset with the folded pleat section on the skirt. Sew the top and sides to the raw edges, down to the point of the ruffle.
Make sure you down sew through to the front of the skirt. You are just sewing this to the section that is folded back. (Check pattern instructions for clarification.)
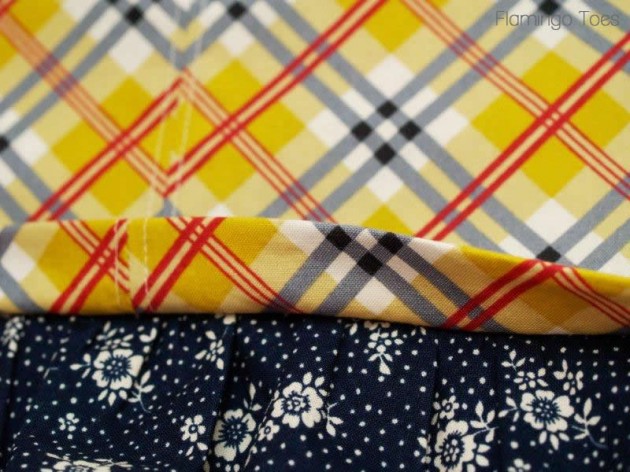
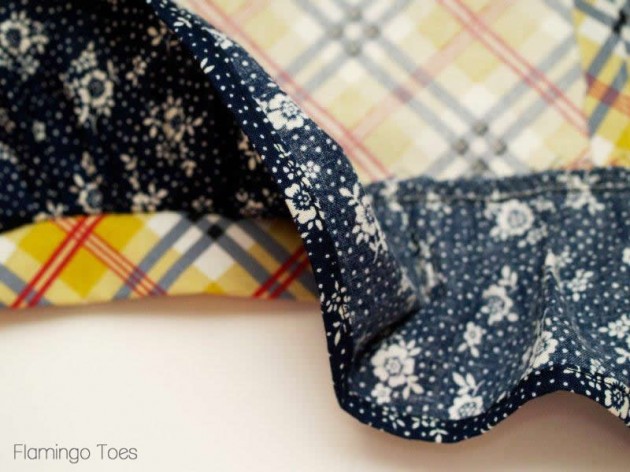
There will be some looseness between the hem and ruffle, especially in the pleat section. Open up the basting and fold under the hem about 1″.
You are creating a kind of “fake” hem – so the skirt looks like it is hemmed and ruffle is a separate piece underneath.
Press the skirt hem in place all the way around. Top stitch the hem in place. You’ll need to do the edges of the pleat section that are open separately so you don’t sew the open section down onto the ruffle.
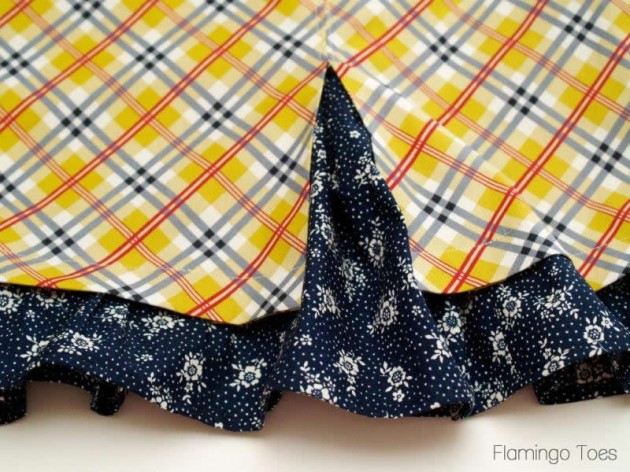
You can see how the hem is folded and the ruffle is tucked up underneath.
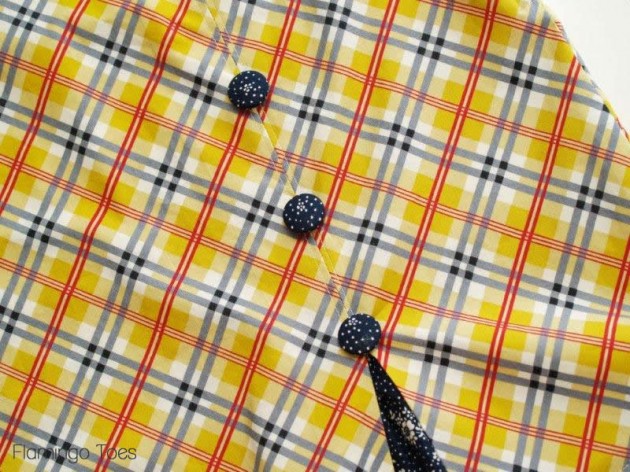
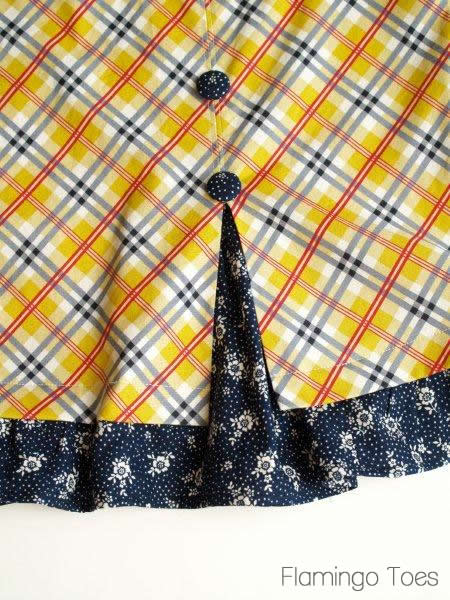
Create your covered buttons. Add the bottom one at the point of the skirt where the open pleat starts. Add the other two 3″ apart above that.
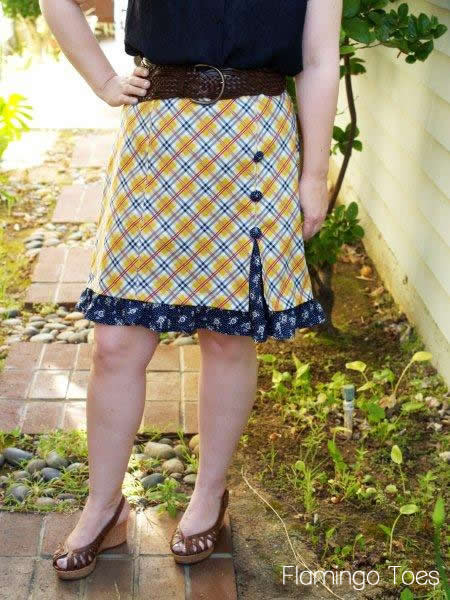
And that finishes it off! Doesn’t the ruffle look so cute peeking through?
I really like how it came out – it’s super lightweight and I think it will be so fun for summer!/
Though I might need a winter version too – maybe a cute twill with some eyelet underneath? Hmmmm.
So what do you think? I’d love to know!
Linking up awesomeness at Sunday Scoop, Today’s Creative Blog, Met Monday, Skip to my Lou, Quilt Story, Tutorials & Tips Tuesday, Shabby Creek Cottage, and the other fabulous parties on the party page – make sure you check them out!
I’m also adding this skirt to the fun that is Skirt Week at Crafterhours!! You still have until tomorrow if you have a skirt to enter – you can check out all the deets here!


Its gorgeous bev!!!
Great job Bev!! And how exciting that you got to make it in a smaller size since you lost your 20!!!
“I’m a rebel.” Haha – cracked up at that! Beautiful skirt Bev!
what a fabulous skirt for the Summer Bev! Love your fabric combo pairing, so well done! You are going to get tons of use out of this for the Summer – paired with a plain white T – perfection!
Very cute!
Oh wow, it’s super, super cute! I was scared at first (I’m not good at sewing, you see) but seeing your tutorial made me really want to try making one! I must say, though, that I was disappointed you didn’t wear orange knee socks :)
Very Cute!!
This skirt is awesome! I love the style. I don’t know if I am brave enough to sew something with a pattern but I might have to try!
projectsaroundthehouse.blogspot.com
That is a great skirt you pinned! However I think you did a great job making your own and I love the patterns.
Bev!!! That skirt is sooooo cute… great job:)
I love it, are you kidding, it’s awesome!!! You are so very smart to figure out how to add the little insert under the hem – and the buttons could not be more perfect. Great job! Hugs ~ Mary
So adorable I love the style. What great fabric choices. Stopping by from Friday Flair.
That is just to adorable. Nicely done.
I absolutely LOVE this! So much sew, that even though I am not overly fond of sewing clothing any more, I am buying this pattern TODAY!
Thanks so much for sharing how you altered it to become this skirt!!
Wow! Awesome! I loved the skirt.
http://www.blissfulsewing.blogspot.com
I love yours! Even cuter than the original! I wish I had the patience to sew like that… Adorable!
Bev, this is SO CUTE!!! I adore how it turned out. And I love the color scheme! I think navy and yellow may be my new fave. :)
You are so stinkin’ talented! Your skirt turned out adorable. Love the style and fabric, great job Bev!
Like yours a lot more than the original! Wish I were younger and could pull it off…… Janet
It is adorable Bev. You are such a talented seamstress!
BEV! This is soooo cute! Thanks for linking it up this week. And THANK YOU so much for working QBM and then coming back to shop on Sat. ;) You’re the best! xo
Girl that skirt is so dadgummed cute even an old bat like me (will be 72 next month) could wear it (I think). That would be a good skirt for my daughter to wear to work. You can do so much with that, make all kinds of variations. I’ll be looking for that pattern at Walmart or Jo-Ann’s. So glad you shared that with us. Can hardly wait to go look for pattern.You are so smart how you figured out how to add that ruffle, awesome.
love how it turned out — and no orange socks?? how dare you! :)
great job friend!!!
I pinned the denim one a long time ago, too! I’ve never been brave enough to try it on my own, though. Thanks for giving me some idea of where to start! Love how yours turned out. The fabric you choose is delightful. :)
I am inviting you to come and be part of my blog hop:
http://juliejewels1.blogspot.com/2012/06/show-your-stuff-27.html
You are making me re-think my policy of only sewing with a glue gun… adorable!
Really love this skirt. The buttons add a wonderful look.
you’re so sassy!
love how your skirt turned out. the ruffles are so cute.
xo
kellie
I love this shirt! I also love the shoes and the belt you put with the outfit. So cute!
What a cute skirt. I love all the colors!
Cute! How fun it would be to find fabrics to mix & match for this skirt! I need to learn to sew.
This skirt is adorable! I really need to learn how to sew! Thanks for sharing how you made it.
This is so cool! I never would have thought to put those two patterns together, either, but they work so well together, I’m amazed. Definitely adding this to my to-sew list!
Very cute!
I love the ruffle and the color combination in your skirt! You did a great job!
BEV you rock my world and are so talented! You are in Today’s Saturday Spotlight Talent Show over on Craft-O-Maniac. winks, jen
…p.s. would you mind emailing me and telling me how I can add that Pinterest bar on my blog. I love that is shows 3 of your recent pins. ;) [email protected]
I love this skirt…I want one for me and for Jules!
I wouldn’t have looked at the original skirt twice, but YOURS! It started popping all sorts of creative ideas! Thanks so much for sharing!
Very nice skirts. I love both
I think yours turned out better then the original.
The Lisette pattern is no longer available for purchase. Can you recommend something similar for me? I’m really excited to try this! :)
That is flippin adorable! I can see a similar technique could be used to lengthen a thrifted skirt. so many I’ve passed by because of the length! Great job!
love, love, love! I just ordered some black denim and this is totally what I’m going to do with it! I might have to make 2
Is there anyway you can post the pattern since it’s been discontinued? I would LOVE to make this!
I have some wool too tight skirts that are the older above the knee length. This looks like a great solution to lengthen and also open up the waistband for more comfort