I mentioned last week in the Anthro Astrid Coin Purse post that I have been enjoying Anthro’s new fall additions. They have some really sweet stuff.
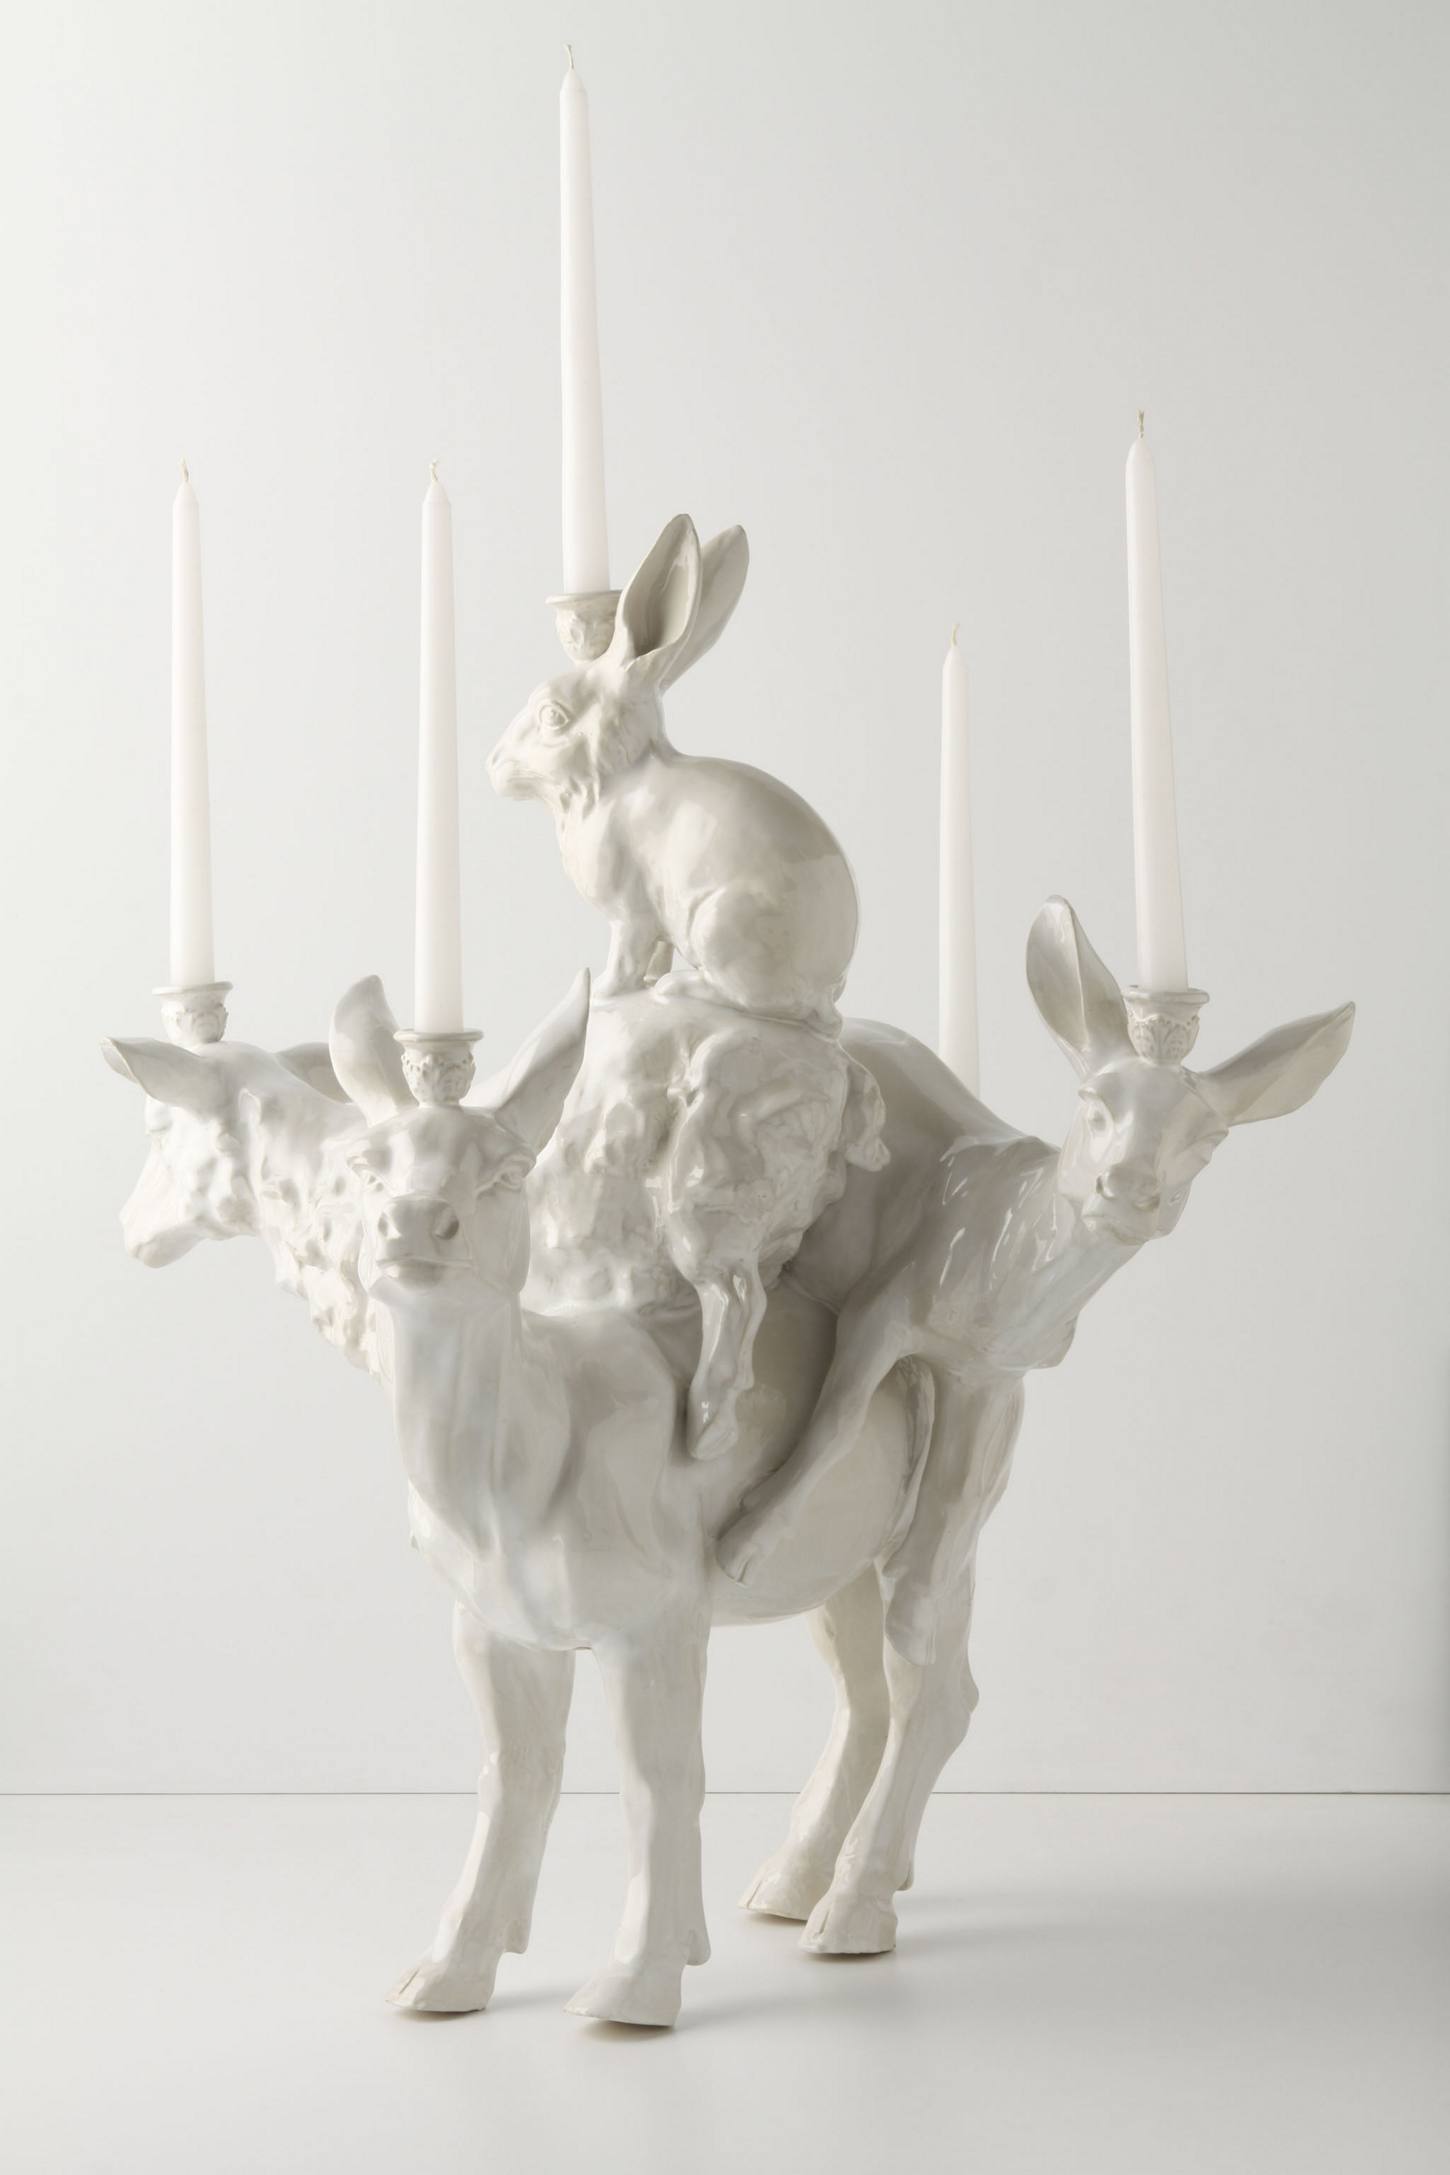
They also have some odd stuff – but that’s what I love about Anthro. You can find a gorgeous pearl and linen bracelet, and a few clicks away stumble across a ceramic candle holder of woodland animals stacked up on top of each other.
There is a large part of me that wants to recreate this – just to do it.
To say that I made a stacked woodland animal candle holder and saved myself $698 ($698 – seriously?!?). I think a Rabbit-Riding-A-Sheep-Riding-A-Deer-With-Another-Deer-Riding-Along-Behind-Wearing-Candle-Holders-On-Their-Heads-Thing would be a fabulous addition to my mantle. What about you?
We’ll see.
But before we get too distracted by the Rustic Romp Taper Holder (Yes. They really called it that), let’s go back to that gorgeous pearl and linen bracelet shall we?
It’s one of the new things that just jumped off the page at me. Imagine a shining light and angels singing. Well maybe not, but it’s awfully pretty and I just love it.
Want to see?
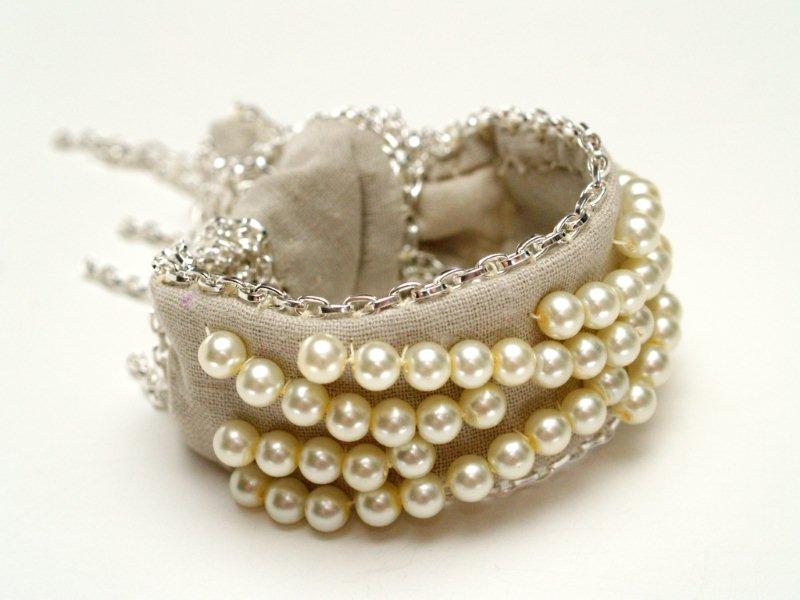
Here is my version . . .
And here is Anthro’s!
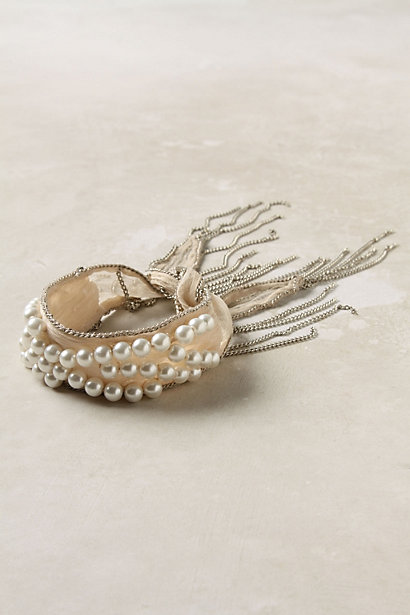
Isn’t it great?? I love the combo of the pearls with the chains!
Here’s what you’ll need to make your very own.
• small amount of fabric (I used linen because I wanted something a little heavier than the chiffon they used)
• pearls (mine were 5mm and I used about 56. You’ll need more or less if use a different size of pearls)
• small chain – at least 88″ (the smaller the chain, the easier the bracelet will be to tie)
• needle and matching thread
Begin by cutting out the fabric for the bracelet. You’ll need one long piece 2 1/2″ x 15″ and 2 smaller pieces 2″ x 5″.
About 3″ from each end of the longer piece, trim the ends so they come to a point.
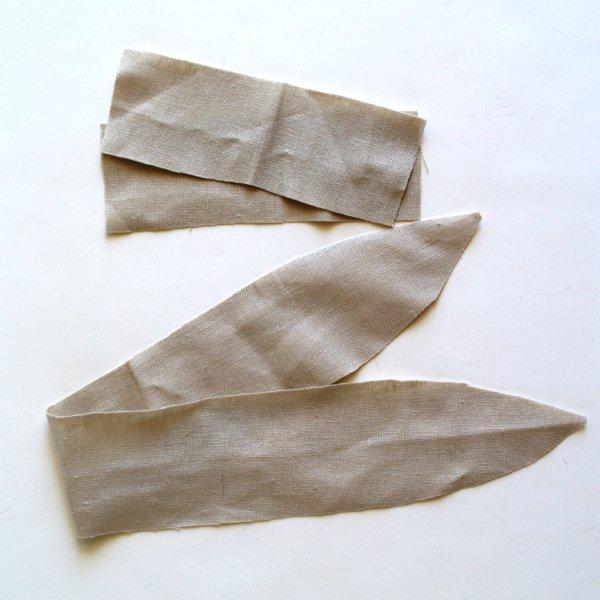
Find the centers of the long piece and one of the shorter pieces. Line them up with the shorter piece on the back of the longer piece.
Tuck the ends under and pin them. This will stabilize the area that you sew the pearls to.
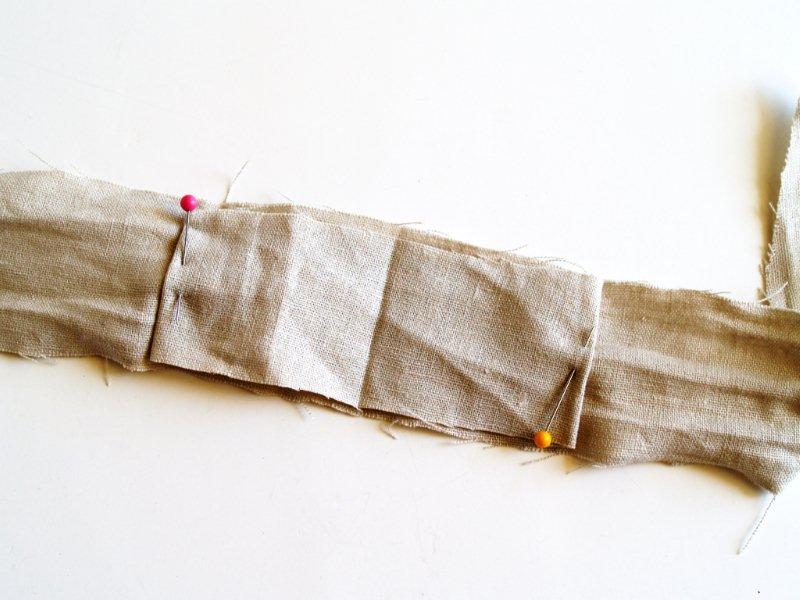
On the front of this section, draw out with a disappearing ink marker the lines that you are going to sew your pearls on. Stay 1/2″ away from the edge, this will be part of the hem.
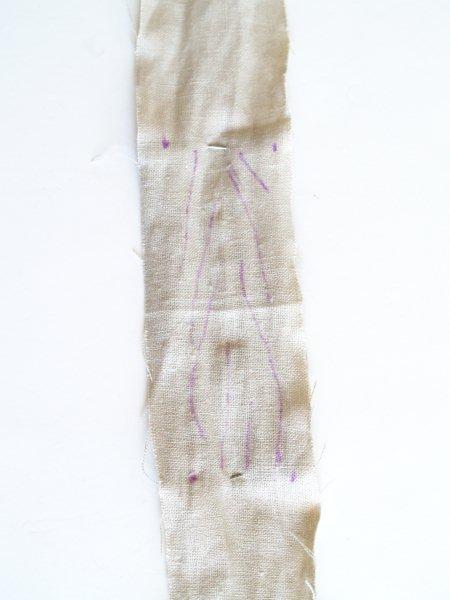
Begin sewing down your strands of pearls. Add the pearls for each row to your thread and sew them down.
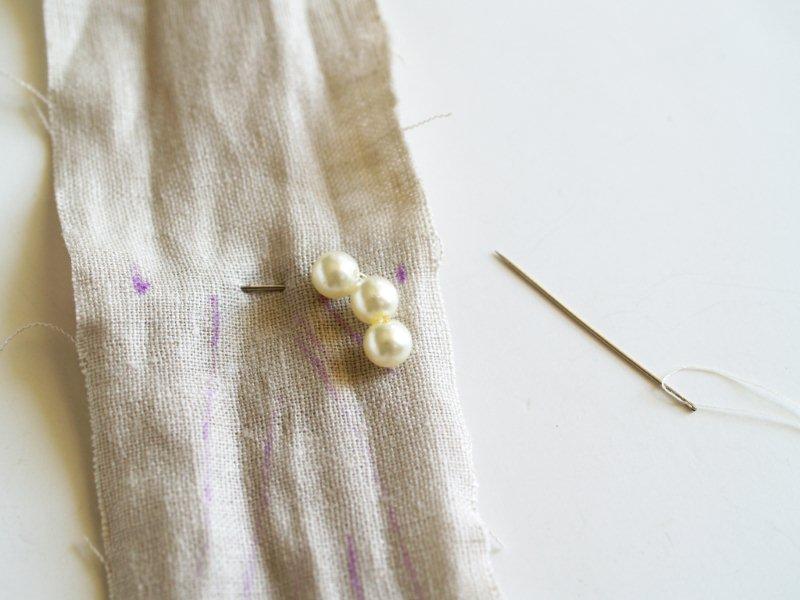
Sew down the strand between each pearl also. This will help the strand lay flat.

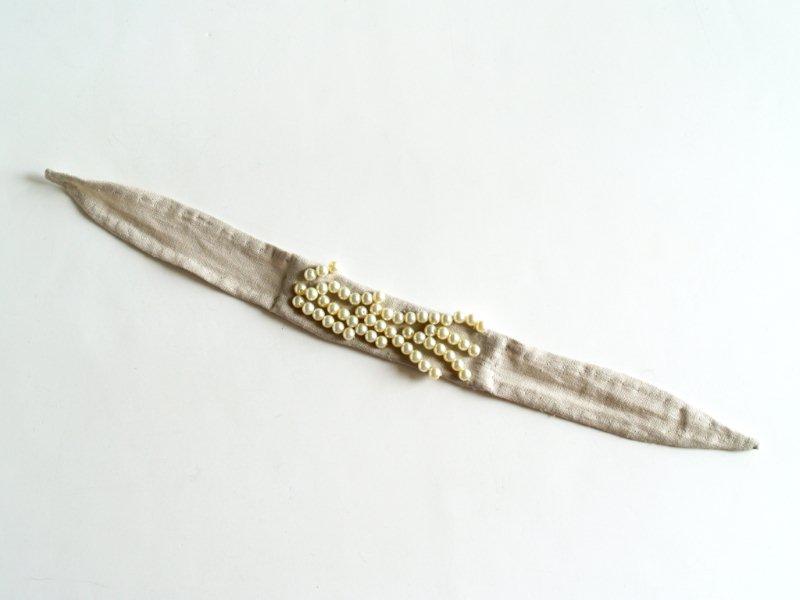
Continue to fill up the center section with rows of pearls.

Working on the back side of the bracelet, turn the raw edges over in 2 tiny folds and hand sew down to create a hem.

Continue working your way around the bracelet until both sides are hemmed.
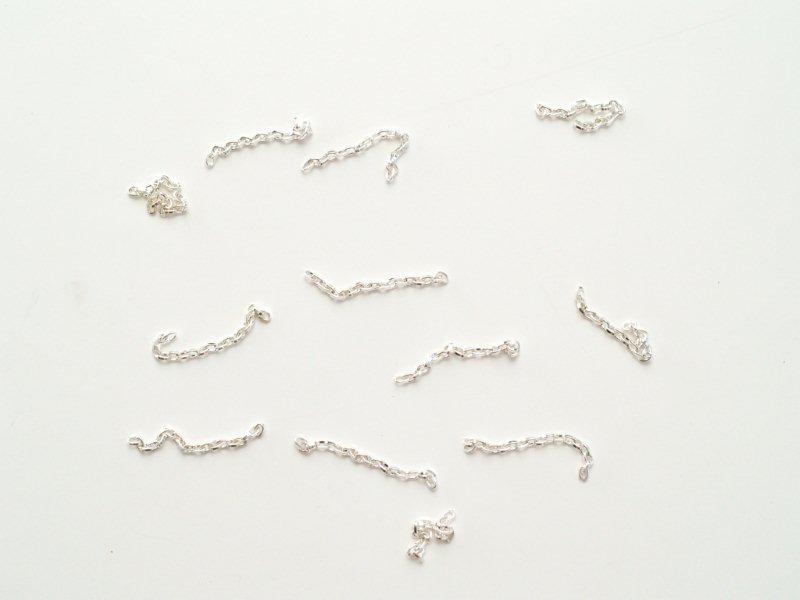
Now we’re going to work on the chain. Cut the short pieces for the sides next. You’ll need 24 – 2″ pieces.
Lay out a longer piece of chain (at least 20″) to begin sewing down the long side of the bracelet. Start sewing the chain to the bracelet 2″ from the end of the chain.

As you sew this long piece down, you’re going to add in the short pieces. There are 6 short pieces of chain on each end of the bracelet, on both sides.
Hopefully that made sense. ;)
Sew these on well because they will have the most stress placed on them when you tie the bracelet.
Evenly space out these shorter pieces and sew them on as you go, working your way down the side of the bracelet.
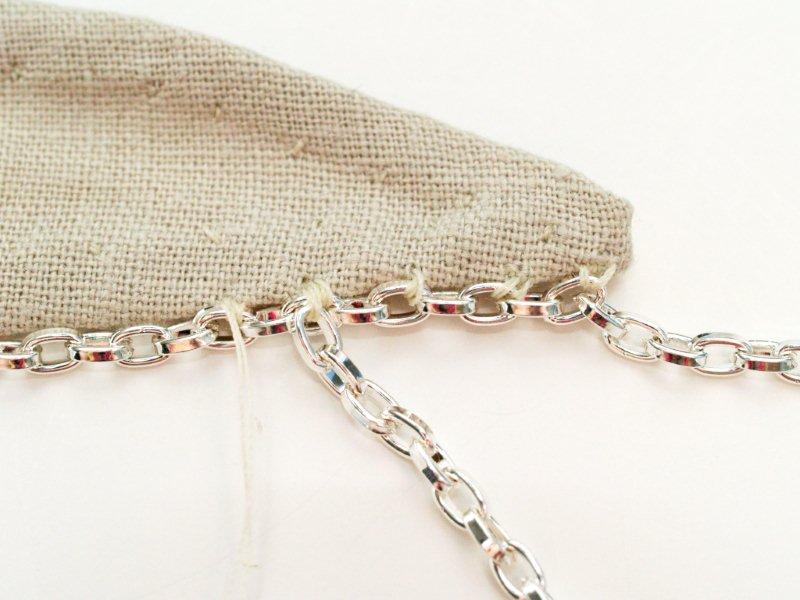
When you get to the other end of the bracelet, cut the chain so there is a 2″ piece that extends past the end of the fabric.
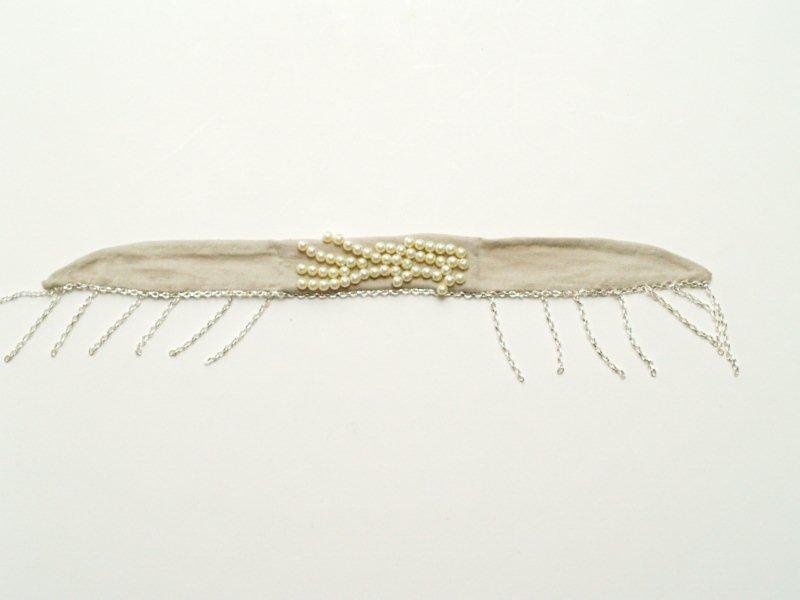
Repeat for the other side of the bracelet.
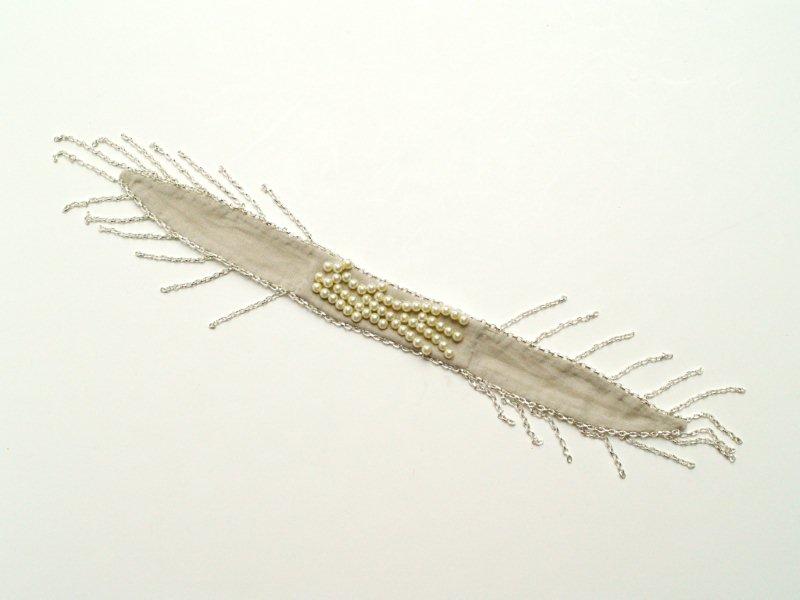
And that finishes off your super cute new knockoff!!
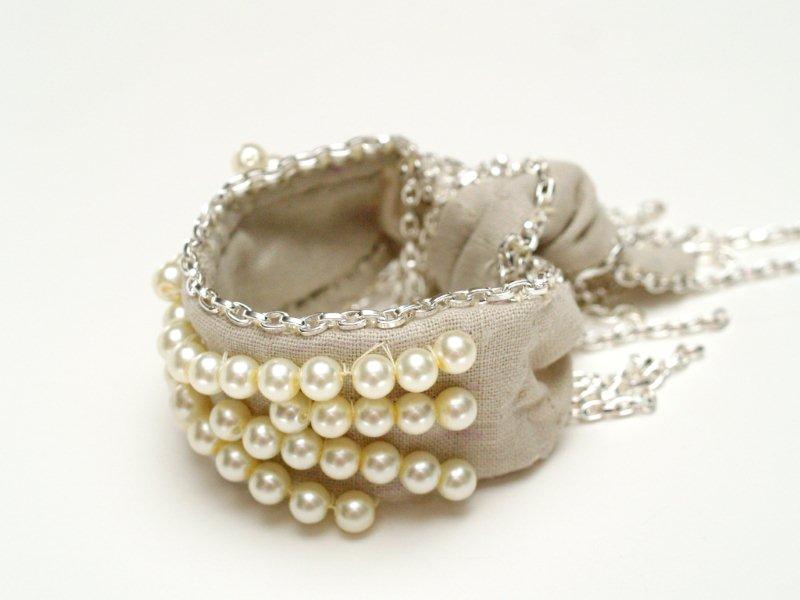

To wear, just knot the ends loosely!
(I have found after wearing this for a whole day, 1) That I absolutely LOVE it, and 2) it really helps to have someone else knot it onto your wrist. Because there are chains in the knot, it comes undone easily if it is tied on too loosely.)
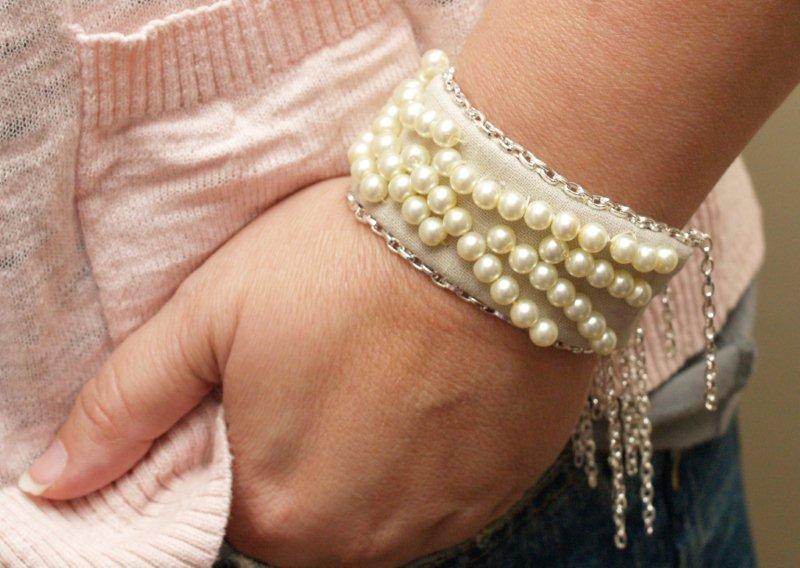
Isn’t it fun? I really like how it turned out. I hope you do too. :)
And who knows? There may be a stacked animal candle holder in our future. It’s awfully hard to resist. :)
(This tutorial was originally shared over at Sew Homegrown – minus a couple updates and my candleholder ramblings.)
I’m linking to Sunday Scoop, Today’s Creative Blog, Met Monday, Skip to my Lou, Tutorials & Tips Tuesday, Quilt Story, and the other fabulous parties on the sidebar – make sure you check them out!


Wowww!!! Your bracelet came out soooo beautifully. Thanks so much for sharing this tutorial and hopefully I find some time to create my own.
Great Job, I Love it!!
Nancy
As always, I love this! You know someone will buy that gosh awful candle holder!
Beautiful!! Your daughter must have the greatest collection of fun things in her jewelry box!
I’m thinking a tropical romp taper holder is in order. Oh yes, stacked flamingos! :)
The bracelet is absolutely gorgeous. So romantic!
That candle holder reminds of the Brementown Musicians. Great children’s story. :)
Wonderfully knocked off – in fact, yours is prettier than theirs (as usual). So impressed with your tute, great pics and steps.
Candleholder tute for us soon, please!
Super, duper cute! Love it!
LOVELY! Now I HAVE to get the stuff to make this!!! Thx for the inspiration!!!
Just lovely! I don’t think I can make this, but I am sure going to try.
Thanks
Vanessa
GREAT knock off!
turned out so cute! and so unique too – love it! :)
Great bracelet, Bev! I just visited an Anthropologie store for the first time last week and thought of you while I was checking out the jewelry.
Great job and will have to make one for myself. So pretty!!!!!
I LOVE your bracelet! Just as lovely, if not more, than the original. You’re very patient to do all that beading!
I’m having a giveaway on my blog. If you’re interested, you’re welcome to stop by. Shannonsews.blogspot.com
Wow! Awesome bracelet tutorial! I’d love for you to link up at my Tuesday Tutorials Link Party! :)
http://www.thekurtzcorner.com/2011/08/tuesday-tutorials-link-party-no2.html
I love it! So creative. : )
Looks great! So stylish!
I can’t tell the difference between their bracelet and yours – wonderful! What a lovely item. Thank you for sharing!
Betsey at b.bar
http://www.bybbar.blogspot.com
Beautiful, as usual, Bev…I don’t know how you do it…
Love, love, love!! Great job!
That bracelet is so pretty.
Oh wow, this is so pretty. I can’t believe you made it & not bought it! I want to try it out. You could dress up any outfit with it!
By the way, I am hosting my very FIRST link party and I would love to have you link this to it–
http://southernlovely.blogspot.com/2011/08/show-share-1.html
That bracelet is gorgeous! Thanks for the tutorial!
The candle holder is the oddest thing I’ve seen for a while…makes me want to try and make one too!
oh my goodness girl!
it takes my breath away!
love it!
thanks
the miller’s
prezidential life
This is sooo pretty! Thank for linking to my party!
Never thought of sewing chains on fabric, but they look totally awesome! And I can’t wait to see you actually having ‘Rustic Romp Taper Holder’ tutorial :) Please Bev, I know you can do it!!!
I love this! It is very cute – but all your knock-off are!!
Ooooohhh, I love this! I so want one. I’m always jealous of people who can see what they like & recreate it like that – very impressive.
Hey I’m Kassandra! I featured this here at my blog. I hope you’ll come by and grab a button!
Hey I’m Kassandra! I featured this here at my blog. I hope you’ll come by and grab a button! The first one was the wrong link, sorry!
Love it and I wear bracelets every day please make me one
xoxoxo
I actually like your version better than anthro’s! It’s beautiful and you did a great job! I found you over at My Repurposed Life.
Pretty, pretty, pretty. Love the linens with the pearls. You know someone got a good laugh when they named that thing rustic romp.
I featured your lovely post on my friday finds post today!
http://sweetcsdesigns.com/archives/1504
Lurv! I so need to make one of those!
Great job…can’t tell the difference between Anthro’s and yours..LOVE it
I think I actually like yours a lot better! Great job.
Beautiful!
your looks exactly the same if not better! thank u for sharing
Bev, love the bracelet, and would love to see the Flamingo Toes rendering of that multi-species dogpile!
This is Gorgeous! I want to make something similar for my wedding. Thanks for the inspiration!
LOVE this bracelet and thanks for the tutorial. I will definitely be trying this out soon.
This bracelet looks gorgeous being worn!!! (I have to say just looking at it doesn’t do it for me though) I’m so glad you took a picture of it on. Super Job!
“catching” you this week!
gail
Love this!! more than the original, actually! i might have to try this. thanks for the idea!! amy
Awesome!!
Oh this has become one of my new favorite sites….love so much.
Wow, I am impressed! I loved it so much I had to make one. I finished it tonight but haven’t been able to try it on as I’m home alone. (My dogs don’t tie very well.)
Your directions are fantastic, but I have to say I cheated. Hand sewing is not my strong suit so I used an old white pillow case and cut out one of the large pieces from your pattern. I then sewed it by machine, right sides together leaving about a 3″ opening to turn it. I then whip stitched the opening and sewed on the chain.
So far I’m thrilled with the results. Thank you so much for making this tutorial. I love the bracelet and would not have attempted it without your help. I am thinking of making one for my niece.
Sorry but I am new at these blogs and don’t know how to post a picture.
Thanks again,
Terry
Thanks for sharing. I love that bracelet!
Girlfriends Are Like Shoes
Your tutorial was great. I gave it to my daughter and she loved it. I went to the thrift store and bought a lightweight linen blouse and cut it from that (it was half price day too). It turned out so cute!! Thank you.
Totally love it, thanks for sharing the tutorial.
I linked it in a serie I’m writing for my blog (http://rock-n-roll-stops-the-traffic.blogspot.it/2012/04/diy-from-head-to-toe-6-spring-edition.html#more), hope you don’t mind!
Love love love your ideas!!! I am a closet crafter. I do hair for a living. I write about what life behind the chair is like for fun. Would you be willing to link us together for hair accessories? If you are let me know. I can do a post on some cute hair bands I have done. Your readers might like to settle down with a cup of coffee while they hand sew some beads and read hair and people stories out of the eye they aren’t using…. Hairdressers and crafters can multi task like no other… LMK,
The redhead
love this….sooo beautiful!!
http://www.daybydaycreation.blogspot.com
Marvelous work..thanks so much for the Tutorial:)