Today we’re making the Set Ashore Necklace.
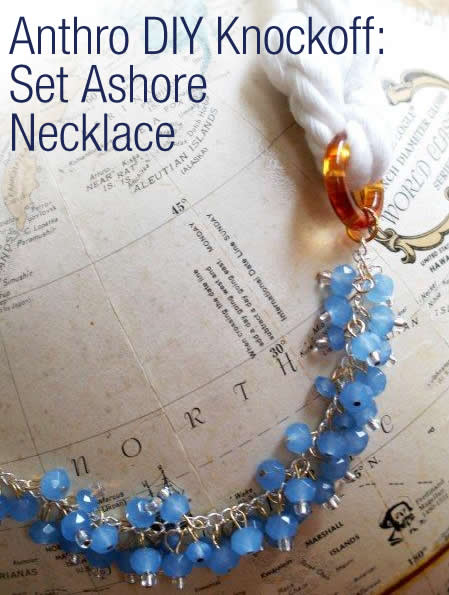
The beauty of this design is that it is sooo adaptable. You can change out each element to your preference or supply availability!
So fun and so many possibilities.
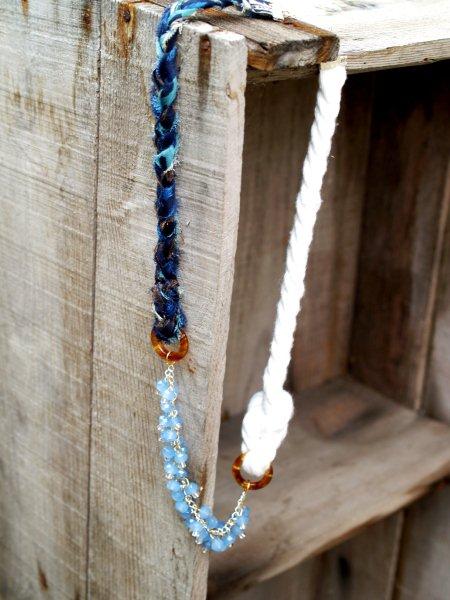
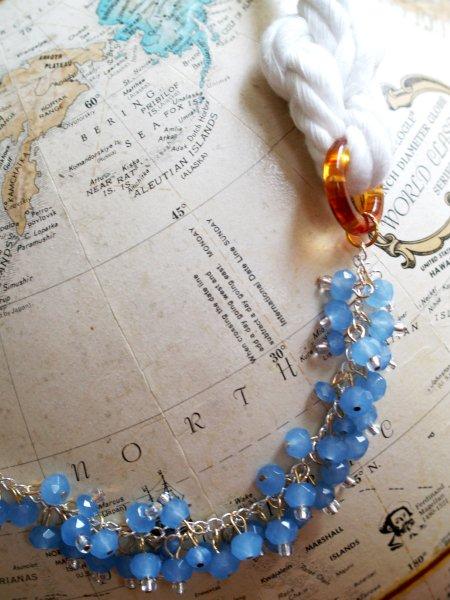
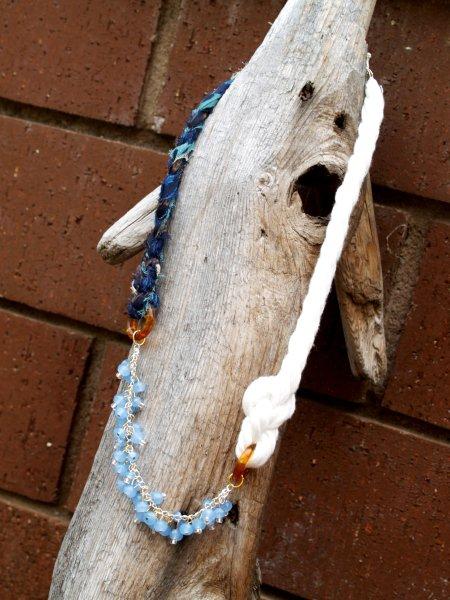
Here’s Mine:
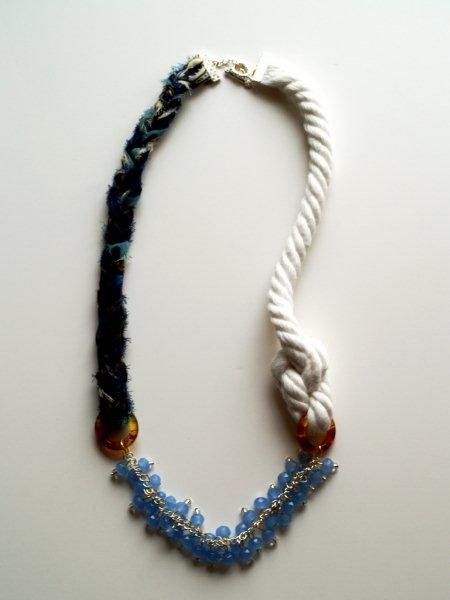
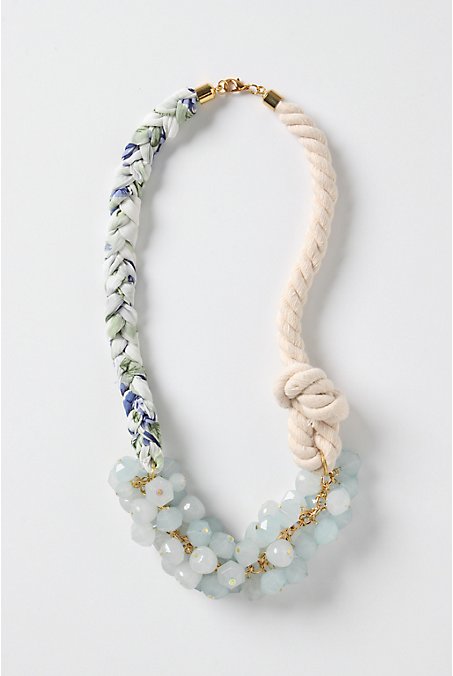
And here’s the inspiration:
Tough to get a background that shows up the blue and the white well.
I used scarf fabric from the Paisley Rebirth Necklace and added some funky rings. I also used an assortment of gold and silver findings to mix it up a little.
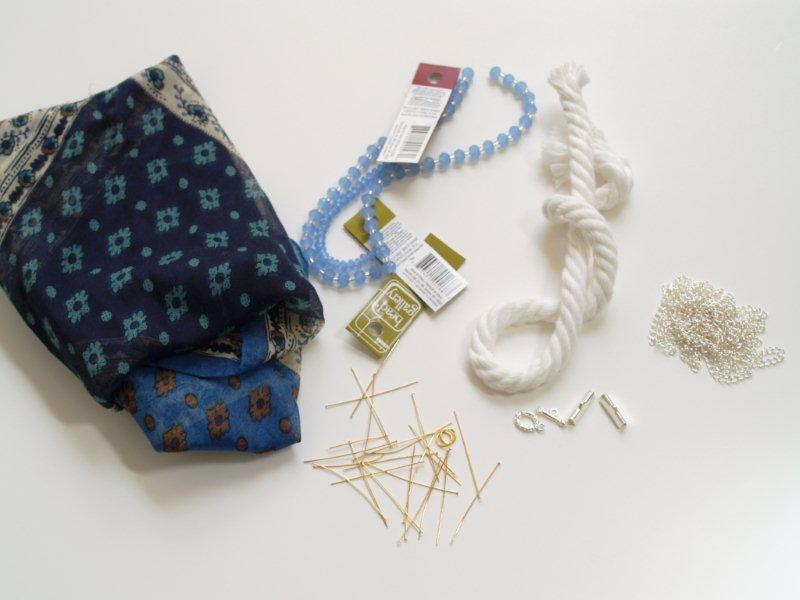
Here’s what you’ll need for the Set Ashore Necklace!
Materials:
-
Wire Cutters
-
Needle Nose Pliers
-
Round Nose Pliers
Supplies:
-
Cotton Cording – Around12″
-
Fabric for braiding – I used 3 pieces 36″ long (folded in half) x 1 1/2″ wide
-
Chain – 8″ (Cut into a 7 /2″ piece and a 1/2″ inch piece)
-
Beads (Assortment – I used most of 3 bead strands)
-
Headpins – (enough for one per bead)
-
Large Rings – 2
-
Jump Rings – 5
-
Toggle Closure
-
Ribbon Clamps or Large Cording ends
-
Super Glue
-
Needle & Thread
Let’s get started!
Cut your fabric strips. I doubled mine -as I noted in the supply list. If you fabric is a cotton or heavier weight, you wouldn’t need to do this.
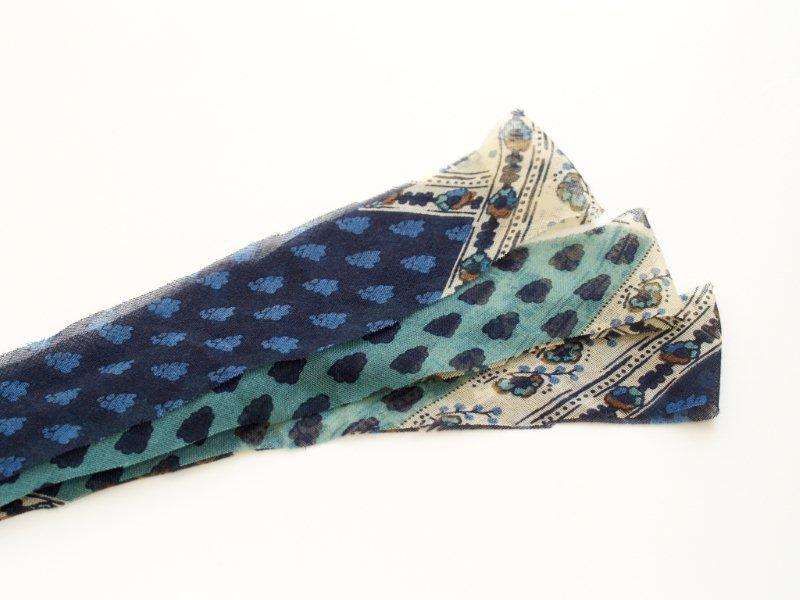
Sew the three strips together at the fold with a few small stitches.
I love the raw edges of the braid – but if you don’t like that, you can fold the ends under, or sew tubes of fabric for your strips.
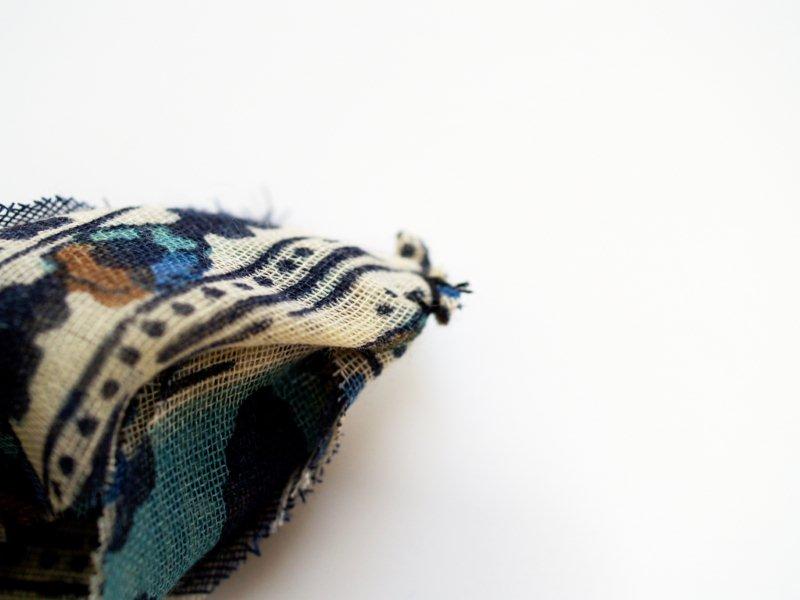
Braid the strips together loosely until you have about 11″ of braid.
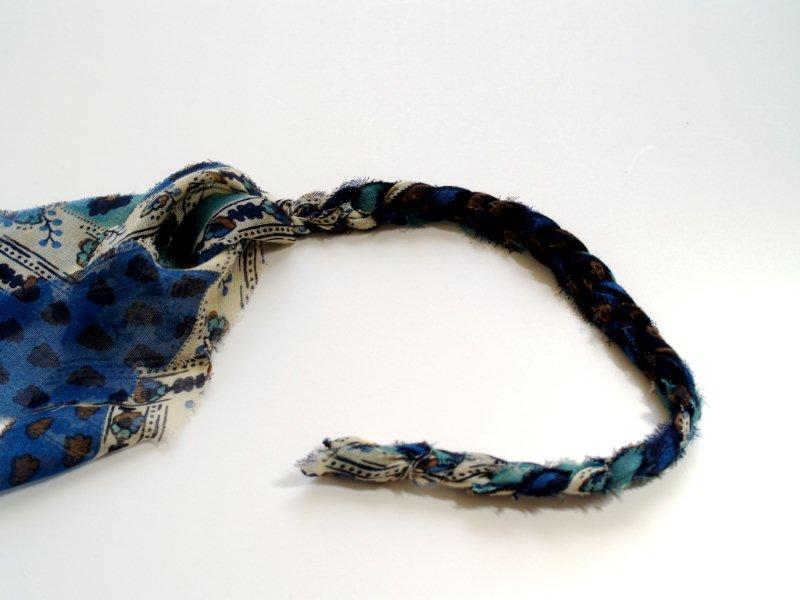
At the top of the braid, where your stitches are, put the ribbon clamp. If you need to, open it a little wider with your pliers.
Make sure all the top ends are inside the clamp and with the needle nose pliers, clamp the teeth around the braid.
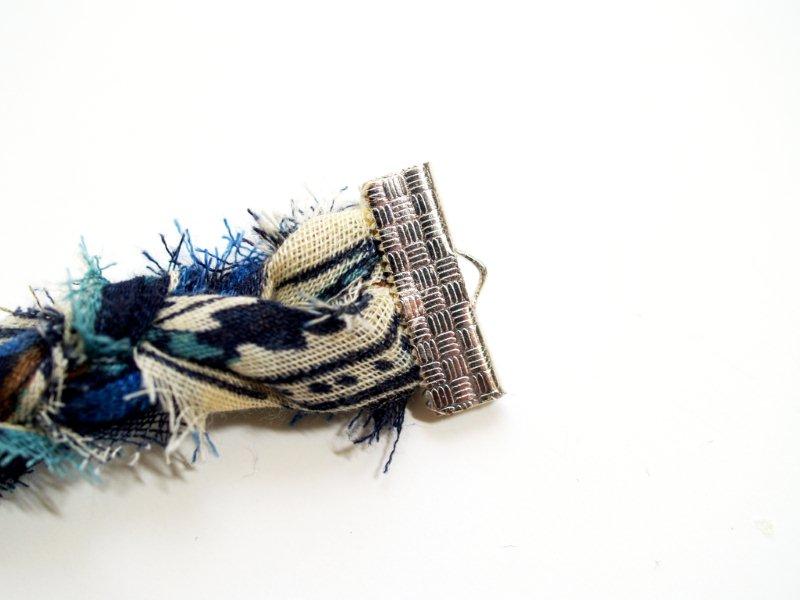
Trim off the ends that aren’t braided and feed the braid through the large bead ring. Turn the end under and sew the braid to itself.
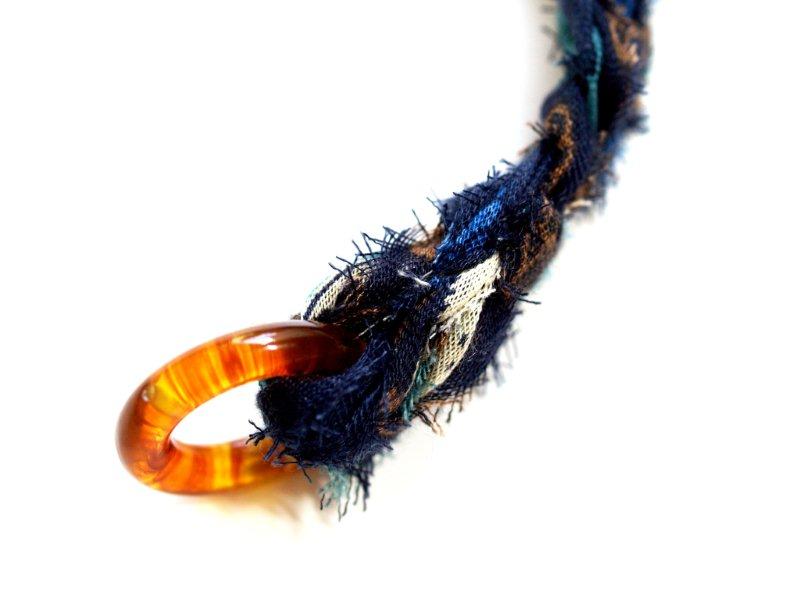
Set this part aside for now. For the cording, burn the cotton at one end, just a bit.
Put the burnt end in a ribbon clamp like you did for the braid and clamp it closed.
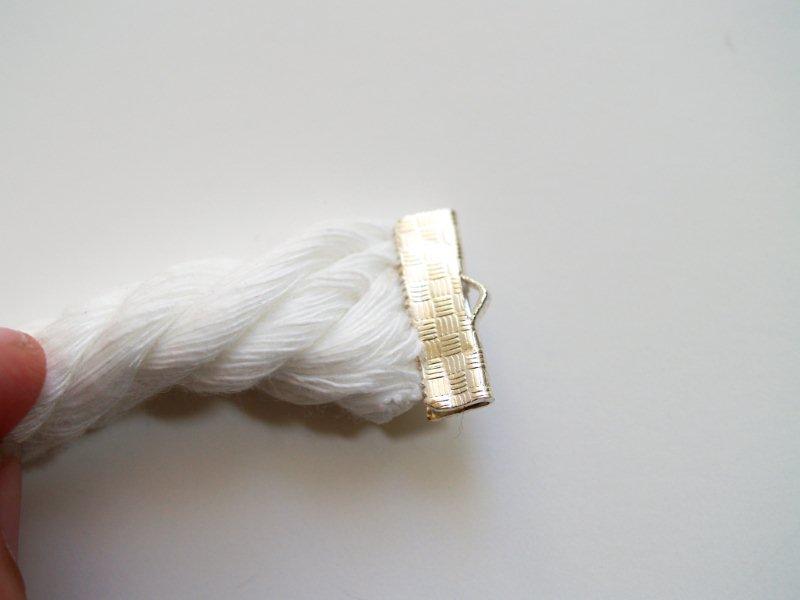
Feed the other end of the cording through a large bead ring, then knot the cording to itself. Measure the length of this side against the braid and make sure they’re the same.
Trim the cord close to the knot. Burn the ends of this just a bit.
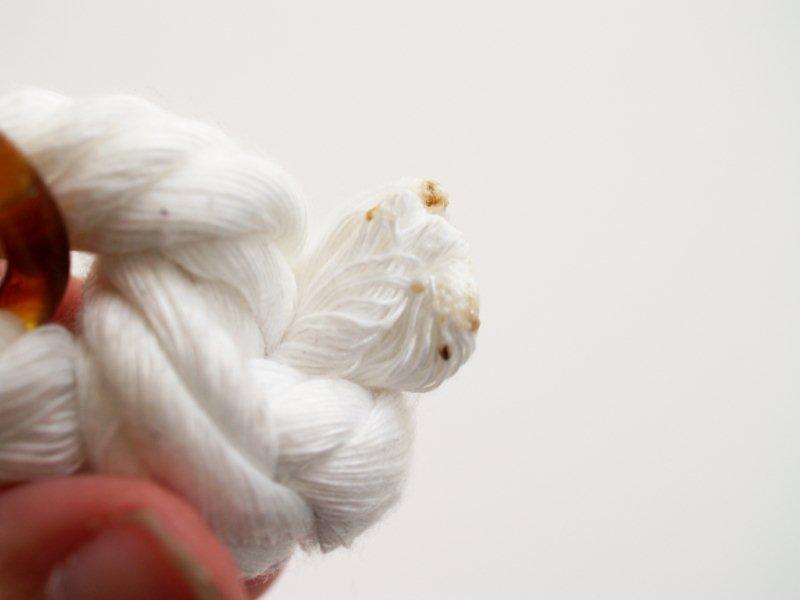
Add a bit of super glue to the end of the knot to help it lay flat against the knot.
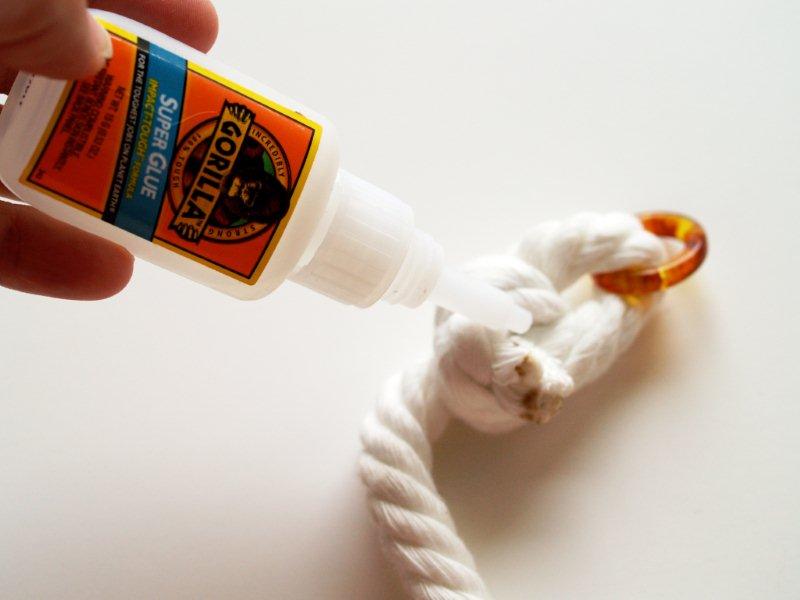
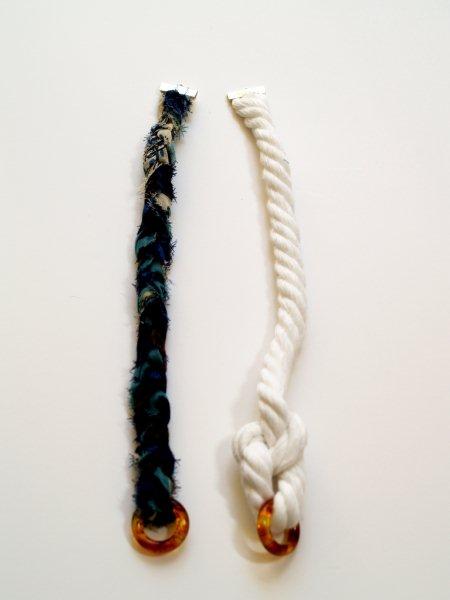
Great! The two strands of the necklace are finished.
Start making your bead/head pin loops for the chain portion. Those of you that have been visiting often (Bless You) can recite this with me.
Place the bead on the head pin. (A piece of cut wire with a flat end to hold the bead on)
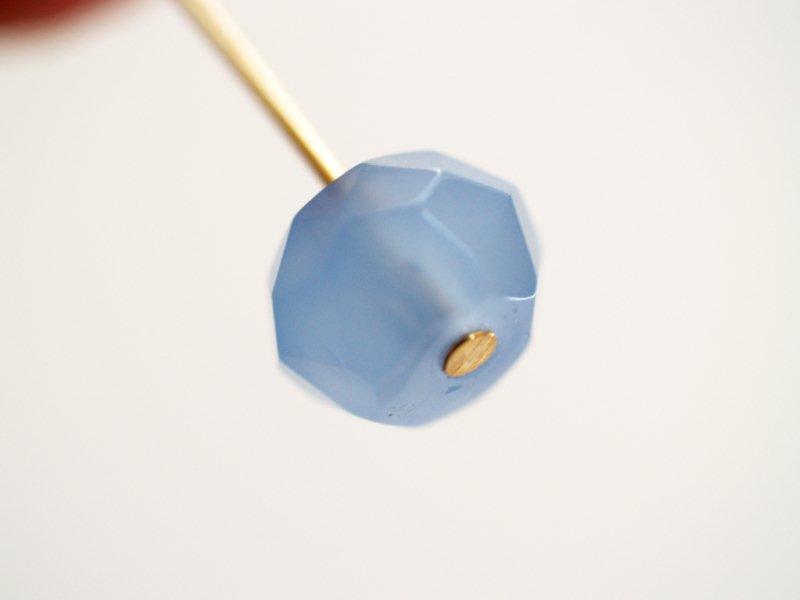
If your beads slip off the head pin, add a small spacer bead at the bottom. In this one bead strand, I had some that fit and some that didn’t. So I just mixed it up a bit and used both.
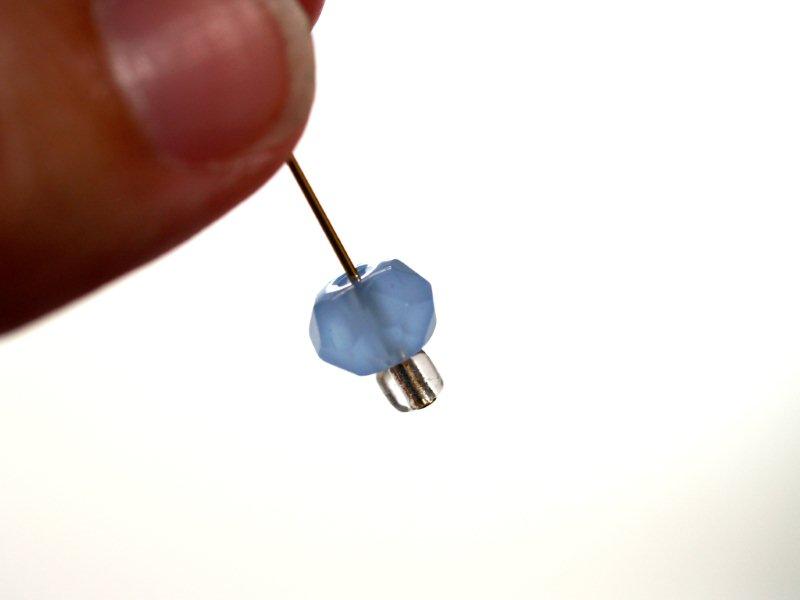
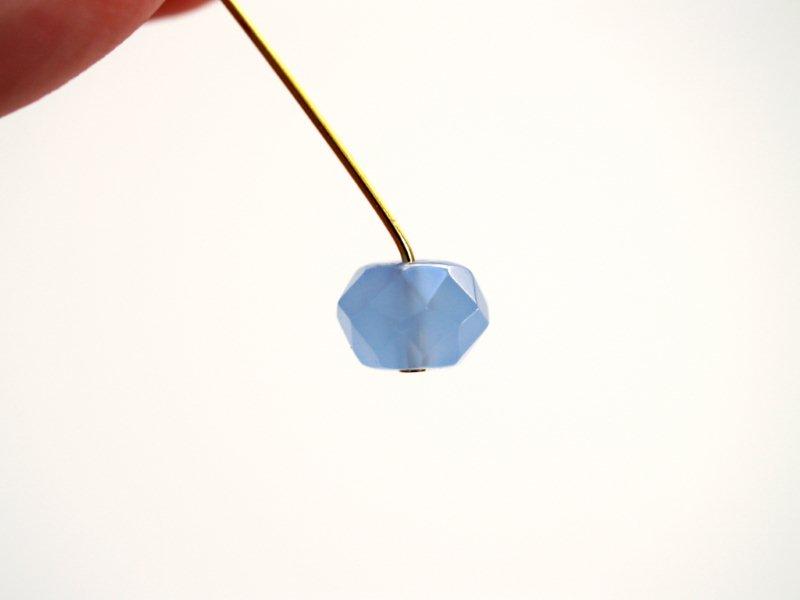
Bend the wire at a slight angle.
Wrap the wire around one side of your round nose pliers.
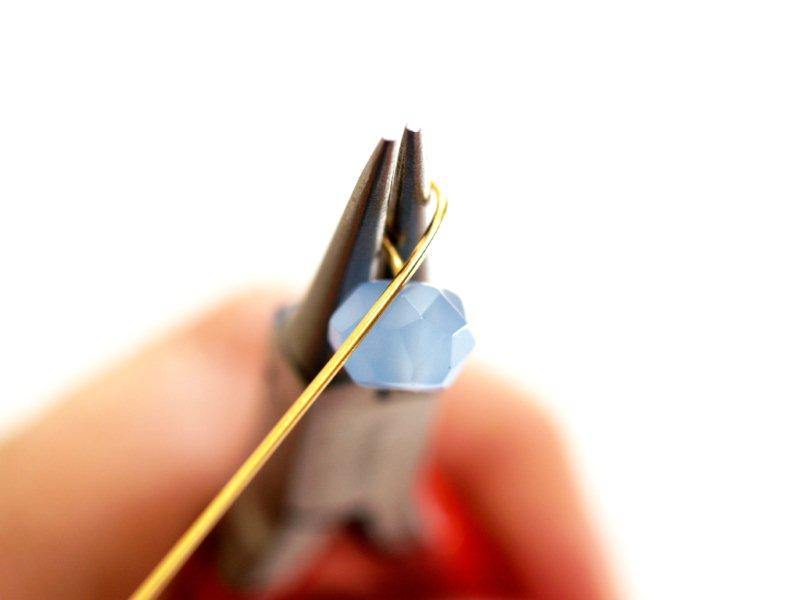
Trim off the wire where they overlap. Everybody: “Point the wire cutters away from you”.
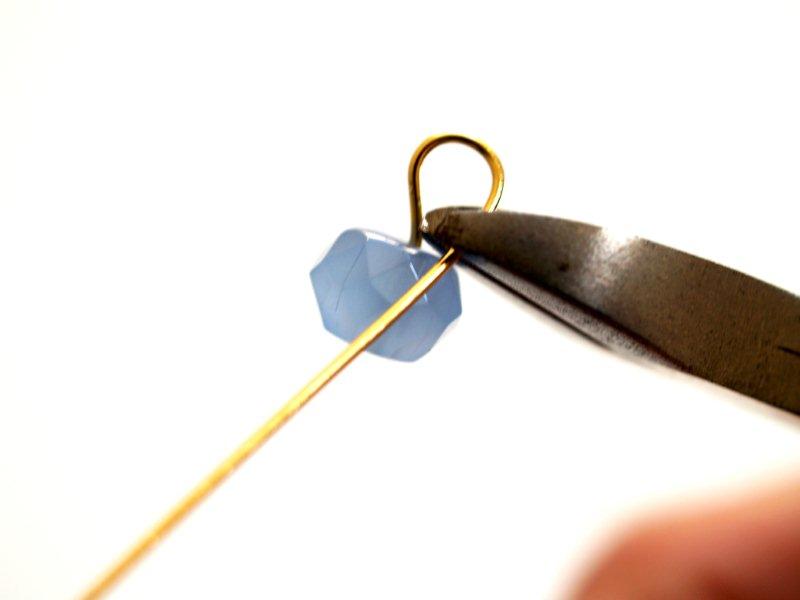
At this point you can close up the loop the rest of the way, and make all your beads at once.
Or you can just add it straight to the 7 1/2″ chain, then close the loop.
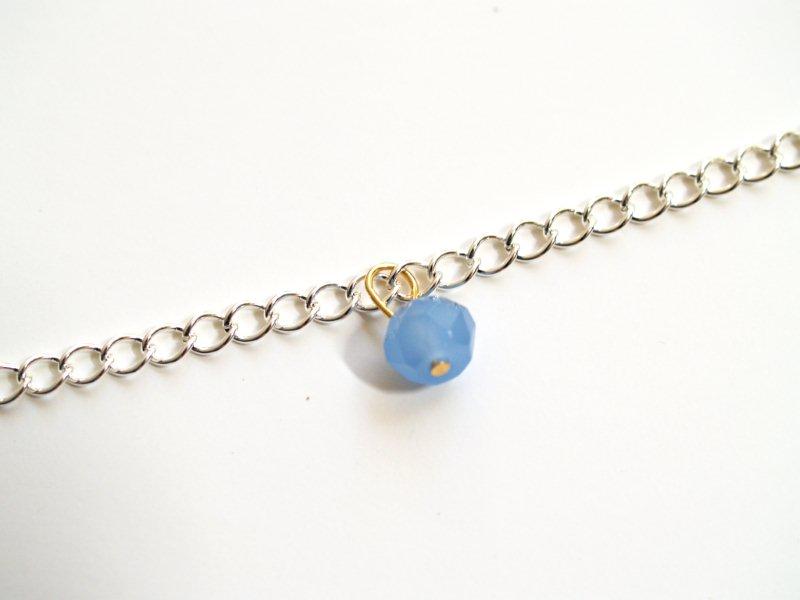
Continue adding beads to the chain. Make sure every link but one on each end has a bead. (You might want to choose a chain with open holes – it will make this step easier.)
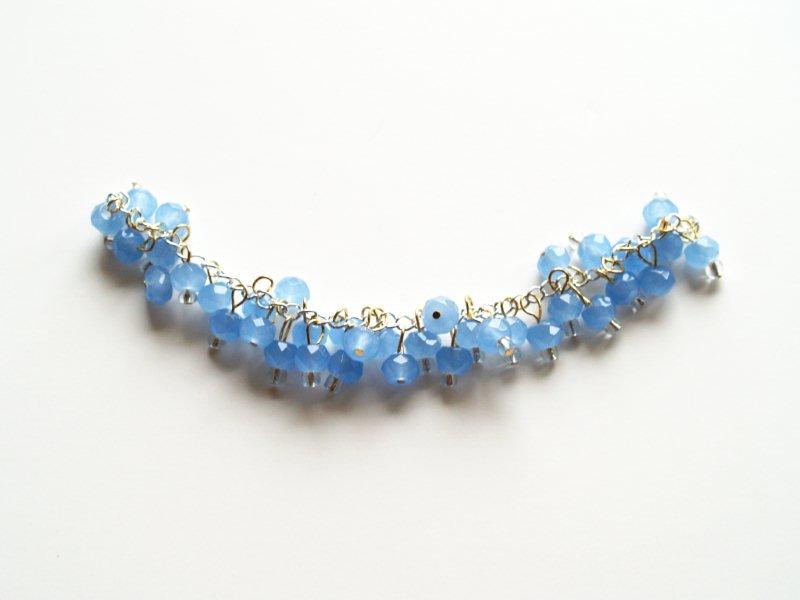
Once every link has a bead, go back through and add a few more, until your chain looks full. You can mix it up and use different sized beads too.
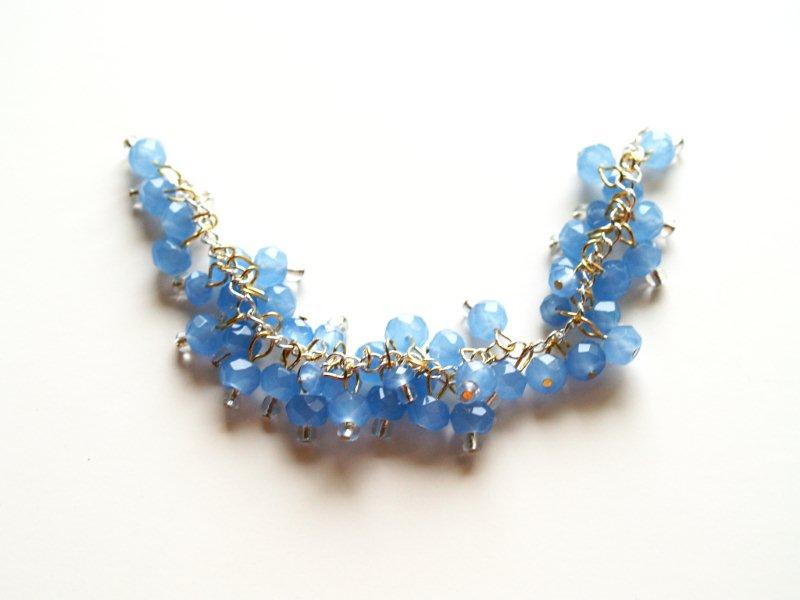
Whew. You should be a bead and head pin expert now!!
Add a large jump ring to one end of the chain and add the large bead ring attached to the cotton cording to that. Close up the ring.
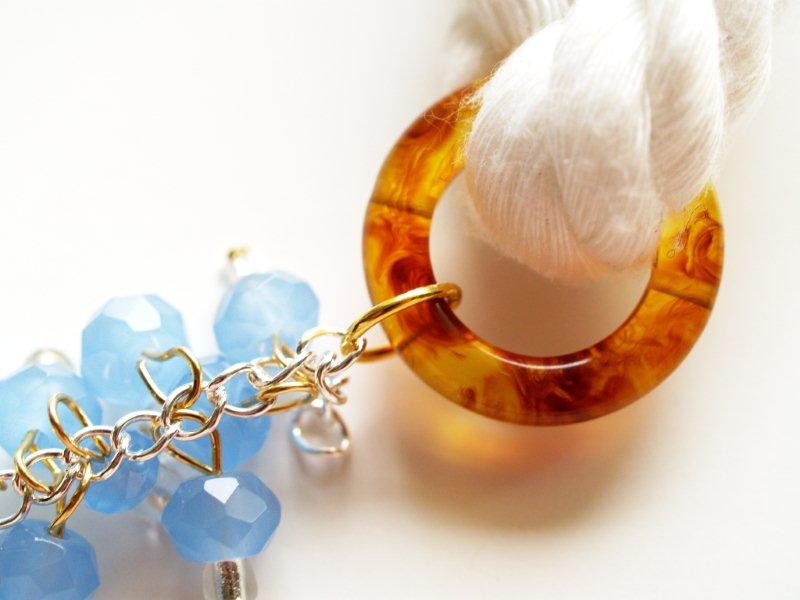
Repeat with the other end of the chain and the ring on the braid.
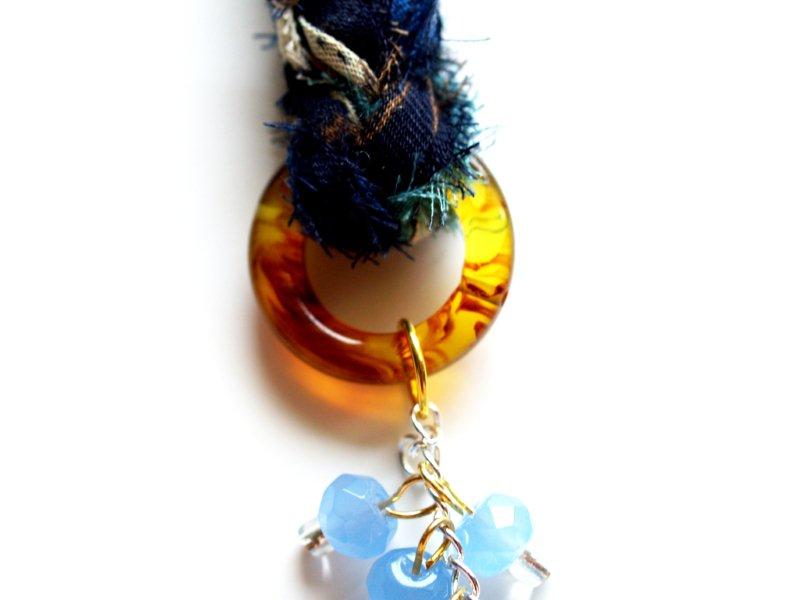
Attach a small jump ring to the ribbon clamp on the cording and add the open end of the toggle clasp to it. Close up the ring.
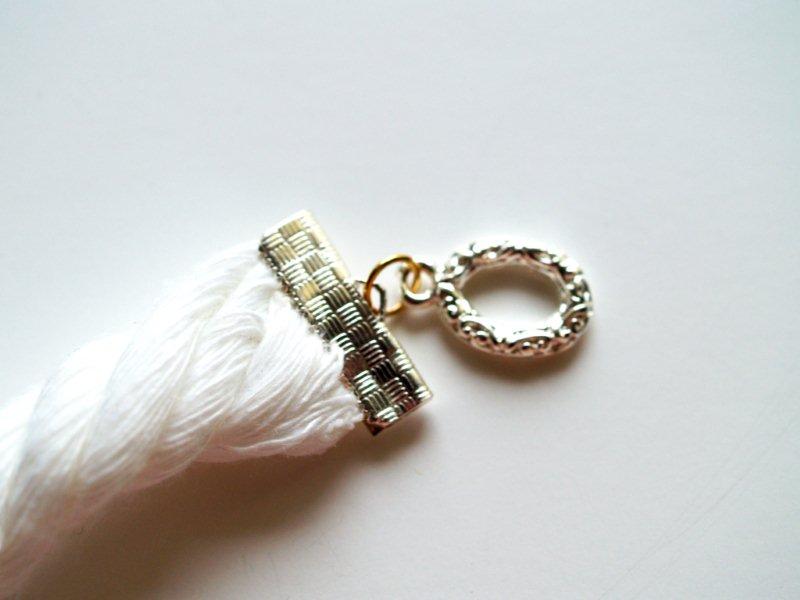
Add a small jump ring to the ribbon clasp on the braid, then add your 1/2″ piece of chain. Close the ring.
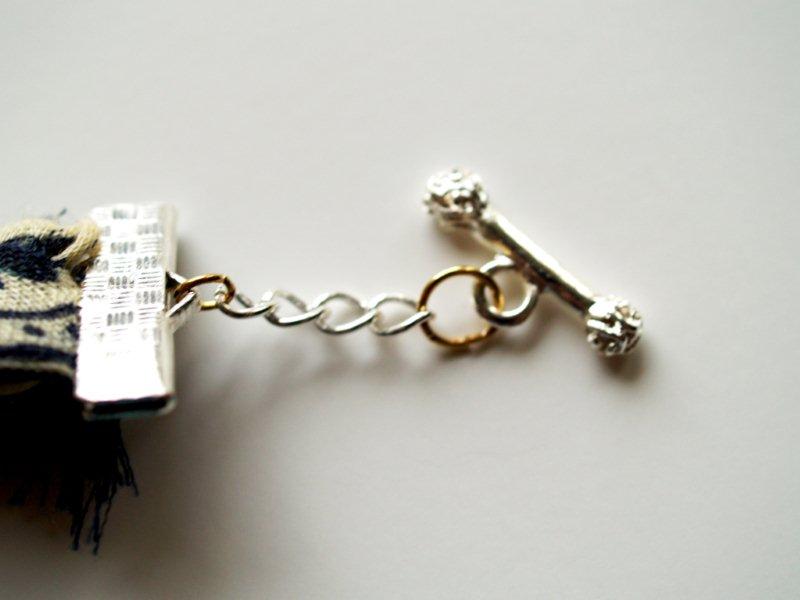
At the other end of the chain add another small jump ring and add to that the bar of the toggle clasp. Close the ring.
(This chain helps the toggle bar fit through the toggle ring. If it’s not there – you can’t get it through because of the ribbon clamp. Trust me.)
And we’re all finished!

So fun and unique.
What do you think??



That’s SO funny…I just made my own version of that necklace yesterday. =)
I love yours too, though – I didn’t have any rope on mine, and that’s the feature I like best. ^^
Looking good, girl. :)
I love jewelry, you are making this it hard to choose which necklace I want to try first (if I don’t win one first) I love the use of the three different materials.
Once again, amazing! I love the pictures too. Especially the one with the necklace on the globe. Very neat!
I love it I can’t decide wich necklace you’ve done that I like best they are all so pretty!
Another awesome creation!
OH MY GOSH! this might be my favorite. seriously, i am SO impressed. i’m a little nervous about how long this one must have taken…but it’s worth it! LOVE IT!
Holy Gorgeous!!! I am SO impressed! I have been saying for months “i wish i knew how to make jewelry” and with your tutes, I think i will finally be able to :) Thanks for the inspiration!
Lovin your blog!
Kara
Permission to come aboard ma’am?
Wowwie! This one “ashore” is a beauty! :D
Hey there sweetie! I just can’t get over how amazing this is!! I loooove it! and I need one ha! You’re so crafty and it’s just a beauty! Thank you oh so much for linking your creation up at Frou Frou Decor! Have a wonderful holiday weekend!!
Hugs,
~Terrell @ FFD~
So impressed. You should do it again and again. I love theme weeks! Stephanie Lynn’s ornaments were amazing a few weeks ago. Another great job my mom will love this one! :)
I’m just amazed at how easy you make all these necklaces are to make.
This one is so striking! I love the braiding. And I’m really loving this jingly bead trend. Cute!
I love this feature…very neat!
Very pretty! The colors are so peaceful!
I have no idea how to make jewelry, but I think I could make this necklace after reading your tutorial :-) You did a great job replicating the inspiration necklace :-)
Kelly
I love it! antro has the best necklace ideas and your version is super cute and fun!
I’m visiting from It’s So Very Cheri. I love your choice of beads. Such a pretty color!
This is so pretty, I love the blue and have I told you yet, that you style great photos! I love it on the crate and globe, it could be from a magazine! Not sure if you linked up to A Crafty Soiree, yet but I’d love for you to add this!
very pretty! It’s amazing how well you replicate these necklaces! You do co good! Thanks for linking up to Topsy Turvy Tuesday’s!
This design is stunning! I am a crafter myself and I would love to feature your design at
http://www.handmade-jewelry-club.com/
Hope this is okay with you?
Thanks!
diylessonsassistant
http://diylessons.org/
????????????
awesome tutorial!!
i actually prefer your version over the original.
Very good tutorial! and nice result!
I really like your tutorial, but I have one suggestion. When working with scarves that you’ve cut, be sure to take a lighter to the egdes before crafting. This will stop the material from fraying.