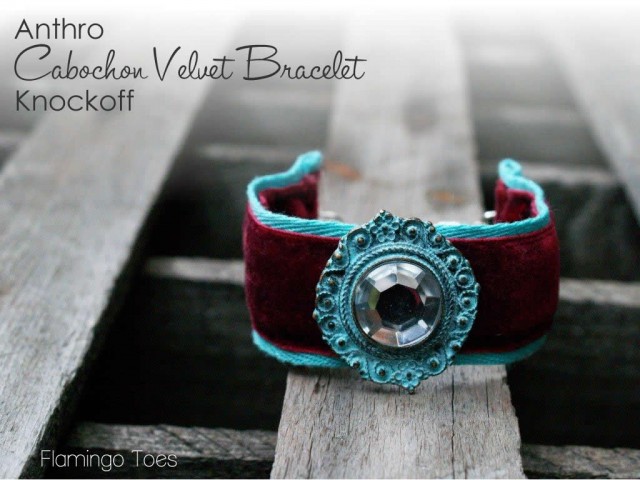
Oh my goodness do I have a quick and easy knockoff for you today!
We’re talking about an hour from start to finish to have a super cute little bracelet!
This would be so cute to wear to holiday parties or to give as gifts this year – and they’re so fast that you could make up a few and have a bunch of gifts made in no time at all!
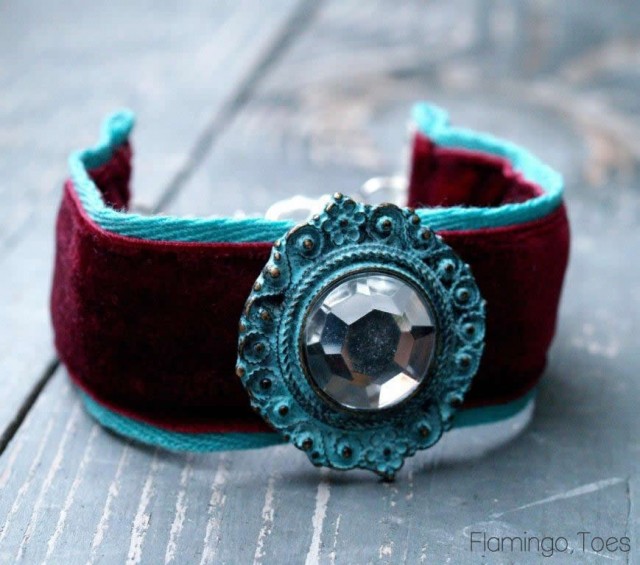
Here’s the Anthro version. Mine’s a little different – I wanted the twill tape to peek out and add a bit of color!
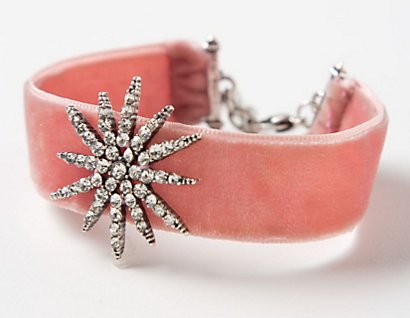
Ready for a speedy little tutorial?
Here’s what you’ll need:
- 13″ Velvet Ribbon
- 12″ twill tape – If your twill tape is the same width or smaller width than the velvet ribbon. If it’s wider, then you only need 6″.
- Cabochon bead or other focal bead or button
- 2 Ribbon Clamps
- Lobster Clasp
- Small length of chain – about 2″
- 2 Jump Rings
- bead and head pin
Cut a 7″ piece of ribbon and a 6″ piece of ribbon. Cut two 6″ pieces of twill tape.
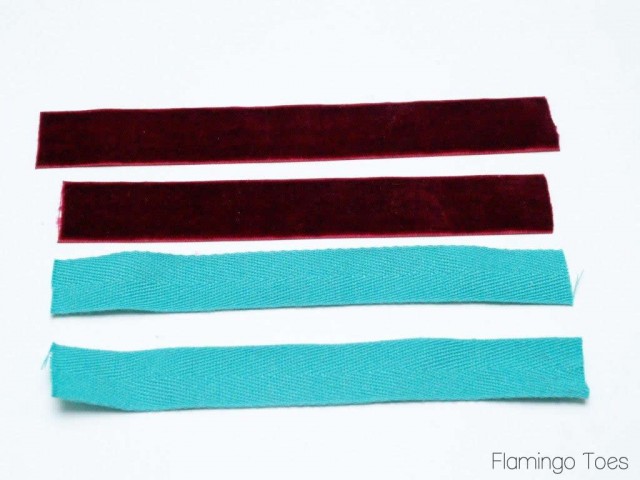
Line up the small piece of velvet with one of the pieces of twill tape. Center it on the longer velvet piece. Move the piece of twill tape up so it is above the velvet ribbons about 1/8″. Sew the three pieces together, just inside of the edges of the ribbons.
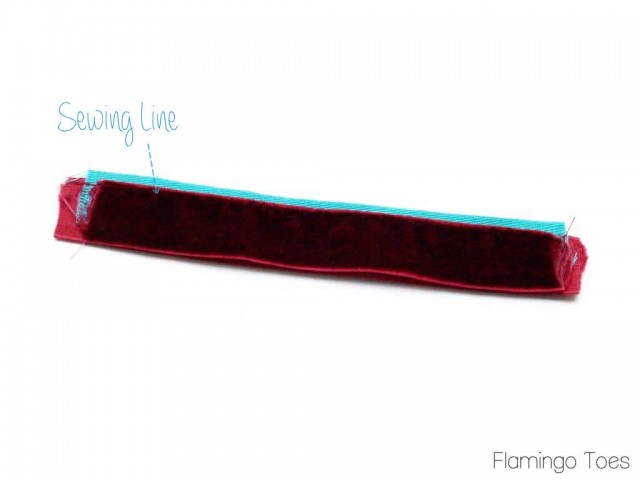
Tuck the other piece of twill tape inside the two velvet pieces so it is outside the ribbons 1/8″ on the other long side. Sew the pieces together just inside the ribbons on this side.
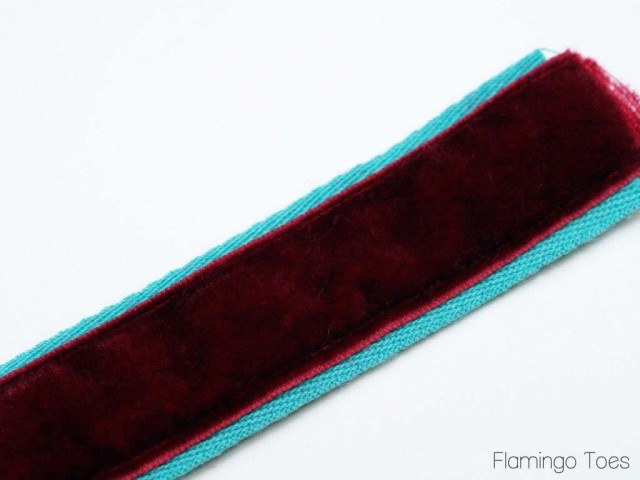
Fold the ends of the longer piece of velvet to the back side, tucking the raw end in. Fold the two twill tape corners in a tiny bit as well. Hand sew the folds down.
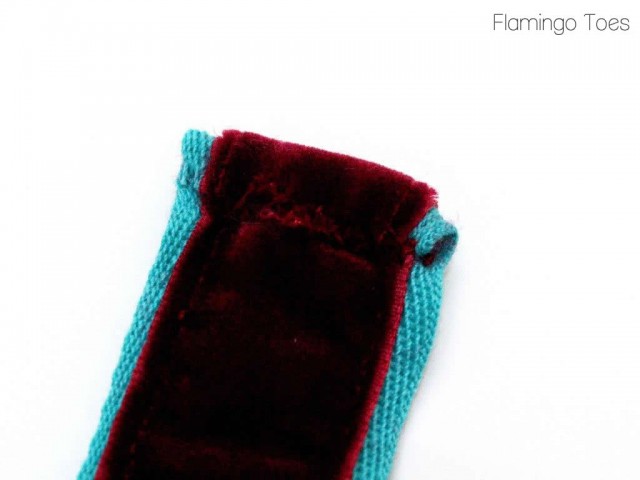
You might need to pull your ribbon clamps open a little wider than normal. Use a flat-nosed and a round-nosed pliers to do this.
Add a bit of E-6000 to the inside of the ribbon clamp.
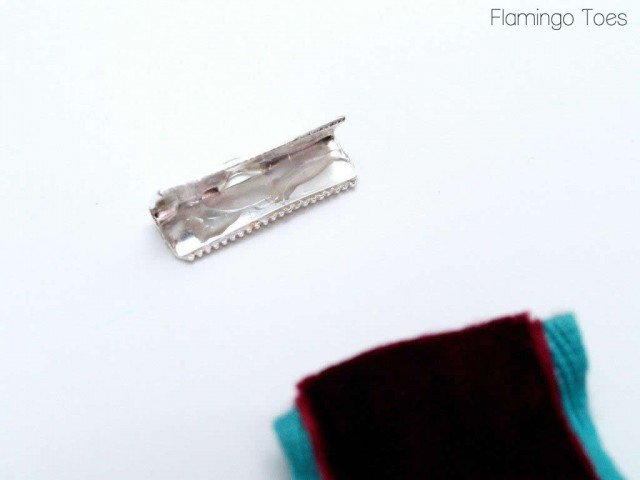
Tuck the end of the ribbon all the way into the clamp and crimp the clamp closed with your flat nosed pliers.
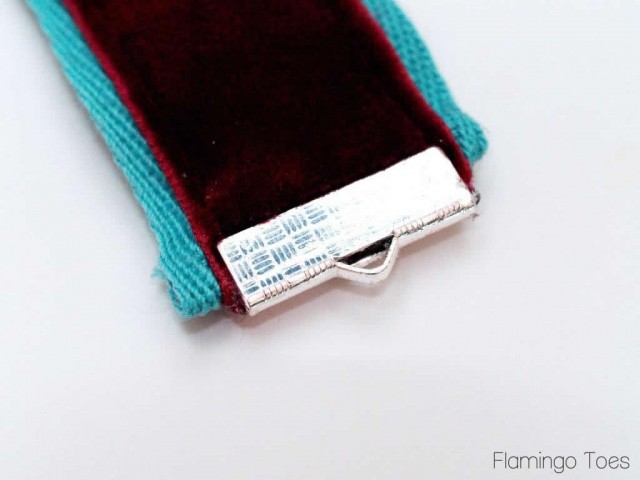
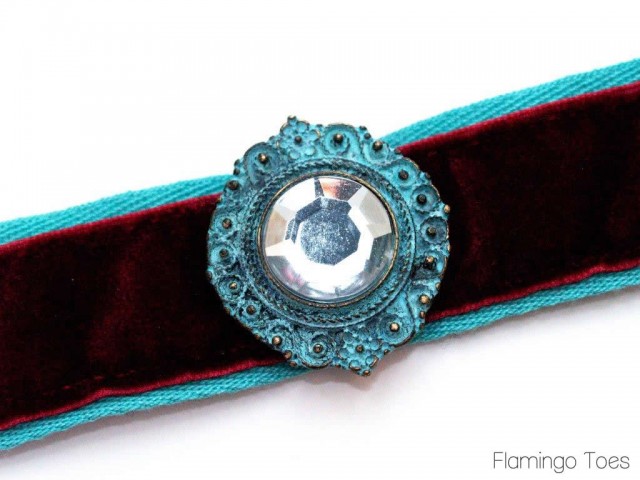
Hand sew your cabochon or focal bead to the center of the outside ribbon.
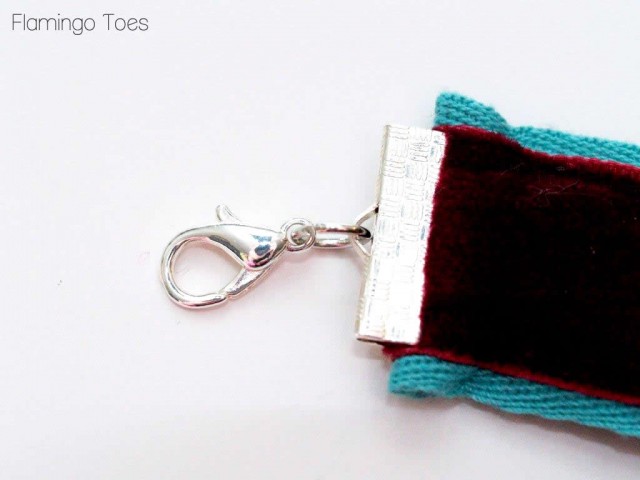
Add a lobster clasp to a jump ring and add the jump ring to one of the ribbon clamp loops.
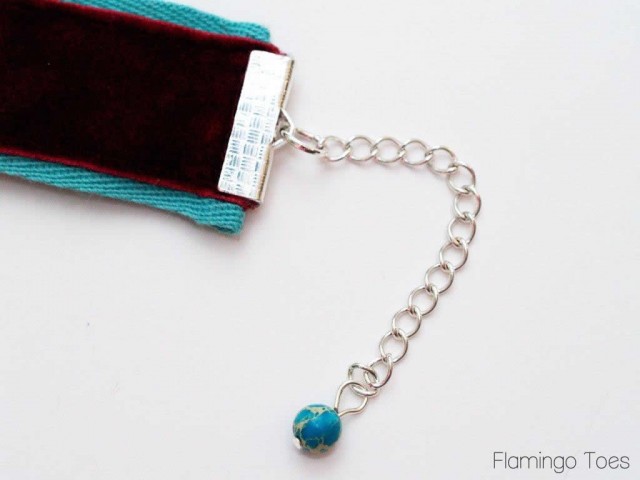
Cut a small length of chain, about 2″, and add it to a jump ring, then add the jump ring to the other ribbon clamp loop.
Add a bead to a head pin and finish of the end of the chain with the bead. If you need help with that, check out the How To Do That Jewelry Page.
And bam! You have a super cute new little bracelet!
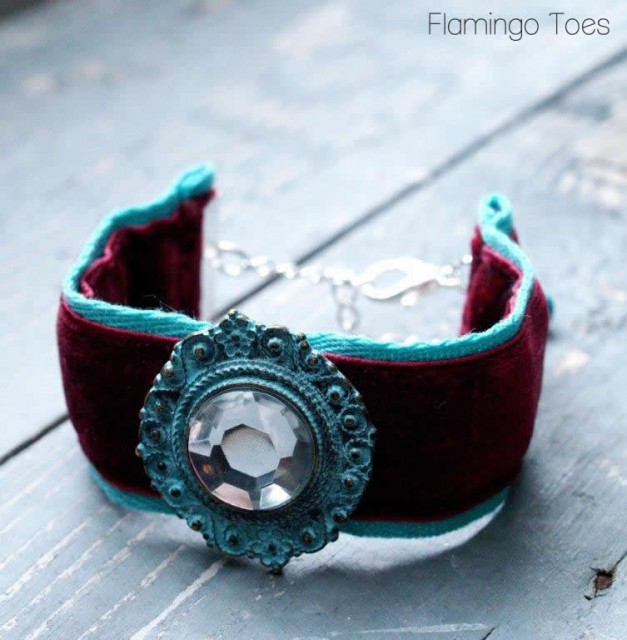
This would look cute on its own – or layered with other bracelets!
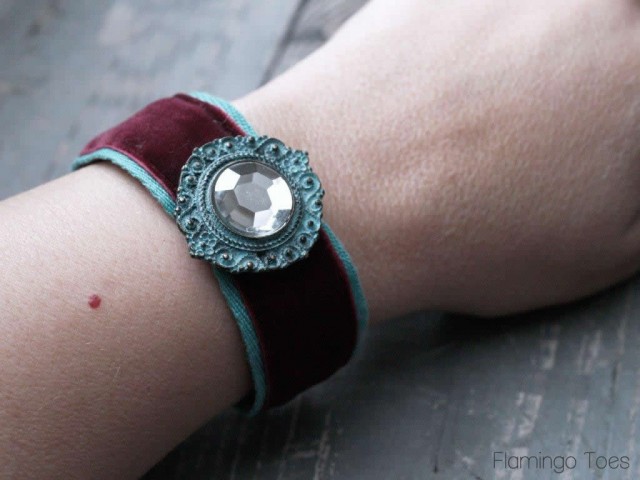
What do you think? Would someone on your Christmas list love this one?
Linking up at Sunday Scoop, Today’s Creative Blog, Met Monday, Tutorials & Tips Tuesday, Quilt Story, Shabby Creek Cottage, My Repurposed Life, 504 Main, Positively Splendid, and the other fabulous parties on the party page – make sure you check them out!


Are you kidding?? That’s so easy and so cute!
This is so cute. Even I can make this! Did I miss the announcement of all the winners? I’ve been looking but can’t find it!
Cute, Bev! I love your contrasting colors. And that focal bead is to die for!! Love it for all its simplicity! :)
Oh Bev, this is super cute!!! And yes, I have perfect ribbons for this project – can’t wait to make some (at least one for myself, and a few more for my lucky friends!). Thanks for the tutorial :)
Bev – That bracelet is so cute. It looks easy enough. Think I’ll give it a try.
Thanks for sharing.
Judy
that is gorgeous! beautiful job, bev!
Terrific! Perfect timing to do for gifts or parties–or just to feel glamorous while shopping or doing errands–Thank you for the tutorial and the idea!
Beautiful as always!!!
This is so beautiful! It looks old fashioned, Victorian style. Love it!
That bracelet is gorgeous Bev! thanks for sharing.
Oh, I love this! Would totally wear it. Great tutorial. :)
Gorgeous as always, Bev!
That came out Fabulous!!!
Think I just found a new piece to add to my jewelry making plans