
Ok – we’re in the countdown to Mother’s Day here!
And in this house – Mother’s Day is a little tough – it falls in a two-week period that includes my and my daughter’s birthday. Poor Mr. F.T.
So I decided to help him out this year a little and make myself something for Mother’s Day.
Isn’t that nice of me?
I’m really only thinking of Mr. F.T.
I’ve been wanting a pretty centerpiece for my dining table – and I knew that I wanted it to be versatile and easy to change out the displays.
I also wanted it to be rustic and subtle and pretty – and I love how it turned out!

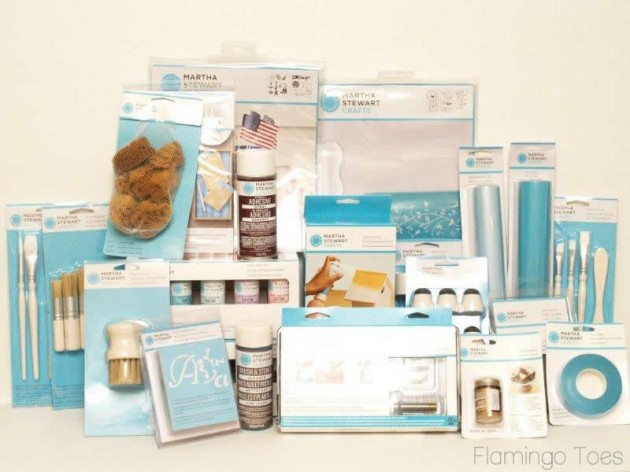
I was super fortunate and I received a box of goodies from Martha Stewart Crafts – and wow. I was blown away by all the supplies and I knew they would be perfect for my Centerpiece Box!!
Crazy awesome right??
Are you ready to get started on the tutorial? This box is so fun to make!
Supplies:
Martha Stewart Paints, Stencils, Brushes and Stencil Tape
3 pieces of 1″ x 6″ pine – 25″ long
2 pieces of 1″ x 6″ pine – 5 1/2″ long
65″ of decorative molding
wood stain (I used gray)
white spray paint
4 corner brackets and 8 screws
Nails & nail gun or nails and screws to hold box together
Start your box assembly by adding the sides to the base piece (all 25″ long)
Clamps will help to hold everything in place so you can nail it together.
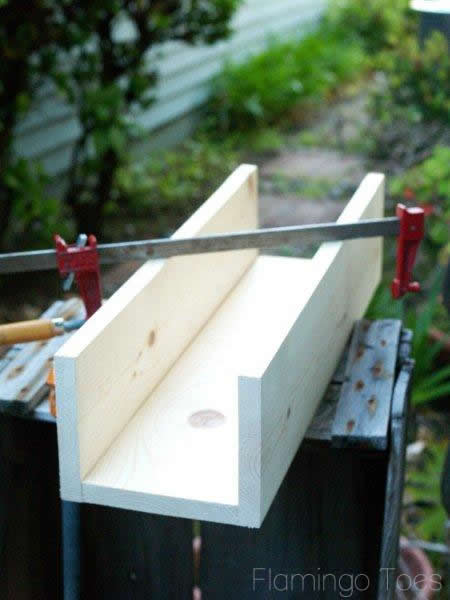
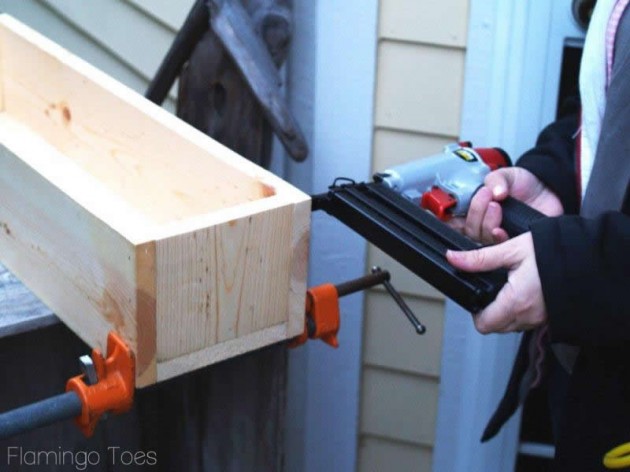
Nail your pieces together along the sides where the boards meet.
I used a nail gun (which is seriously cool by they way) but you could use regular nails or screws.
Nail in the sides of the box too. Make sure everything lines up nicely.
Cut your molding for the top of the box – you can miter the corners if you want.
(All that means is that the corners are angled instead of straight.)
I used a regular saw for this.

Nail on the molding the same way you put the box together. Little finishing nails work good for this.
Next step – stain your entire box. I used a gray wood stain. It looks a little blue here – but it’s really gray.

Cover the box in your base paint color. Mine is a white satin.
Then you can get the fun stuff out!!
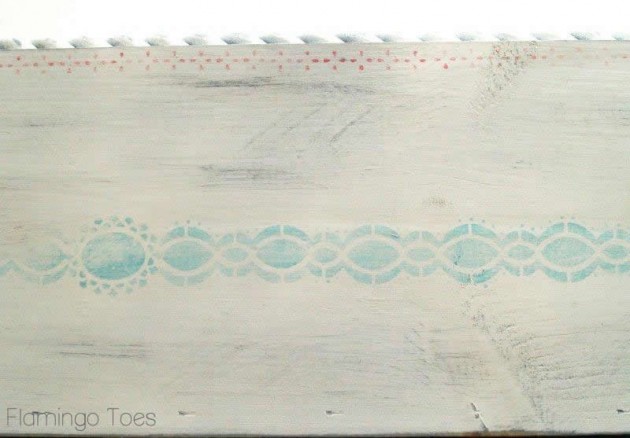
Decide on your stencil decoration. I used the Martha Stewart Fair Isle Dots Stencils for mine. It has a bunch of pretty choices in the set!
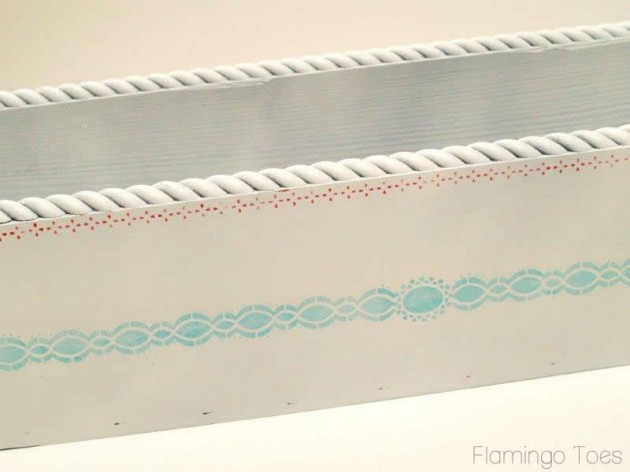
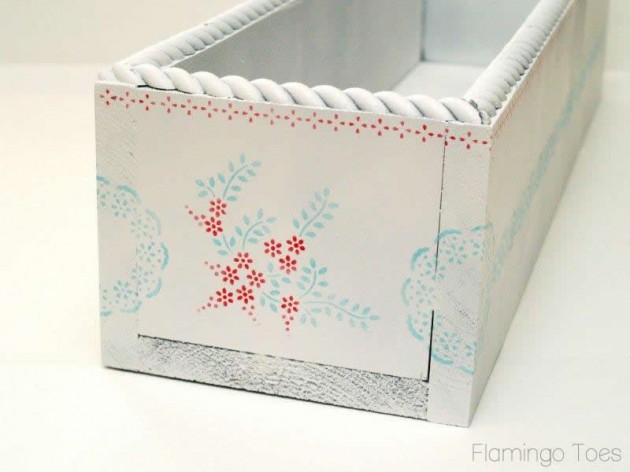
I stenciled the doily design, wrapped around the corners and then chose a stencil for the sides that looked kind of like a pretty rope – to tie in the molding along the top.
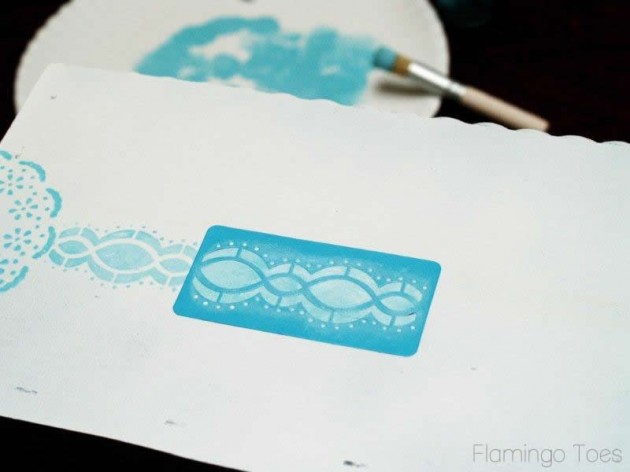
These stencils have a light adhesive on the back so they are super easy to position on your project!
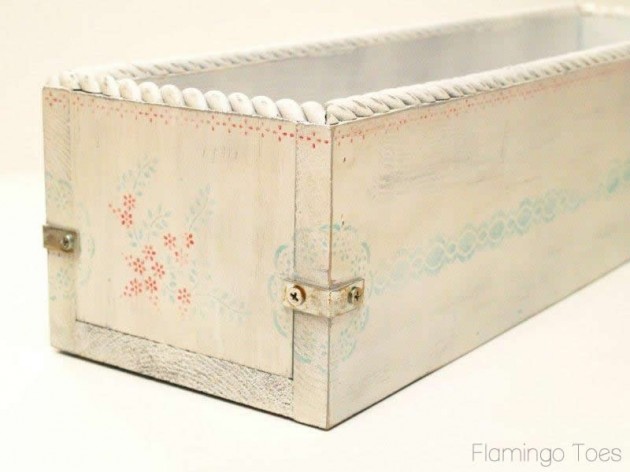
For the ends of the box, I used this fun flower and leaf stencil. I wanted the little flowers and dots to be a different color, so I started by covering them up with the Stencil Tape close to the leaves.
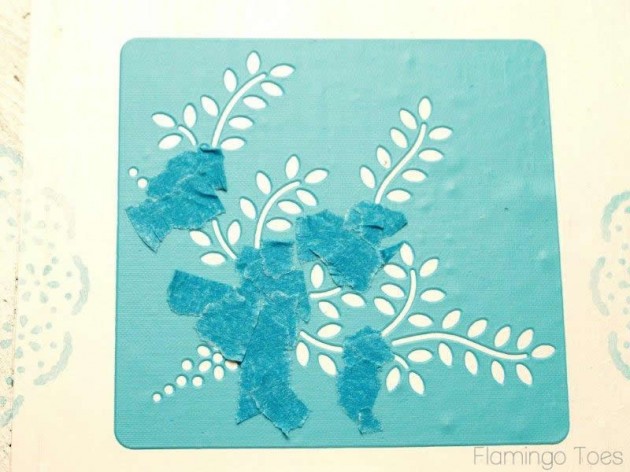
I stenciled the leaves blue, then once that was dry I covered up the areas near the little flowers so I could stencil them a different color.
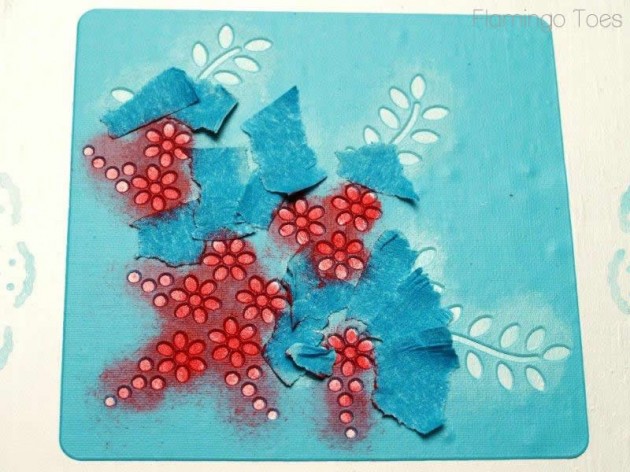
This makes it super easy to use multiple colors on one stencil!
Add a little row of stenciling along the top, just under the rope molding.
Now our box is looking pretty but we need to distress it a bit!
Sand the box all over, in some spots you’ll sand it down far enough so you will see the gray stain coming through.
You can also brush on a super light coat of watered down stain to add a little more gray to the box.
Add in your corner brackets now – I placed mine in the center of each little stenciled doily.
You can “distress” the brackets just a bit by adding some brown and gray paint to a paper towel, then dabbing it lightly on the brackets. This makes it look just a little older and not quite so shiny and new.
And that’s it!! You can now fill up your box with whatever you want!
It would be great for candles, fruit, greenery, succulents, or pretty floral displays.
That’s what I’ve got here – I placed different sized mason jars in the box and filled them with some pretty flowers!
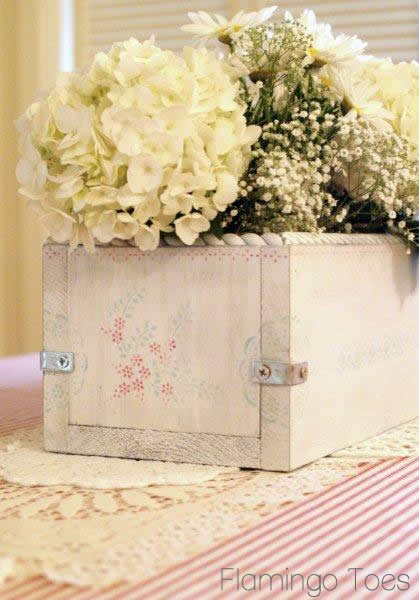
I love the subtle look of the stencil – I think it turned out great!

You can check out more great projects from Plaid and Martha Stewart projects on Facebook, Twitter and Pinterest! You can also see some other fun Martha Stewart projects on the Blueprint Social Pinterest page!
This post has been sponsored by Plaid and Blueprint Social. The opinions and ideas in this post are all my own of course!
Thanks for stopping by – I can’t wait to hear what you think!
I’m linking to Sunday Scoop, Today’s Creative Blog, Met Monday, Skip to my Lou, Tutorials & Tips Tuesday, Shabby Creek Cottage, and the other fabulous parties on the party page – make sure you check them out!


Adorable! (As usual!) I love it!
It’s so perfect!!!! I love it!!! I may just be making one myself :)
Pamela
I like it. Especially the ease to switch out ‘stuff’ for different seasons.
SO SO gorgeous Bev! Love this.. I want to make my own planterbox now!
Love the flower box and the gorgeous arrangement inside it. Nicely done Bev!
adorable :-)
Beautiful, Bev!!! Love love love the subtle stenciling!
I love it! The subtle patterns and colors is just perfect! Great job!
It’s lovely! And I really like the molding and the hardware. :) Great job!
Such a pretty project! I am so envious of all the bloggers who received a goody box from Plaid and Martha Stewart. That would a dream come true to find that in my mail : ) The molding and distressed stencilling adds so much dimension to your box.
So pretty, Bev!! I love the distressed look you gave the box, and the stenciling looks fab and vintage with it. The addition of the brackets was genius!!
I can see why Plaid sent you the box of goodies – look at what you created! I could never make this, but it is so pretty and so vintage/shabby chic that I love it! Really a beautiful job. I love the way you arranged the flowers in it, but also appreciate that you can change it out to match seasons, themes, etc. . . Very pretty and Mr. FT is lucky to have a wife willing to make her own gift – LOL!
How did we miss you at SNAP? (Maybe the 350 people had something to do with that….) Darn. We would have loved to have met you in person! Wasn’t it a fun (but tiring) weekend?
Next year. For sure.
this is lovely. you did a fantstic job. thanks for the tuttorial
Beautiful!!!
i LOVE how it turned out… great idea Bev!!! and that package of stuff… totally drooling over here.
Um, I love this! What a pretty planter! Great color combo.
Very pretty. I really like it.
Beautiful job! I’m beginning to explore the Martha Stewart crafting products myself and love how you used them here.
Love it! The colors are so pretty. :)
I simply LOVE this. Bythewayjenngray.blogspot.com
This is stunning! I love the rustic look and the stencil is the perfect touch! I’m your newest follower! Would love if you stopped by and linked up to the Pomp Party!
http://jill-createcraftlove.blogspot.com/2012/04/pomp-party-15.html
Jill @ Create.Craft.Love.
Love this! How pretty! Your goodies are just awesome!
Would love if you stopped by my party to link it up!
Stacey of Embracing Change
I really like how the stencils turned out.
what a beautiful stenciled centerpiece box and the flowers are gorgeous!
Love this project! It’s beautiful!! I would love for you to share this with my “Unveil Your Genius” link party (new party every Thursday).
http://taylornorris.blogspot.com/2012/04/unveil-your-genius-link-party-8.html
Happy Sunday!
This is really beautiful! I love the MS adhesive stencils…so easy to use.
Would you consider linking it up to my Pinworthy Projects Linky Party over at Just Us Four?
I Just love the stenciled Planter box.
Cant wait to see one assembled by my other half! (He’s real good with at that) Then I can go to work on adding Raw Silk & lace fabric, I can just see it in our bathroom. Thanks for the inspiration.
I have a fascination for collecting unusual boxes, then covering them with so many different fabric’s & lace.
Trish at Casa Claddagh