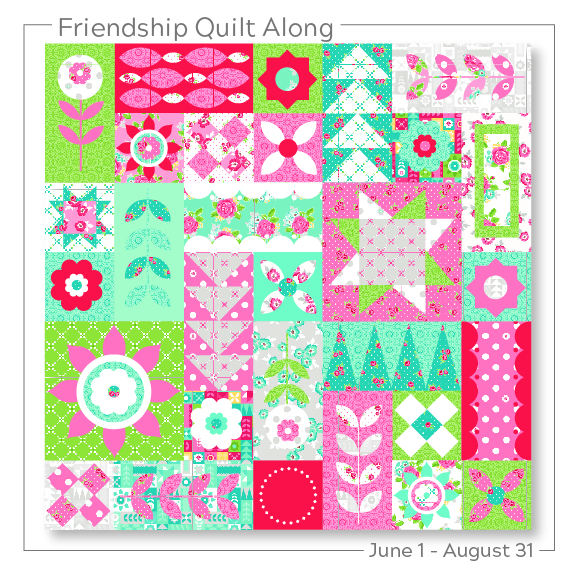
I have another fun block to share in Amanda Herring’s Friendship Quilt! This week she’s highlighting the Helpful Block and I used this sweet block as the foundation for this cute Helpful Block Mini Quilt!
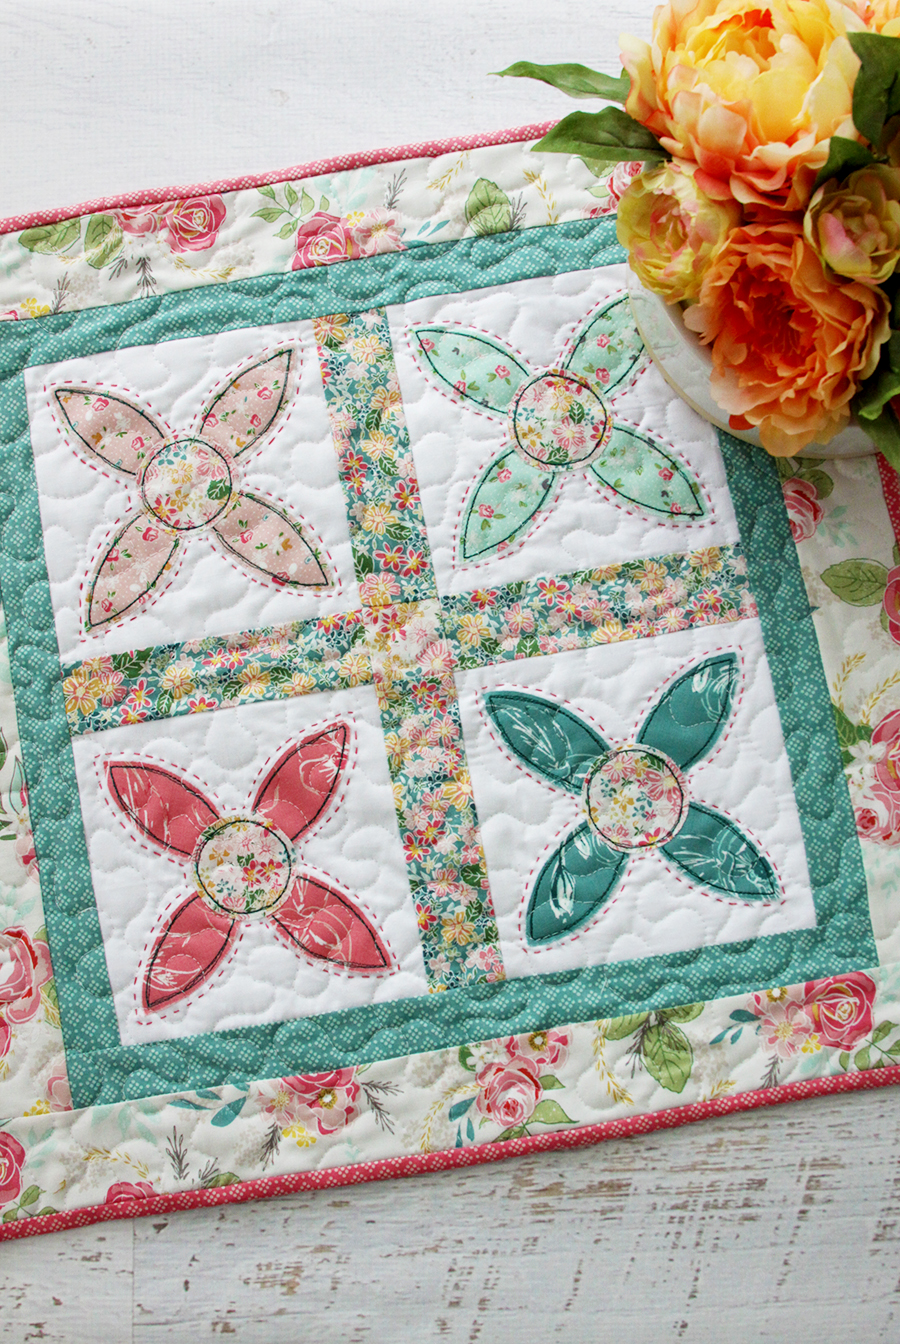
It’s so quick and easy to make and it would be a perfect “Thank you” gift for a friend that has helped you out. What better way to say thanks for someone’s help then a handmade gift?!
I sewed up this mini in Grandale fabrics – I am so in love with these pretty florals. It has an updated vintage feel that I just adore. I used a combination of regular piecing, free motion applique and a little embroidery detailing. I think the embroidery really shows off the blocks!
You can find all the info on the Friendship Quilt at Amanda’s site here – you can download the pattern and also find links to the templates.
Here’s how to turn the block into a mini quilt!
Materials:
- 1/4 yard Riley Blake White Fabric
- Fat Quarters of 8 different Grandale Fabrics by Riley Blake Designs
- ThermoWeb Fusible Fleece
- 5/8 yard backing fabric
- coordinating embroidery floss
- HeatnBond Lite Fusible Webbing
For the sashing and borders cut out the following from your fabrics:
- Center Sashing: Four pieces 6 1/2″ x 2″
- Center Square: 1 piece 2″ x 2″
- Mini Border: 2 pieces 14″ x 1 1/2″
- 2 pieces 16″ x 1 1/2″
- Outer Border: 2 pieces 16″ x 2 1/2″
- 2 pieces 20″ x 2 1/2″
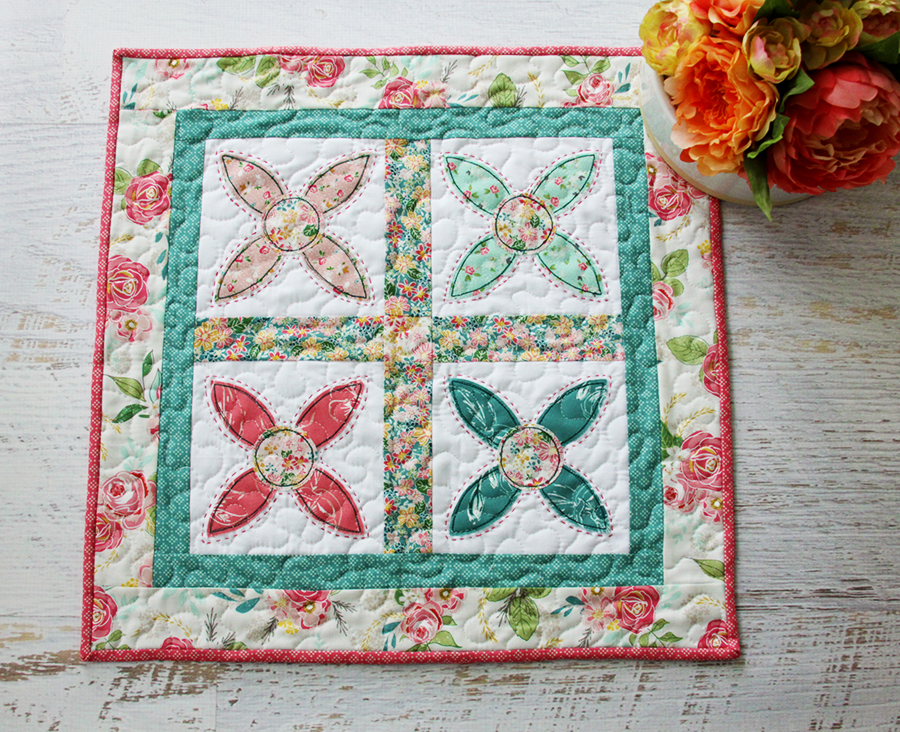
Finished Mini Quilt Size: 20″ x 20″
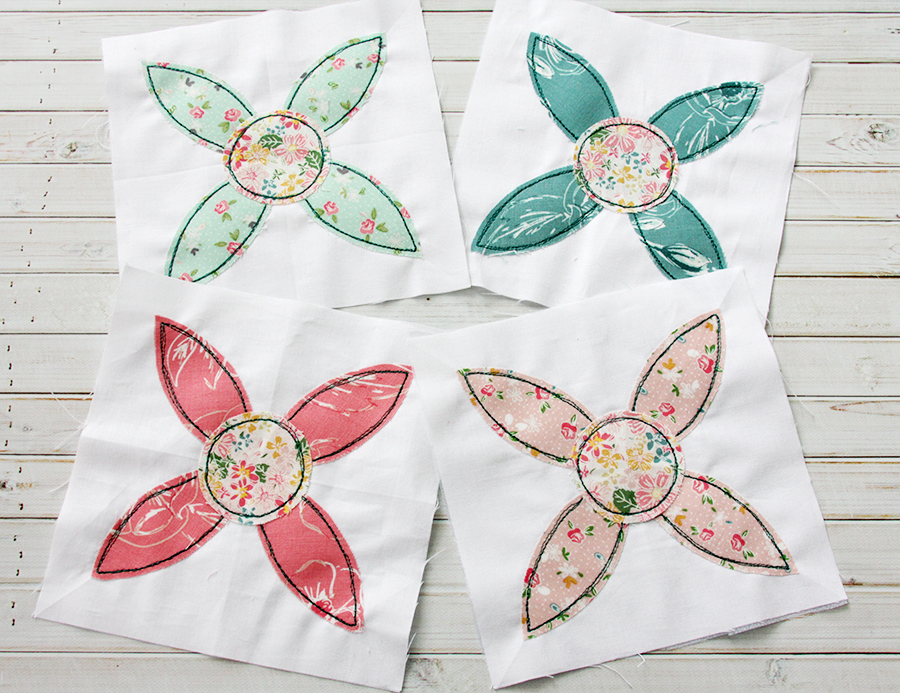
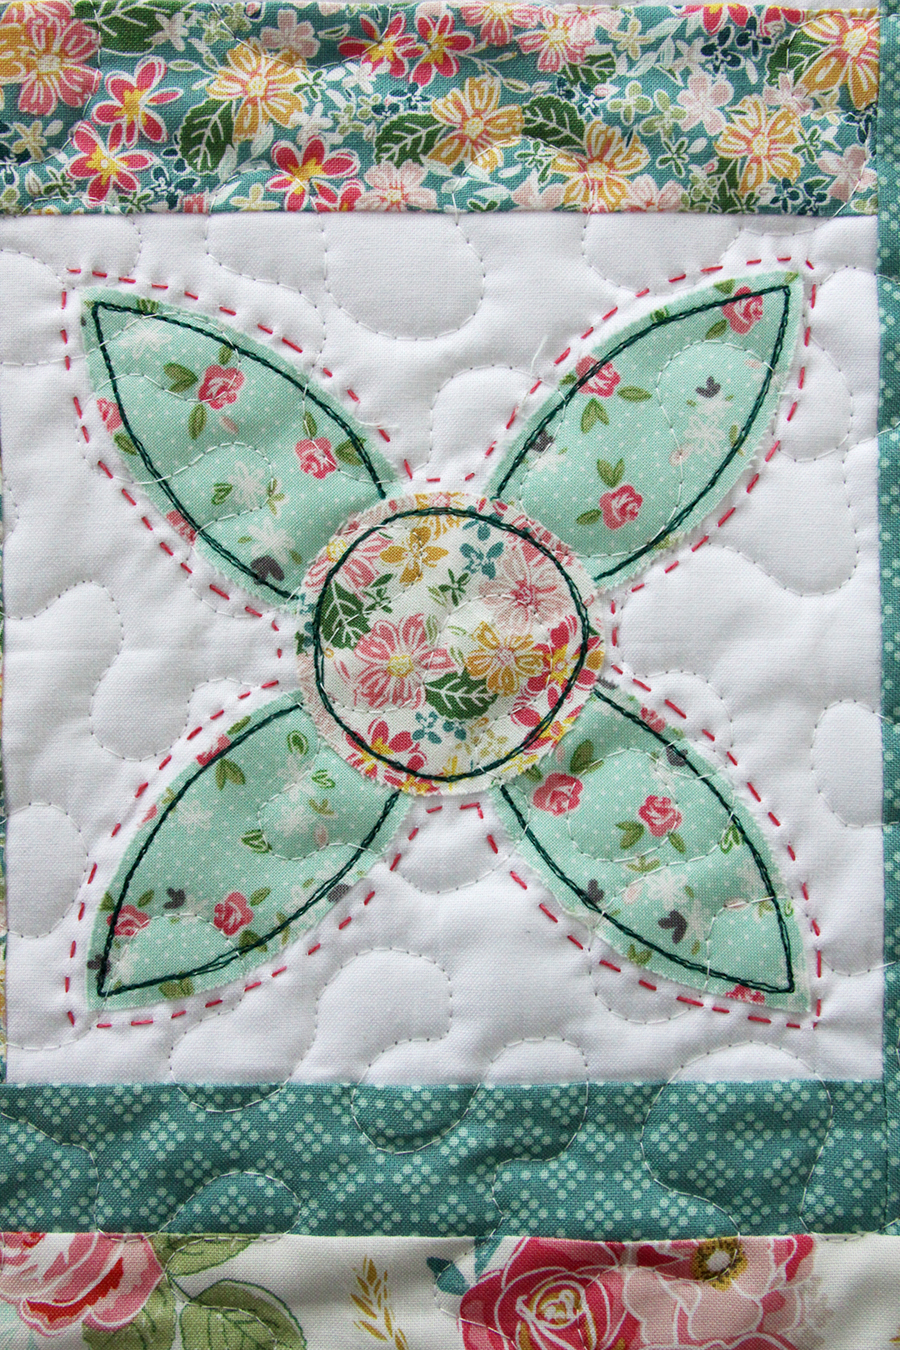
Use the templates for the Helpful Block. Apply the HeatnBond to the wrong side of the fabrics for the blocks and cut out the shapes. Fuse each fabric piece onto the background fabric. Make sure you refer to the Friendship Quilt for block sizes.
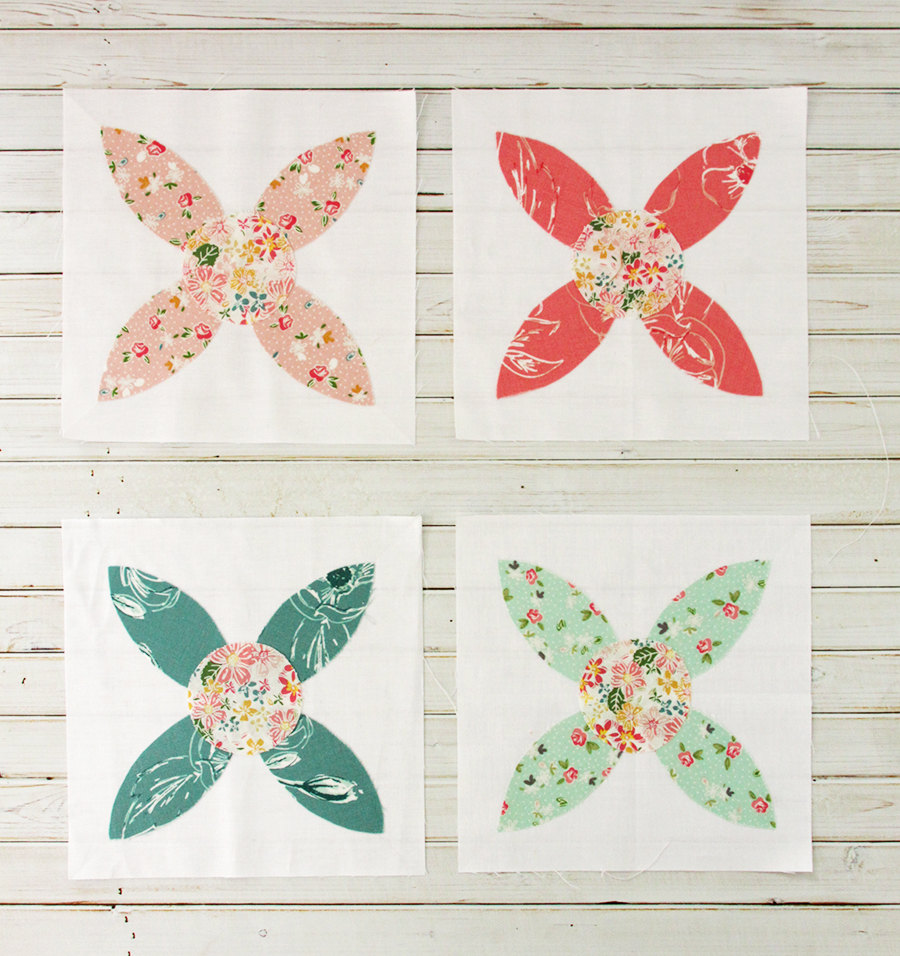
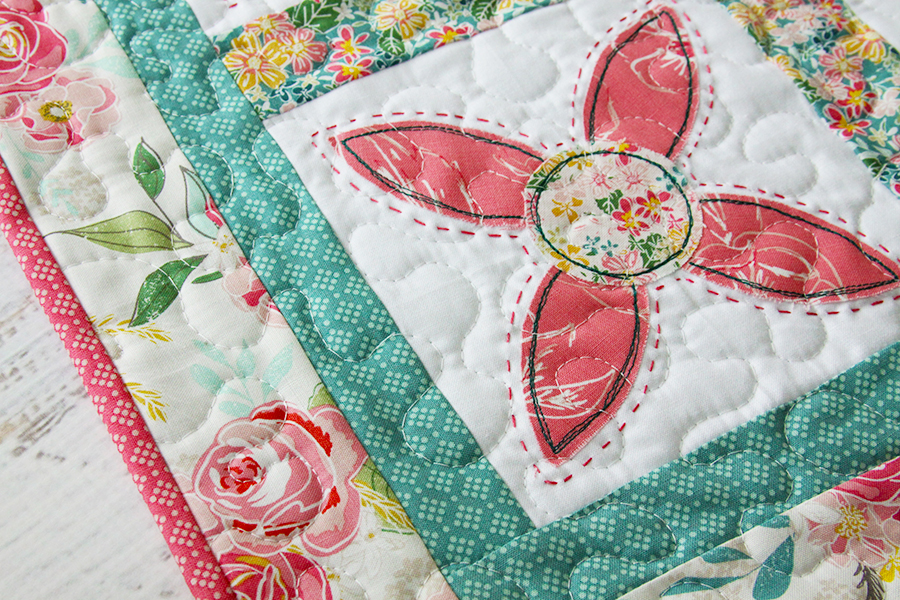
Applique your petals and centers down any way you’d like. I used a free motion foot and stitched in a contrasting dark teal thread 3 times just inside the edges.
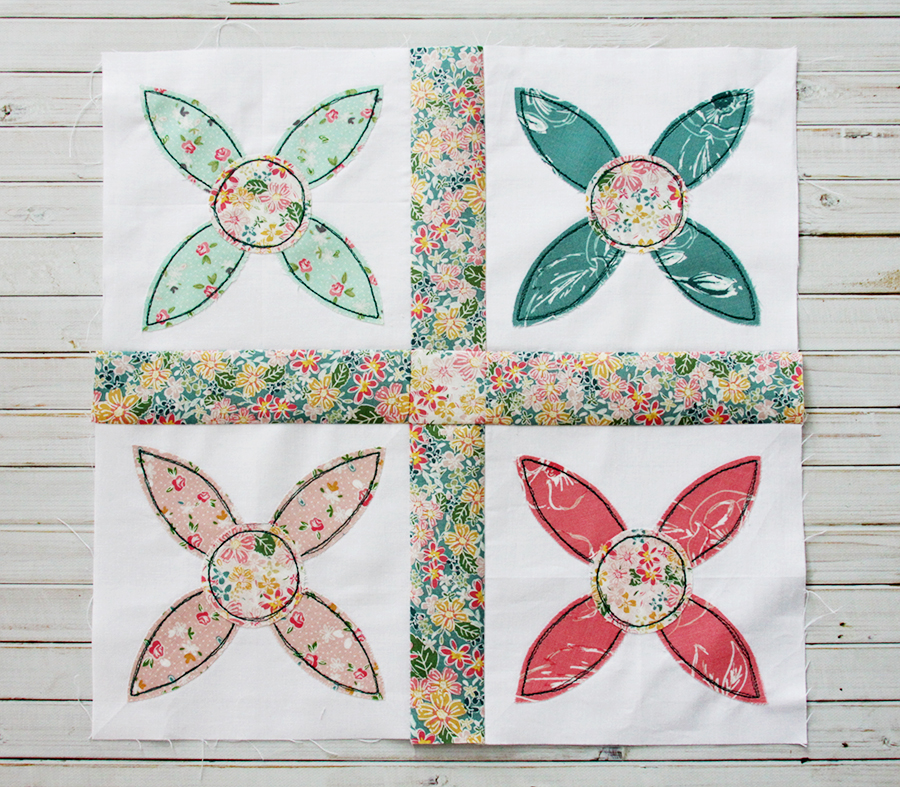
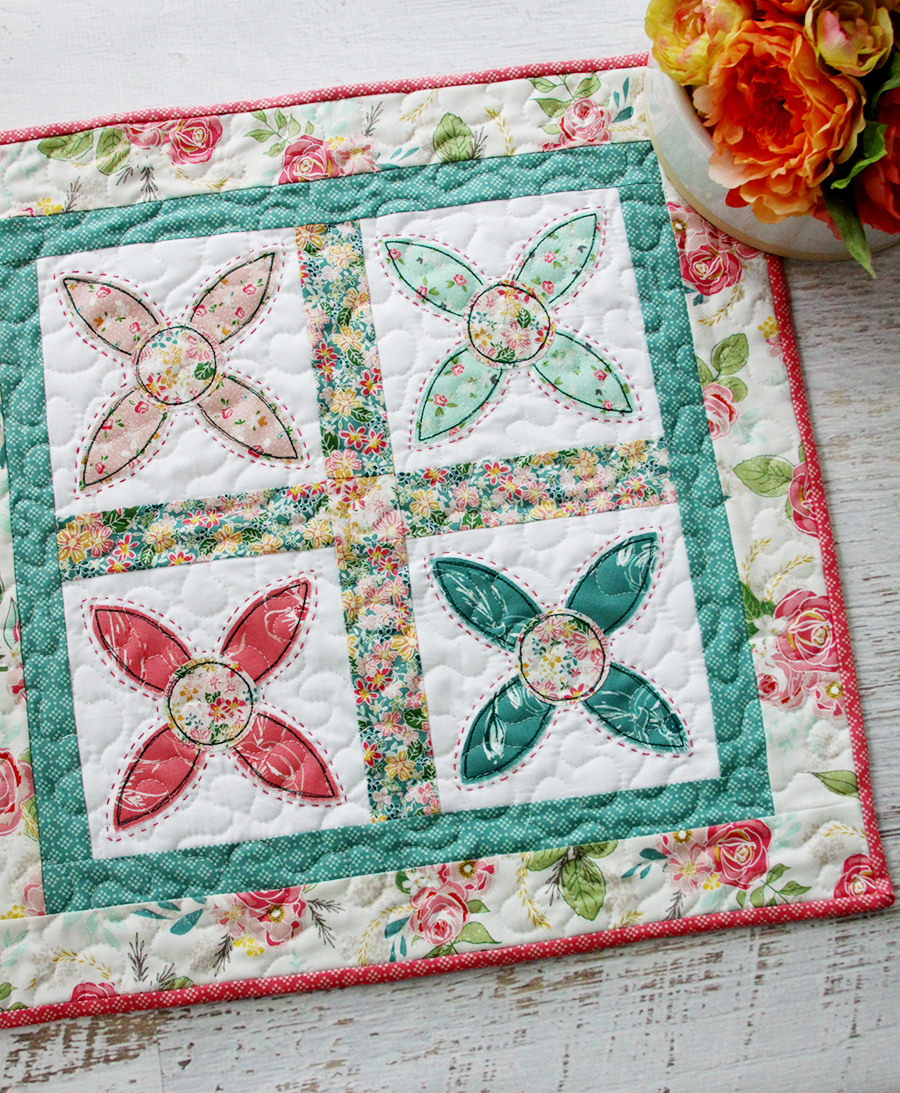
Decide on the layout for your blocks. You’ll have two blocks in one row and two in the second row below it. Connect the two top blocks with a center sashing piece and the two bottom blocks with a center sashing piece. Press the seams towards the sashing.

Sew together the remaining center sashing section by sewing the center square block between the two sashing pieces. Press the seams away from the center square. Sew the sashing section between the top and bottom block sections, lining up the seams. Press the seams towards the sashing.
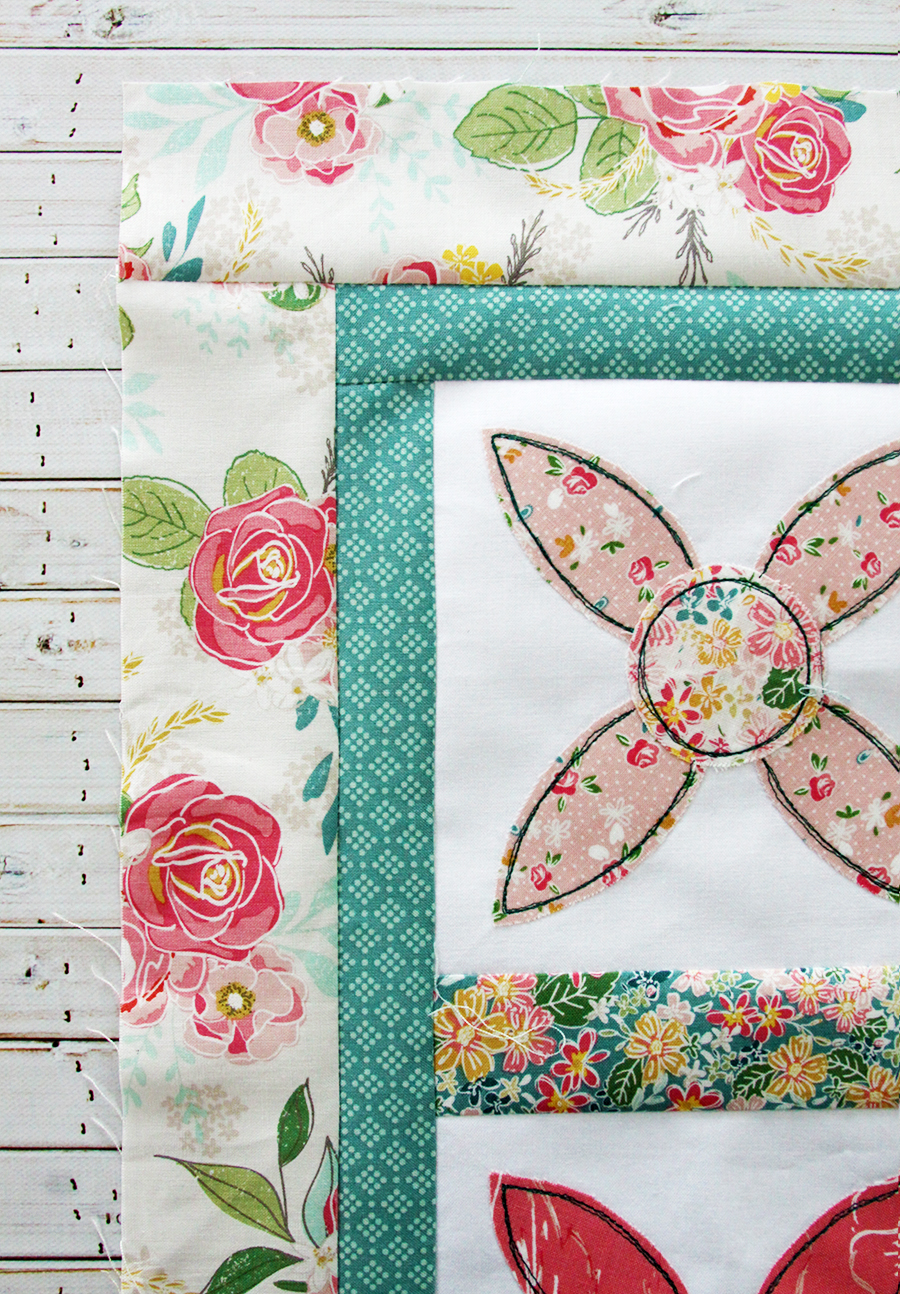
Sew the two 14″ x 1 1/2″ mini border pieces on the left and right sides of the mini quilt. Press the seams towards the sashing. Sew the 16″ x 1 1/2″ mini border pieces on the top and bottom of the mini.

Sew the outer border pieces on the same way, with the smaller border pieces going on the left and right sides and then sewing the top and bottom pieces on.
Cut your backing fabric in a 22″ square. Iron the fusible fleece onto the backing fabric then lay the mini quilt top right side up on top of that. Pin the pieces together and quilt as desired.
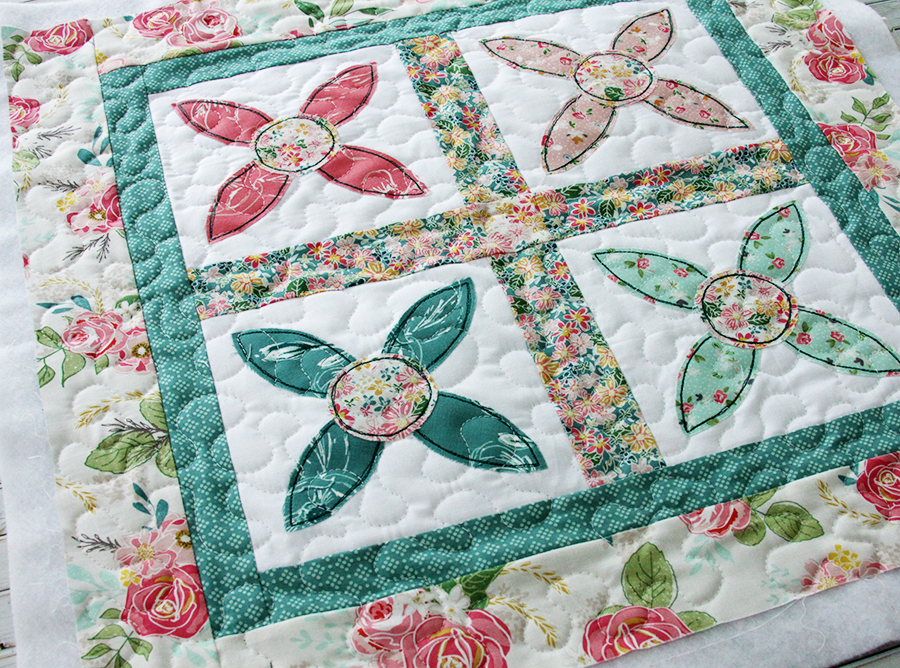
Trim the edges. Cut your binding in 2 1/4″ strips and piece it together to form 90″ of binding. Bind the quilt as desired.
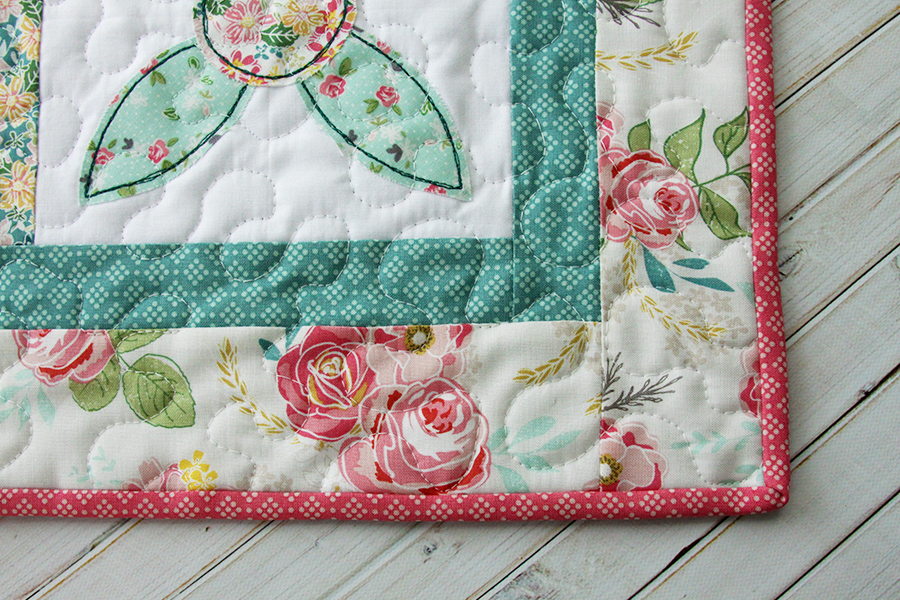
If you’d like, add a little of embroidery details around the petals and centers of the Helpful Blocks. Use three strands of floss and stitch a running stitch just outside the fabric edges.
Now you have a cute new mini quilt to give to a friend! (It’s totally ok to keep it too.) :)

Head over to visit Amanda to see all the other Friendship Quilt Block projects and get all the info on how to sew along! It’s not too late!


Leave a Reply