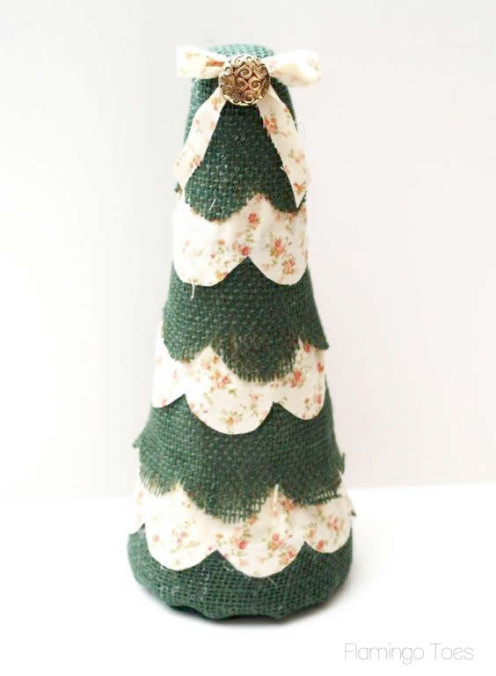
I had so much fun making up these little DIY Burlap and Fabric Christmas Trees!
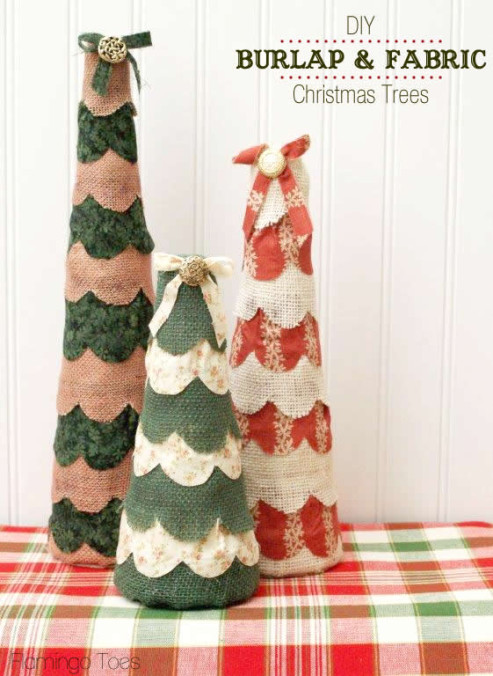
These babies are so easy to do and they make great little decorations for a table top or mantel. They are made with FloraCraft® Make It: Fun® Foam as the base, and you could customize it for your fabrics and style! They are so fast, you could easily make up a set to go with your Christmas décor, especially if like me, you change up your colors and theme every year.
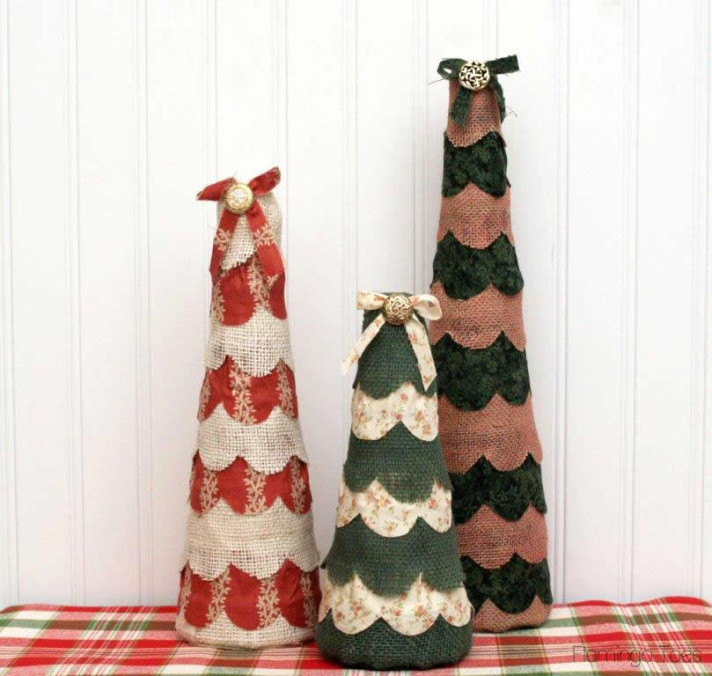
I love the little scallops on the fabric and burlap. They give them such a sweet look. I just fell in love with these burlap colors too – they were so soft and pretty. It’s a little hard to tell but the reddish tree is actually a light red metallic. It looks so cool in person.
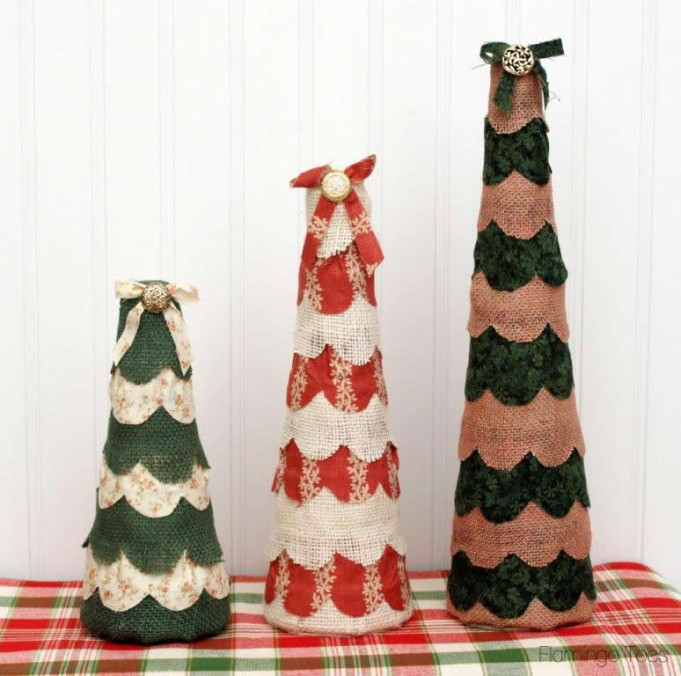
The tutorial on these is so quick too – here’s what you’ll need:
- Make It: Fun® Foam – cone shapes. I used a 9″, 12″ and a 15″
- fabric for scallops – depends on the size tree but you’ll want pieces at least 14″ long for the lowest scallop
- burlap – same as with the fabric, but you’ll need a little more for the top and base
- felt piece for the base of the tree
- hot glue or other foam glue
- button for top decoration
Start by creating your pattern. You want to measure the widest part of your base and add about 1″ for an overlap. Create the scalloped side of the pattern by tracing something round – I used a spool of thread. Add about an 1 1/2″ to the pattern and trace a straight line for the top.
Cut out your burlap and fabric scallops. I used 3 of each for the smaller 9″ tree.
Cut a 2″ x 14″ piece of burlap for the bottom of the tree. Cut a 3″ circle for the top.
Clip both long sides of the 2″ x 14″ piece about every inch, about 1/2″ in. Glue the rectangle to the base of the foam, lining up the middle of the 14″ piece with the bottom of the cone. Glue the top piece onto the side of the cone and the other section to the base. Glue a felt circle to the base of the cone.
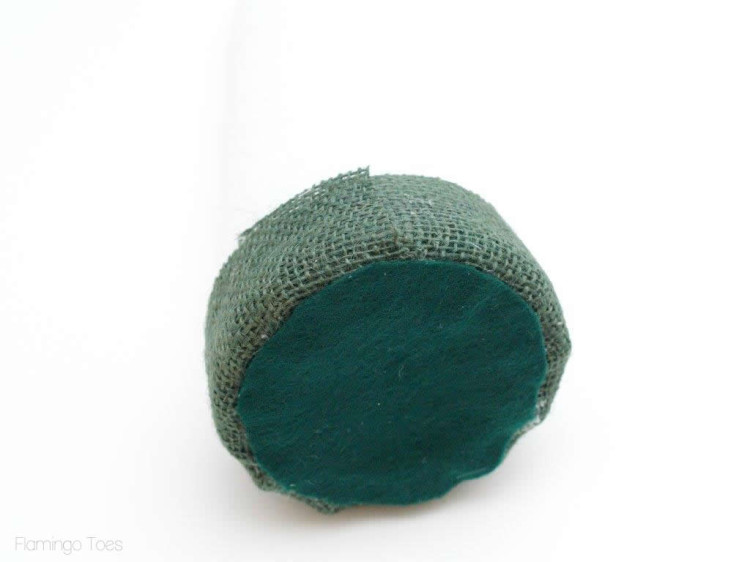
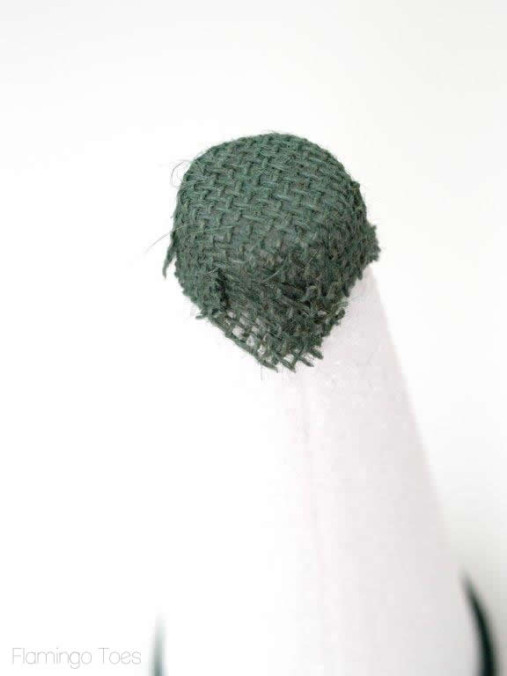
Glue the circle to the top of the cone, and clip around the circle up to the cone. Glue the flaps down the sides, overlapping them just a bit so they lay flat.
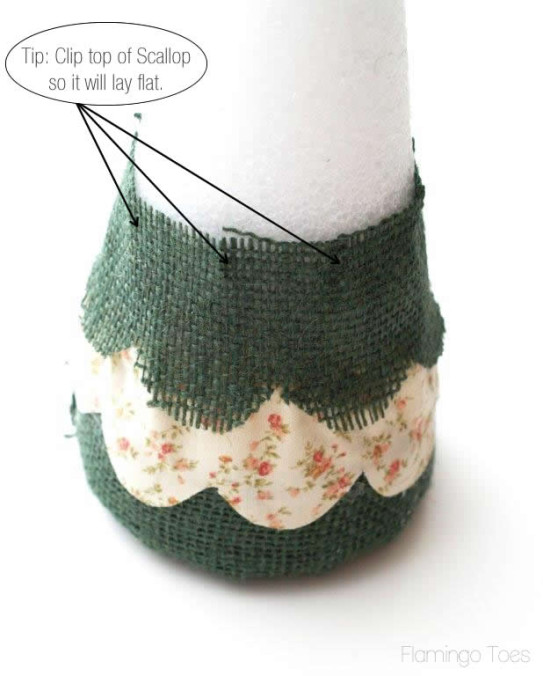
Start by gluing on your scalloped pieces. Glue on a fabric piece first, so it will contrast with the burlap. Overlap the scallops over the piece of burlap just a bit. Glue a burlap scalloped piece above it. Clip the straight edge of the scalloped piece before you glue it so it will lay flat against the cone a little better.
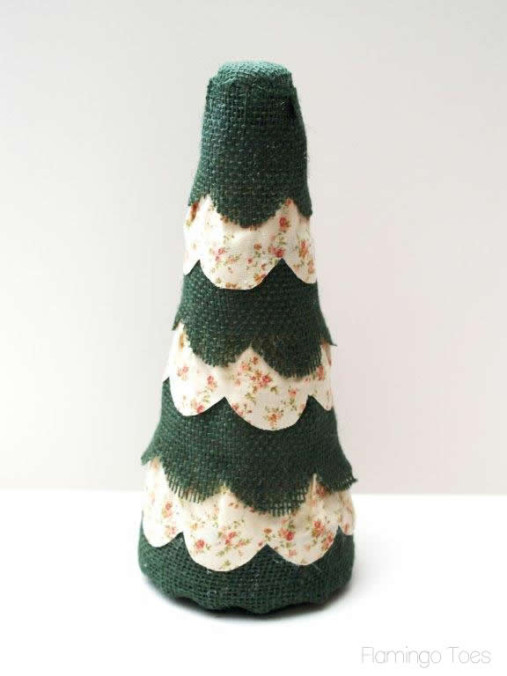
Continue gluing scalloped pieces until you finish with a burlap piece right up at the top. You’ll want to trim your pieces as the cone gets narrower, so they overlap just a bit in the back.
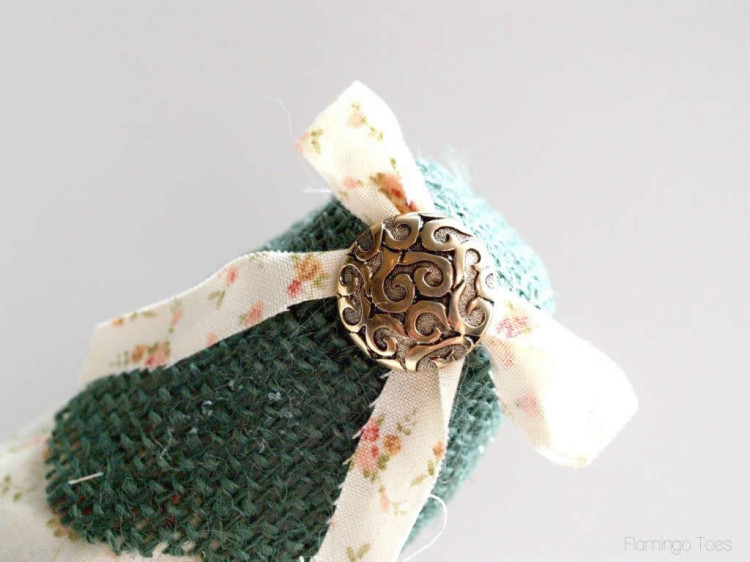
Decorate the top of the tree with a little bow and a decorative button.
Now you have a super cute little burlap and fabric tree!
Now you can make up more trees for your set! They are made the same way – just add more scallops as you make the taller trees.
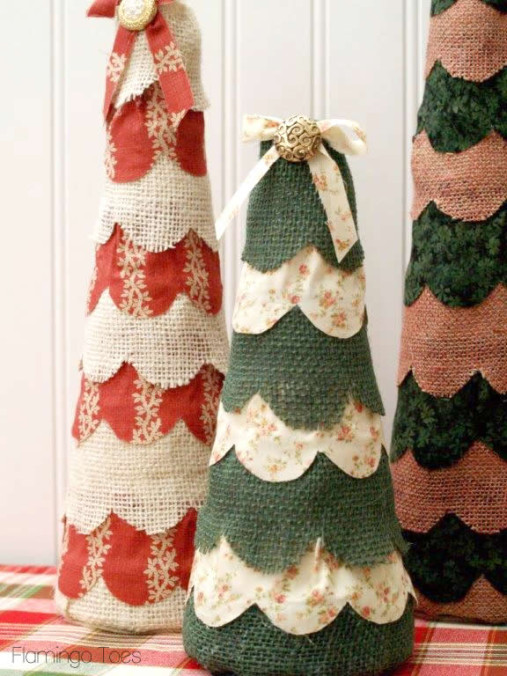
I love the sweet little bows and buttons at the top!
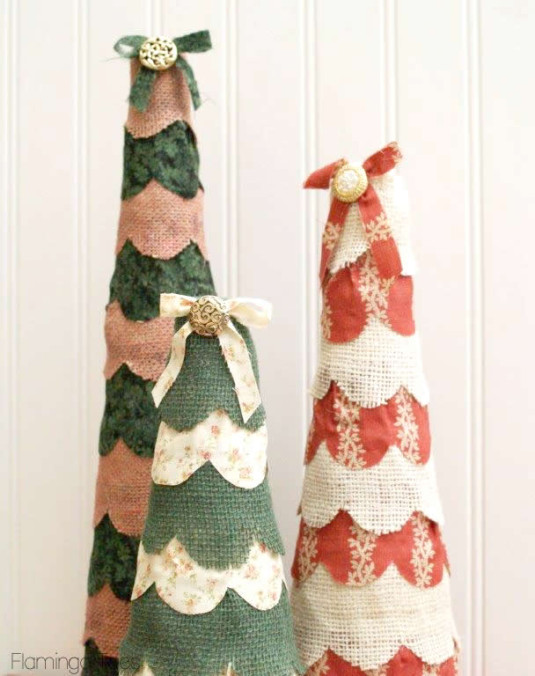

So easy right? :)
You can find more Make It: Fun® Foam inspiration at MakeItFunCrafts.com and CraftsnCoffee.com.
Disclosure: This is a sponsored post for Make It: Fun® Foam – all opinions and ideas are my own.


Good morning Bev. These are so cute. I love them. What a great idea and a great way to add a little holiday charm to an area. I am excited to make some for our home. We are having an open house right after Christmas for a young newly wed couple. I can see decorating with some of these. Thanks so much for sharing. I would love to do a ‘brain drain’ of some of your creativity. You always have such great ideas. Have a fabulous day!
Have you ever thought of opening an etsy shop or something similar. You have the cutest crafts.
These are great – and would go perfect in my house. I love them, thanks for sharing!
These are adorable, Bev! Super cute with the scallops. I love the fabrics pairings, too!! Great Christmas craft!